NanoHeal Connector
Nanoheal provides end user healing scripts to remediate endpoint error without human intervention through BigFix AEX. This is like other end user healing connectors such as Systrack, Optibot Healing Station, Nexthink etc. Follow the steps shown below to activate Nanoheal integration with a specific BigFix AEX tenant.
- Log into Global admin and navigate to Tenants page under Provider tab.
- Click on the Configure button
.png) available in actions column.
available in actions column.
.png)
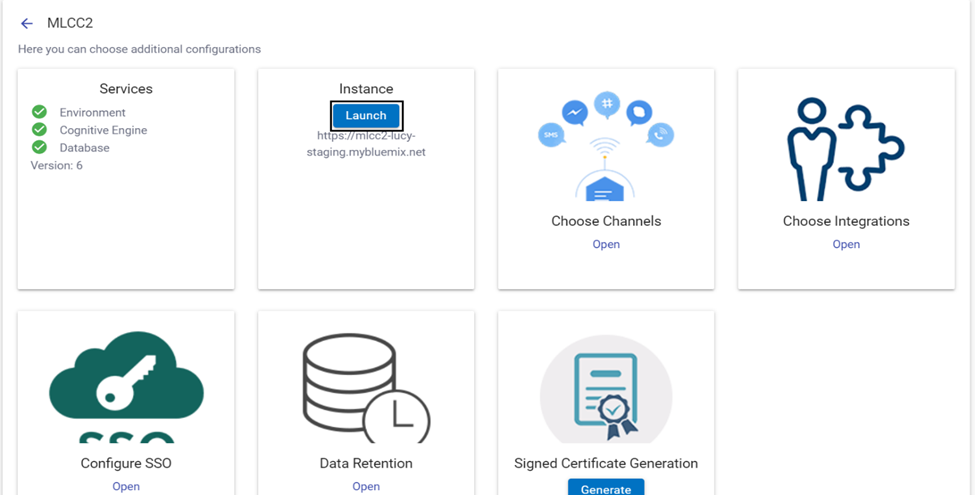
- In tenant’s configuration page, click on Open on “Choose Integrations” card.
.png)
- On the integration page, look for nanoheal connector, if it is already enabled, it will have a green check, otherwise it will not have a check at all.
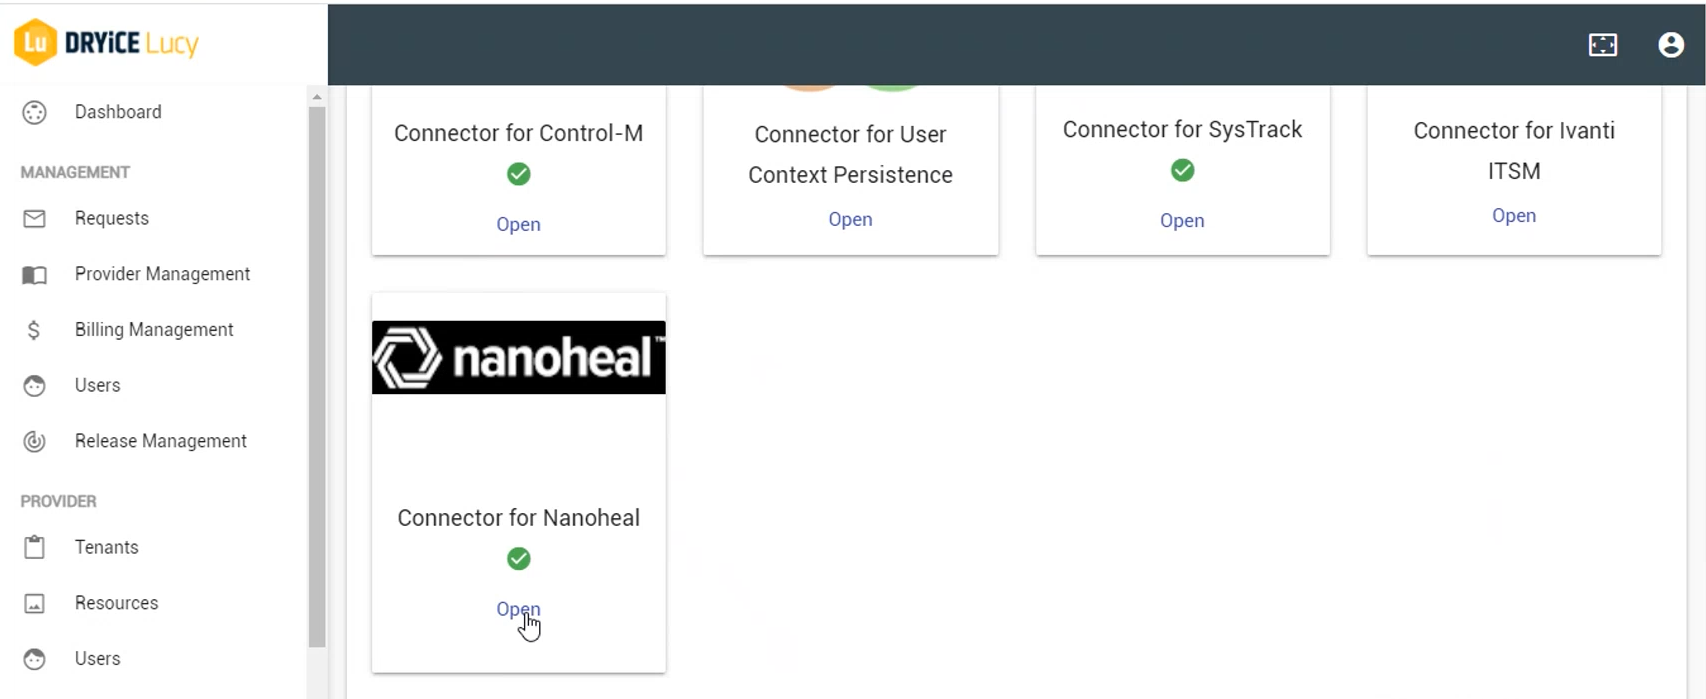
- Click on Open to open the configuration page, you will see the following configuration wherein only the nanoheal connector URL is needed.
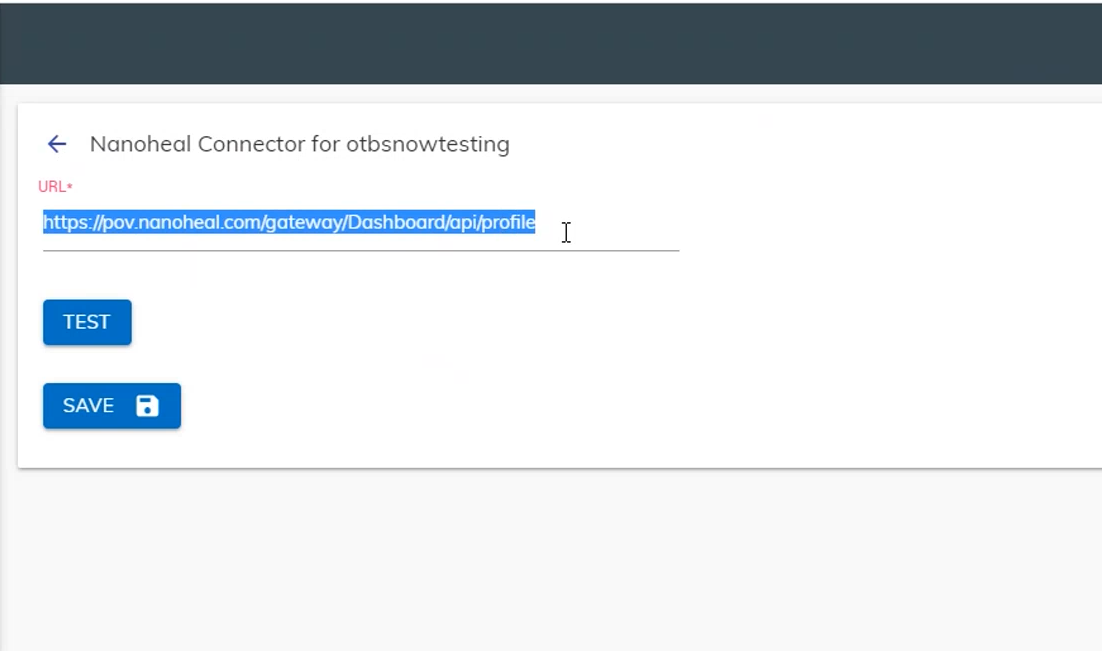
- It’s always recommended to test whether the credentials
given are correct, click on the Test button. If it
is correct, the tick icon
.png) will
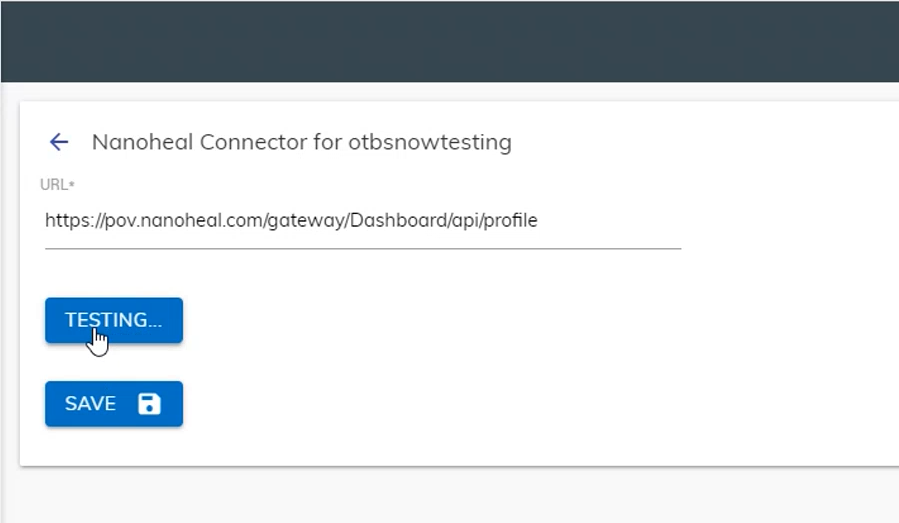
be shown, else the cross icon will be shown. Test the connection by
clicking on TEST.
will
be shown, else the cross icon will be shown. Test the connection by
clicking on TEST.
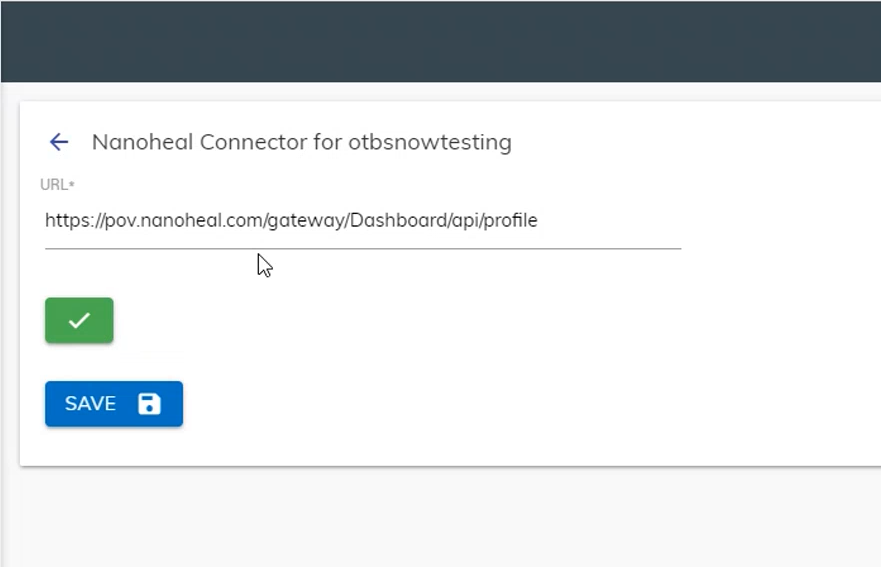
- Save the connector after validation of the connection by clicking on SAVE, once the connection is saved, a success message appears.
.png)
- Launch the instance from the tenant configuration page to view automated rules created for the Nanoheal integration.
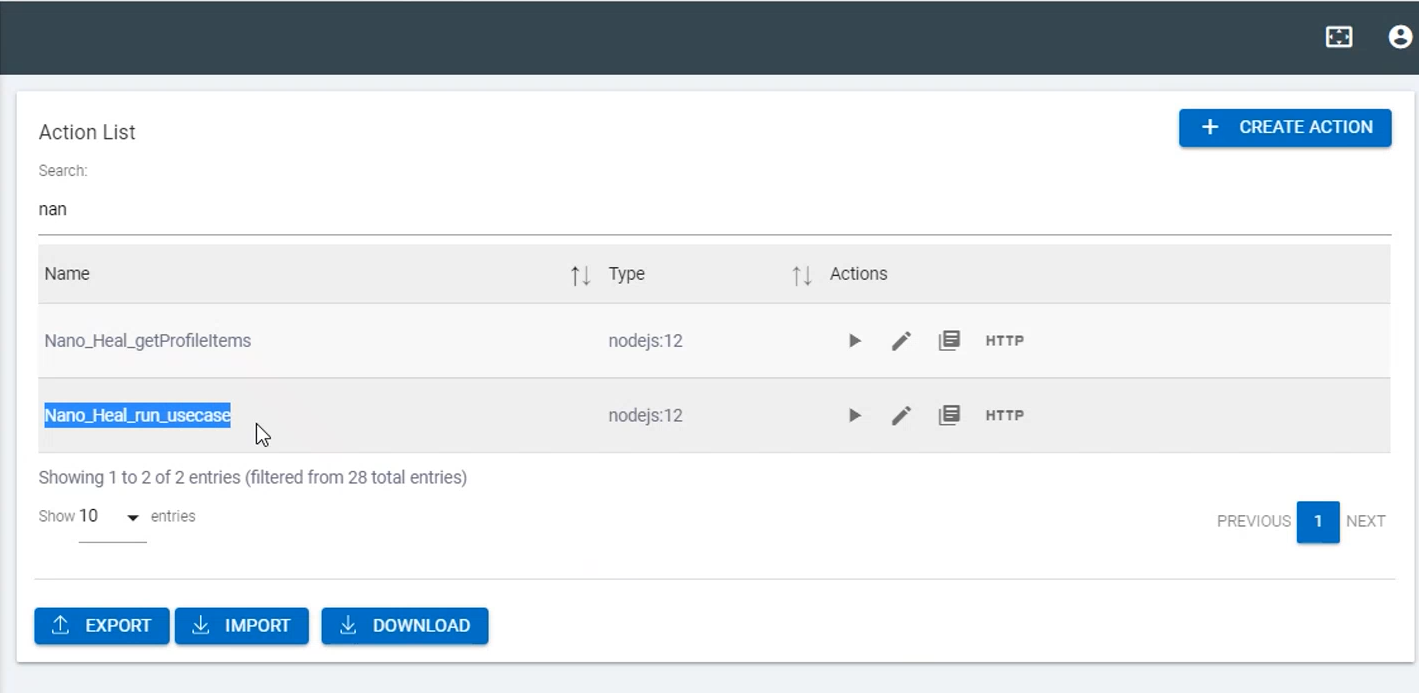
- In the tenant instance, navigate to Openwhisk Console
- On searching for rule named “NANO_HEAL_RUN_USECASES”, you will see the newly created for the nanoheal end user healing integration.
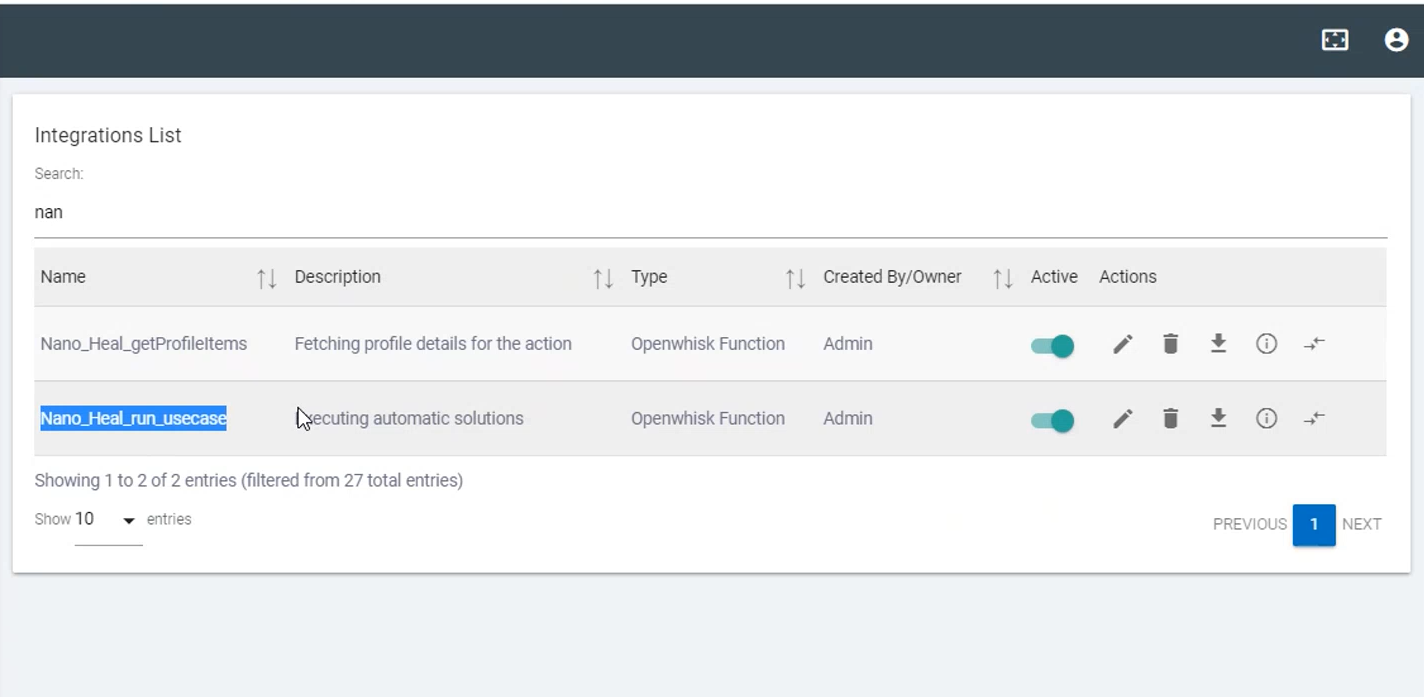
- Also in the integration module, the Integration named “Nano_heal_run_usecases” would be created
Ensure you have Nanoheal installed on the machine/endpoint for which integration is to be tested.