BigFix AEX SX ITSM Connector
SX (Formerly ServiceXchange) is an ITSM portal which helps IT teams to manage the end-to-end delivery of IT services to customers. This includes all the processes and activities to design, create, deliver, and support IT services. The core concept of ITSM is the belief that IT should be delivered as a service. Following steps will demonstrate how this integration can be enabled:
- Log into Global admin and navigate to Tenants page under Provider tab.
- Click on the Configure button
.png) available in Actions
column.
available in Actions
column.
.png)
- In tenant’s configuration page, click on open in “Choose Integrations” card.
.png)
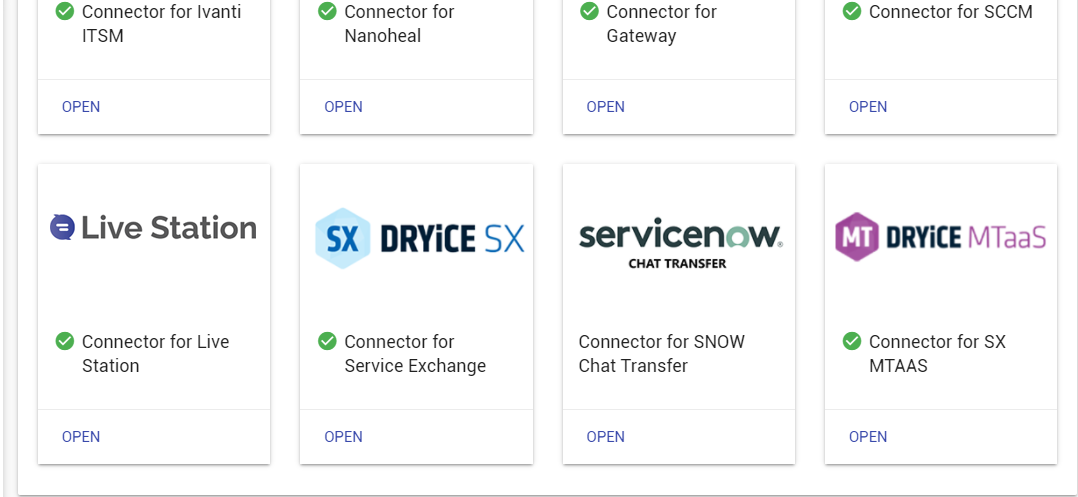
- Click on open on “ServiceXchange” connector. If it is already enabled, it will have a green check, otherwise it will not have a check at all.
- Once the Live Station connector page opens, fill out the required fields in the form:
API Key: API key of SX instance to be integrated with BigFix AEX.
Foundation URL: Foundation URL of instance to be integrated with BigFix AEX, generally used to make API call to get payload token to use in other SX APIs.
D2C URL: D2C URL of SX instance to be integrated with BigFix AEX, generally used to make API call to get information related to orders, break fix etc.
SPCM URL: SPCM URL of SX instance to be integrated with BigFix AEX, generally used to get information related to offerings.
REVIEW URL: Review URL of SX instance to be integrated with BigFix AEX.
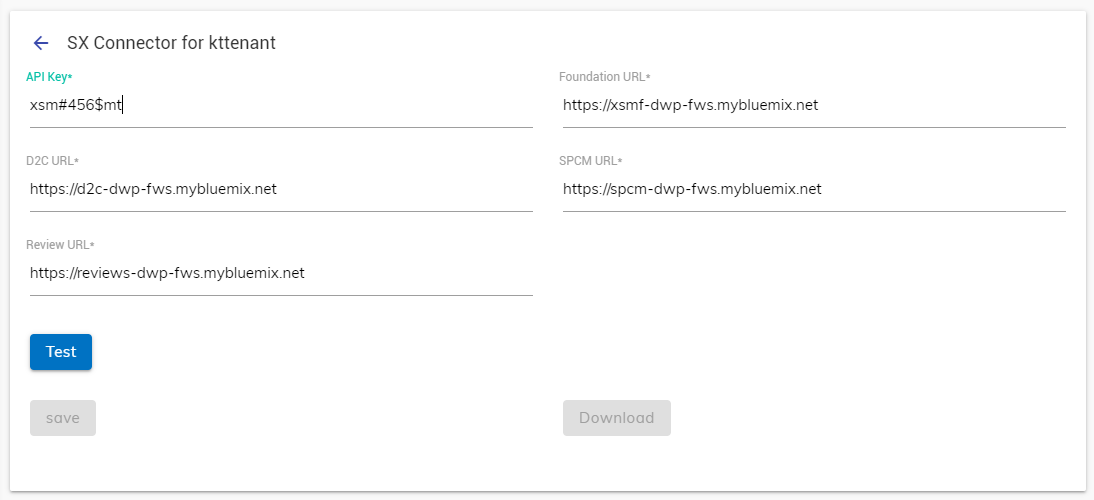
- It’s always recommended to test whether the credentials
given are correct by clicking on the Test button.
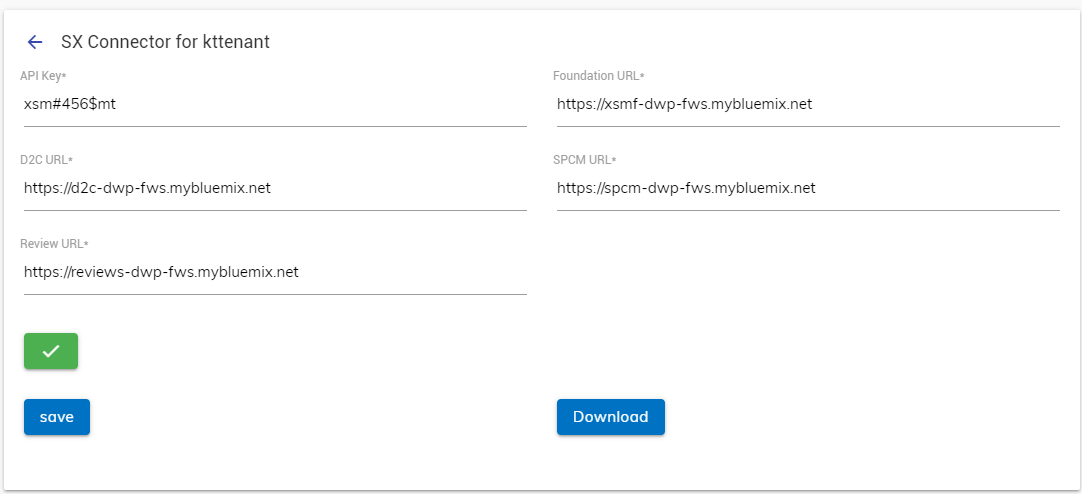
If the information/values are correct, the tick icon
 is displayed.
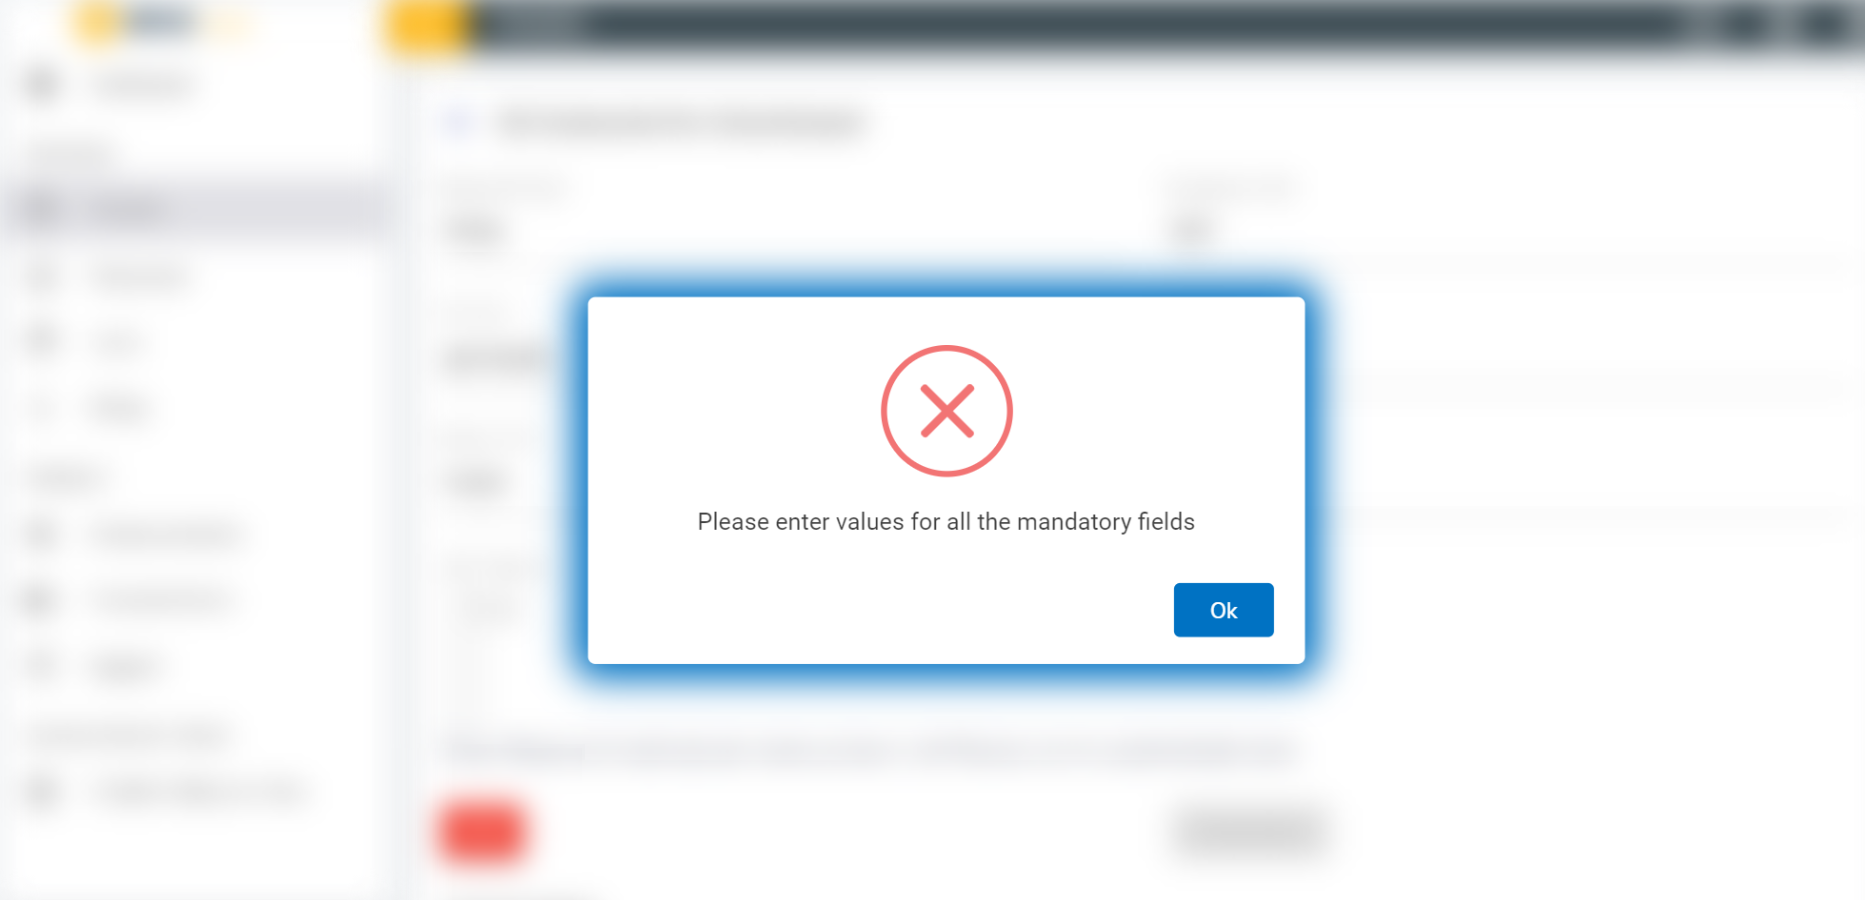
- Incorrect test values display the cross icon
 as shown in the following figure:
- Download Button will be used to download list of offerings in excel format which is needed to upload through FAQ Parser on UCD to train for list of offerings. It can be enabled only after test has turned into green tick mark and will be disabled the CSV is downloaded.
- Click on save button to enable the integration.
.png)
- Navigate to Integration module List of integrations, search for rules starting with ‘SX’.
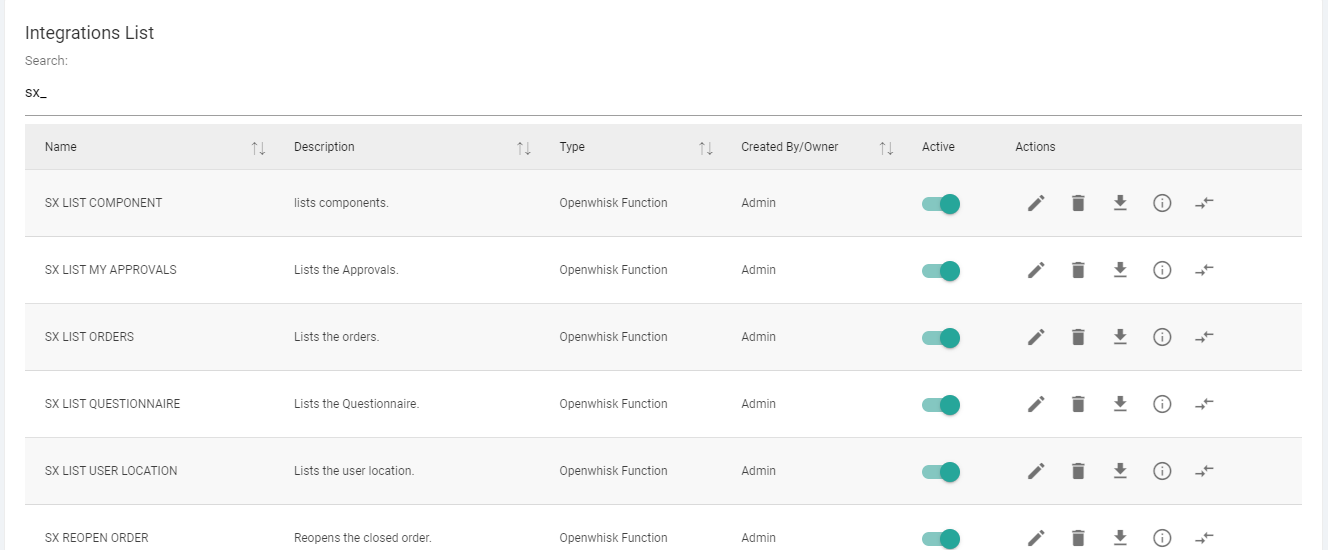
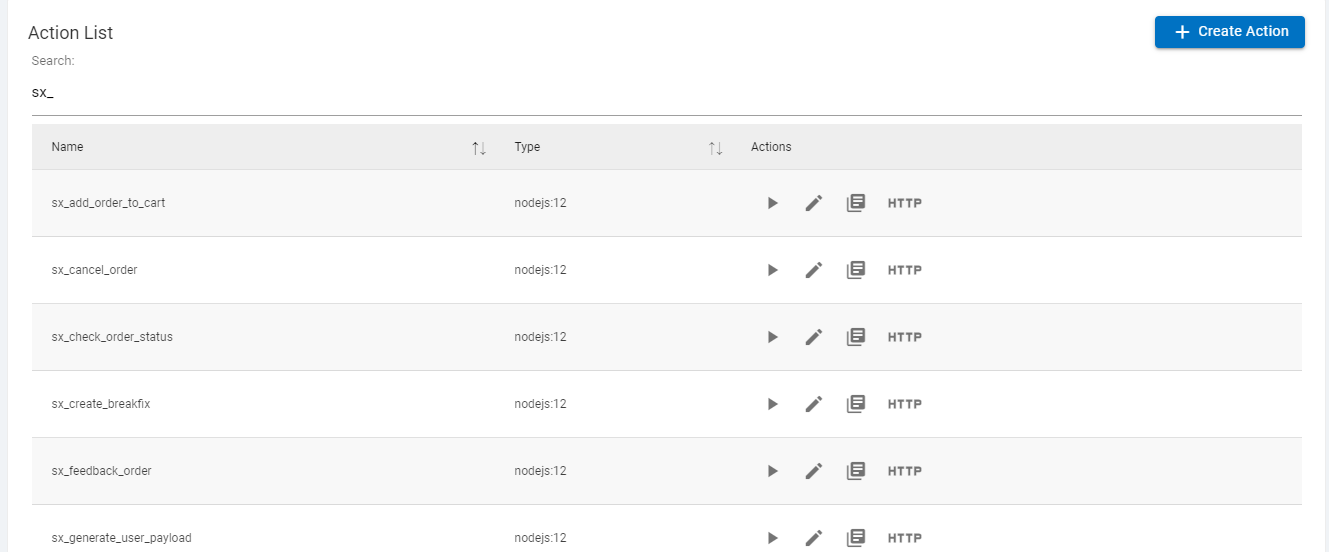
- You can also navigate to Openwhisk console to see all the SX integration rules
- The CSV file downloaded in previous steps can be used with the FAQ parser to create an SX skill for conversational AI.
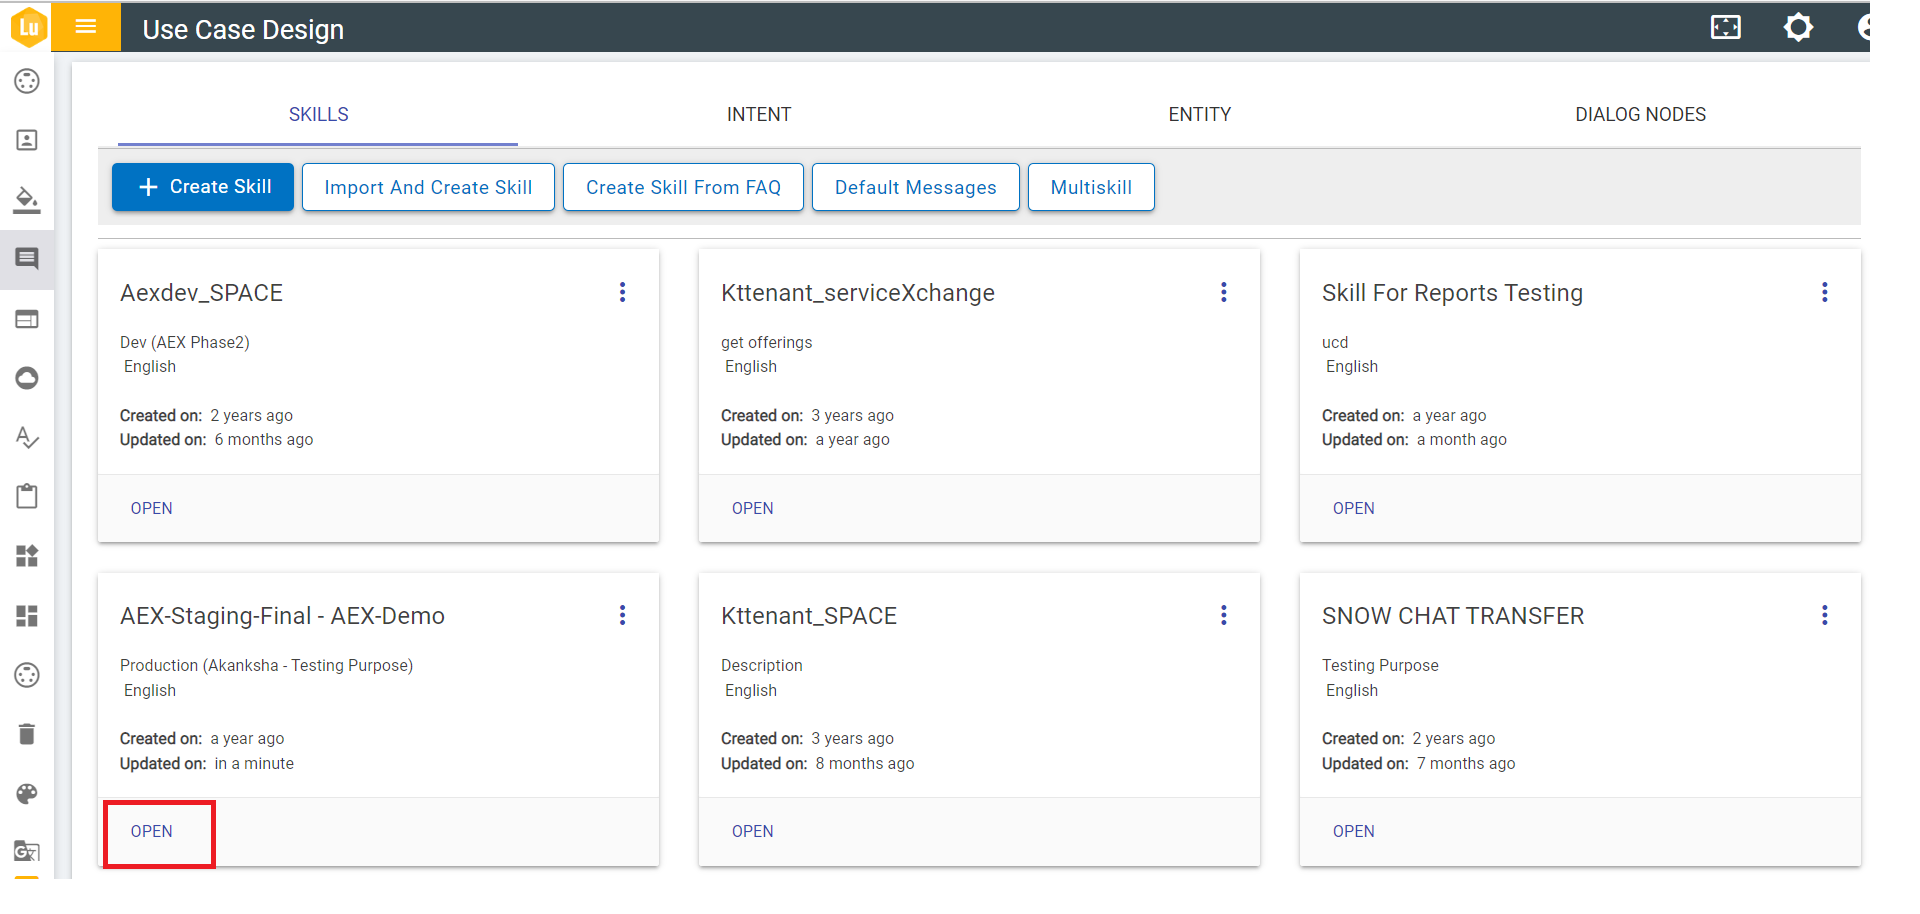
- Now open the admin console of that “Tenant” and click on UCD.

- Create a new skill, this example uses an existing skill named AEX-Staging-Final-AEX-Demo and open it.
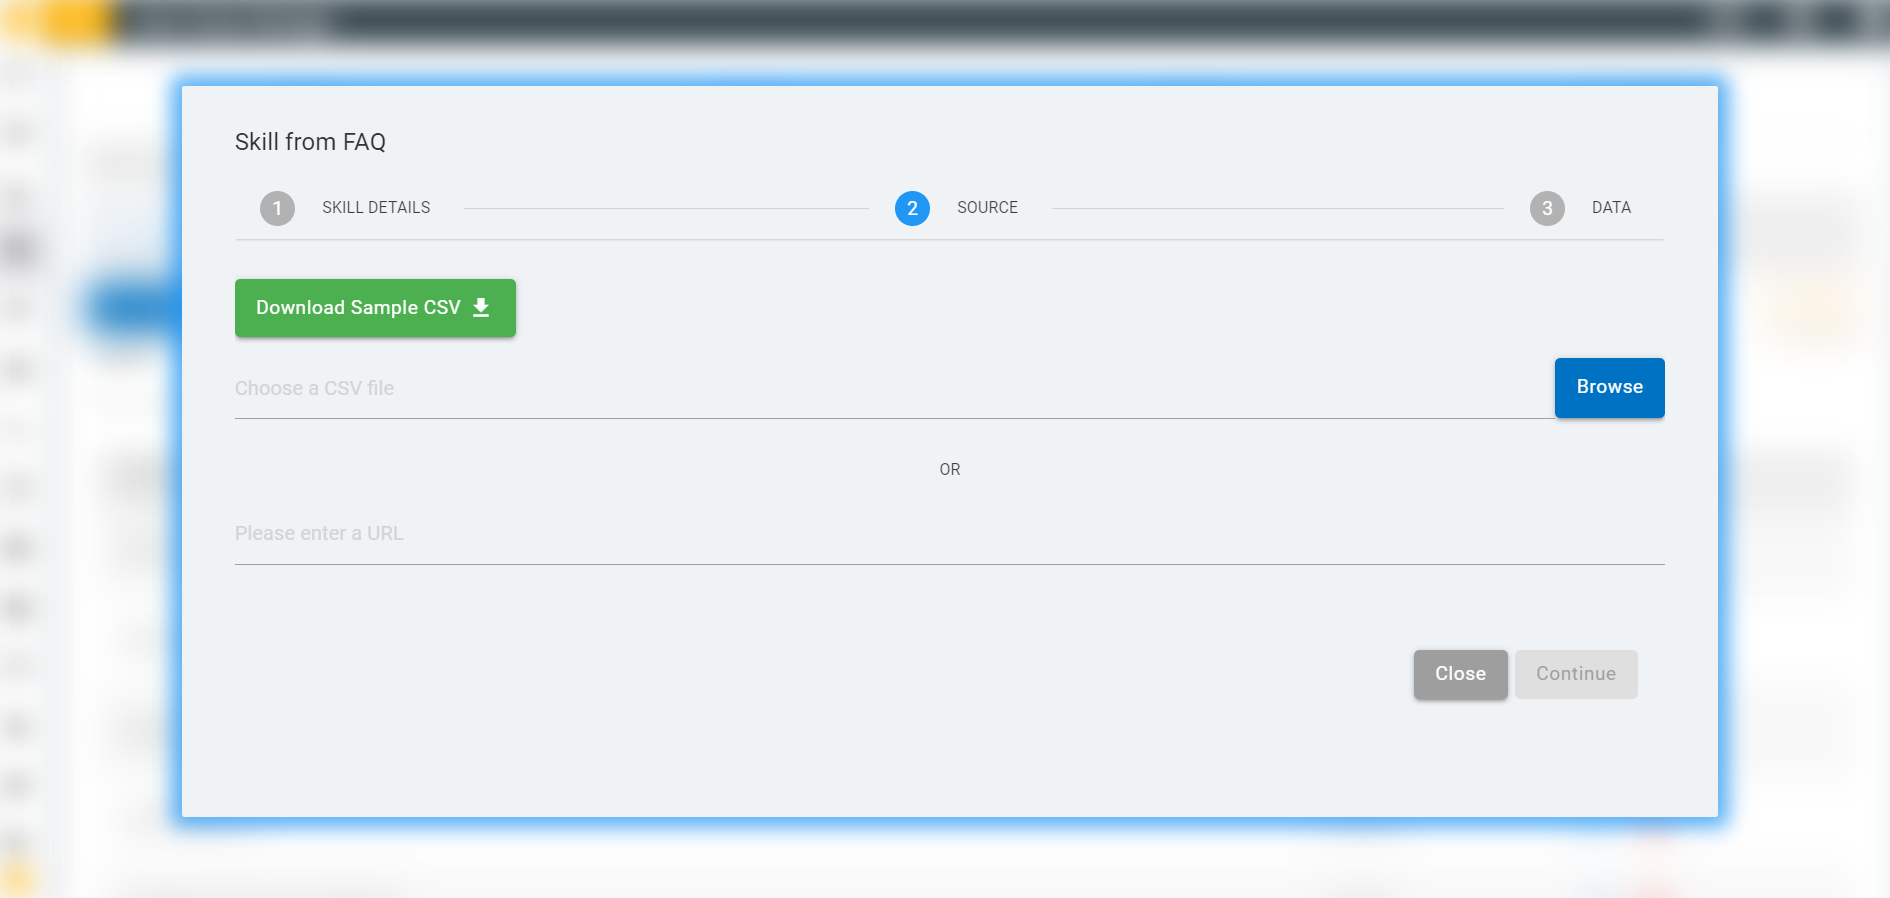
- Click on “Update Skill from FAQ” button. Then a screen will pop-up.
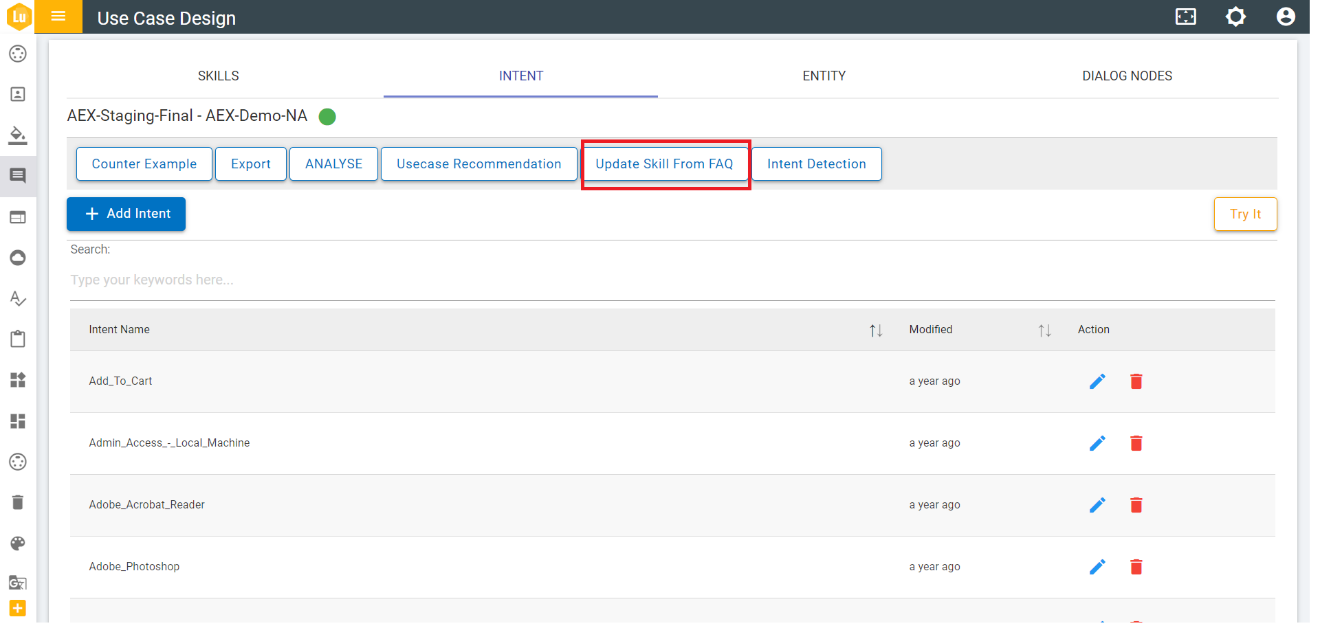
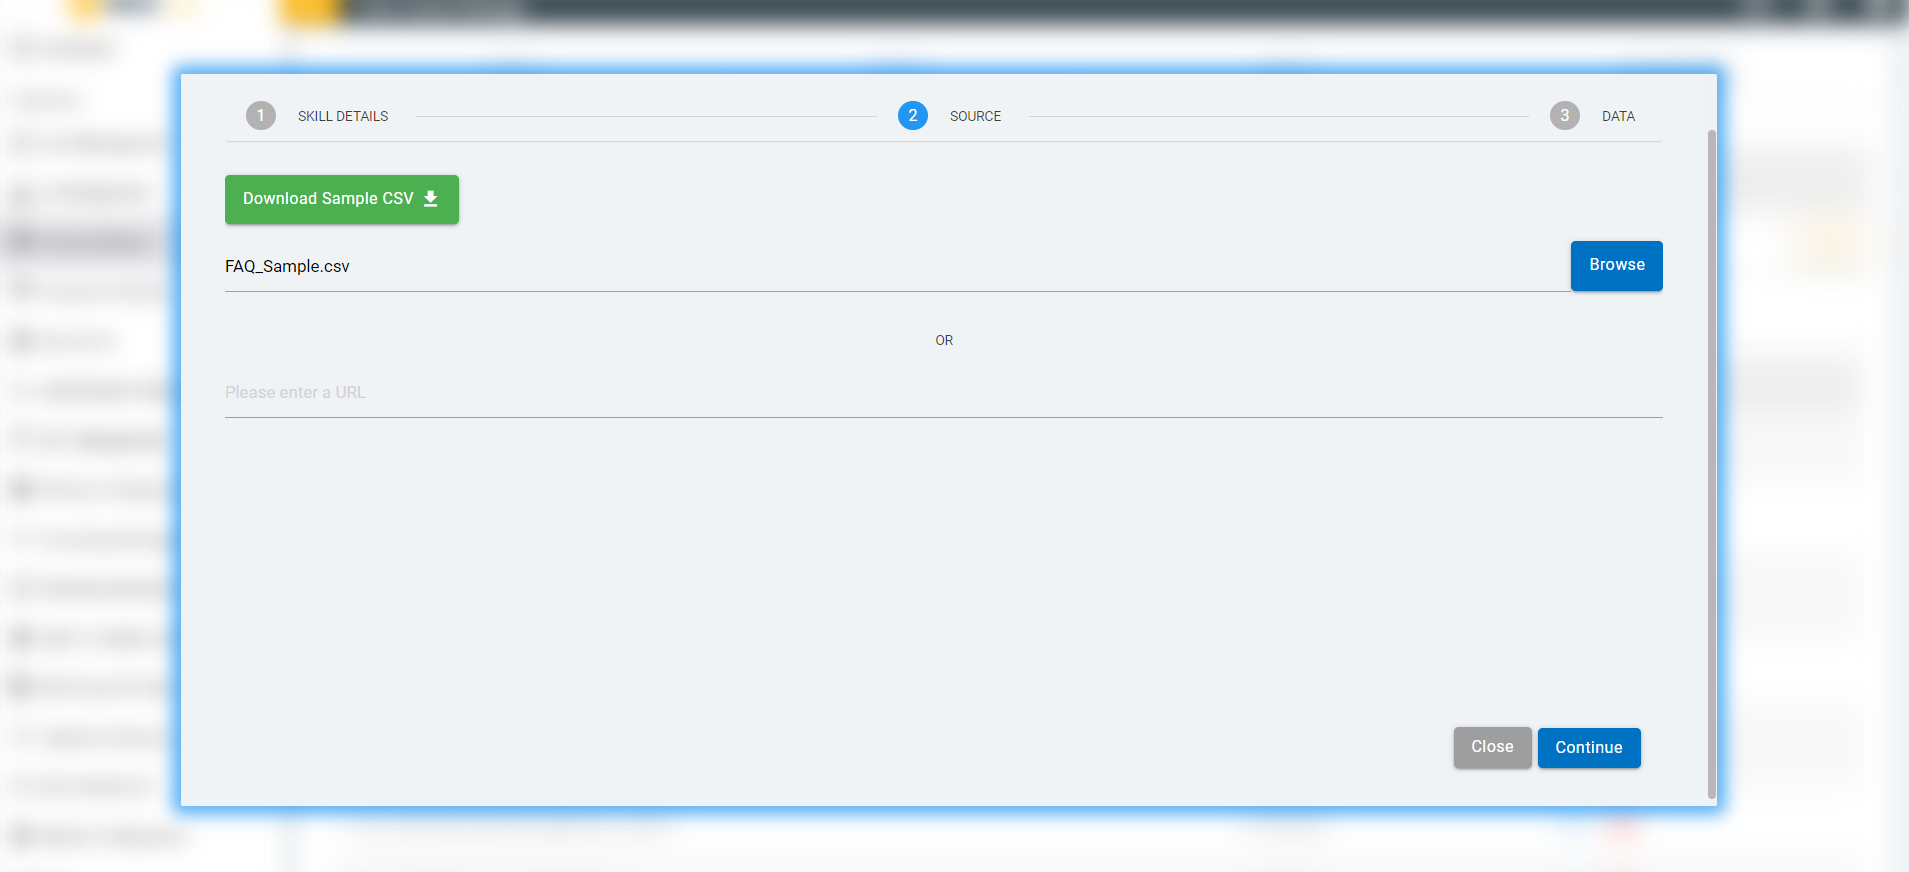
- Click on “Browse” button and select the csv file which you downloaded earlier.
- Click on “Continue” button. All the rules will appear on the screen.
- Click on “Update” button to start training.
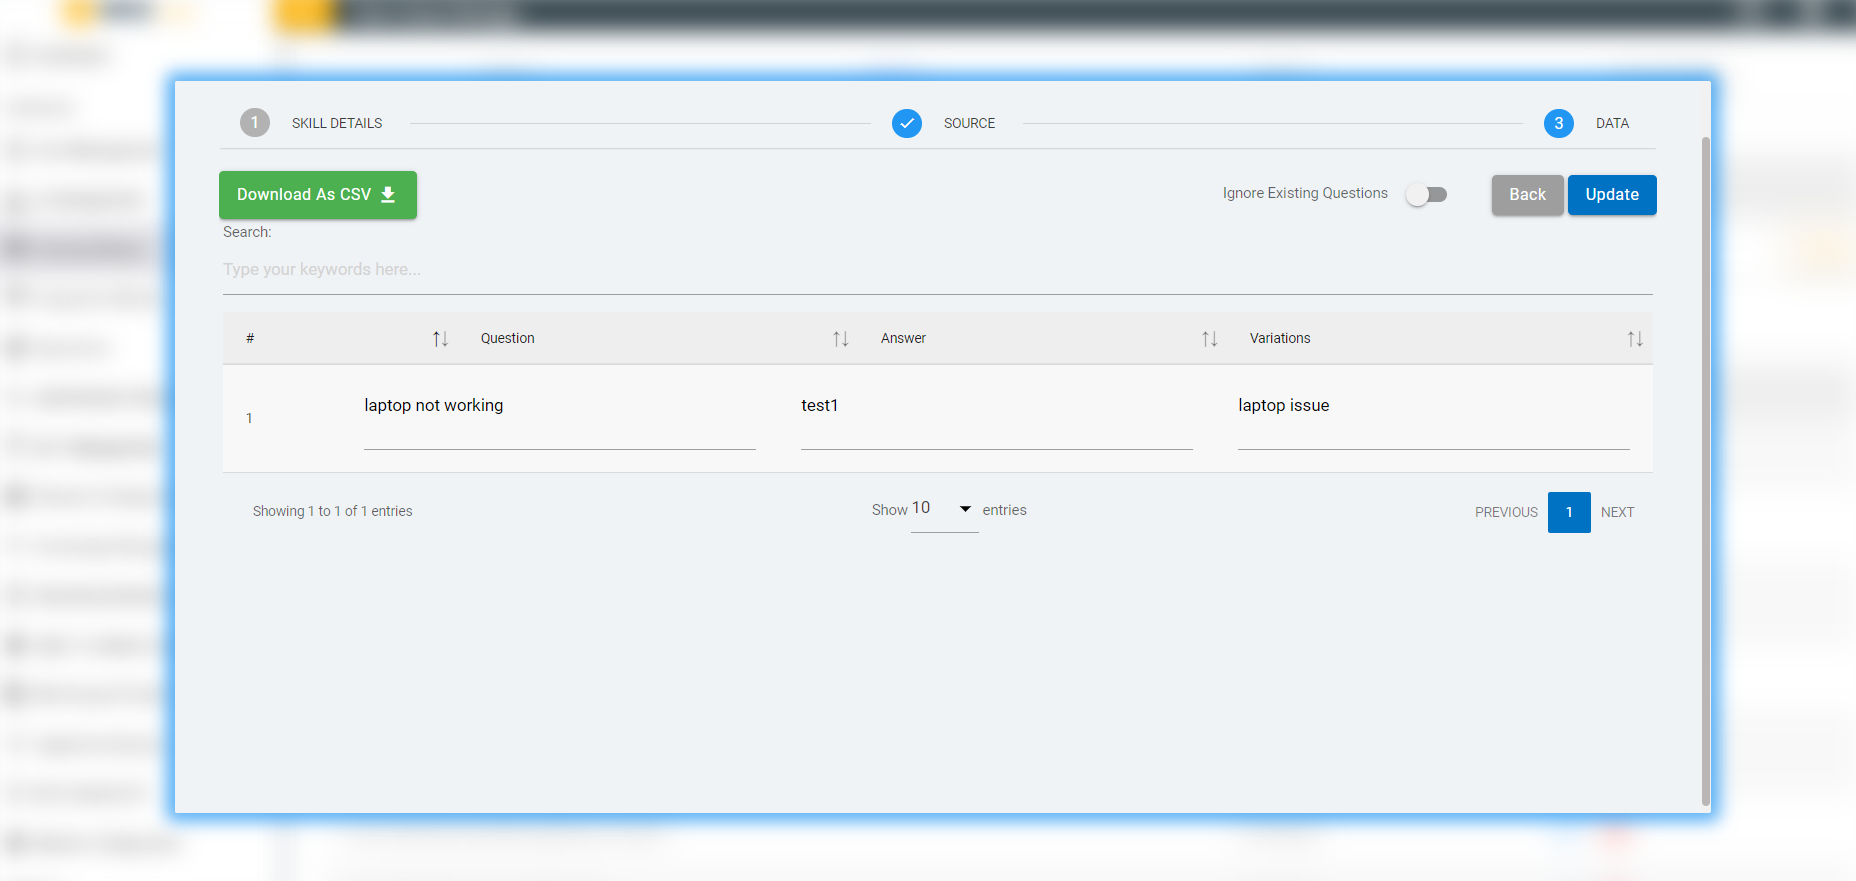
- Once Update is clicked, the existing skill will have newly trained intents for the catalogues downloaded from the SX instance for immediate use in the conversational interface.