Cherwell Connector
Cherwell (now Ivanti) is an ITSM (IT service management) platform which works as a system for record for service and support processes (like ServiceNow). This section elaborates the steps to enable the Cherwell connector for a BigFix AEX instance. Once this connector is enabled, the Cherwell Configuration Console would be visible in a tenant’s BigFix AEX console for further synchronization between BigFix AEX and Cherwell instance.
- Log into Global admin and navigate to Tenants page under Provider tab.
.png)
- Click on the Configure button
.png) available in
Actions column.
available in
Actions column. - In tenant’s configuration page, click on Open in “Choose Integrations” card.
.png)
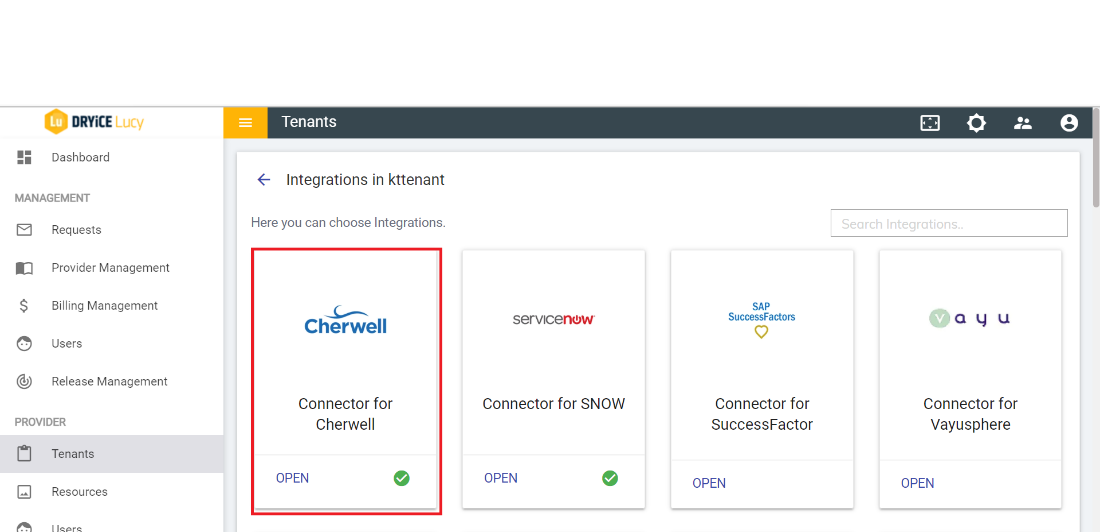
- Click on Open on “Cherwell” connector. If it is already enabled, it will have a green check, otherwise it will not have a check at all.
- Once the connector page open, the following configuration page would be visible:
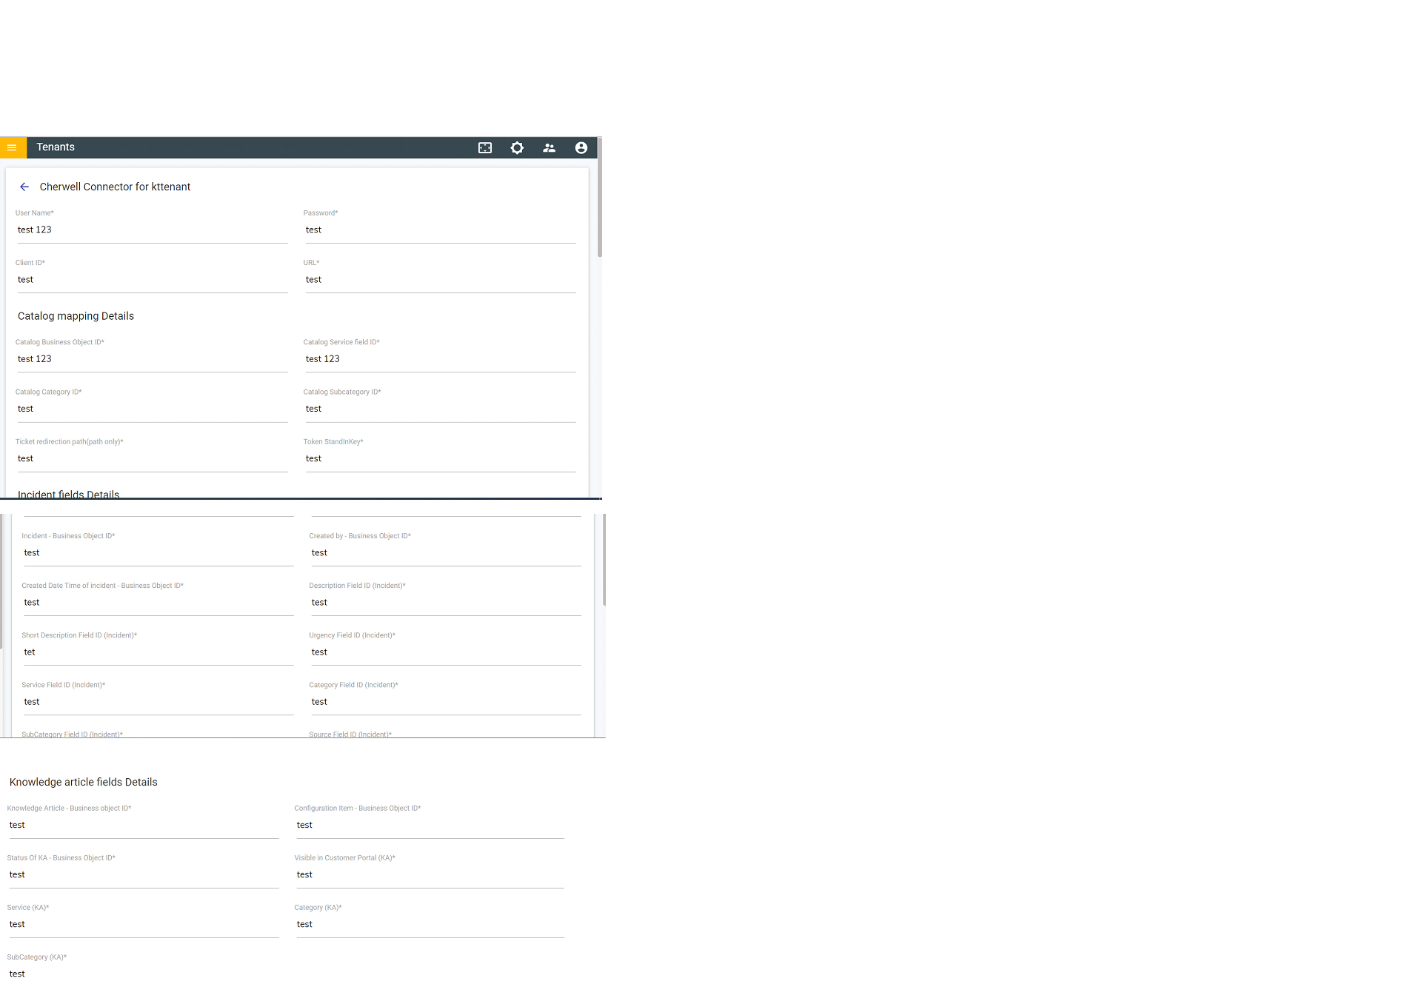
- Fill out the field as following based on the Cherwell instance to be integrated.
- On filling the configuration information, ensure to test the integration using the TEST button, if the integration is successful, the tick icon will be shown, else the cross icon will be shown.
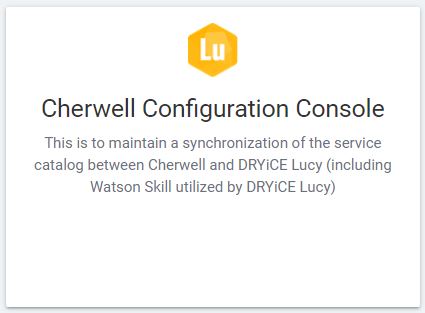
- If the connection is successful, save the connector configuration. On successful connector enablement, the following panel would be enabled in the current tenant’s admin console.
For complete Cherwell integration, refer to the Cherwell Admin Guide.