MTAAS SX One Click Connector
The MTAAS SX One Click Connector provides a rapid ability to connect SX instances with BigFix AEX and consume the SX catalogue using the conversational interface. Administrators need to point the BigFix AEX instance to the right MTAAS SX instance to 1-click connector.
SXMTAAS is integrated with BigFix AEX Chabot. It has provided ten use cases based on which users can query in the Chabot.
Perform the following steps to enable the Integration in Global Admin:
- Log into Global admin and navigate to Tenants page under Provider tab.
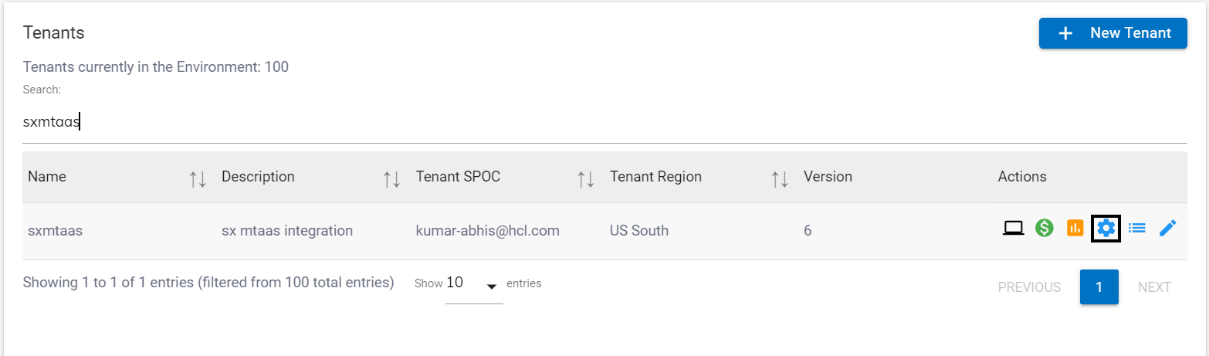
- Click on the Configure button
.png) available in
Actions column.
available in
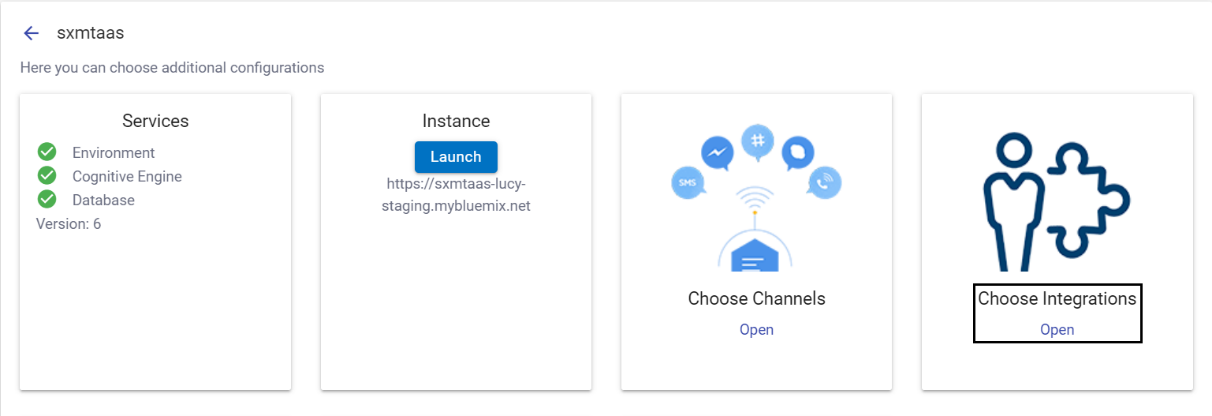
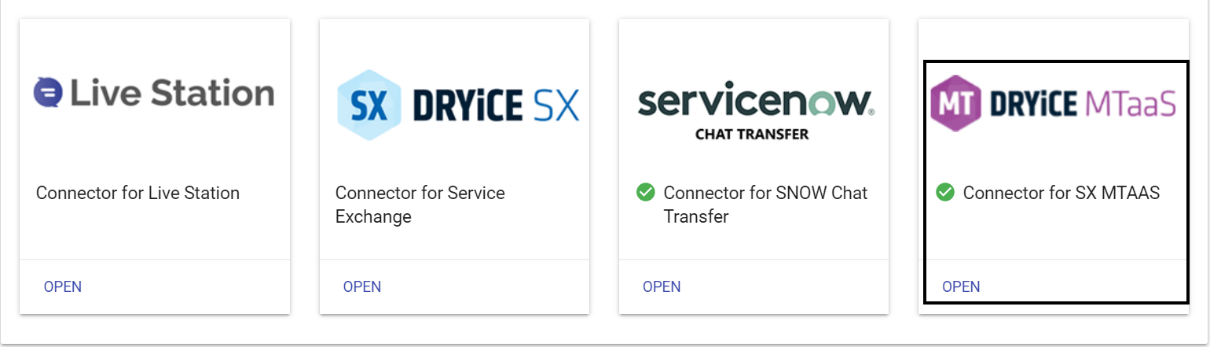
Actions column. - In tenant’s configuration page, click on Open in “Choose Integrations” card.
- Click on open on “SX MTAAS” connector.
- Once the connector page open, the following configuration page would be visible:
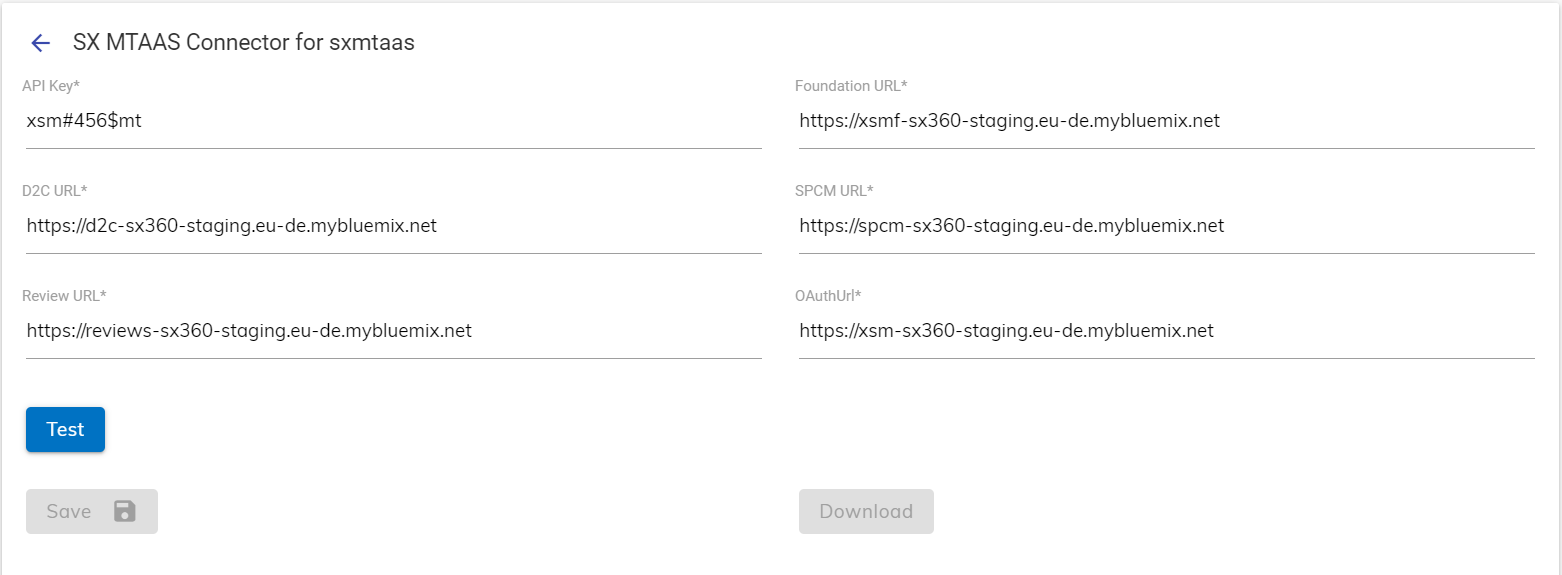
- Fill out the fields in the form:
API Key
Foundation URL
D2C URL
SPCM URL
Review URL
OAuth URL
- On filling the configuration information, ensure to test the integration using the TEST button, if the integration is successful, the tick icon will be shown, else the cross icon will be shown.
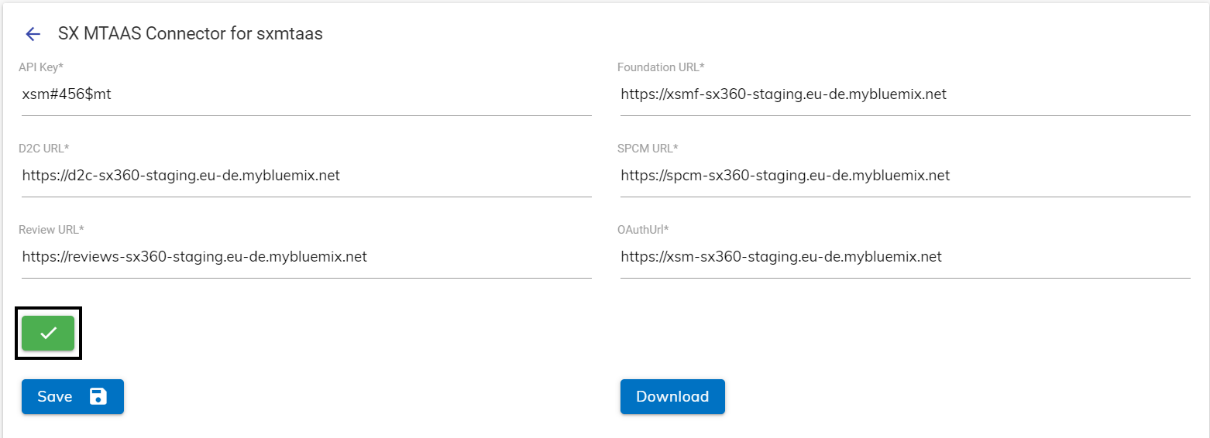
- Click on Save button to enable the integration. The following success message appears:
.png)
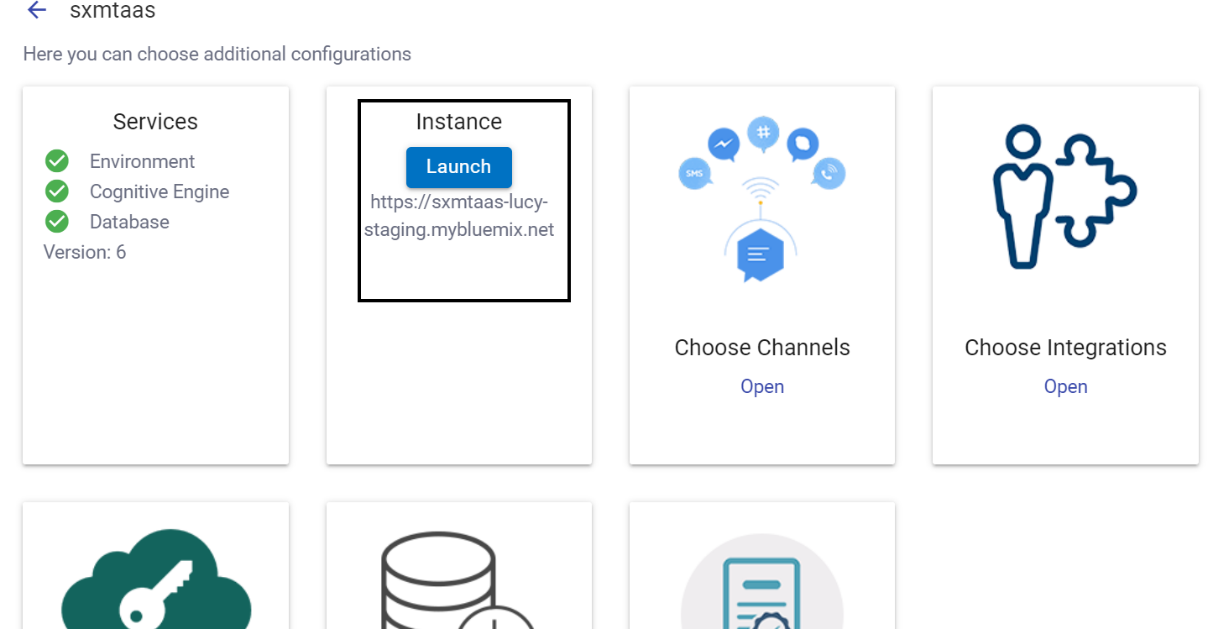
- Launch the instance from the Tenant Configuration Page.
- In the Tenant instance, navigate to Integration module List of integrations.
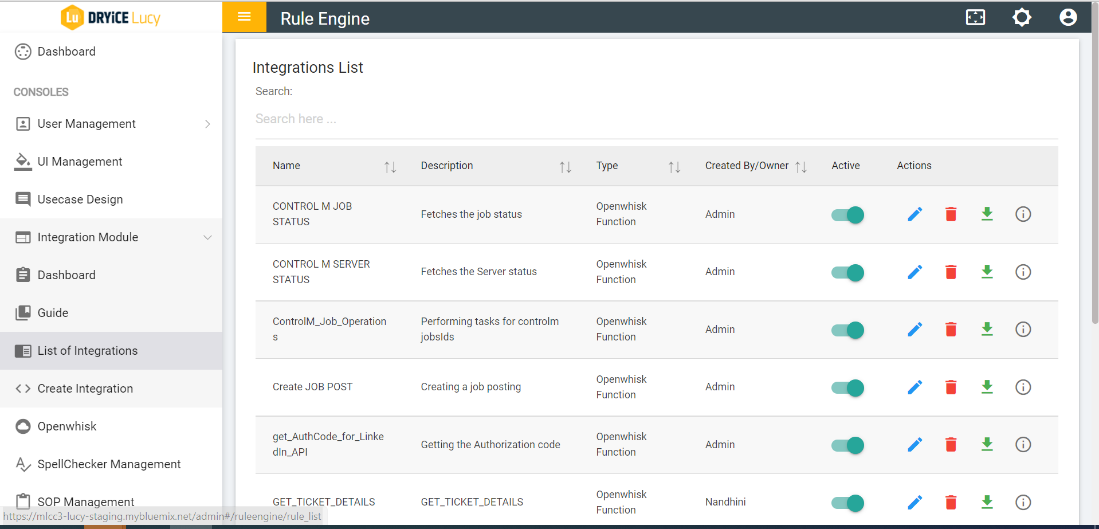
- Rule is created for SX MTAAS integration
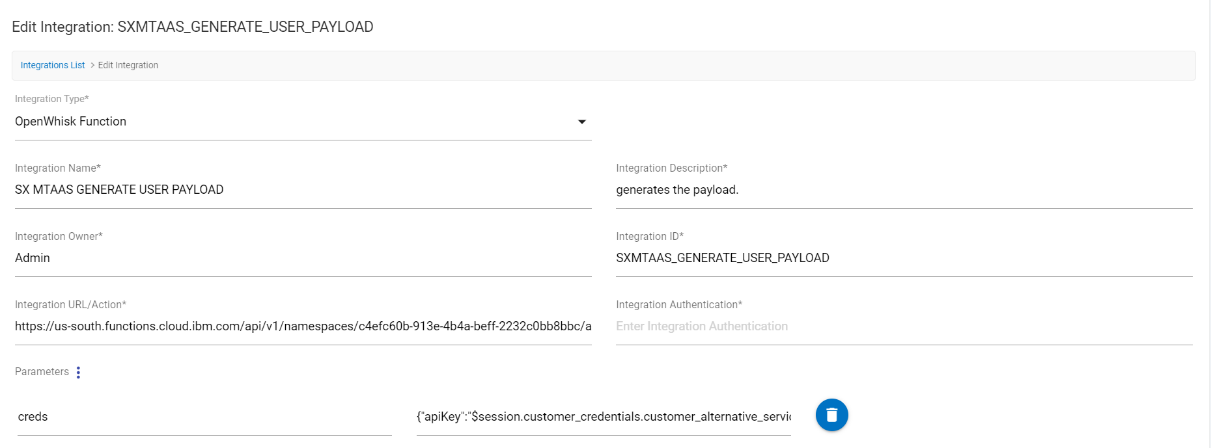
- Edit the rule and see all the information regarding SX MTAAS.
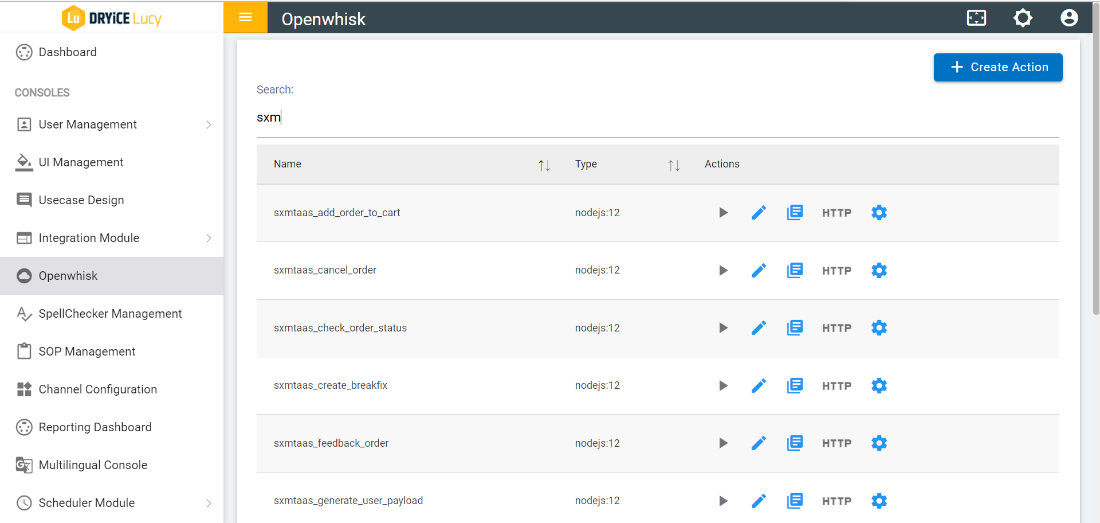
- Navigate to “Openwhisk” module to view the related integration URL/action.
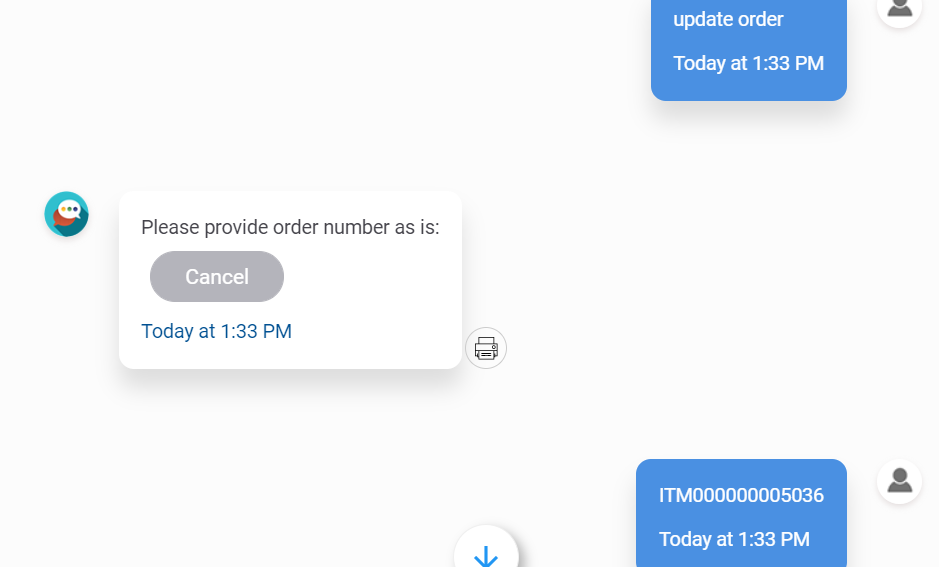
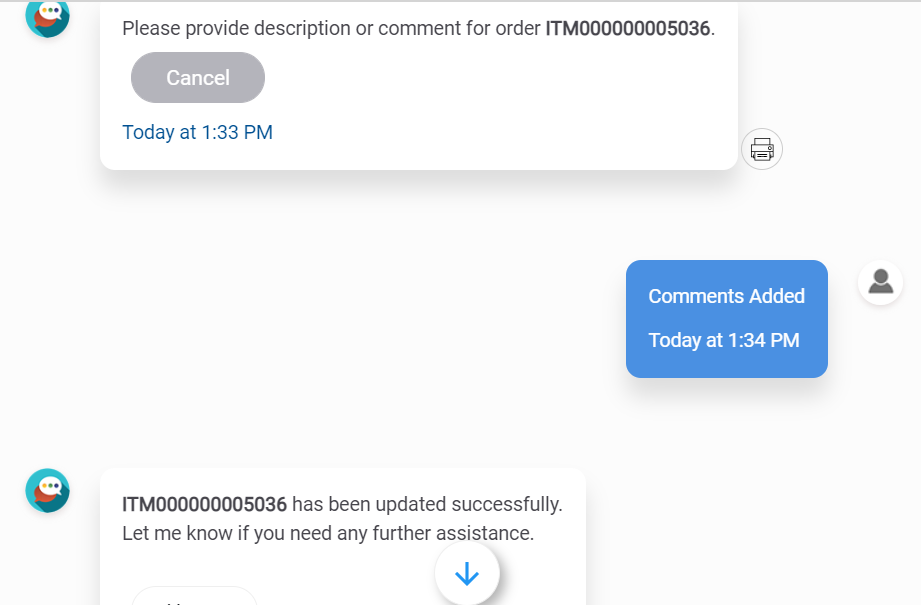
The following use cases have been configured with the SX MTAAS Connector and are available by default for users. Please refer to Figure 264 Use Case – Update Order and Figure 265 Use Case – Update Order (Cont.) for illustration purposes.
LIST ORDERS
TRACK ORDER
CANCEL ORDER
UPDATE ORDER
LIST CART ITEM
FEEDBACK AND REVIEW
REOPEN ORDER
LIST ANNOUNCEMENTS
LIST MY PENDING APPROVALS
- Approve
- Reject
- Refer Back