Control-M Workload Connector
Control-M provides workload automation and orchestration capabilities, which can be executed from BigFix AEX with a connector. Follow the steps below to setup this connector for a BigFix AEX tenant:
- Log into Global admin and navigate to Tenants page under Provider tab.
- Click on the configure button
.png) available in actions column.
available in actions column.
.png)
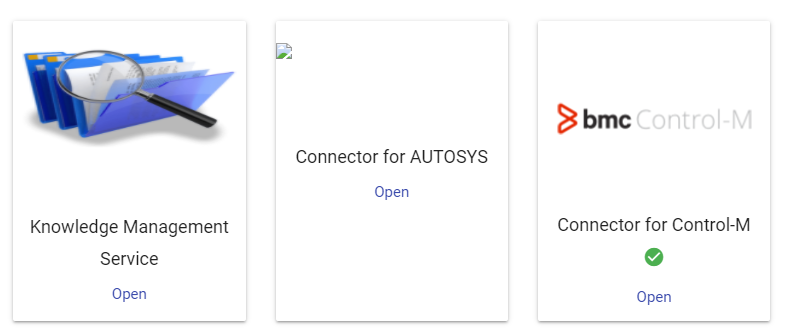
- In tenant’s configuration page, click on open in “Choose Integrations” card.
.png)
- Click on open on “Control M” connector. If it is already enabled, it will have a green check, otherwise it will not have a check at all.
- Once the configuration page is opened, fill out the fields in the form that is given by the control-m sintegration username, password, and the URL.
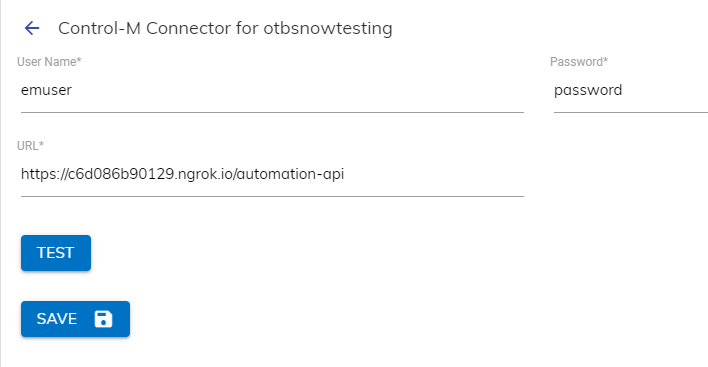
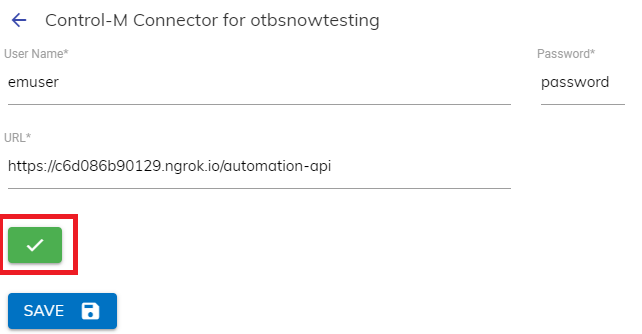
- To test whether the credentials given are correct, click on test button. If it is correct, tick icon will be shown, else cross icon will be shown.
- Save the integration, post which you will see a successfully saved integration popup/modal.
.png)
- Launch the instance to view the automated actions created for this integration. Go to Integration Module List of Integrations.
.png)
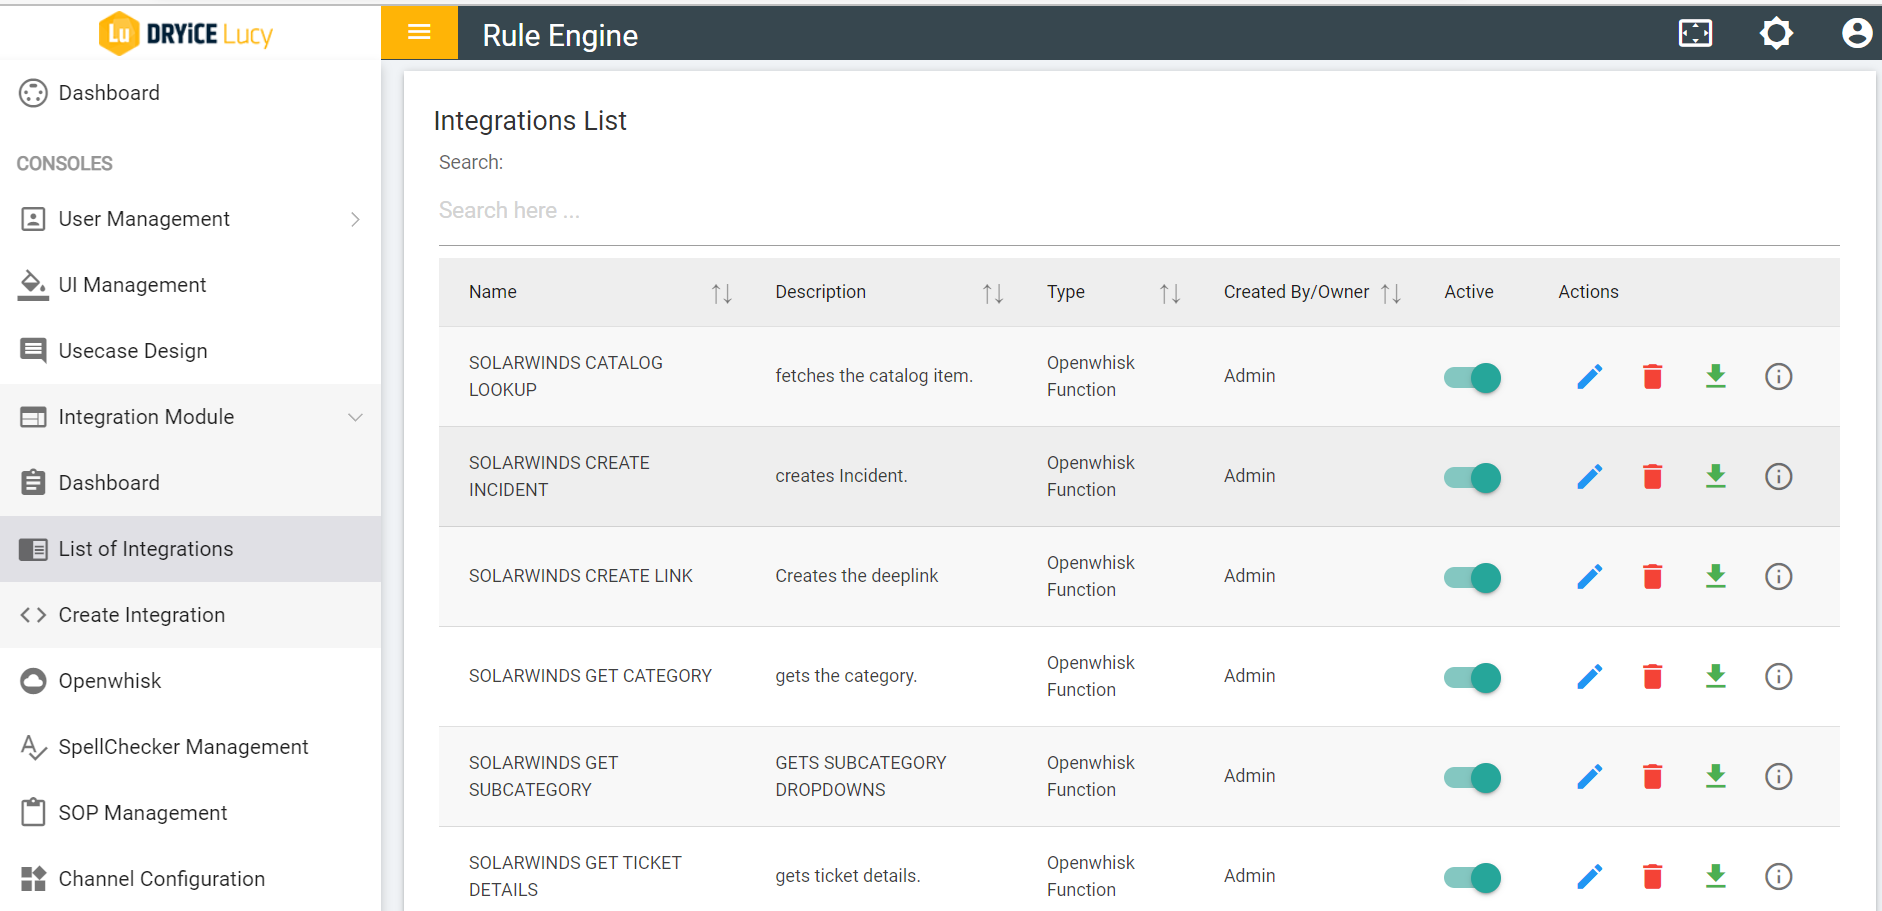
- The following Integrations would be created for control M:
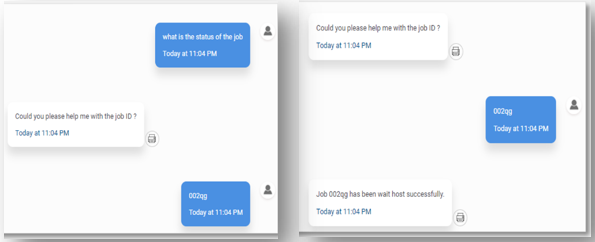
Control M JOB STATUS
CONTROL M SERVER STATUS
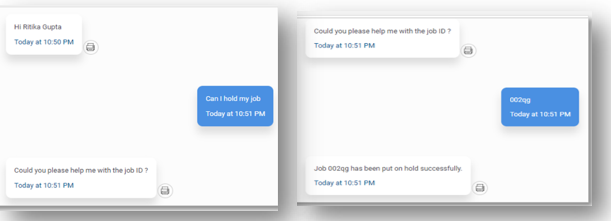
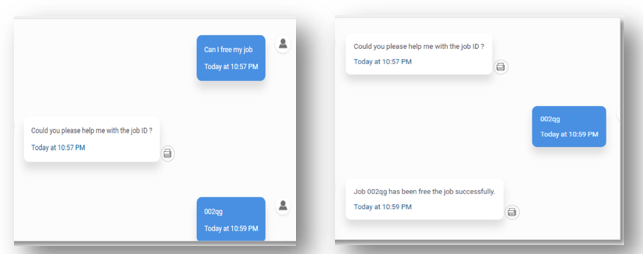
CONTROLM_JOB_OPERATIONS
- Integration rules can be edited from the integration console
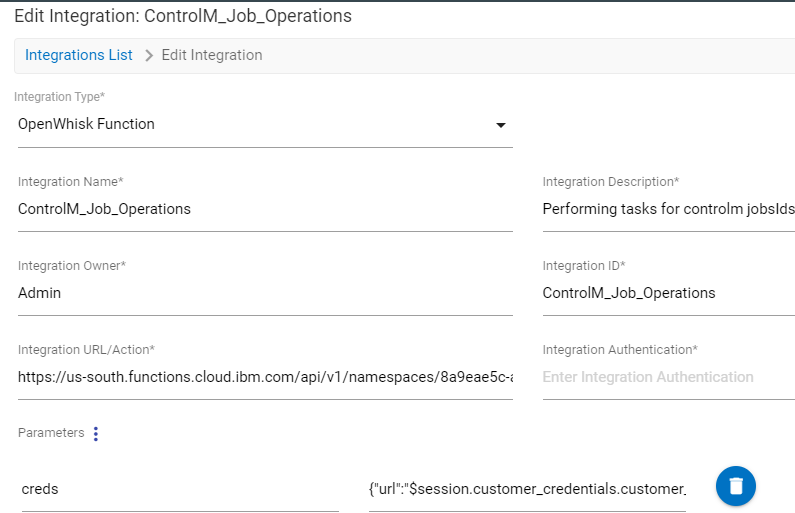
- The following OpenWhisk actions are created:
ControlMOperations
Control_m_job_status
Control_m_server_status
Use Case Examples:
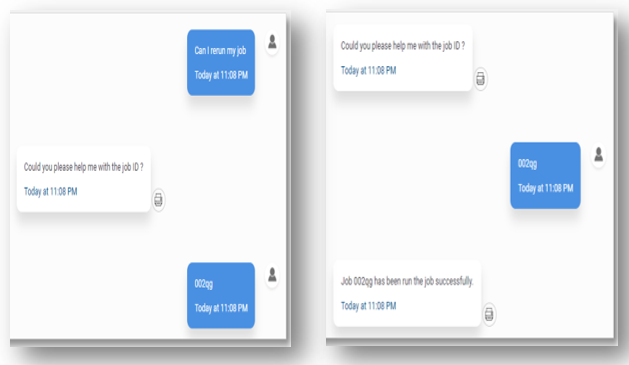
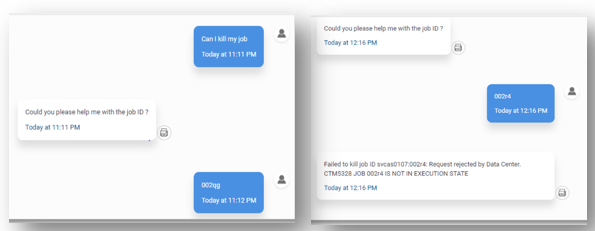
If job termination is not executed, you will encounter the error message shown in the figure above and job termination can only be executed if the job is re-run