Configure Windows Autopilot Terms of Service
Learn how to customize end user agreement screen while enrolling through Windows Autopilot by adding your company’s logo and terms of service.
Before you begin
Note: This HTML file must meet
certain requirements to present certain buttons to perform specific actions for the
end user. For more information on the protocol semantics, go to https://docs.microsoft.com/en-us/windows/client-management/mdm/azure-active-directory-integration-with-mdm#terms-of-use-protocol-semantics. Autopilot Terms of Service HTML files that do
not meet these requirements will prevent users from properly enrolling correctly on
startup.
About this task
Procedure
- From the WebUI main page, select .
-
On the Modern Client Management page, click . The following page appears:
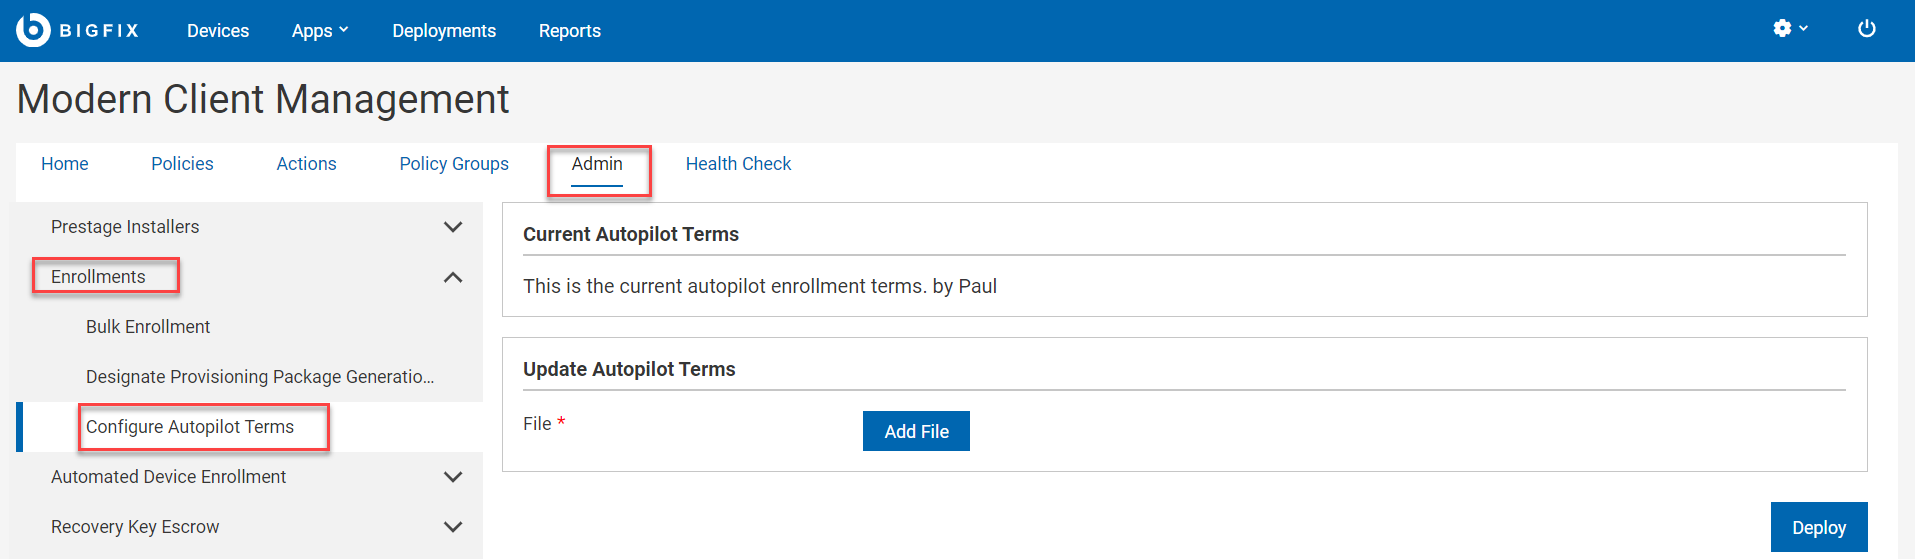
- Under Update Autopilot Terms, click Add File and select the HTML file where you have the customized Terms of Service for your organization.
- Click Deploy.