Viewing a custom checklist
- Navigate to the SCM App landing page and click the Custom
checklist tile to view.
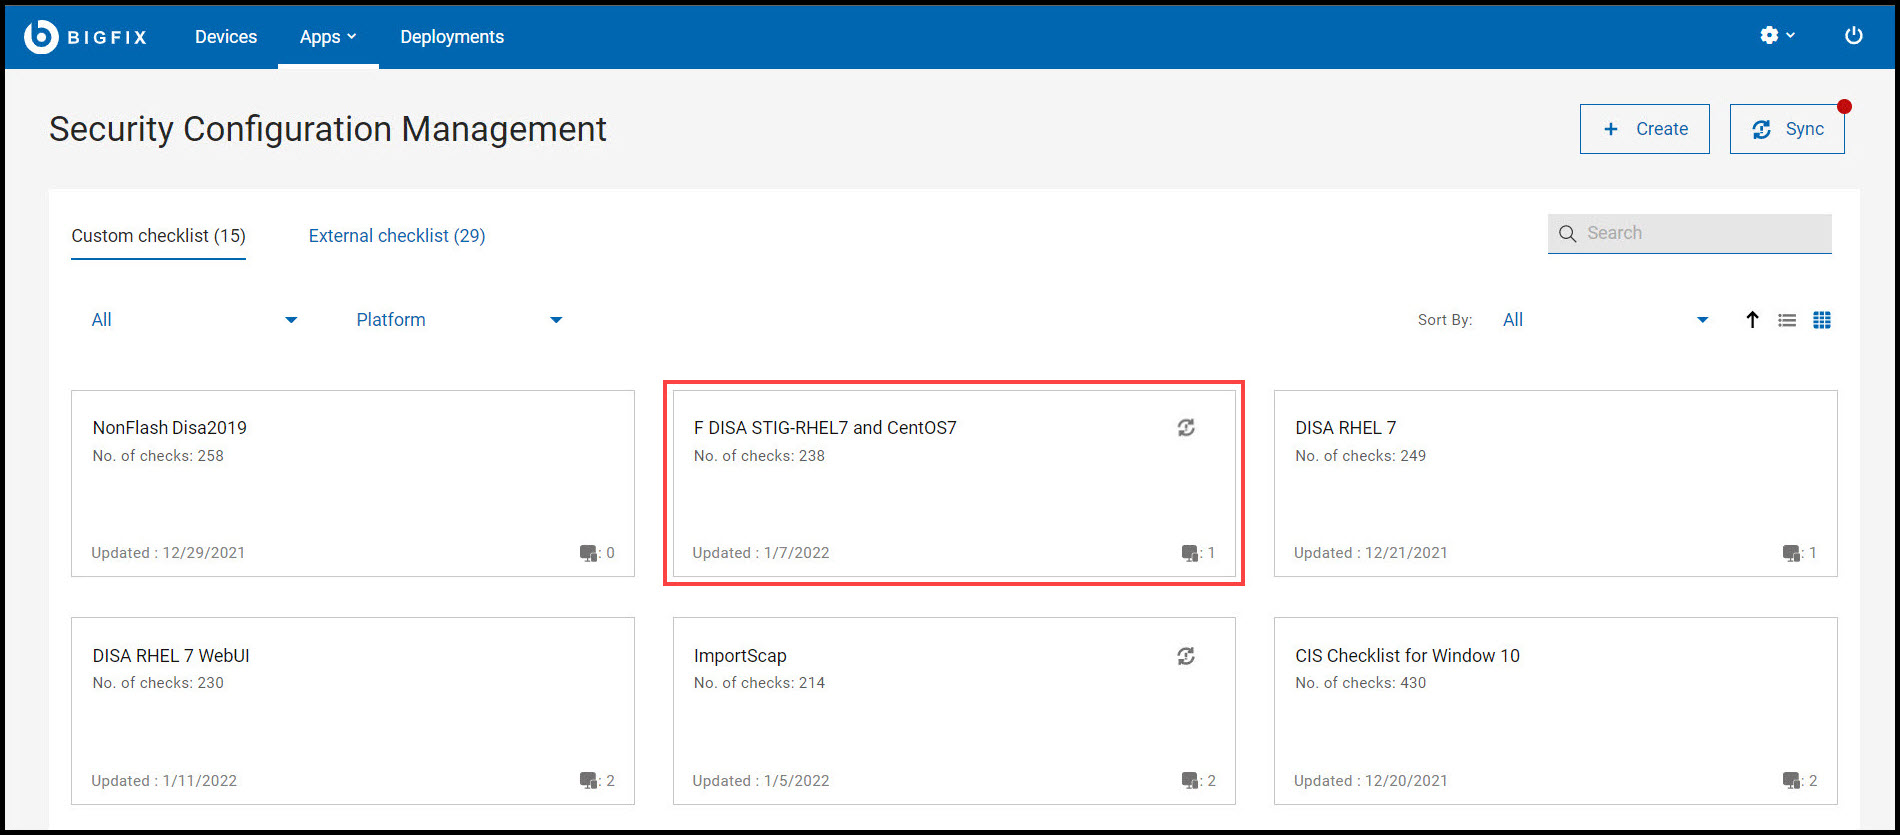
You are directed to the custom checklist details page which contains the Contents, Sync, and Subscribed Devices tabs.

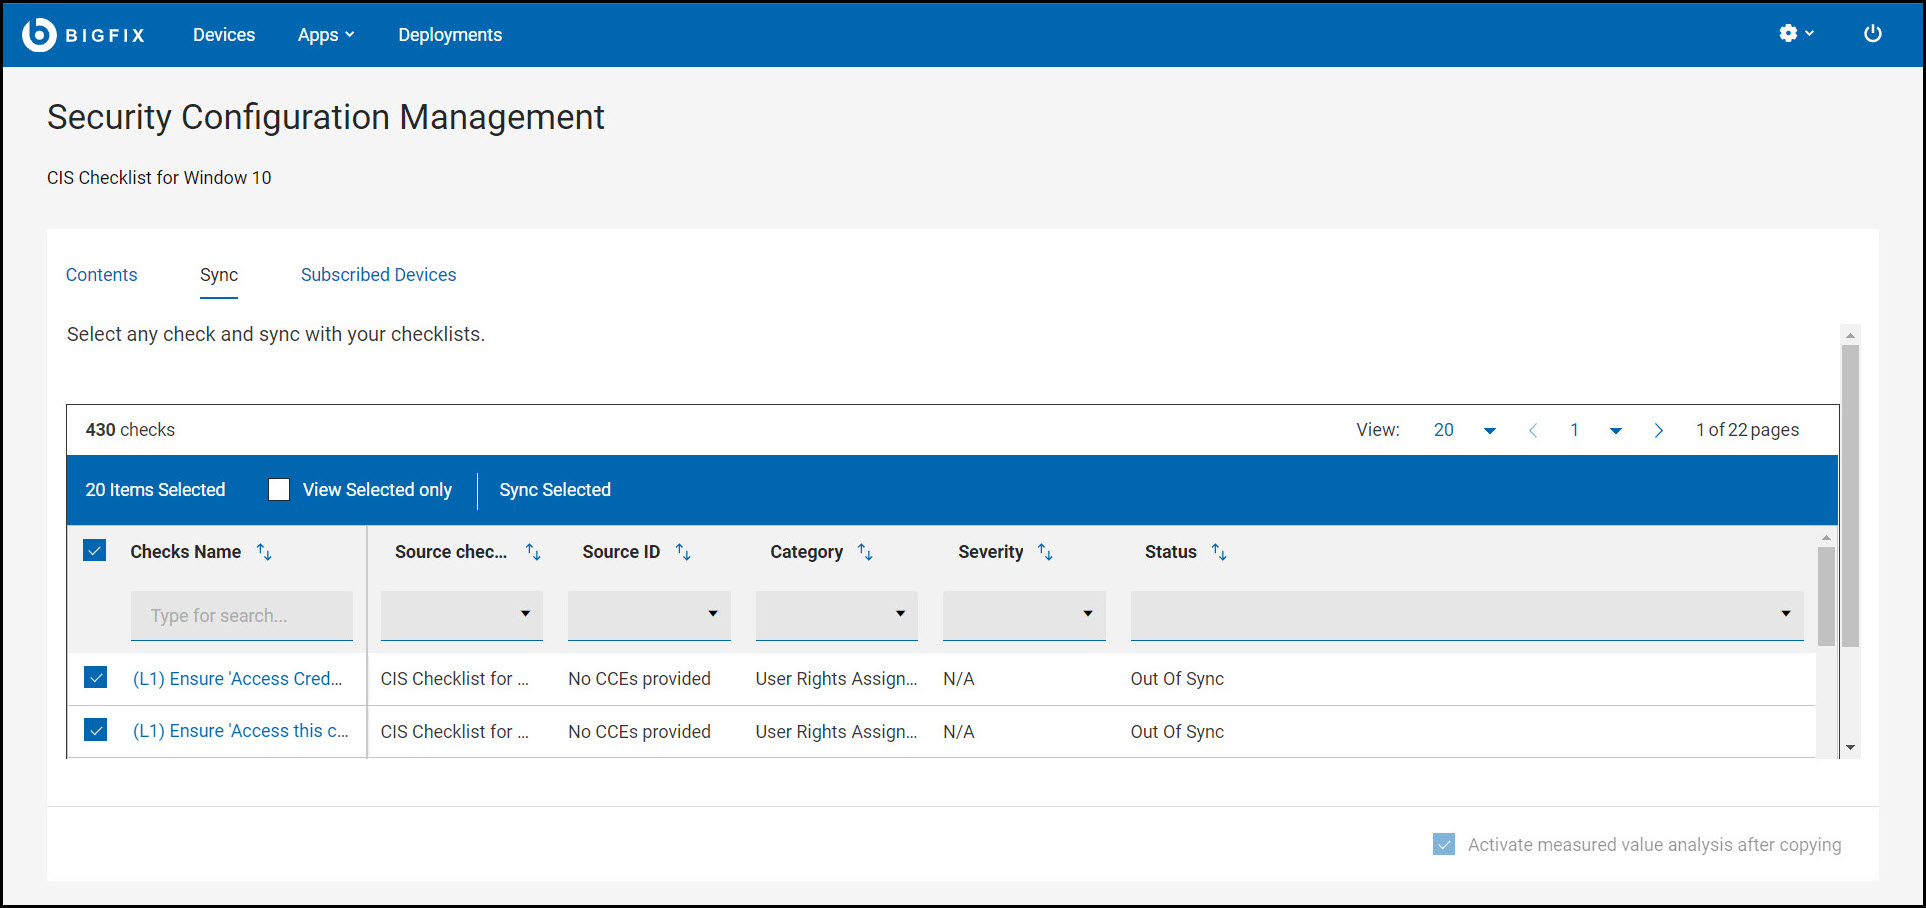
The checks in the Contents and Sync tabs are represented in a data grid format. Each column has a search or filter feature, which you can use to find checks by entering text or a keyword. The pagination allows you to navigate between pages. Use the checkbox in each row to select the required checks or select all the checks using the checkbox available in header section of Checks Name column. To view only the checks that you have selected, use View Selected only. To know more about data grid, see Grid view.Note: On the lower-right corner the checkbox represents if Activate measured value analysis after copying option is checked or unchecked for the custom checklist. For more information on Activate measured value analysis after copying, see Measured value analysis.- Contents: This tab contains all the available checks in a custom
checklist. You can select one or more checks and deploy them to the
target devices by clicking deploy. For more information on
deploying custom content, see Deploying custom checklist.

You can modify the parameters used in determining the compliance of checks. Use Edit parameter
 icon to customize the
checks. For more information on modifying parameters, see Modifying check parameters.
icon to customize the
checks. For more information on modifying parameters, see Modifying check parameters.When a new check is create and added to a custom checklist, it is indicated by a
 icon and it is categorized as
Custom under source checklist column.
icon and it is categorized as
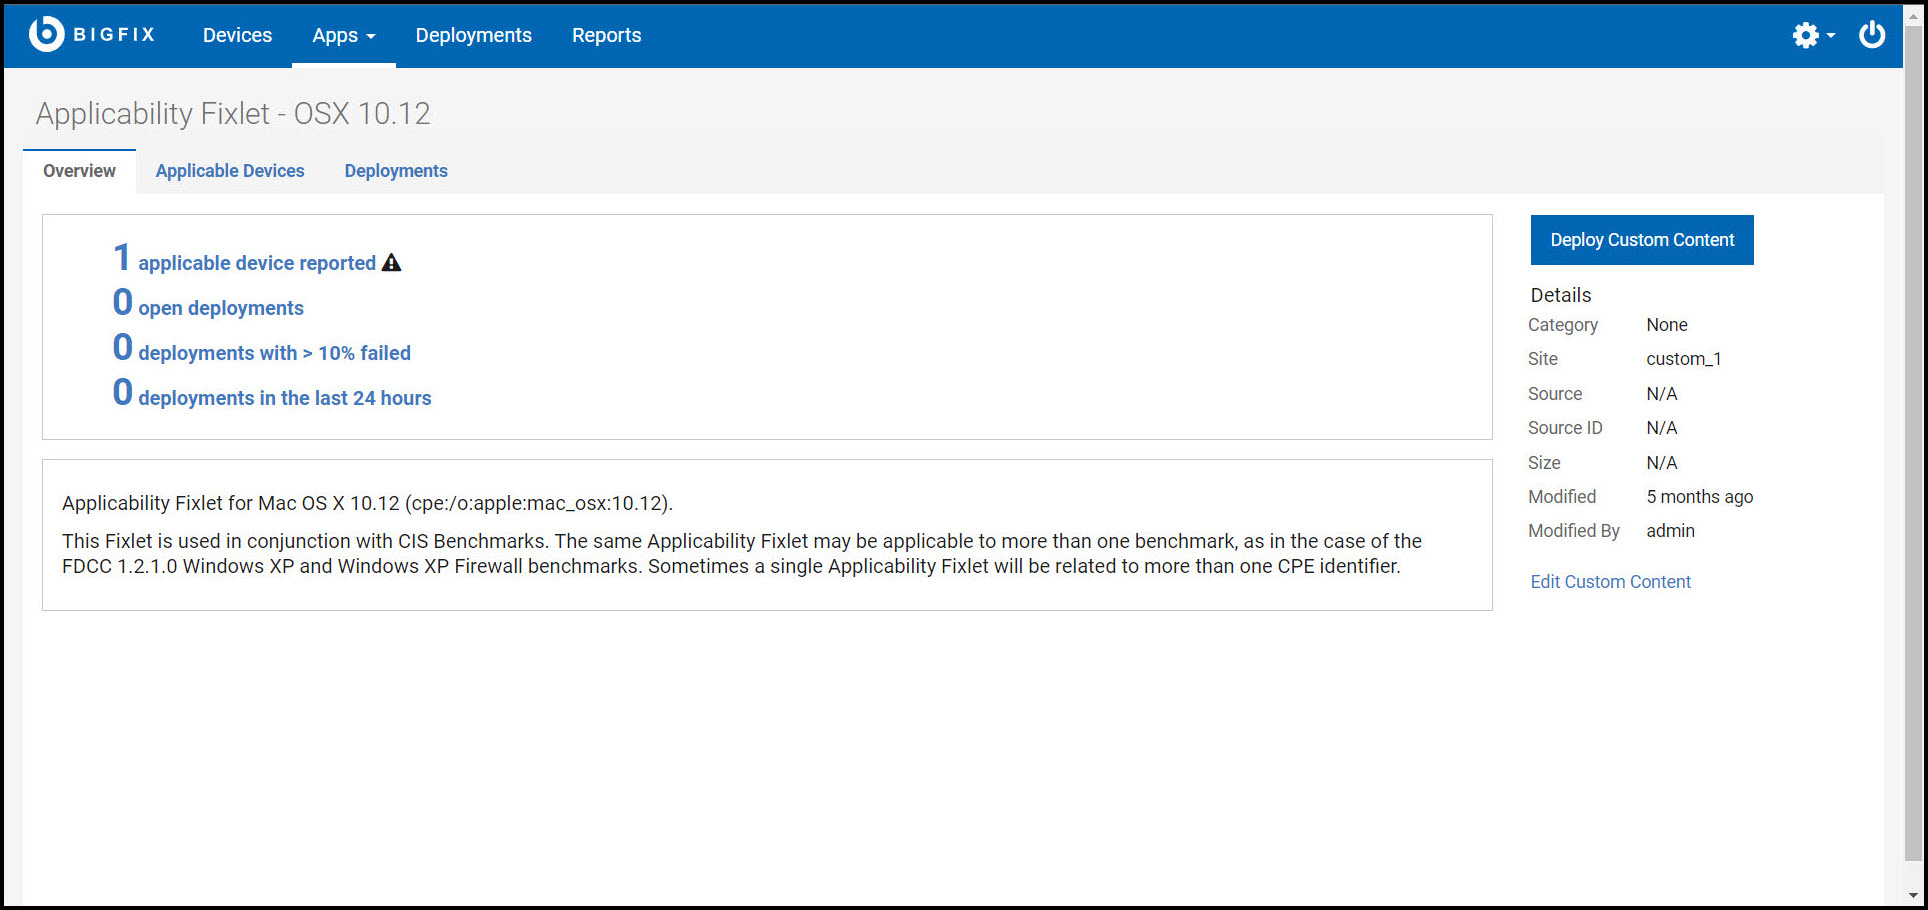
Custom under source checklist column.You can view the details of the check by clicking any of the available checks. The detail page contains Overview, Applicable Devices and Deployment sections.
- Sync: This tab contains the list of checks to be synced with the
source checklist (external checklist). You can select one or more checks
(Out of Sync checks) and sync them with the source checklist by clicking
Sync Selected. For more information on synchronization, see
Synchronizing
custom checklist.
- Subscribed Devices: This tab contains all the available devices
that a custom checklist can be applied to. You have Groups,
All devices, and None options to apply the
checklist.
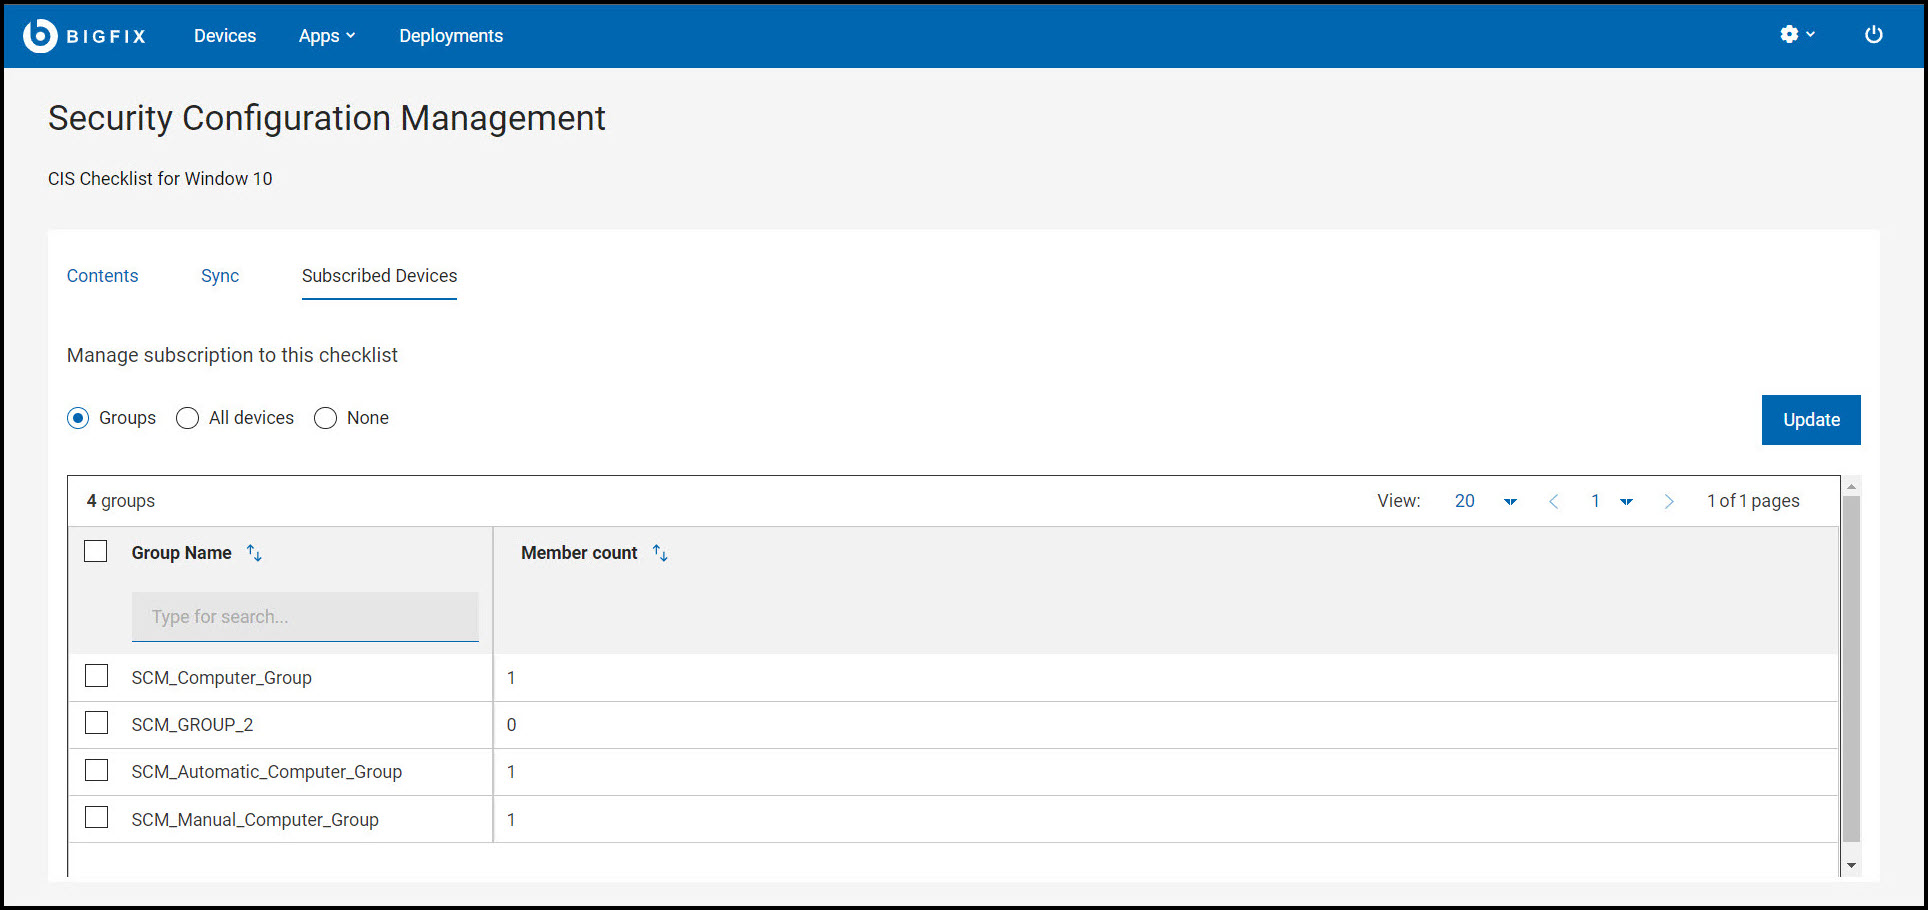
- Groups: This list contains available device groups in SCM, you can apply the checklist to one or more groups.
- All devices: Checklist will be applied to all the devices in SCM.
- None: Checklist will not be applied to any devices.
A success message is displayed after applying the checklist to any selected groups or all devices.
- Contents: This tab contains all the available checks in a custom
checklist. You can select one or more checks and deploy them to the
target devices by clicking deploy. For more information on
deploying custom content, see Deploying custom checklist.