Verify your custom REST resource handler API through the Swagger user interface
In this lesson, you use the Swagger user interface to view interactive documentation of your REST API.
Procedure
-
Log in to your Aurora B2B starter store as a Site Administrator.
Note: Logging in to the store sets up the security tokens so that you can make REST calls from Swagger. Although you can still view the REST resources in Swagger, failing to log in to the store with the appropriate permissions might prevent you from running any REST calls from Swagger.
- After you log in, go to https://localhost/webapp/wcs/stores/servlet/swagger/index.html to access the Swagger user interface.
-
Scroll through the REST resource handlers, which are listed alphabetically, to find my_resource. Click to expand the resource in Swagger.
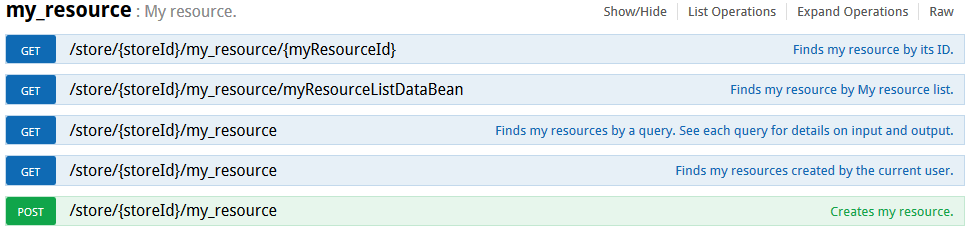
Note: Swagger displays the new methods that you created earlier in the tutorial. Notice the method descriptions down the right side. -
Test your available methods.
Rather than use the Firefox Poster outline in lesson 4, you can use the Swagger user interface to test your available methods. Start by testing the
POSTmethod.-
Copy the following values into the body text box:
Your Paramaters section resembles the following screen capture:{ "field1": "Timestamp", "field2": "2016-03-31 12:09:12.0000" }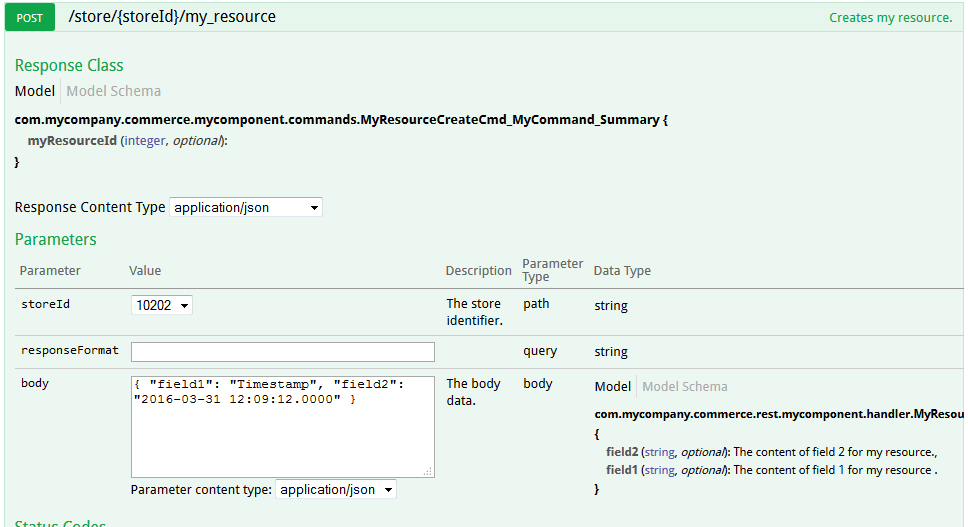
-
Click the Try it out! button.
This action adds resource data into the XMYRES table. If the new data is created successfully, the corresponding
myResourceIDis displayed in the Response Body section, as shown by the following screen capture: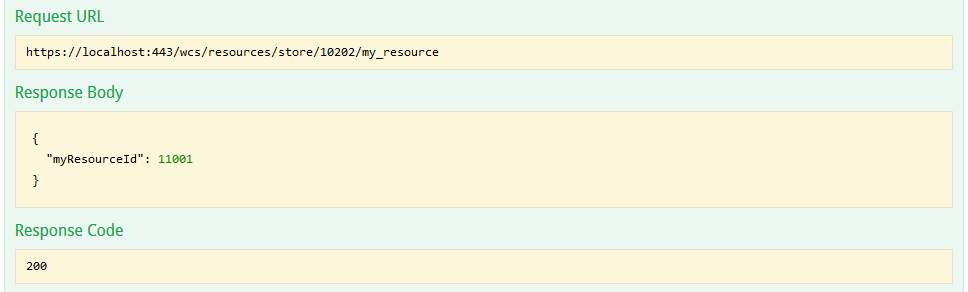
Note: You can test this method further by creating more entries in the XMYRES table, such as:{ "field1": "Timestamp", "field2": "2016-03-31 12:13:14.0000" }
-
Copy the following values into the body text box:
-
Use a
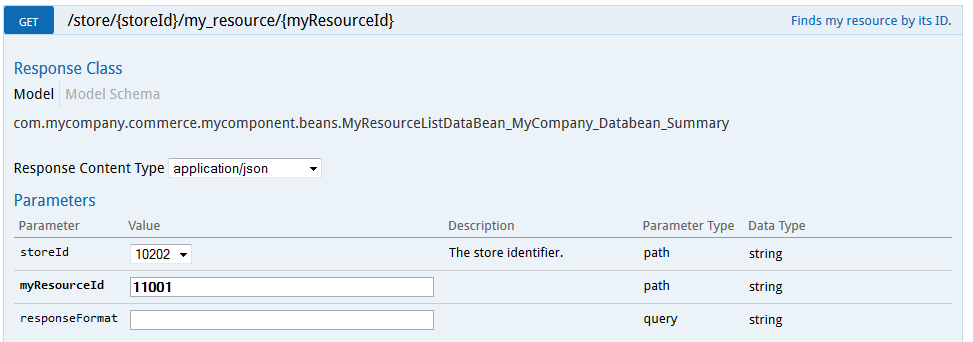
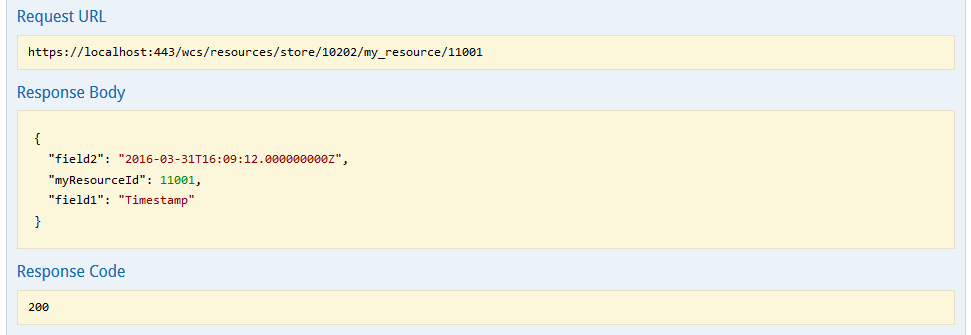
GETmethod to retrieve the data you created in Step 4.-
Specify the value for myResourceId that was received in the response
body in the preceding step, as shown in the following screen capture:
-
Click the Try it out! button.
The resource data is retrieved by using the resource ID number 11001, and then displayed in the response window, as shown in the following screen capture:
-
Specify the value for myResourceId that was received in the response
body in the preceding step, as shown in the following screen capture:
-
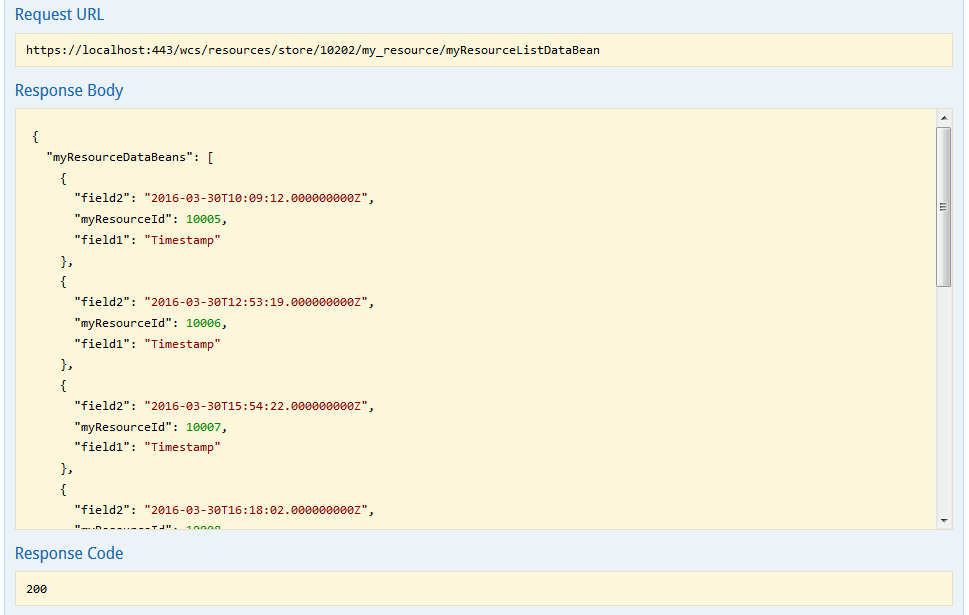
Perform similar testing on the findMyResourceList method.
-
Click the Try it out!
The resource data is retrieved by the REST service. The response is displayed in the Response Body section, as shown by the following screen capture:
-
Click the Try it out!