Installing the Windows primary server
The BigFix server is the heart of the system. It runs on a server-class computer on your network, which must have direct Internet access as well as direct access to all the client computers in your network.
Ensure that your server meets the requirements outlined in Detailed system requirements.
Important: Ensure that the user that logs in to install the BigFix server has
sysadmin rights for the MSSQL Server to create the database and its
tables.Note: If you removed Microsoft SQL Server from your system where you plan to
install BigFix, ensure that all
the Microsoft SQL components are correctly deleted before running the
installation.
Note: The version of Microsoft SQL Server installed with BigFix is SQL Server Evaluation, which
is a fully-functional version for a limited time (180 days).
The default installation
path for the BigFix components is
%PROGRAM FILES%\BigFix Enterprise\BES Server. If you want to change
this customizable path, remember that it must be made only by ASCII characters.Note: On
Windows the BigFix V9.5 server
and Web Reports components support only 64 bit architecture. For information about the
complete list of operating systems supported, see Detailed system requirements.
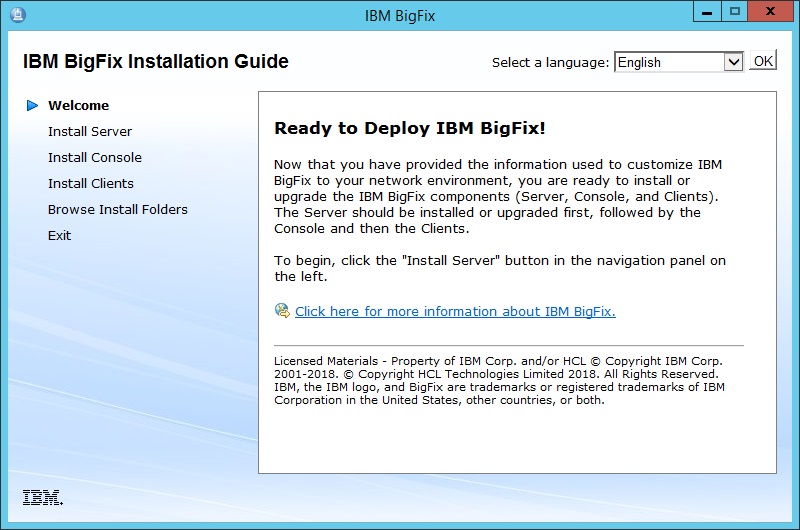
To install the server, follow these steps:
- If you have not already done so, run the Installation Guide (Start > Programs >
BigFix > BigFix Installation Guide). A new
panel opens.
-
Click Install Server:
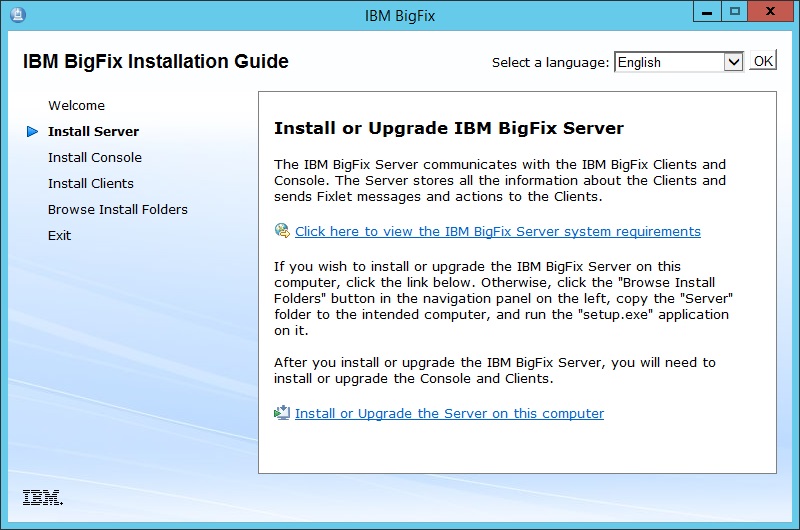
Click Install the Server on this computer to install the server locally.If you want to install the server on a different computer run the following steps:- Click Browse Install Folders.
- Copy the Server folder to the target computer.
- On the target computer double-click
setup.exeto launch the installer.
- On the welcome page, click Next.
- Select the features that you want to install and click Next..
- After reading the License Agreement, click Yes to accept it and continue.
- A dialog displays a list of the Server components about to be installed. In general, accept the default components and click Next.
- A dialog prompts you to choose a Single or Master Database or a Replicated Database. Click the first button to create a Master database for later replication or if you only need a Single database in your deployment. Click the second button to create a Replica of an existing Master. If this is your initial installation, click the first button. Click Next.
- A dialog prompts you to choose if you want to Use Local Database or Use Remote Database. If you want to use another computer to host the BigFix Database, it must have a SQL Server already installed. The most common choice is to use the local database. If you are installing BigFix with a remote database, see Installing a server with remote database.
- The installer prompts you for a destination for the Server components. The default location is %PROGRAM FILES%\BigFix Enterprise\BES Server, but you can specify a different location by clicking the Browse button. If you want to change this customizable path, remember that it must be made only by ASCII characters. When you have chosen the destination, click Next.
- The Server Properties dialog prompts you to enter a location for the Server web root folder (if
different from the default). This is where downloaded files for the Clients will be stored. The
default URL is also available for editing, if you want to change it.
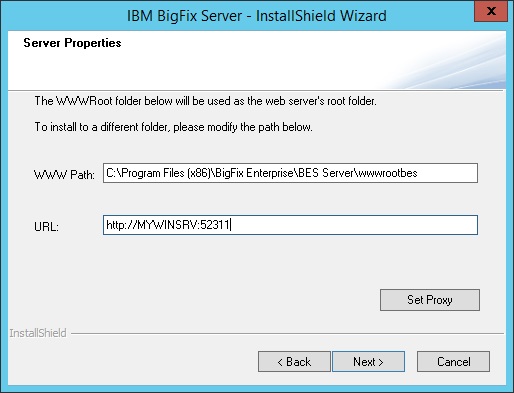 Note: No other application can be listening on the BigFix port or errors will occur. Do not use port number 52314 for the network communication between the BigFix components because it is reserved for proxy agents.
 - In the Server Properties dialog, click Set Proxy if a proxy must be used to communicate
over the internet to external content sites or to BigFix subnetworks. The Proxy Settings
panel opens. In this panel you can configure the proxy connection.
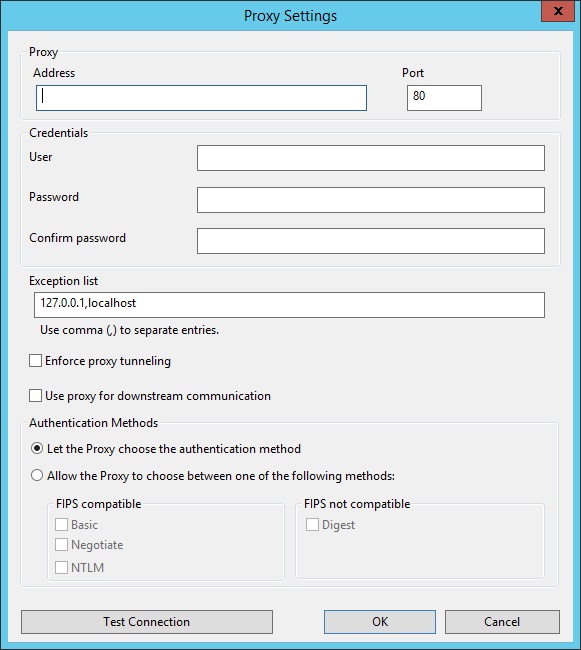
- Specify:
- The host name or IP Address and, optionally, the port number to communicate with the proxy machine.
- The credentials of the user defined on the proxy machine that must be used when establishing the connection.
- The comma-separated list of host names, subdomains, IP addresses that identify systems in the
BigFix topology that must not be reached
thru the proxy. By default, BigFix V9.5
prevents diverting internal communications towards the proxy. If you set a value in this field, you
overwrite the default behavior. To ensure that internal communications are not directed to the
proxy, add
localhost, 127.0.0.1, yourdomain.com, IP_Addressto the list of exceptions specified in this field. - Whether or not the proxy is enforced to attempt tunneling. By default the proxy does not attempt tunneling.
- The authentication method to use when establishing the communication. You can either let the
proxy choose the authentication method or you can impose to use specific authentication
methods.Note: If you plan to enable FIPS mode, ensure that the proxy configuration is set up to use an authentication method other than digest.
For more information about the values and the syntax to use in these input fields, see Setting a proxy connection on the server.
Click OK to proceed with the next step.Note: The proxy configuration specified at this step is saved in the server configuration fileBESServer.configand it is used also at runtime. - The Web Reports Properties dialog prompts you to enter:
- A location for the Web Reports web root folder (
WWWRoot), if different from the default. - The port number to use. The default value is:
8080if you are installing BigFix Version 9.5 earlier than Patch 2 (9.5.2). In this case, during the installation, the Web Reports component is configured to use the HTTP protocol.8083if you are installing BigFix Version 9.5 Patch 2 (9.5.2) or later. In this case, during the installation, the Web Reports component is configured to use the HTTPS protocol.
- The user installing the Web Reports component. You can choose to create the user during the installation or to use an already existing user. The default user is LocalSystem.
- A location for the Web Reports web root folder (
- The Server installer opens a window displaying the selected installation parameters of the components to be installed. Click Next to continue the installation.
- The program prompts you to locate your
license.pvkfile. Click the Browse button to locate the file. Enter your password to initialize the database and click OK to continue. - After the database has been initialized you are prompted to enter your initial username and password for the BigFix console. This is the account used to log in to the console the first time. It is a fully privileged master operator account.
- The BigFix server installation is
now complete. Ensure that the box labeled Run the BigFix Diagnostic Tool is unchecked and then click
Finish to exit the wizard.Note:
If you select to run the diagnostic tools at this stage, some steps are likely to fail (for example, you have not installed a client yet). However, the services and web reports should be running correctly.
- Follow the instruction listed in Installing the client manually on Windows systems to install the BigFix Client locally on the same Windows system where you installed the Server.
- On the Windows desktop select Start > Run the BigFix Diagnostic Tool. The BigFix Diagnostic Tool tabs show the results of the verification run in your environment. For more information about this tool, see Running the BigFix Diagnostics tool.