Installing the WebUI
Use this procedure to install the WebUI on BigFix Version 9.5.11 or later.
Prerequisites: Before running this procedure, ensure that you installed the BigFix client.
Note: You can install the WebUI component either locally on your BigFix server or on a different
client computer of your environment. Only one WebUI installation is supported in your BigFix
environment.
Note: You can install the WebUI component on Windows Server 2016
or Windows Server 2019.
Note: To install the WebUI component on a different computer, you can use the Fixlet named
Install BigFix WebUI Service (Version 9.5.x). For more details, see
Installation Procedure.
To manually install the BigFix WebUI component, perform the following steps:
- If you are installing the WebUI component on a remote client computer of your environment and
not on your BigFix server, ensure that you copy from the server to the remote client computer:
- The setup.exe file located in the BigFix Enterprise\BES Installers\WebUI\ server directory.
- The certificates that you have generated for the client computer where you will install the
WebUI by running the
BESAdmin.exe /createwebuicredentialscommand on the server. For more details about the command, see BESAdmin Windows Command Line.
- Run the setup.exe file located in the BigFix Enterprise\BES Installers\WebUI\ directory to launch the InstallShield Wizard for the BigFix WebUI.
- If you are installing the WebUI component on the same computer where you installed your BigFix
server (local WebUI), you will see the following dialog. Otherwise, if you are installing a remote
WebUI, skip this step and move to step 4.
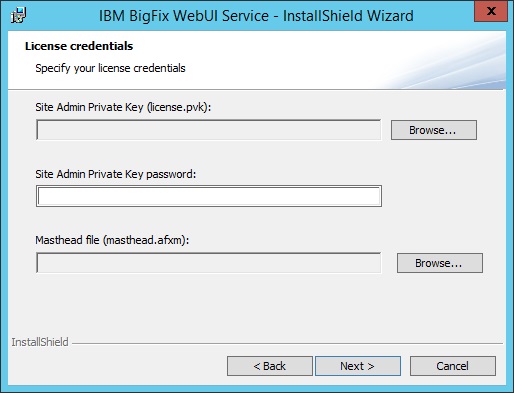
Provide the location of the license.pvk file and the corresponding password. Specify the location of your masthead file. Click Next, skip the next step and move to step 5.
- If you are installing the WebUI component on a computer where the BigFix server is not installed
(remote WebUI), you will see the following dialog.
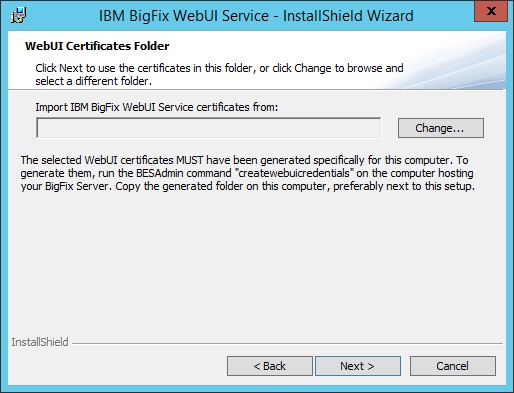 If you have a folder named cert_hostname in the same directory where the setup.exe file of the WebUI component is located, this folder will be the default directory used by the installer. Otherwise, browse and select the folder containing the following files:
- ca.crt
- auth_cert.crt
- auth_key.key
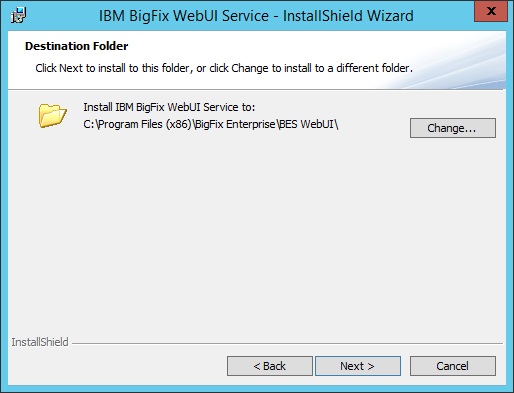
Note: The certificates must have been generated for the computer where you are installing the WebUI. To generate the certificates, run theBESAdmin.exe /createwebuicredentialscommand. For more details about the command, see BESAdmin Windows Command Line. - Browse and select the WebUI installation folder, if different from the default folder.
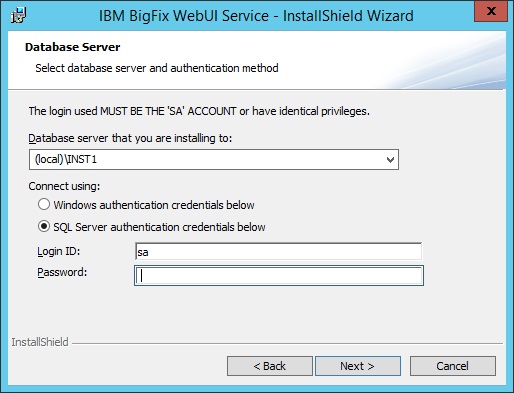
- Specify the BigFix database server and the related authentication method. You can connect to the
database by using either the Windows authentication or the SQL Server authentication. For the WebUI
to function properly, you must specify a user with sysadmin privileges.
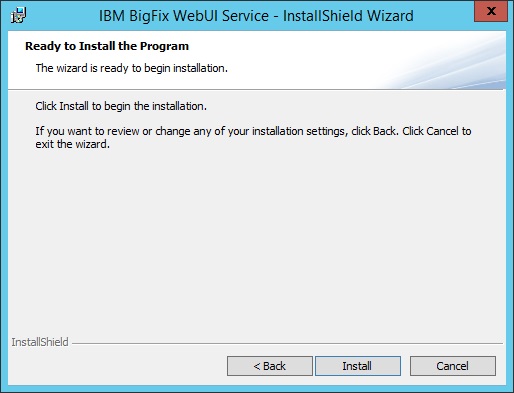
- Click Install to proceed with the BigFix WebUI installation.
- The installation process might take several minutes. When the installation completes, click Finish to exit the wizard.