BigFix DEX application installation steps
This section lists the steps to install the MyXalytics components on BigFix DEX application and the database server.
About this task
To install MyXalytics components, perform the following steps:
Procedure
- Copy the DEX installer zip file to the server where the user wants to run the installer.
-
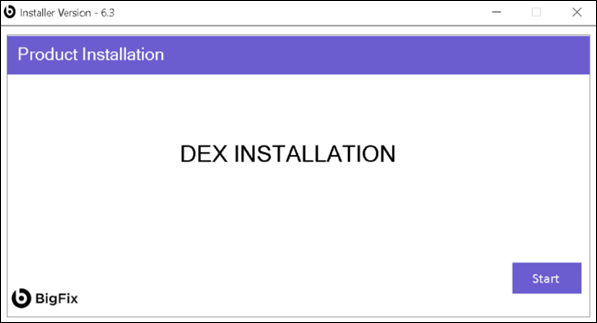
Extract the folder and run the installer .exe file using the 'Run
as Administration' mode. On running the Installer, the following screen
appears:
-
Click Start. It extracts the associated installer components and the following
screen appears.
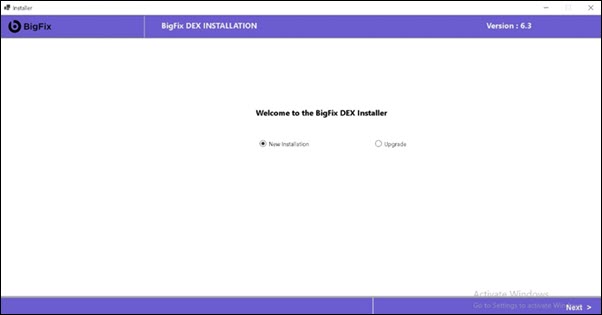
- The current version of the installer is mentioned on the header.
-
The welcome page contains the following modes:
- New installation
- Upgrade
- Select the New Installation.
- Clicking on the Next button to select the components. For more information on selection the components, refer to Selecting the components.
- Navigate across the sections and enter the field values. For more information on field values, refer to Fields across the Component Selection subcomponents.
- Perform the verification in the pre-requisites checker section. For more information on prerequisites checker, refer to Pre-requisites checker.
-
Once you provide the field values in all sections and configure the passwords, click
Complete.
Result: A "MyXalytics selected components installed successfully." message confirming the successful installation of the MyXalytics platform appears.Tip: In the Configure Admin Detail page, provide the user credentials and password.
To configure the initial password for the user, navigate to the Admin Configuration page and follow these steps:
- Name: User's name.
- Email: The user's email address
- Password: The user's password
- Confirm Password: A confirmation text box to ensure accuracy in the password entry.
What to do next
After successful installation, take note of the URL and credentials of the web application, as defined in the installation fields. The URL is in the form of:
- http://<Hostname>:<Port> (if HTTPS was unchecked)
- https://<Hostname>:<Port> (if HTTPS was checked)
Additionally, you need to manually configure the default location of the logs folder for the DME. You can use the service binary location or change the logs folder path as per the suitable location, and then update the AppPath key value needed in the DME configuration file.
Steps:
- Navigate to the path directory (binary path and service name).
- Find HCL.PackageProcessor.Service.exe.config file and update the AppPath key with preferred logs folder path.