SolarWinds ITSM connector
SolarWinds is an ISTM tool. This section provides details on how to configure and enable the Solar Winds connector to the tenant Instance.
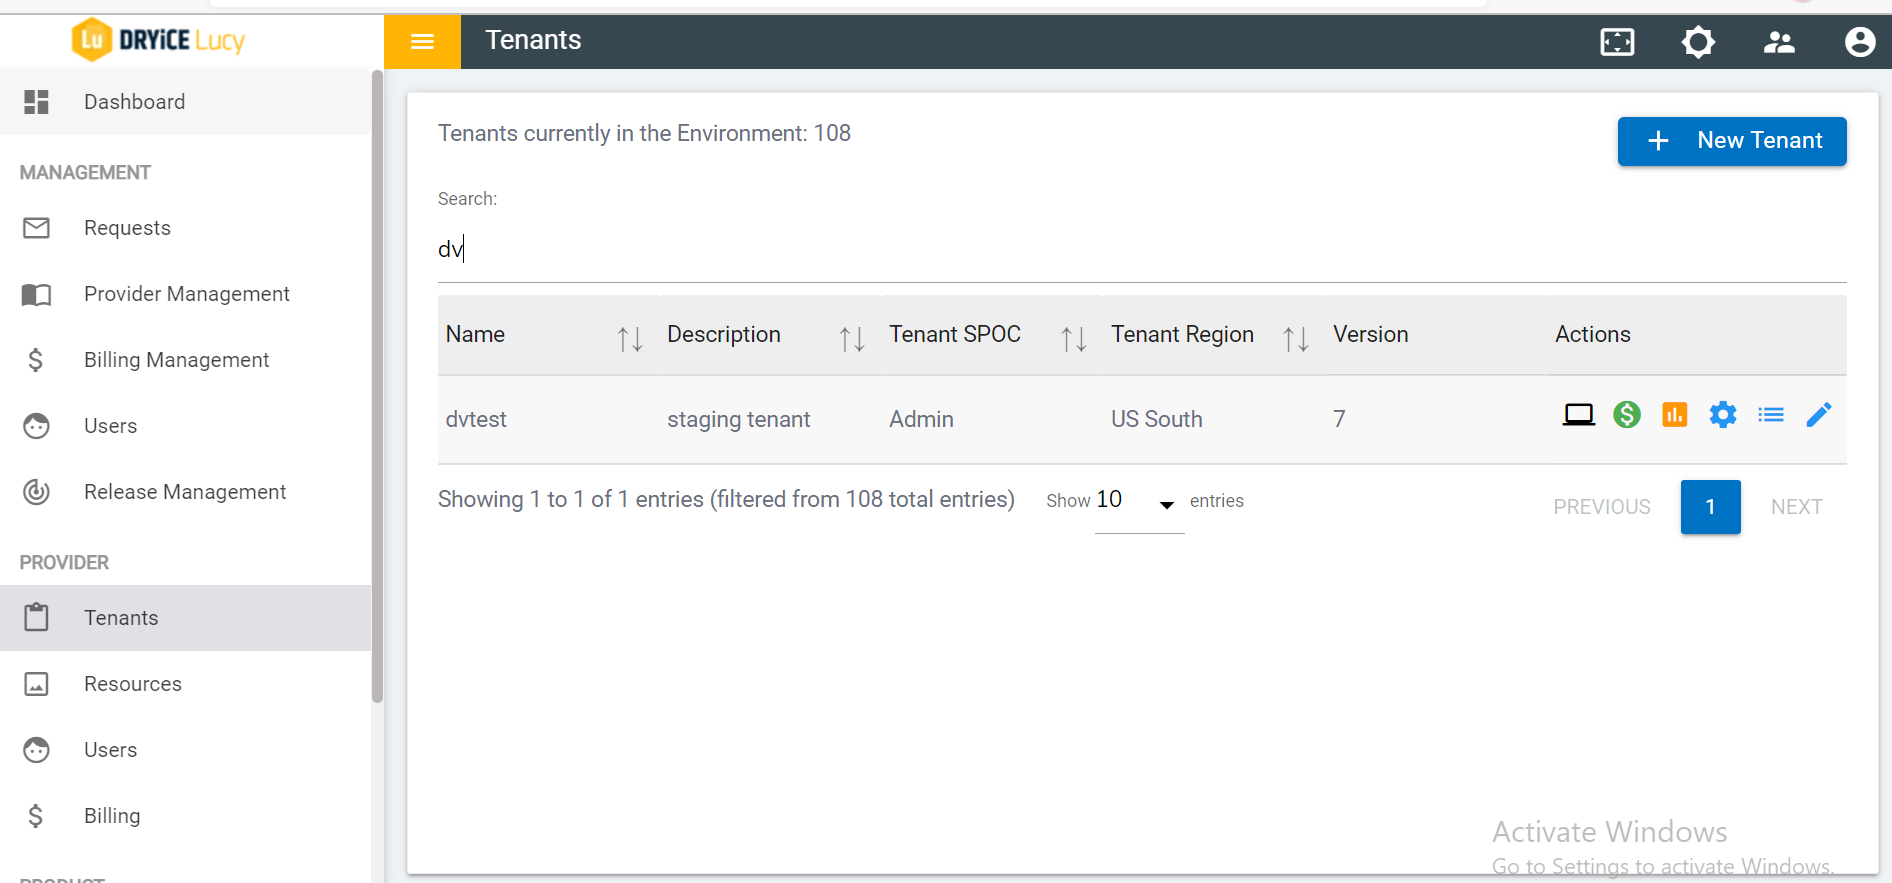
- To start using BigFix AEX Solar Winds Tenants, access the Global Admin Console and click on Tenants.
- Search for "dvtest" in tenants and select the Integration
channel by clicking on
 .
.
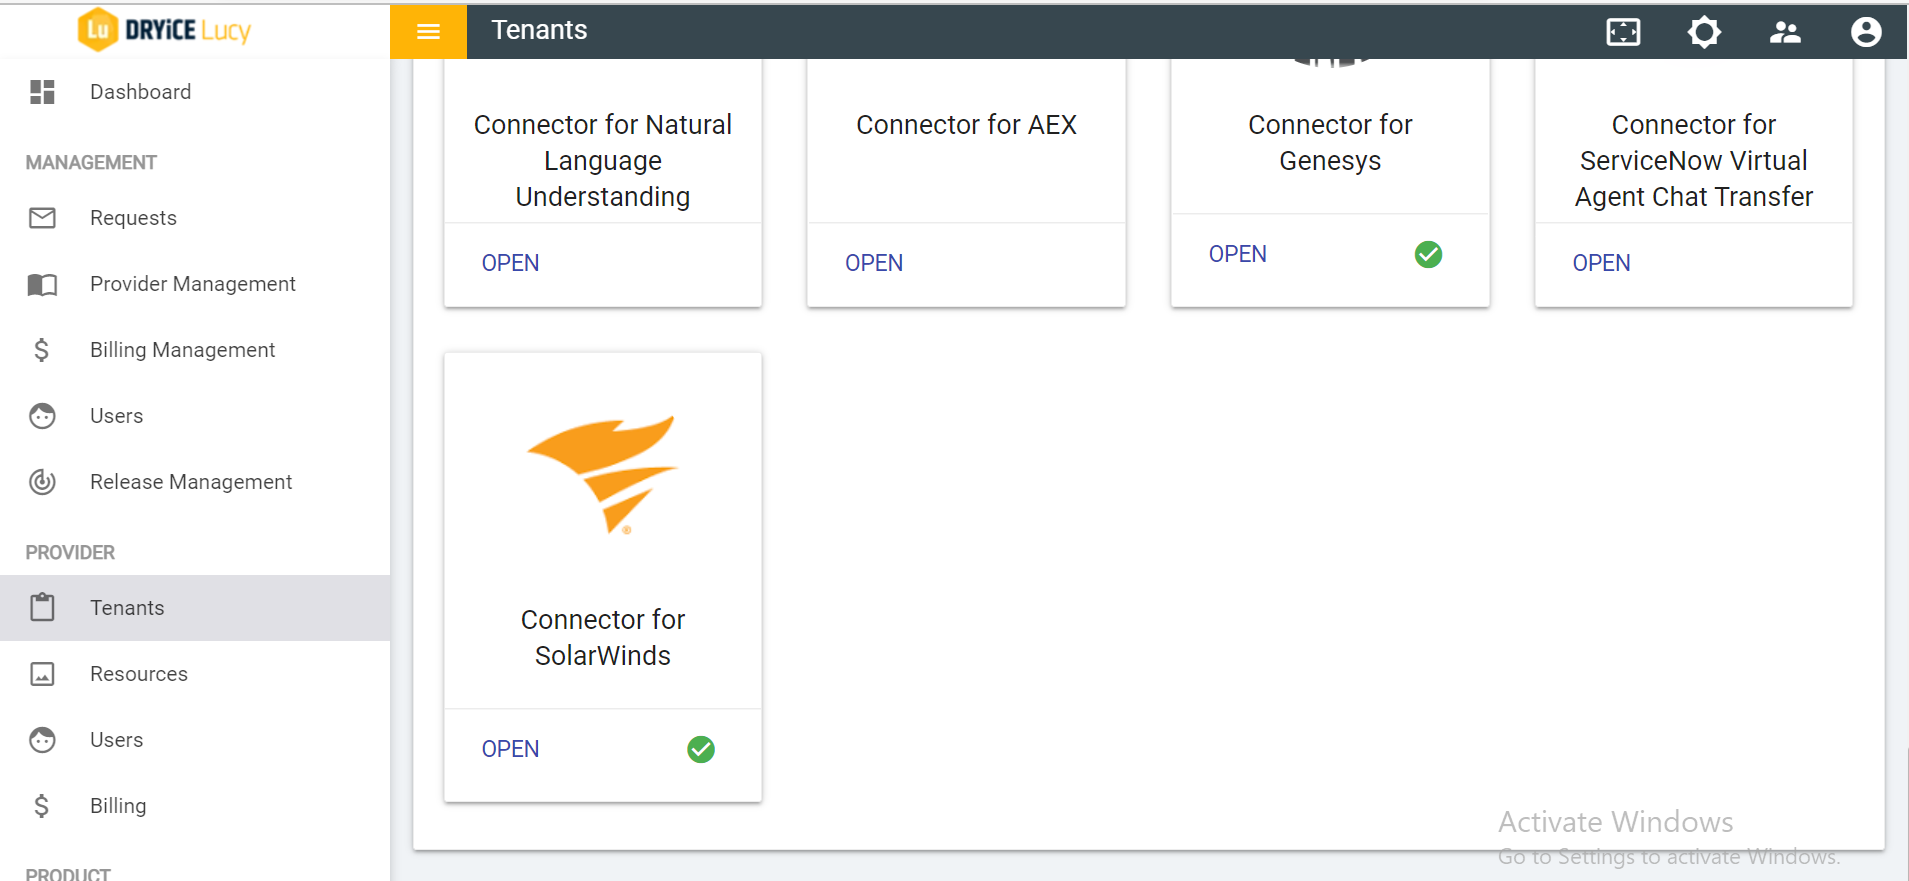
- Click on Open in ‘Choose Integrations’ to enable the Solar Winds Channel.
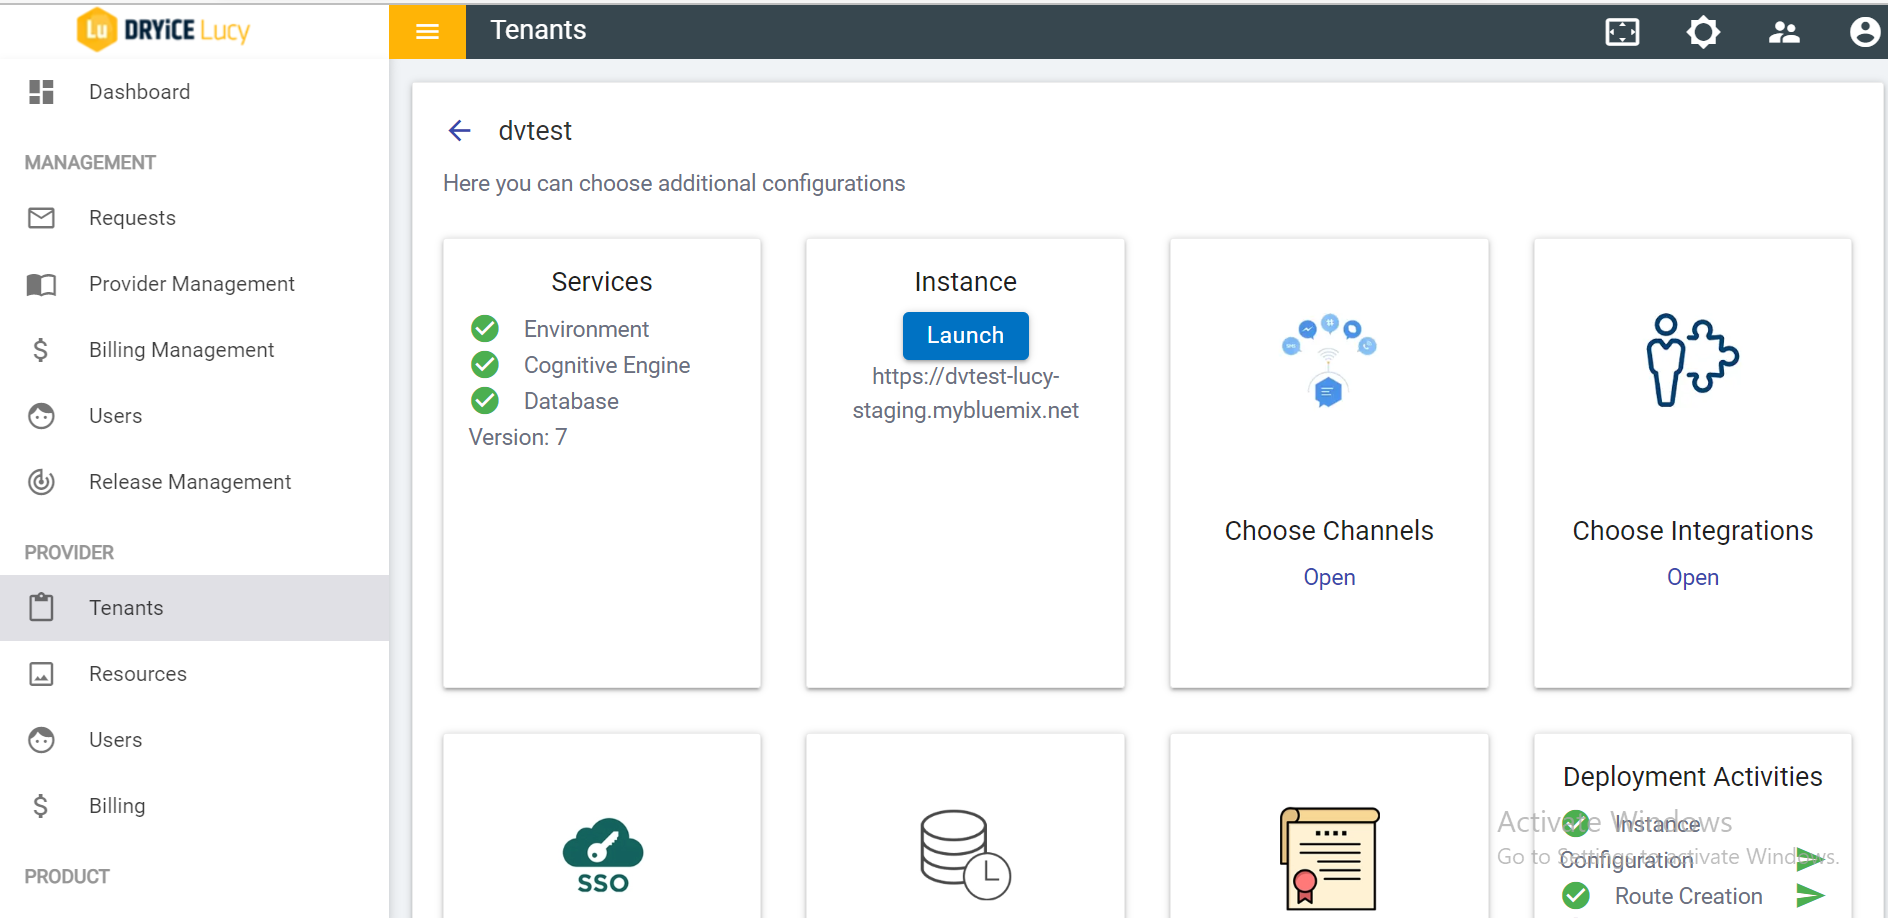
- Click on Open on the Connector for SolarWinds card and it takes the user to Solar Winds Base URL page.
- Enter the base URL and API key to verify if the API key is working properly.
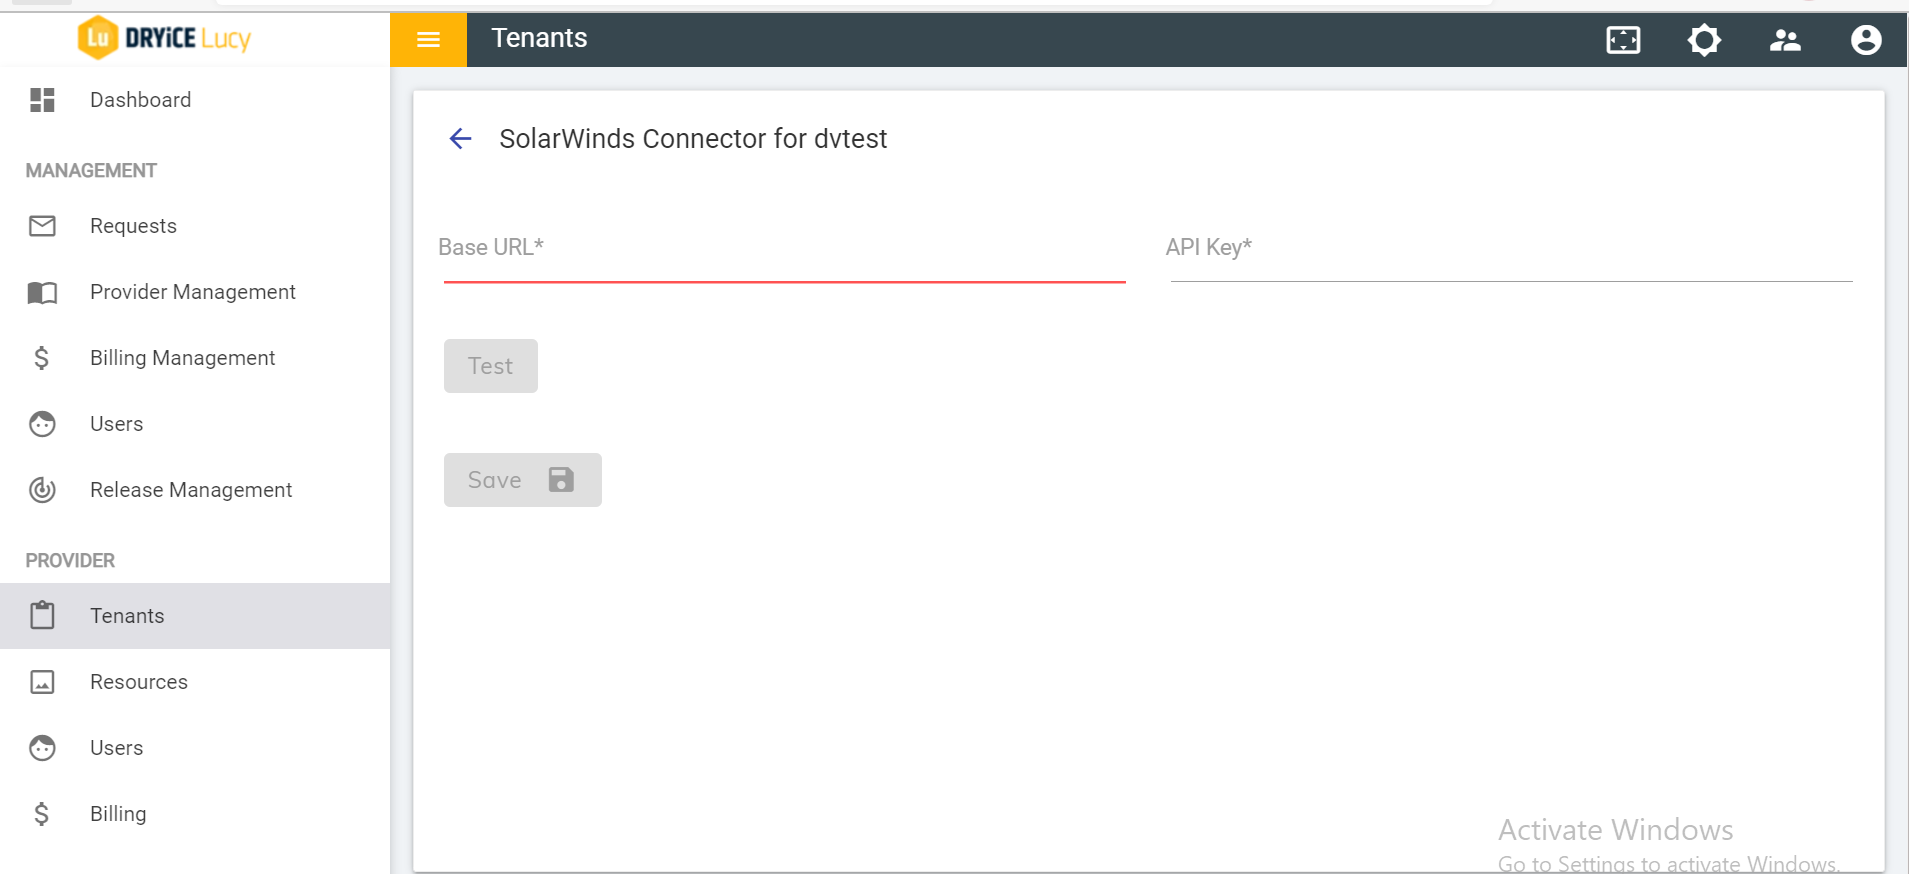
- Click on “Test” to verify the URL and API key.
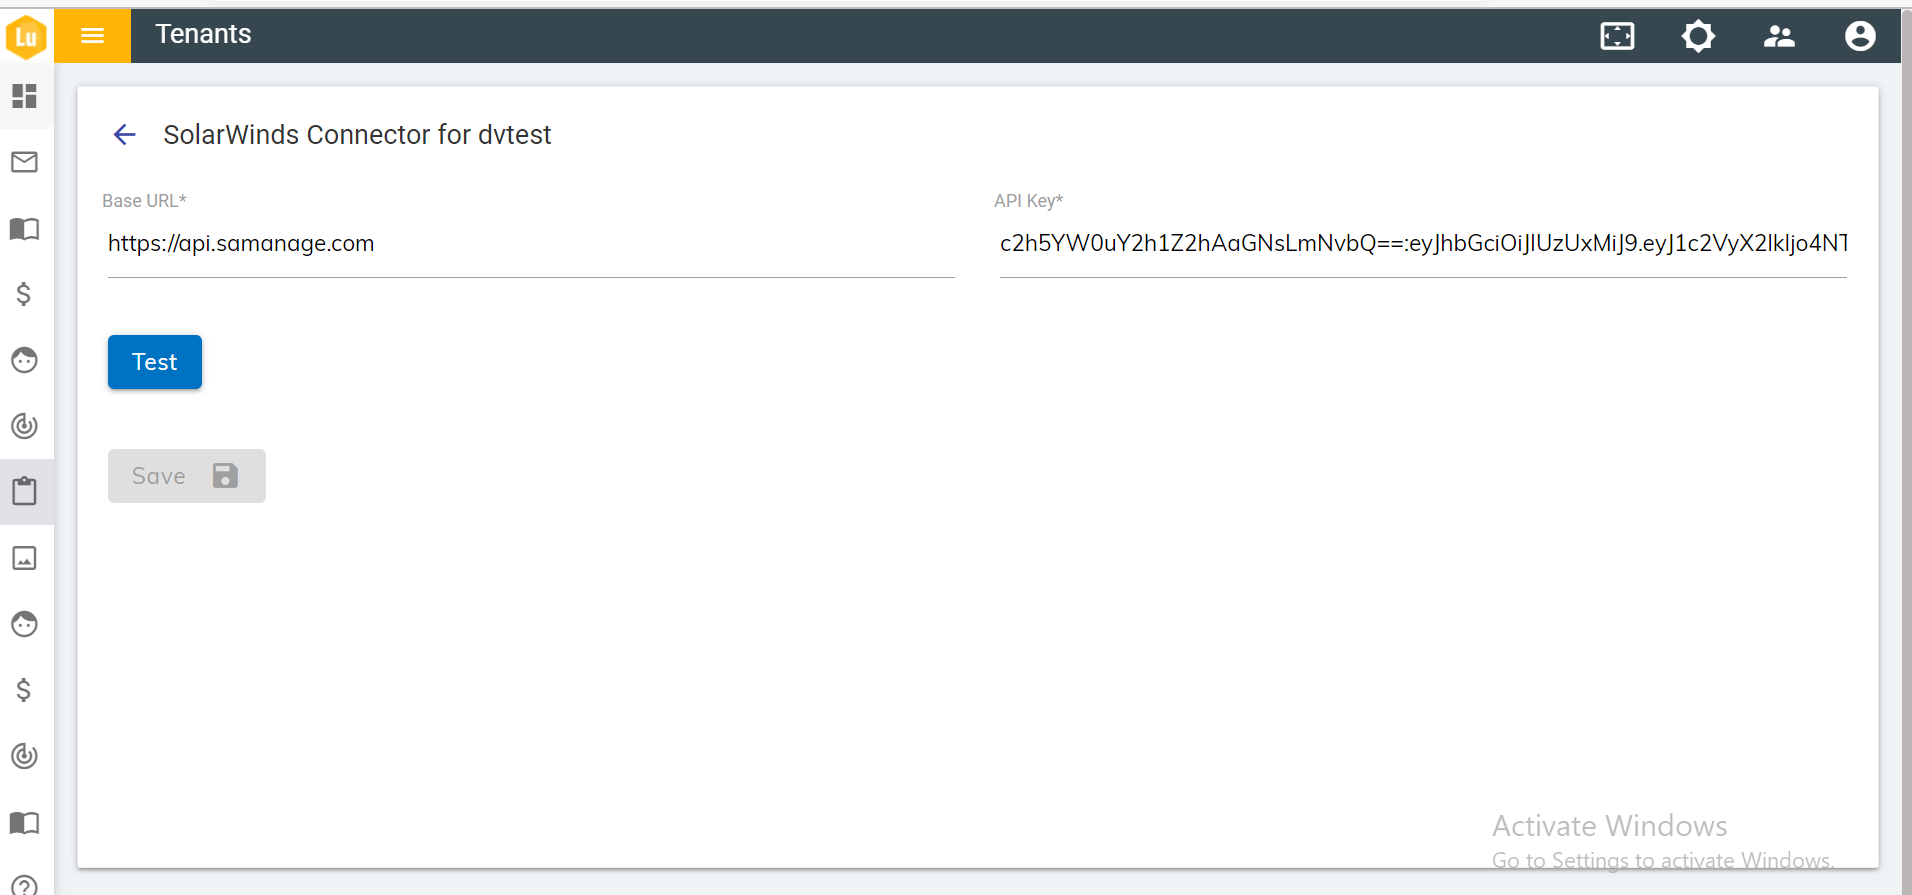
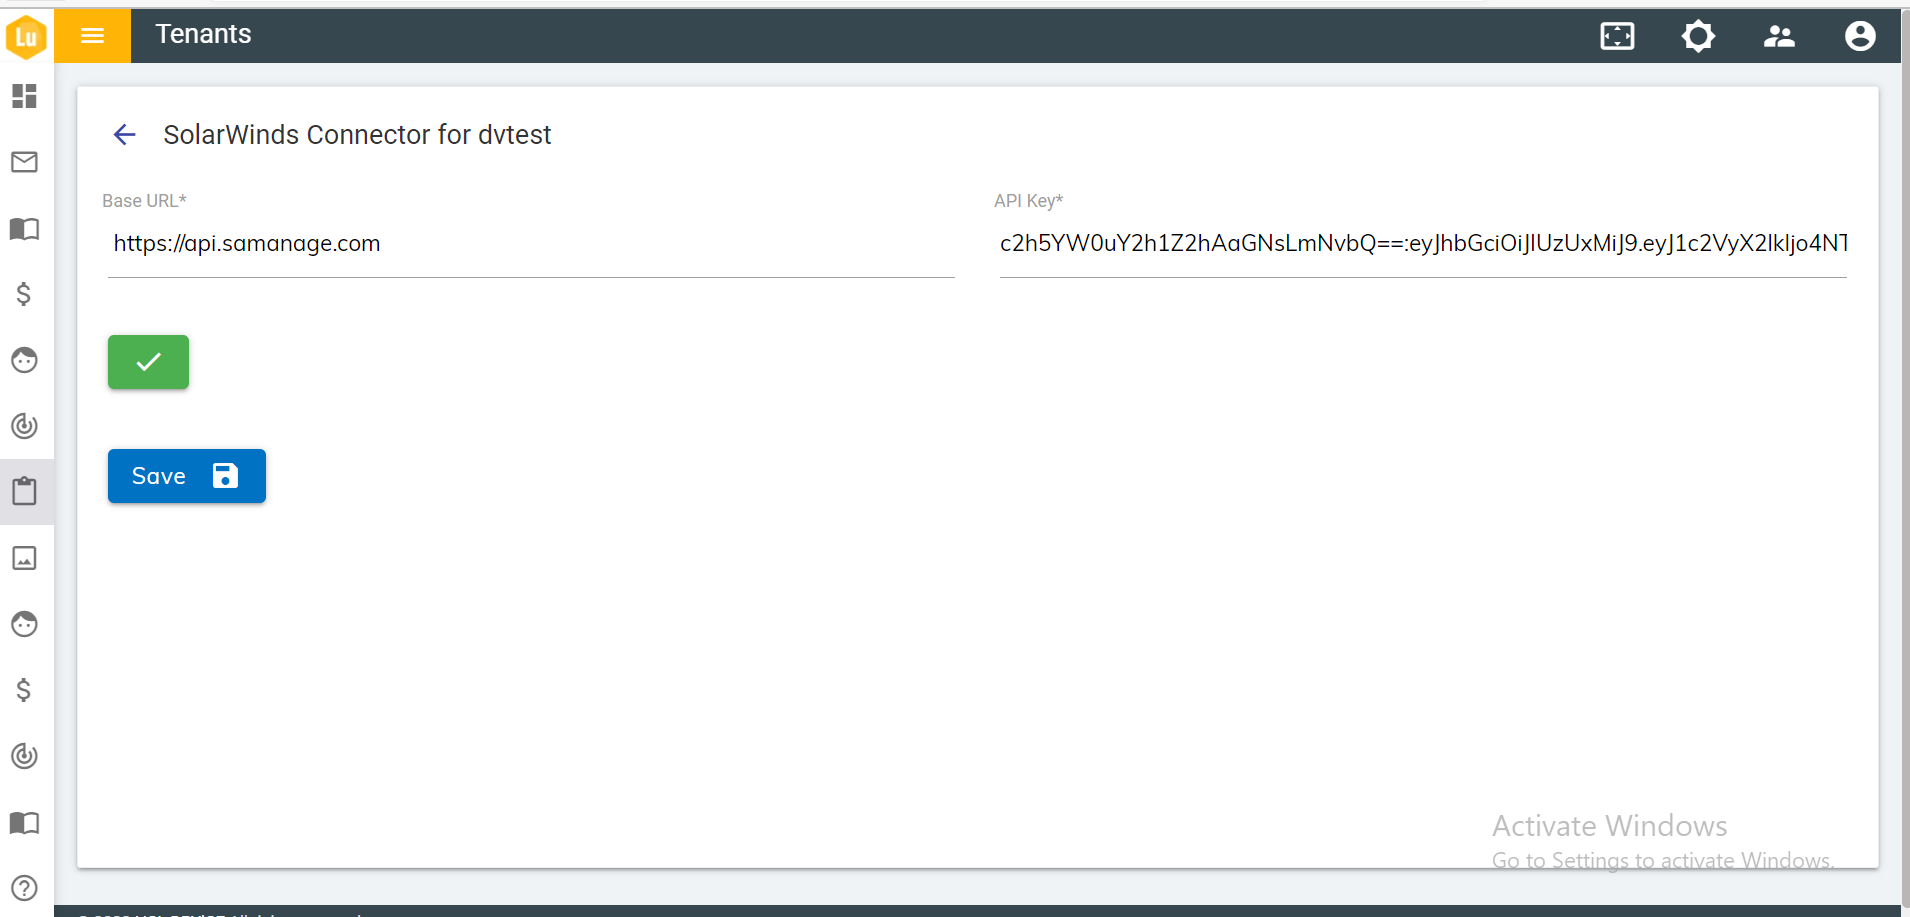
- Click on Save.
;
- It shows the following success message:
Figure 7. Figure 278 – Success message .png)
- Open the List of Integration and search for the ‘Solar Winds’.
- It will show the entire list of Solar Winds Integrations.
Figure 8. Figure 279 – Solar Winds Integrations List 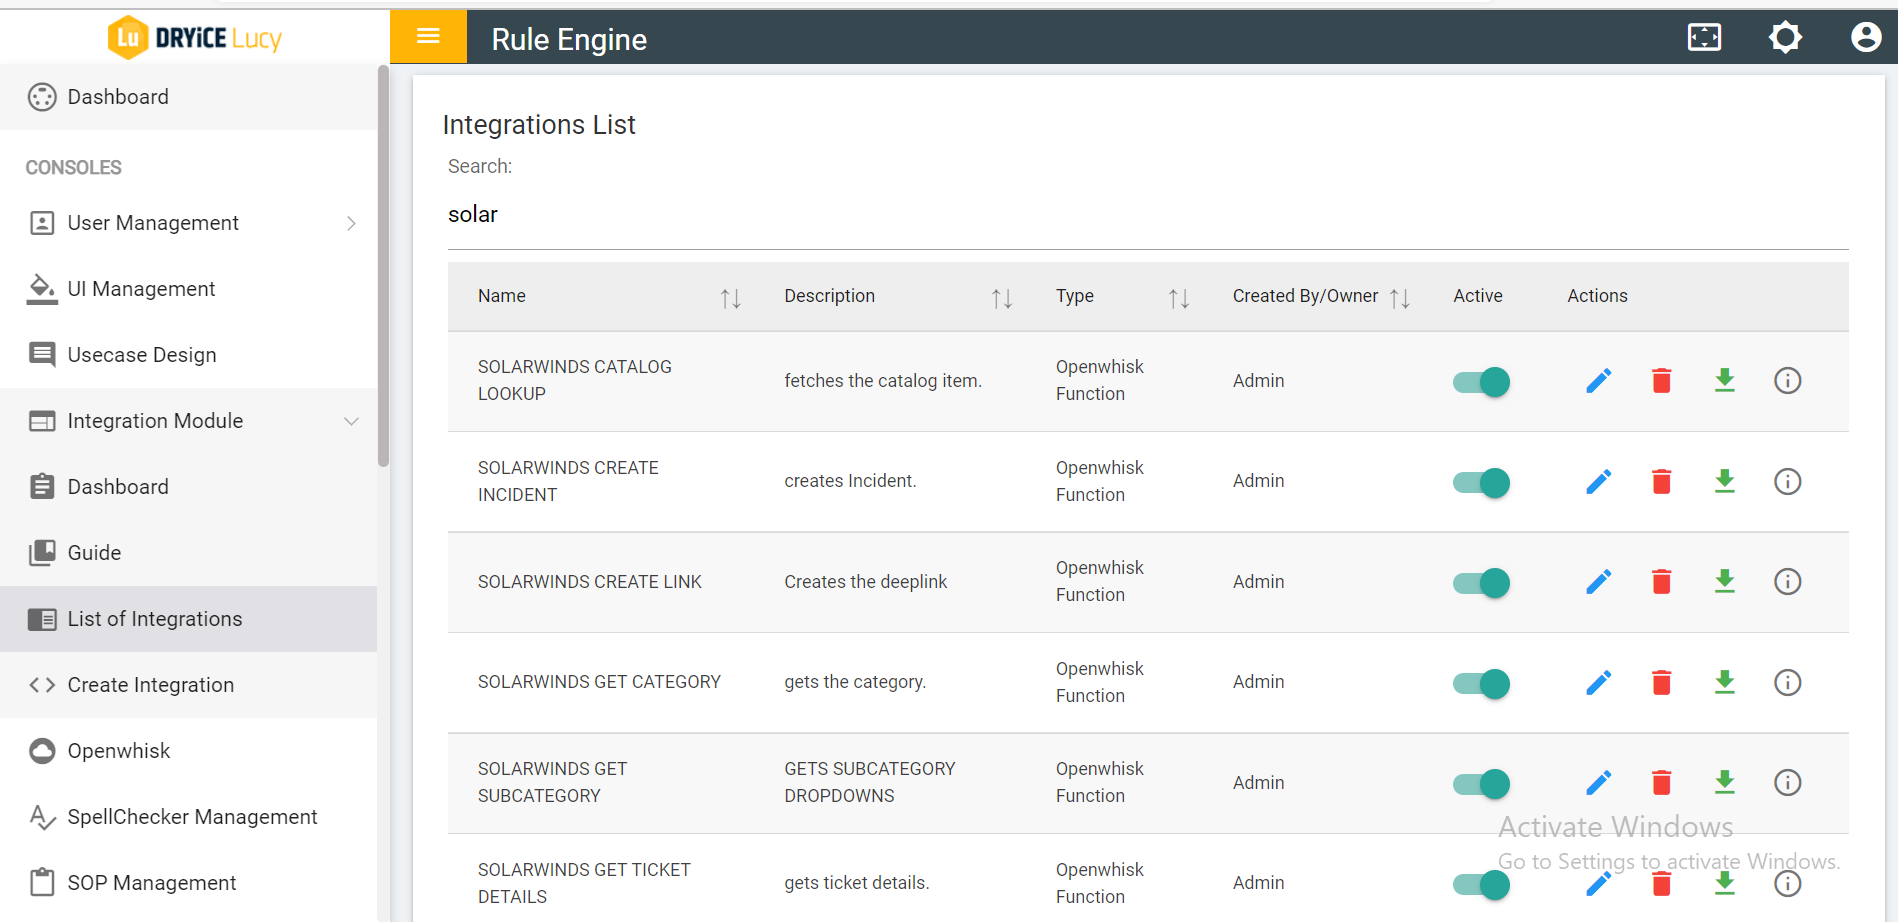
- Open the BigFix AEX Solar Winds Console chat. The following screen appears:
Figure 9. Figure 280 - BigFix AEX Solar Winds Console Chat 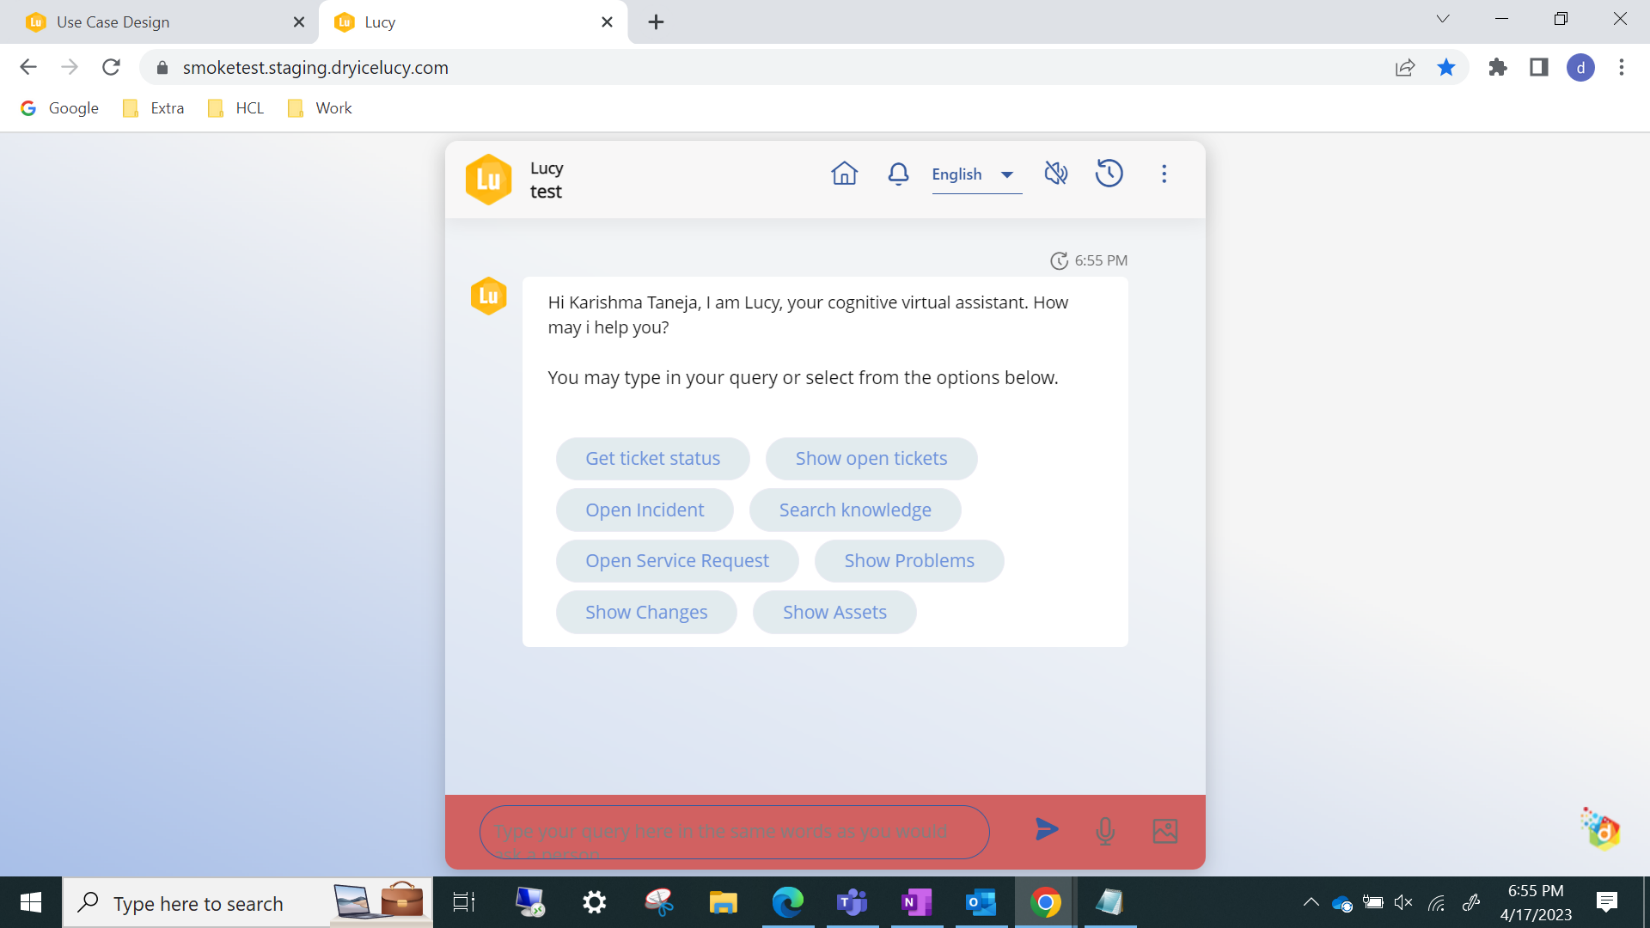
- Click on the “Open Incident” option.
Figure 281 – Open Incident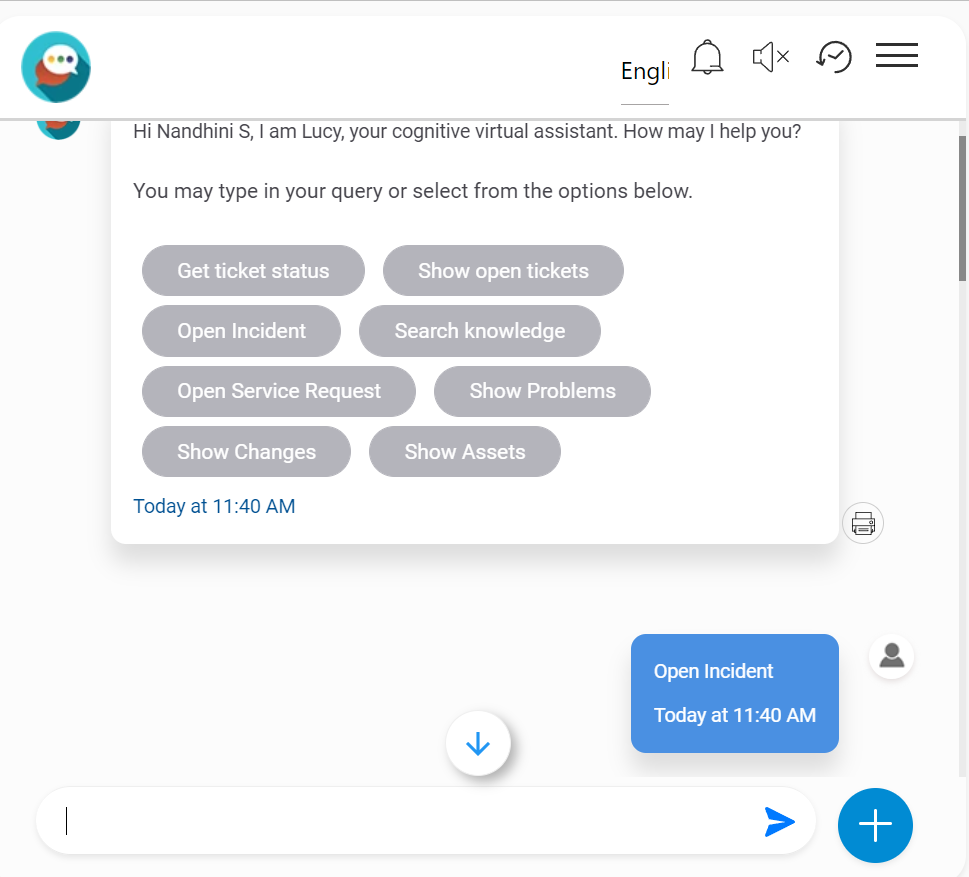
- Enter the title of the incident.
Figure 282 – Incident Title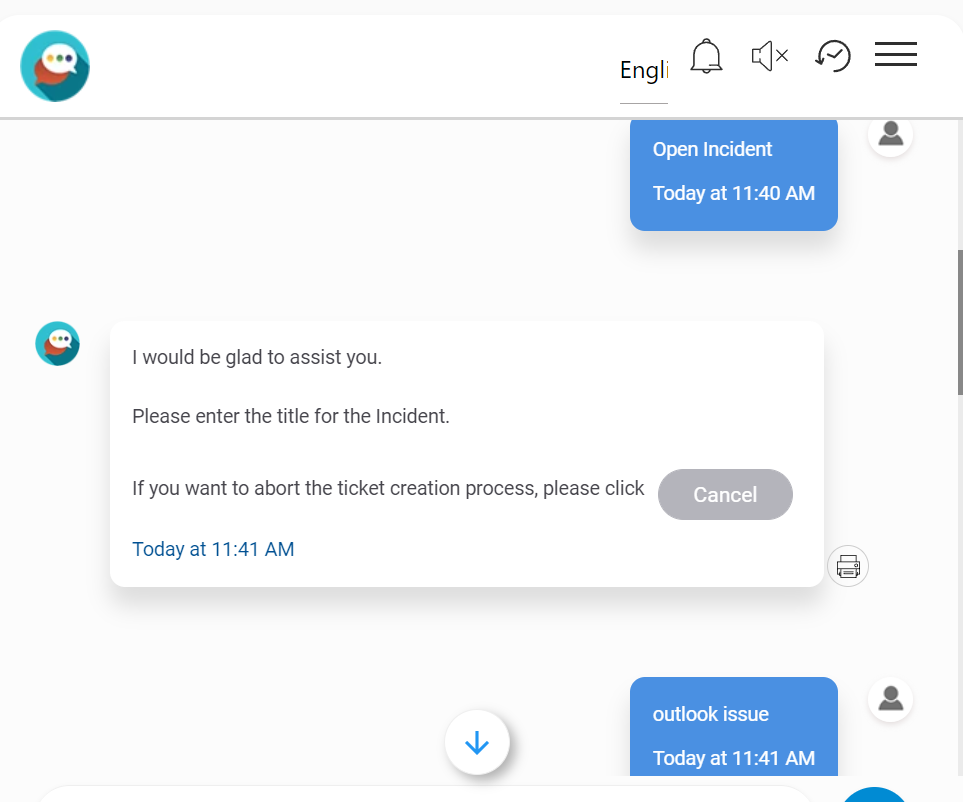
- Provide a description of the incident.
Figure 10. Figure 283 – Description of the Incident 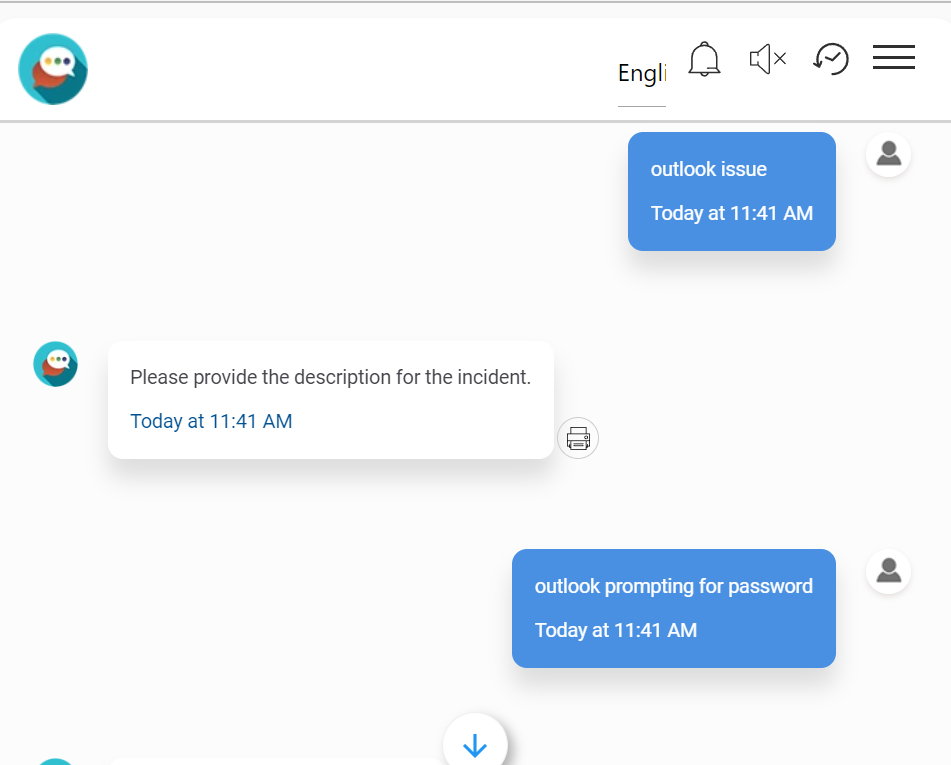
- After providing the description of the incident, select the Category.
Figure 284 – Selected Category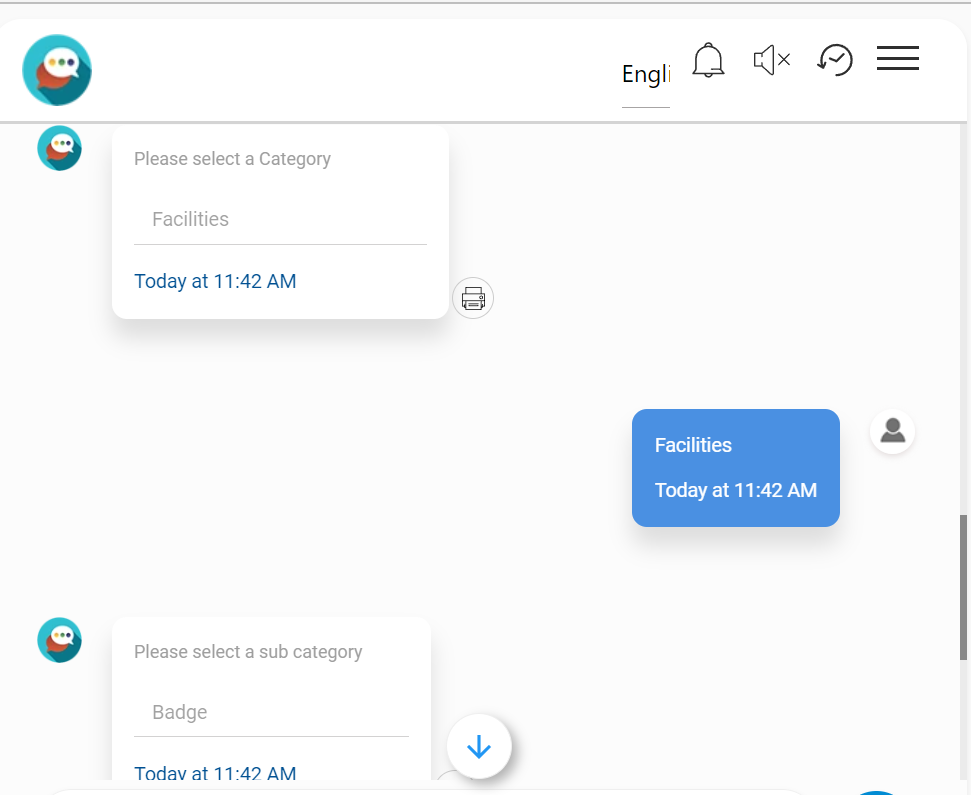
- After choosing the Category and Subcategory the user gets a
Ticket Reference Number, and the ticket is successfully added to
the Incident.
Figure 285 – Ticket Reference Number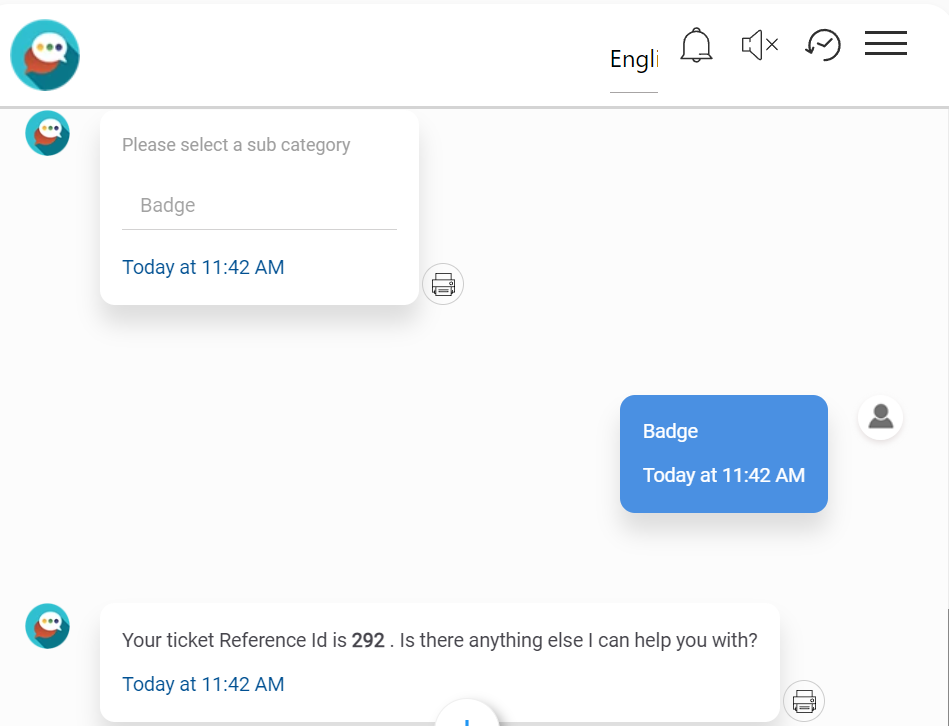
- Select the ‘Show Open Tickets’.
Figure 11. Figure 286 – Show Open Tickets 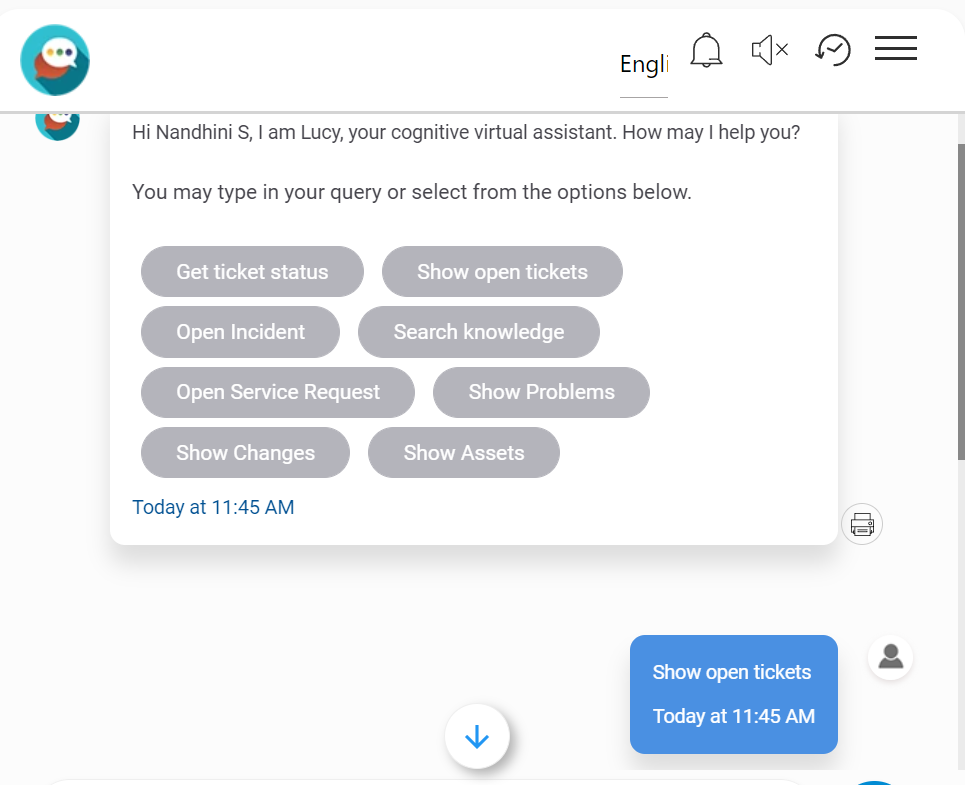
- It displays the top 10 incident ticket numbers.
Figure 12. Figure 287 – Top 10 Incident Ticket Numbers 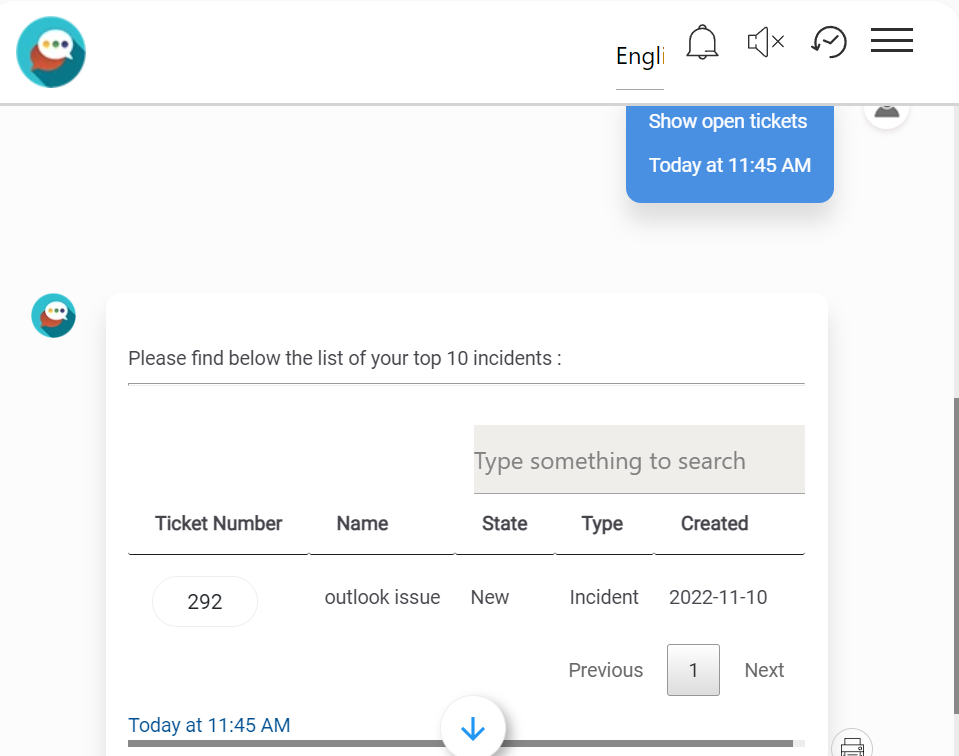
- Select the Get Ticket Status.
Figure 13. Figure 288 – Get Ticket Status 
- Type the ticket number to get the status of the ticket.
Figure 14. Figure 289 – Status of the Ticket 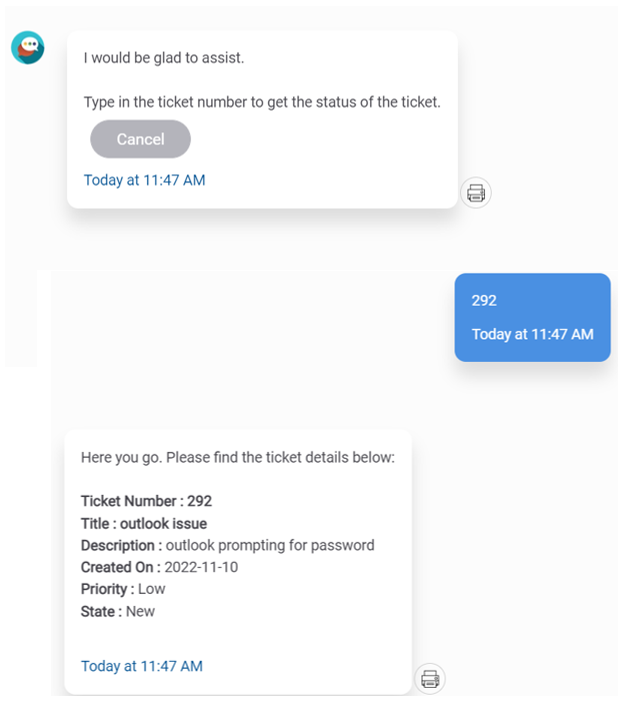
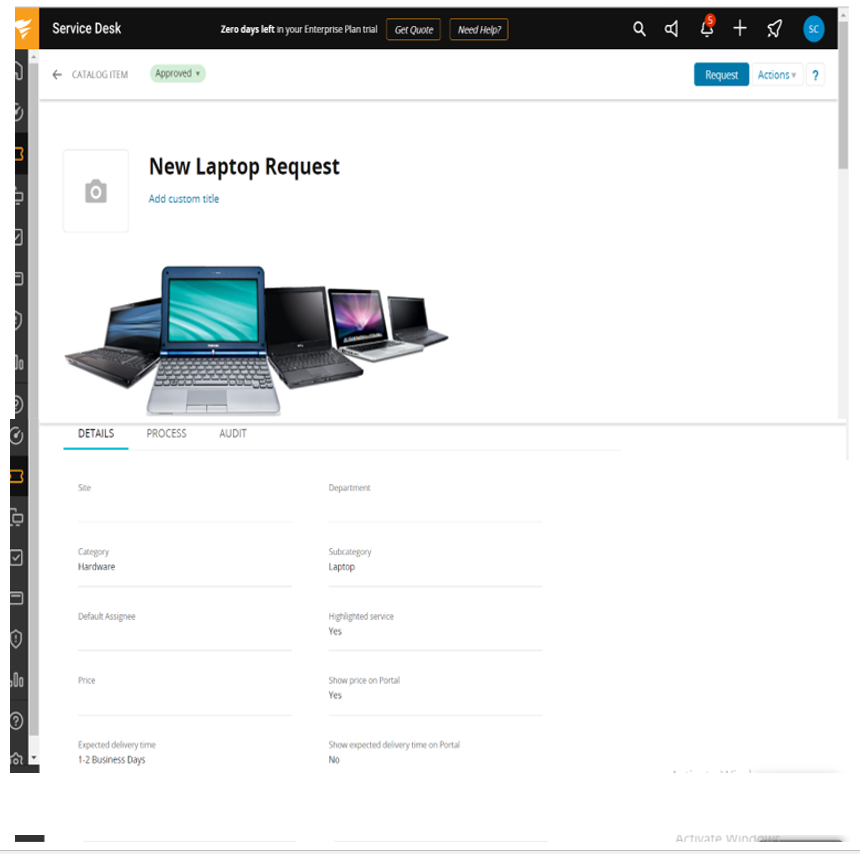
- Select the Open Service Request option and provide a short description of the service request.
Figure 15. Figure 290 – Open Service Request 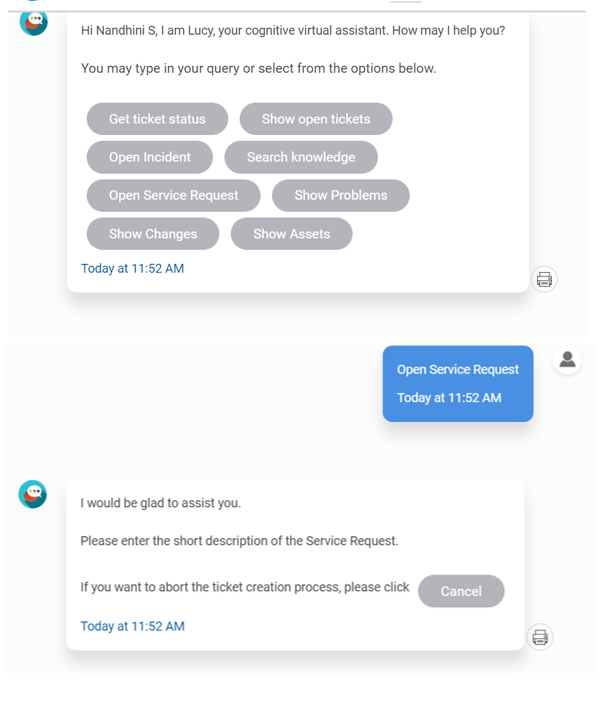
- Enter the description of the service request. For example, “Laptop request”.
Figure 16. Figure 291 – Description of the Service Request 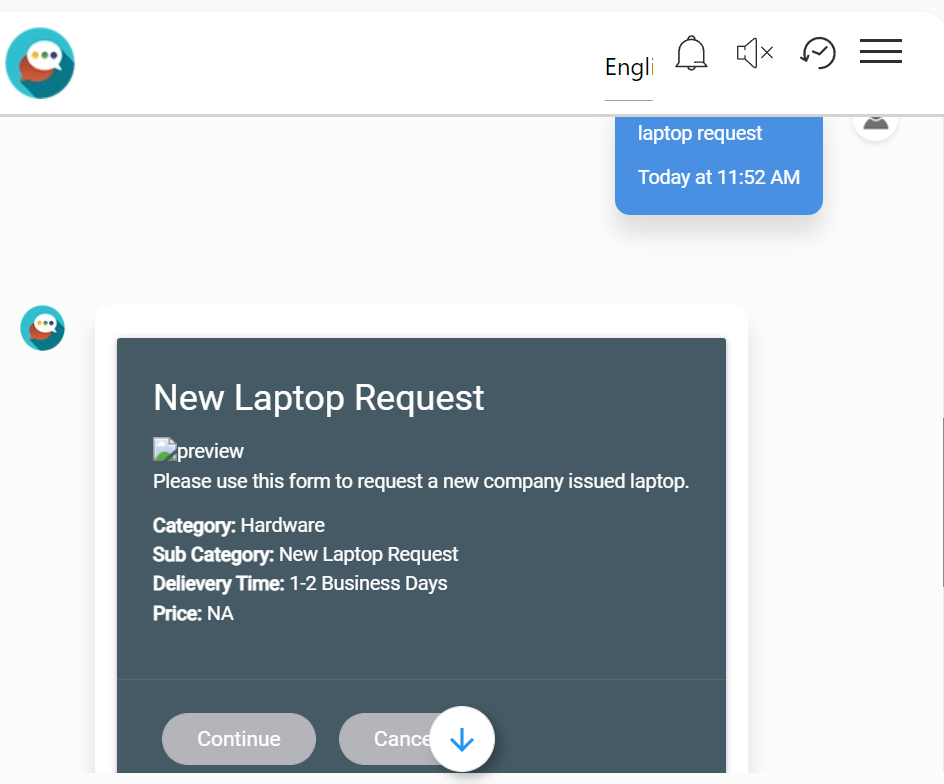
- Enter Continue to order the item.
Figure 17. Figure 292 – Continue option 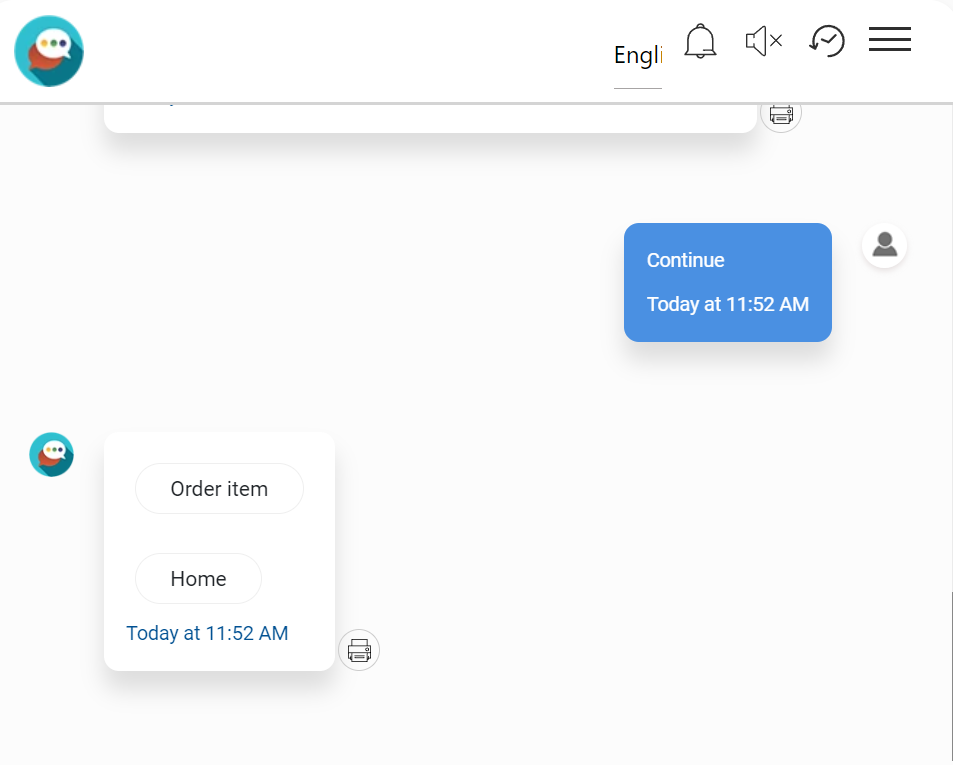
- The user is redirected to the SolarWinds page to confirm the order.