Autosys Connector
Autosys is a job control/workload automation system used for scheduling, monitoring, and reporting of tasks and enterprise jobs. This is similar in functionality to Control M. The following steps will showcase how to setup Autosys connector for an instance with some usecase examples in the end.
- Log into Global admin and navigate to Tenants page under Provider tab.
- Click on the Configure button
.png) available in actions column.
available in actions column.
.png)
- In tenant’s configuration page, click on the Open link on “Choose Integrations” card.
.png)
- Click on open on “Autosys” connector. If it is already enabled, it will have a green check, otherwise it will not have a check at all.

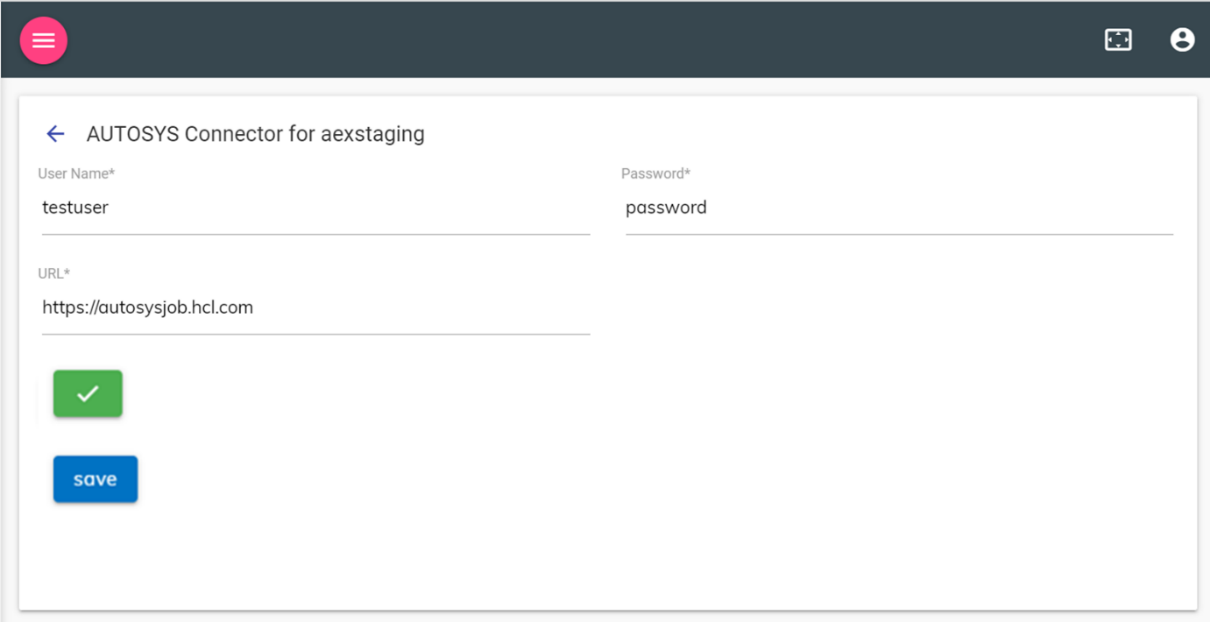
- Once the connector configuration is opened, the following page will be displayed where Autosys instance information/credentials can be entered, such as username, password, and URL of the instance.
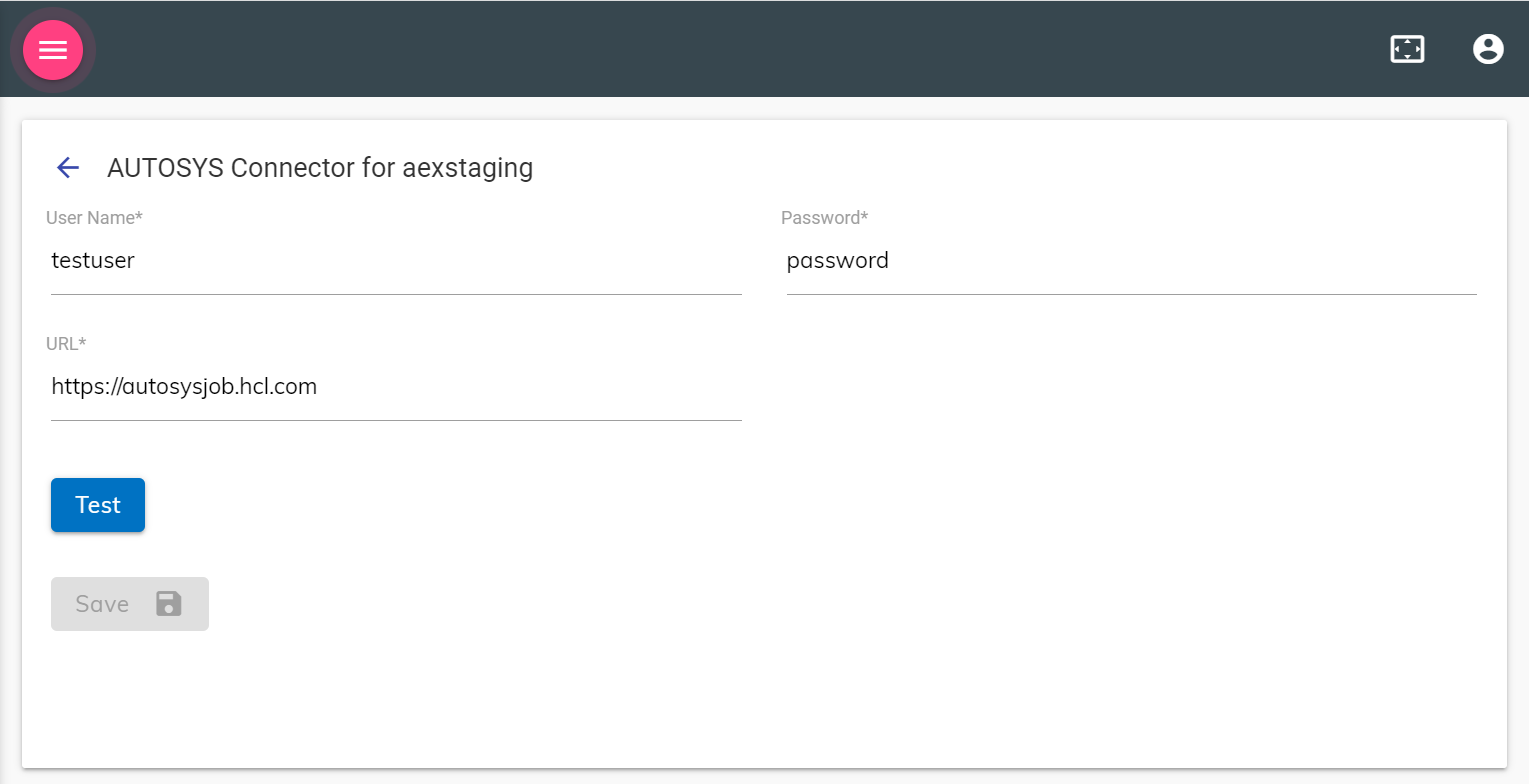
- It’s always recommended to test whether the credentials given are correct, click on the test button. If it is correct, the tick icon will be shown, else the cross icon will be shown.

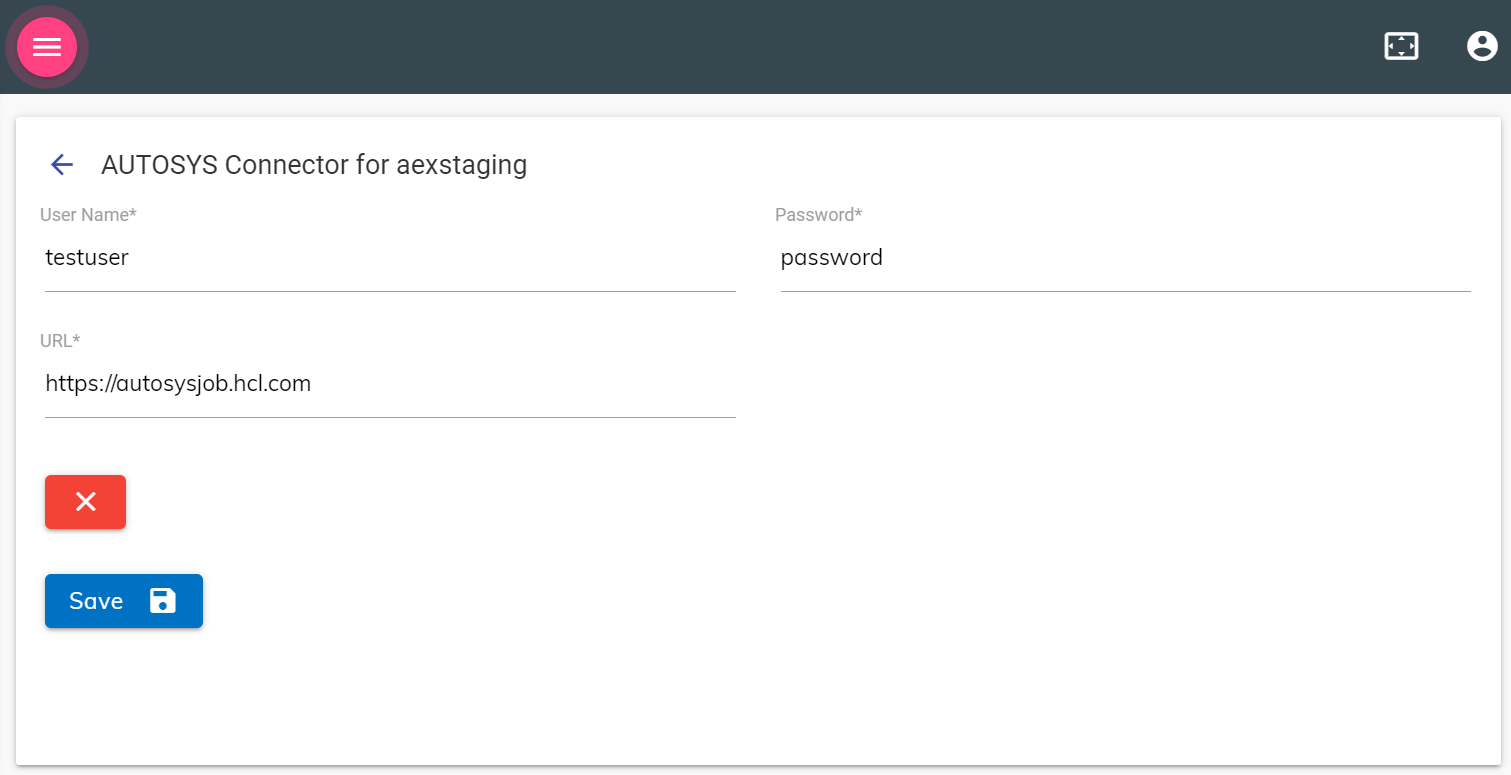
- If the connection is successful, save the connector configuration, and then the following modal will be shown, saving the integration successfully.
.png)
- Saving the integration will automatically create Openwhisk functions and integration rules which can be used in the use case design console.
- On the Action List search for the function named “query_sccm”.
- Once the integration is complete, the following use cases can be configured for an instance on which the connector is enabled:
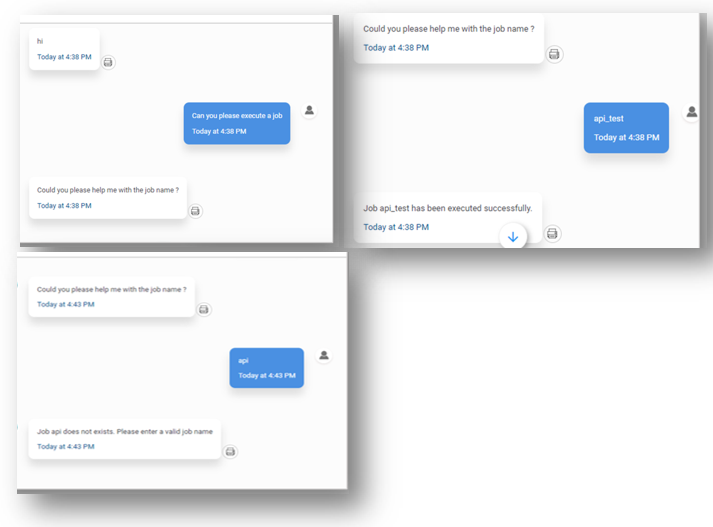
Execute a job
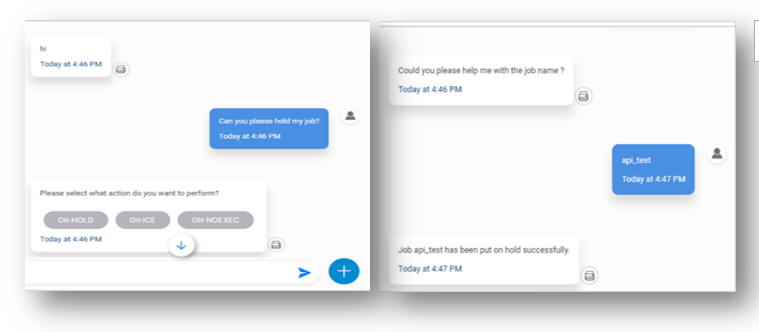
Hold job
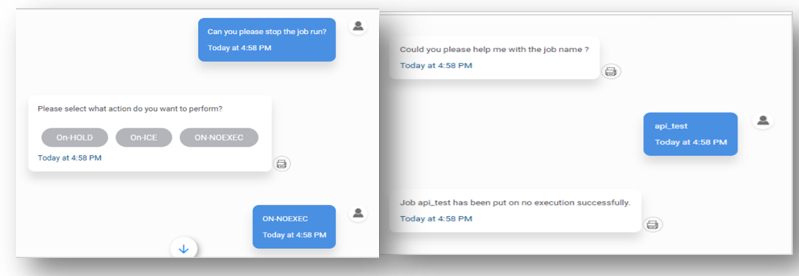
Stop job
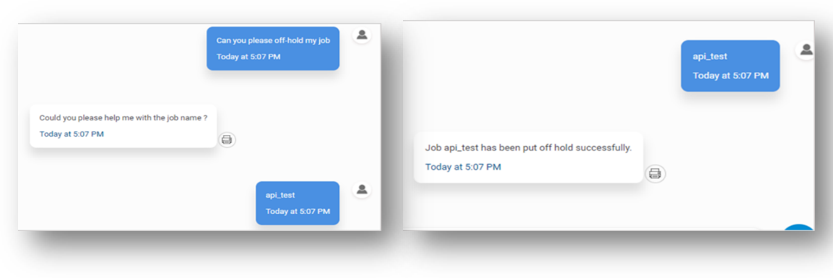
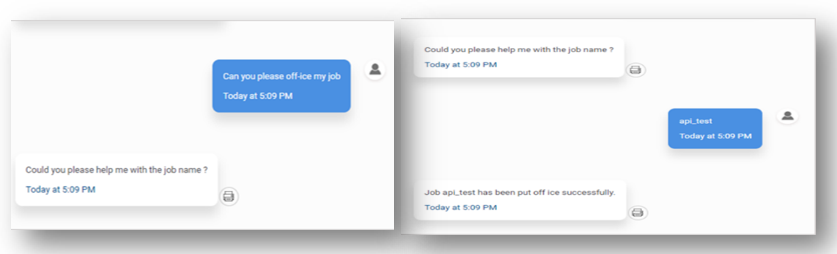
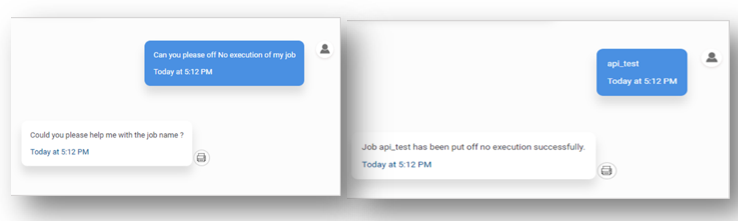
Off Hold, Off ICE, Off Noexec
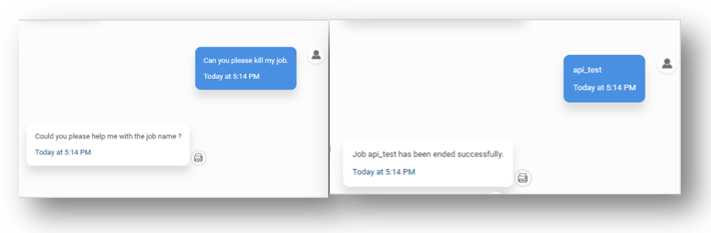
Kill/terminate job
Screenshots of configured use cases: