Getting Started
When users land on BigFix AEX Next Dashboard there is a card for Use Case Design Console.
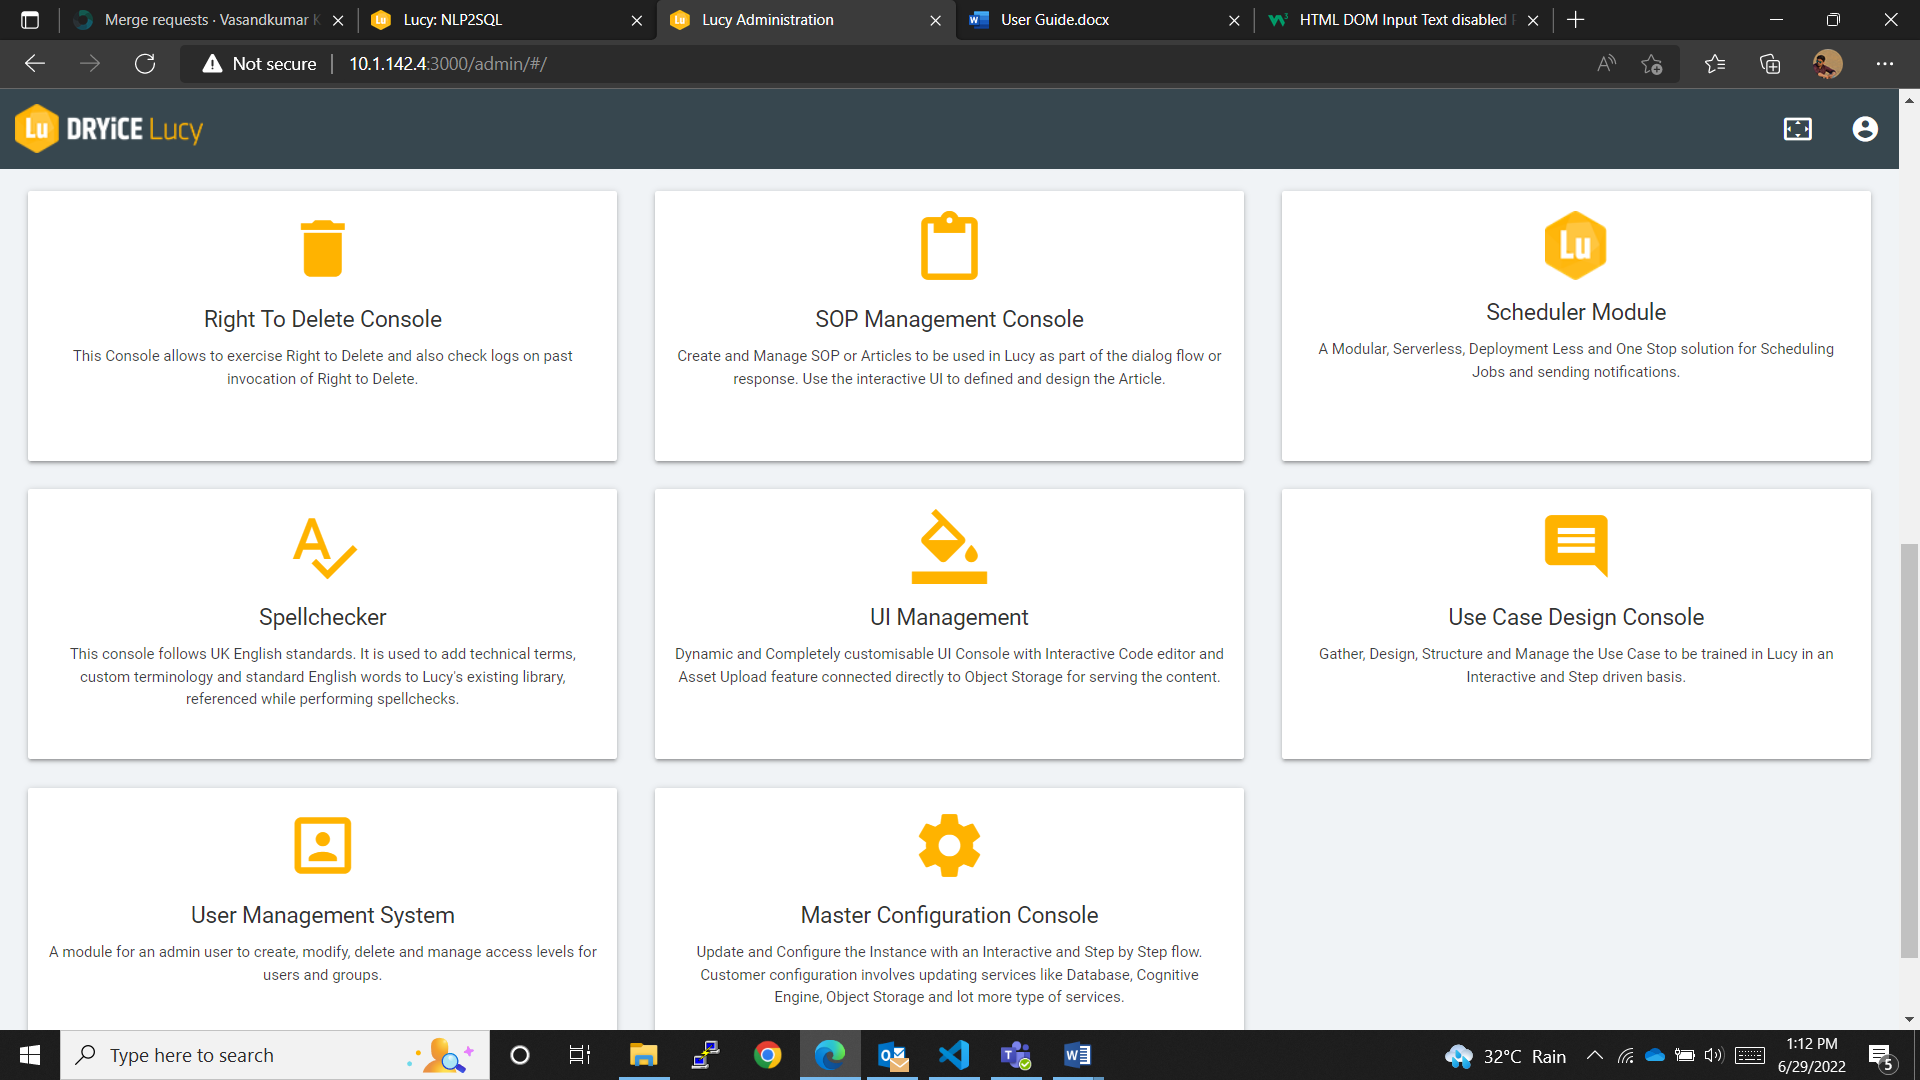
- Click on the card and the user gets redirected to a list of existing use cases.
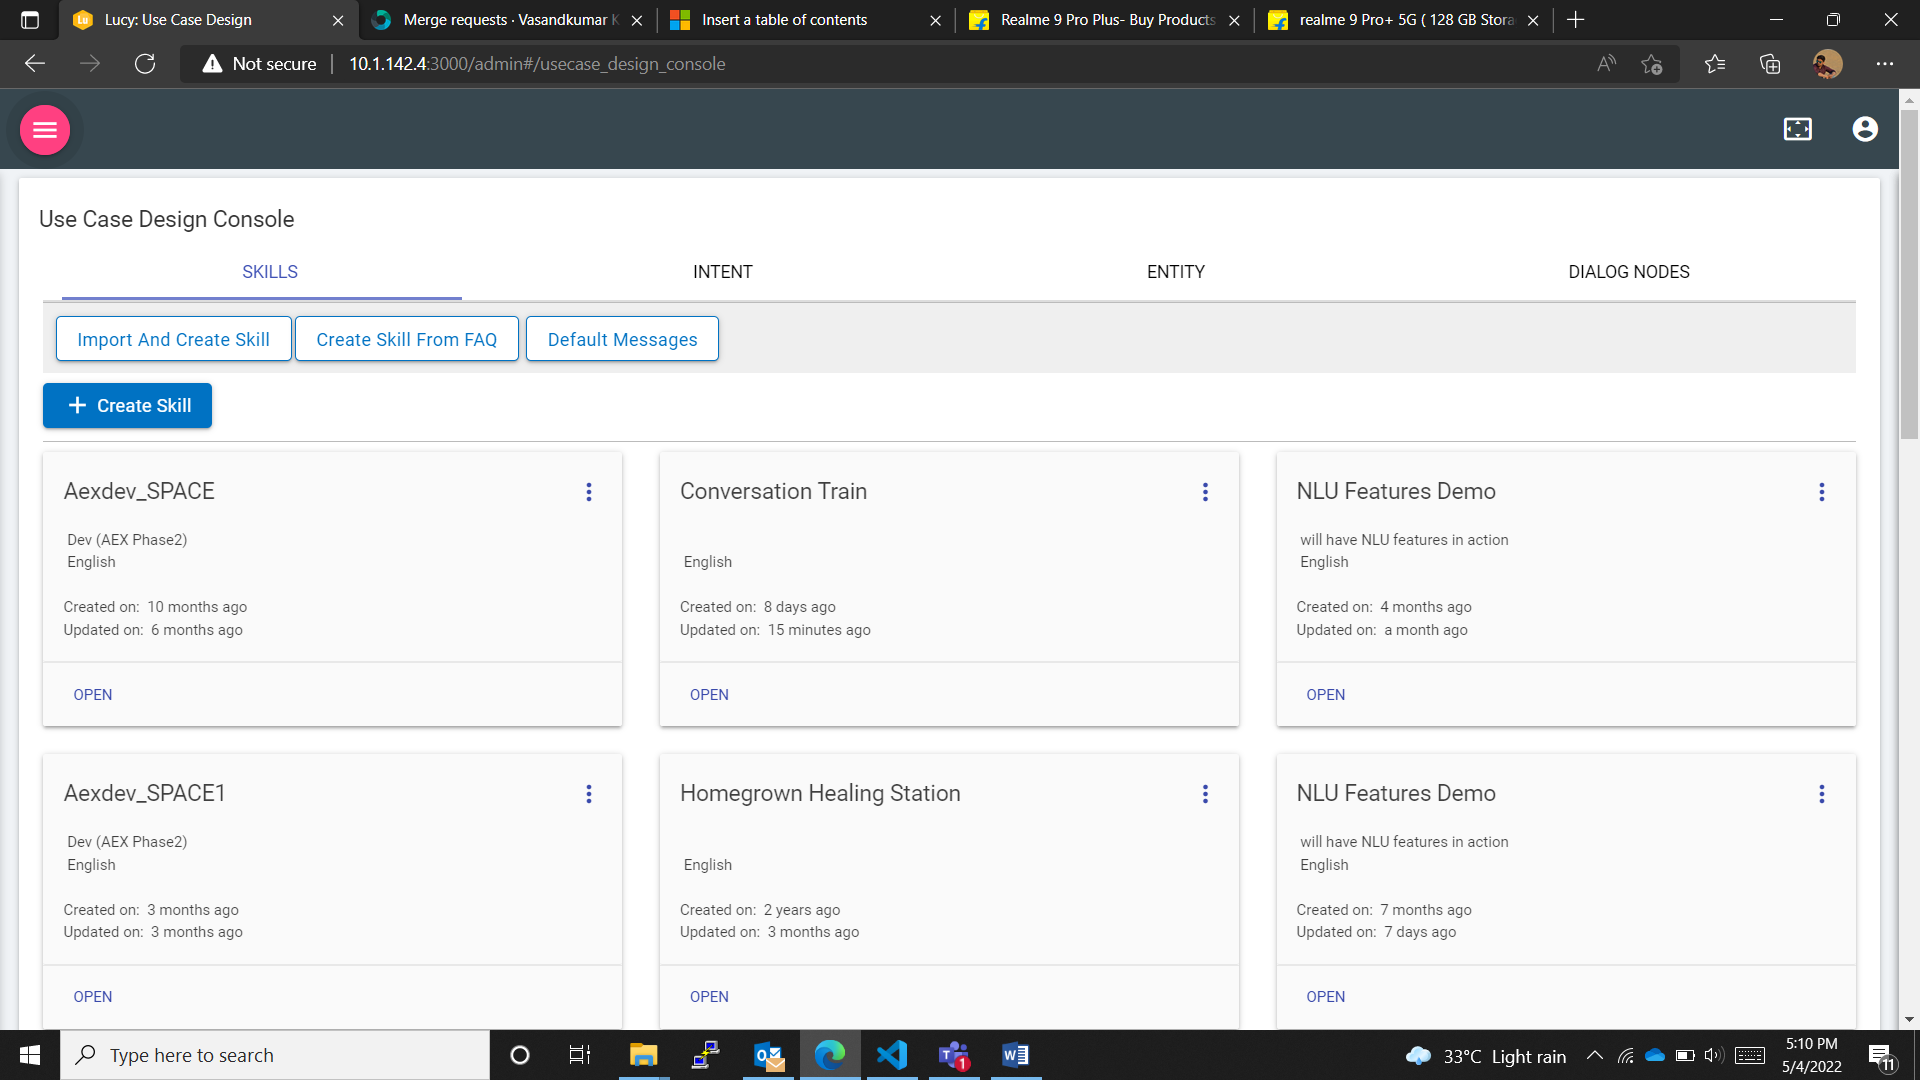
This page contains the cards of the existing/created flows.
- Click on ‘Create Skill’ button to create a new skill.
A pop-up window opens and the user is presented with two options: the NLP2SQL skill and the Regular skill.
- Select the NLP2SQL Skill option.
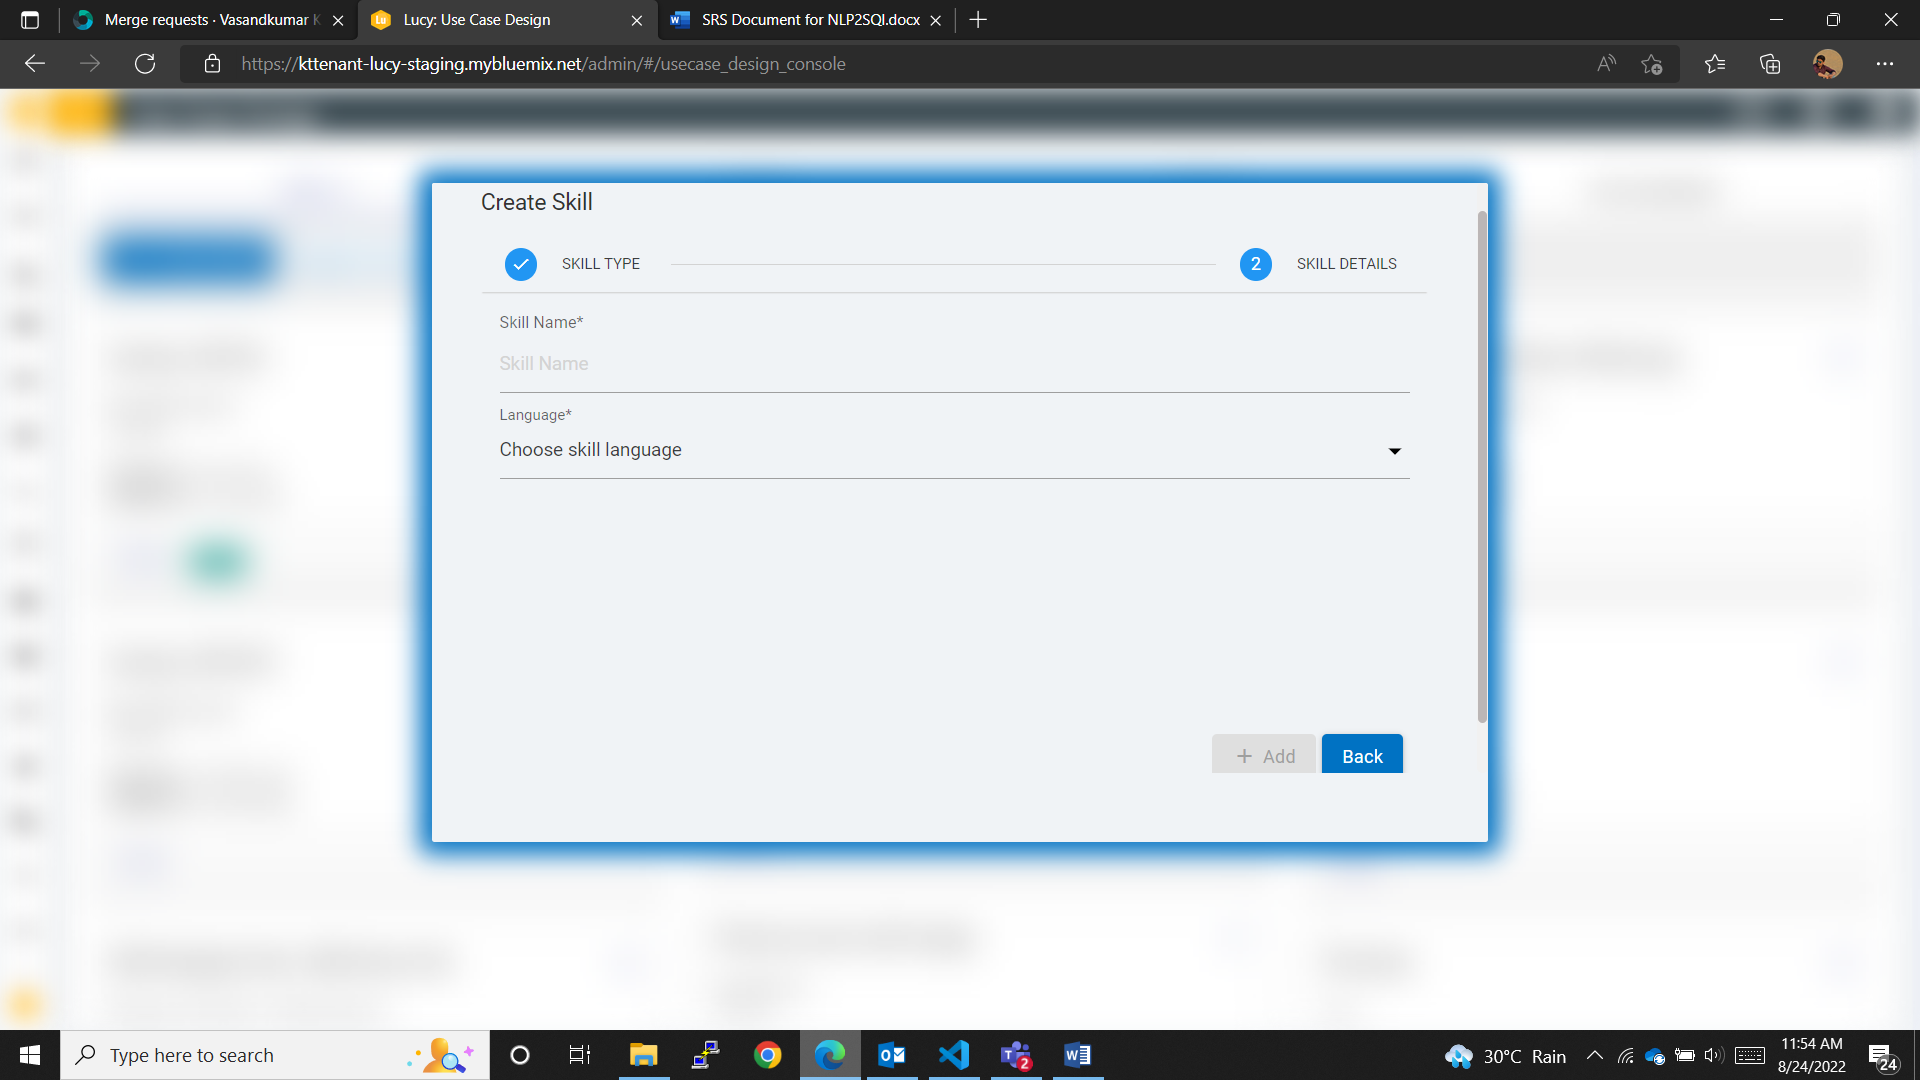
The form necessary for the NLP2SQL skill opens, as shown in the following picture.

- Click on Continue to move forward to the next page.
- Provide the necessary information needed and click on the ‘Add’ button.
This will create the skill, and the skill card gets listed out among other existing skill cards.
The skill card looks like the following picture Figure 237 after it is created by the user.
Every NLP2SQL skill card has "NLP2SQL" written on it, identifying it as an NLP2SQL skill.
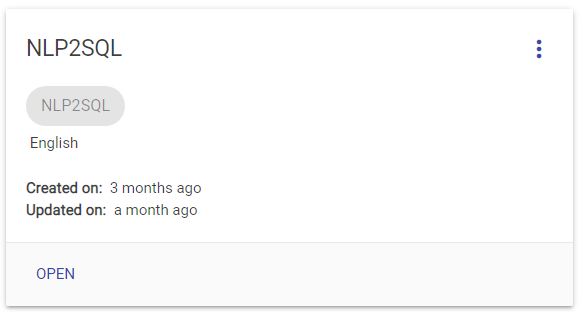
To edit and train the skill the user has to open the skill.
- Open the skill by either clicking on the name of the skill or on the “OPEN” button.
- As the user opens the skill, they will be redirected to the
NLP2SQL console.
In the NLP2SQL console the user can import database information in form of .sql files or .csv files. They can also add stored procedures in here using sample procedure calls.
Figure 6. Figure 238 - Import DB Information button 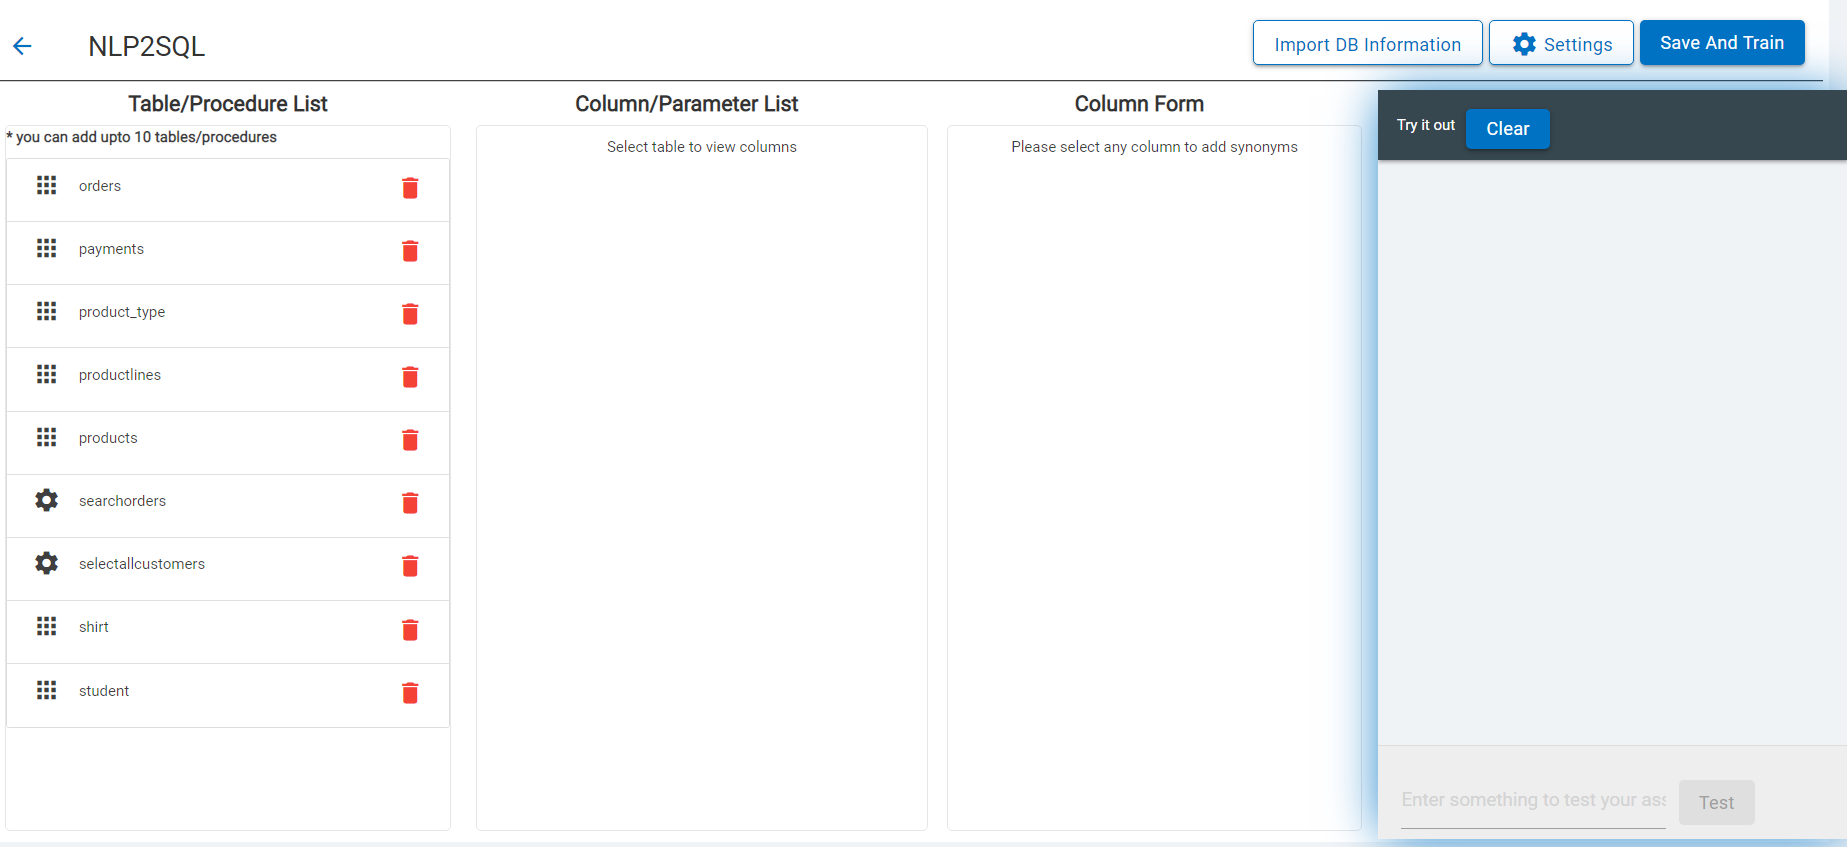
The console has a button for “Import DB Information” which allows the user to upload database information using SQL or CSV files. The user can also add stored procedures using this button.
- To import any information, click on the ‘Import DB Information’ button and pop-up window will open, as shown in the following picture.
- This window is there to help the user upload database information.
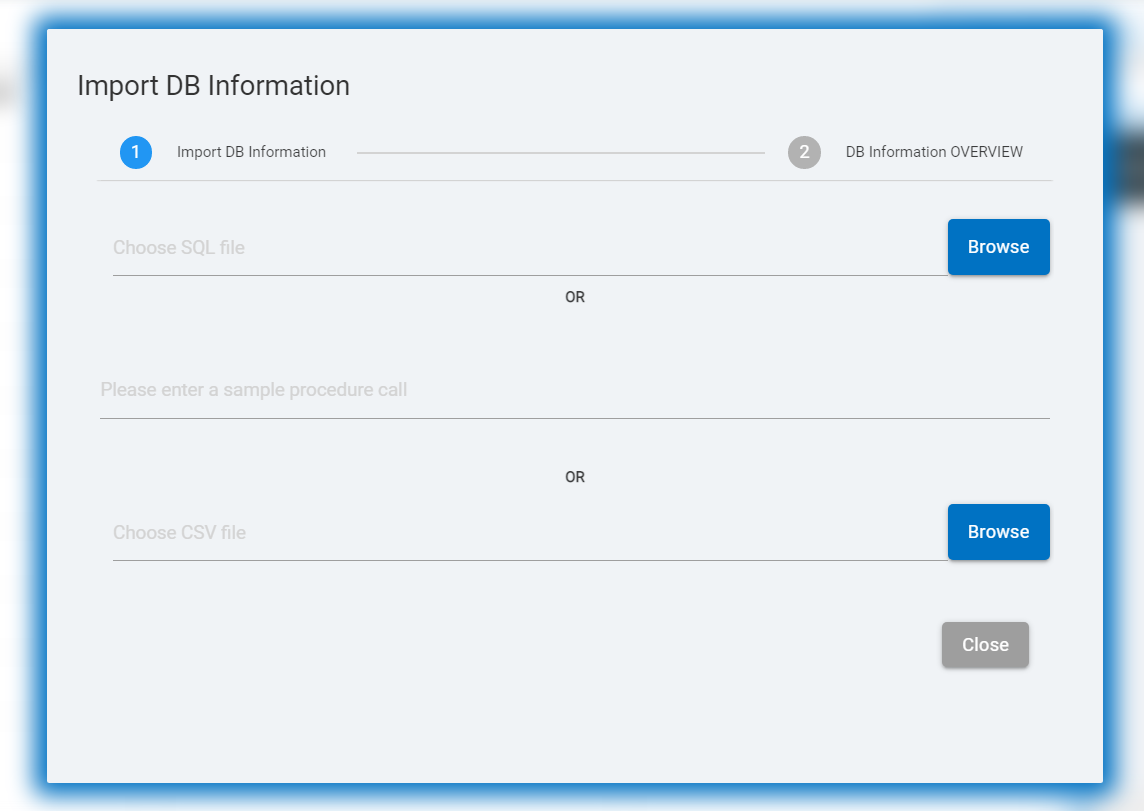
Database information can be uploaded in three ways:
- Uploading as SQL file to import database information
- Using a sample procedure call to import a stored procedure
- Upload a CSV file to import database information.
- Uploading a SQL file to import database information.
- Click on the first input field, where “choose SQL file” is written or on the first browse button.
- Following the previous step, the user will be able to browse through the existing SQL files on their corresponding device.
- After selecting and uploading the required SQL file, the pop-up
window will look like the following:
Figure 8. Figure 240 - Upload SQL File button 
- Click on the Upload SQL File button to proceed and complete the process of uploading the file.
- It will take the user to the next page of the pop up window, which looks like the following picture.
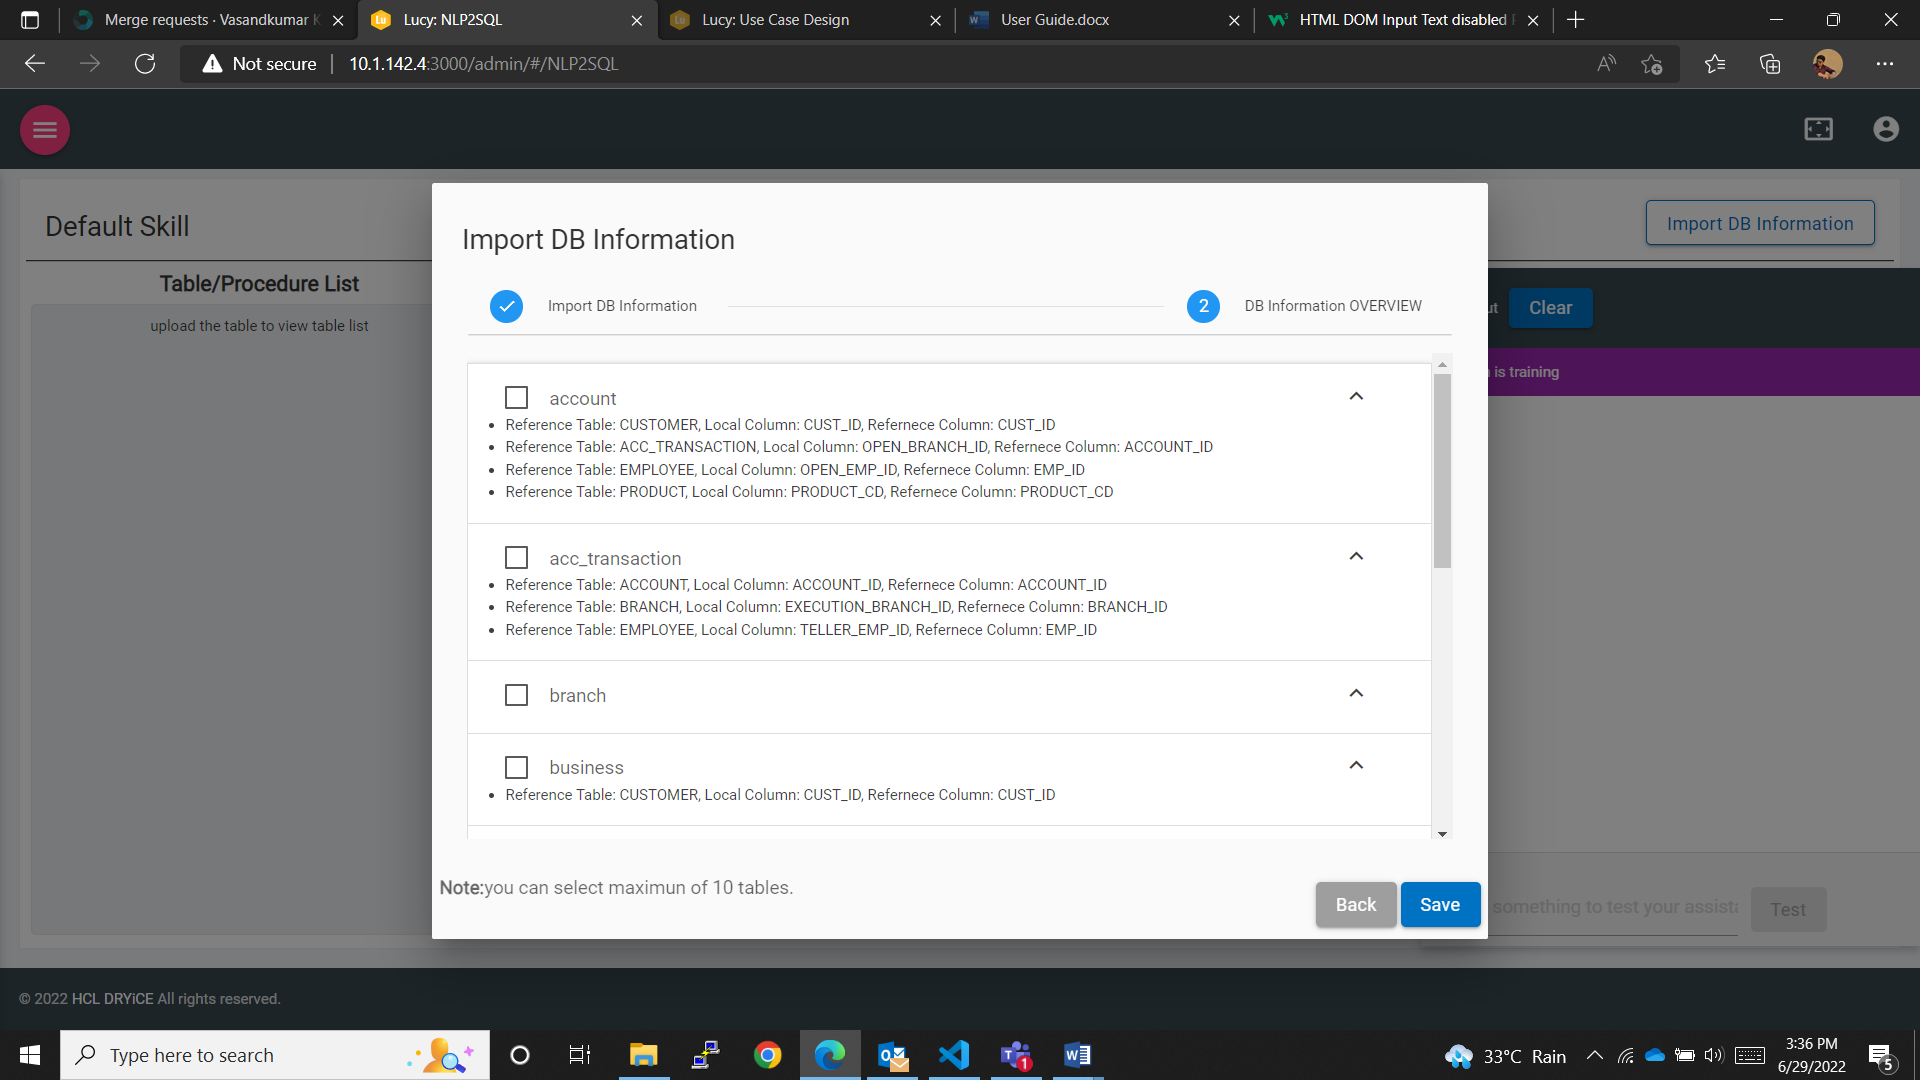
On this page, all the tables from the uploaded SQL file are listed out. Also with the table names, if the table has a foreign key, it will be mentioned along with the reference table and the reference column name.
- Click on a table to expand the menu and allow the user to see all the columns.
- Click on the checkboxes available along with the table names to select the tables that the user wants to upload.
- Click on the Save button, and the selected tables will be uploaded and the user will be redirected back to the console home page.
.png)
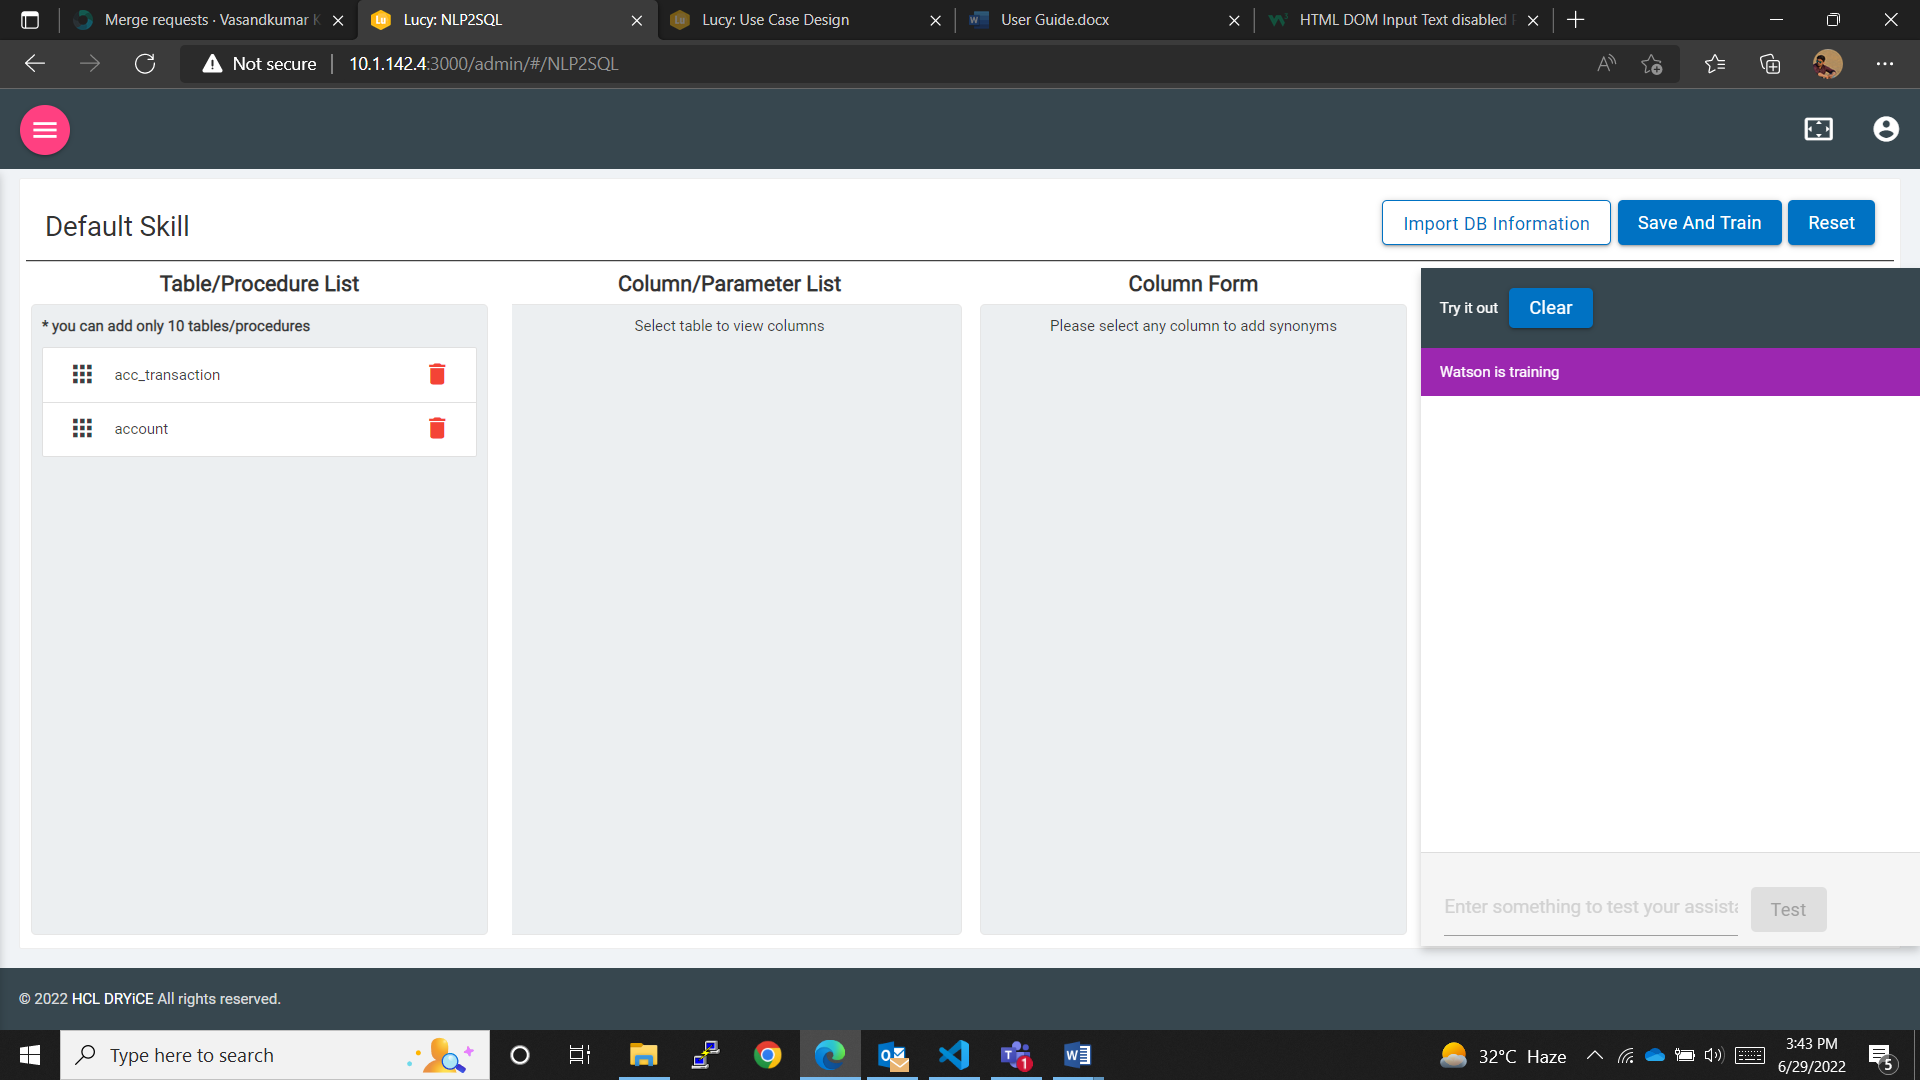
As soon as the user uploads any number of tables, two new buttons are visible on the console home page. These are:
- Save And Train Button: To save the changes made, such as tables/procedures added, changes made to the datatype of the table columns, added utterances and variations or synonyms, values, etc., and to train the skill created initially by the user with the available database information.
- Reset Button: To reset the console to its last saved state.
The uploaded tables are available in the Table/Procedure list. The user can delete the table if required using the delete icon.
- Uploading CSV files to import database information.
- Click on the third input field, where “choose CSV file” is written or on the last browse button.
- The user will be able to browse through the existing CSV files in their corresponding device.
- After selecting and uploading the required CSV file, the pop up window will look like the following.
The user can see a new button now, which is “Upload CSV File”.
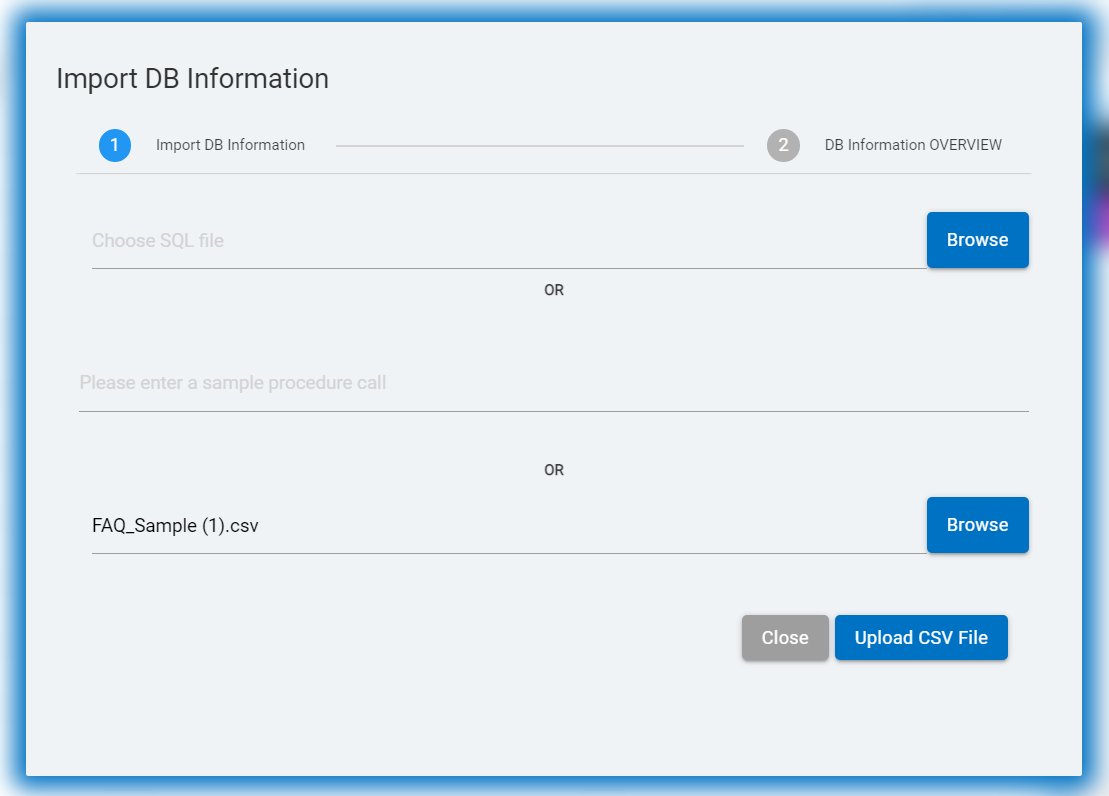
On this page the table available in the CSV file is listed with the name “Table.” The name for the table can be given in the input field available by the user.

- Click on ‘Table’ to expand the menu and allow the user to see all the columns available in the CSV file.

- Write down a table name in the input box.
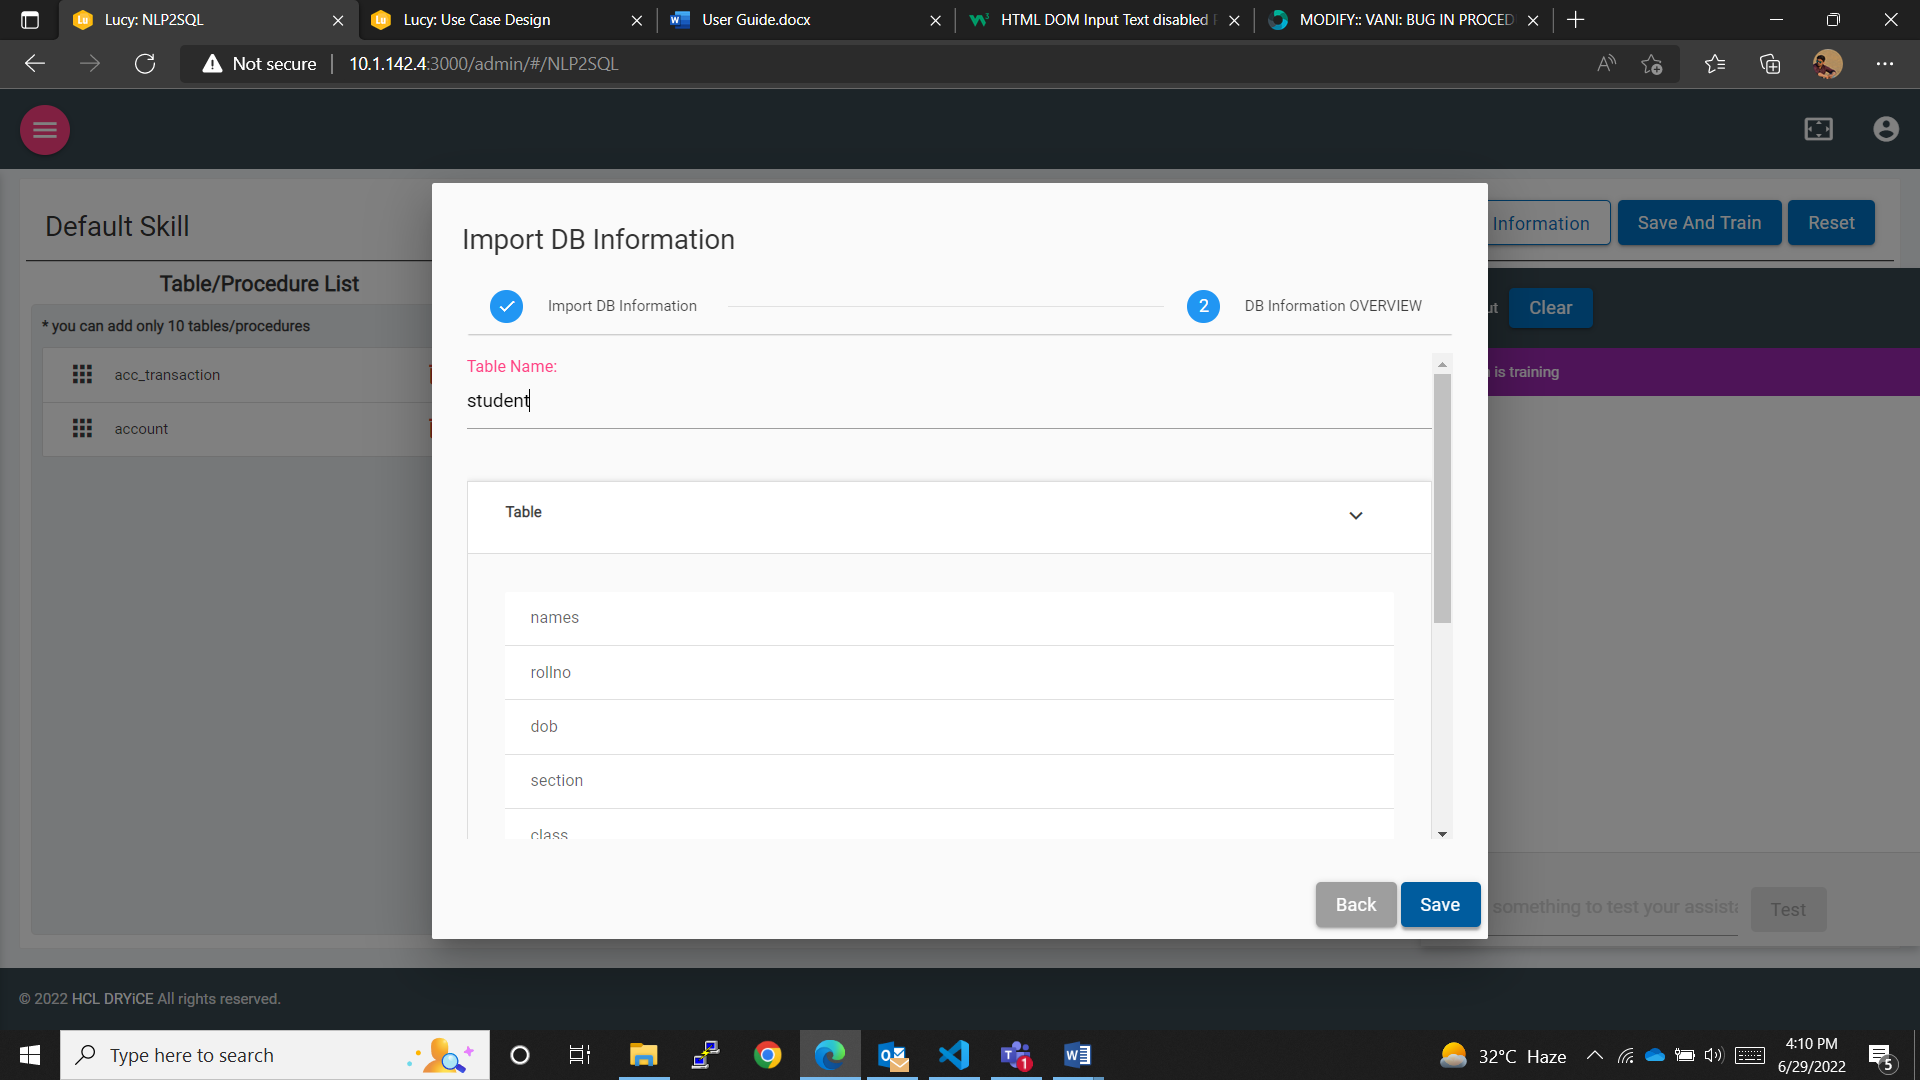
- Click on the Save button and the table is listed out same as for SQL file.
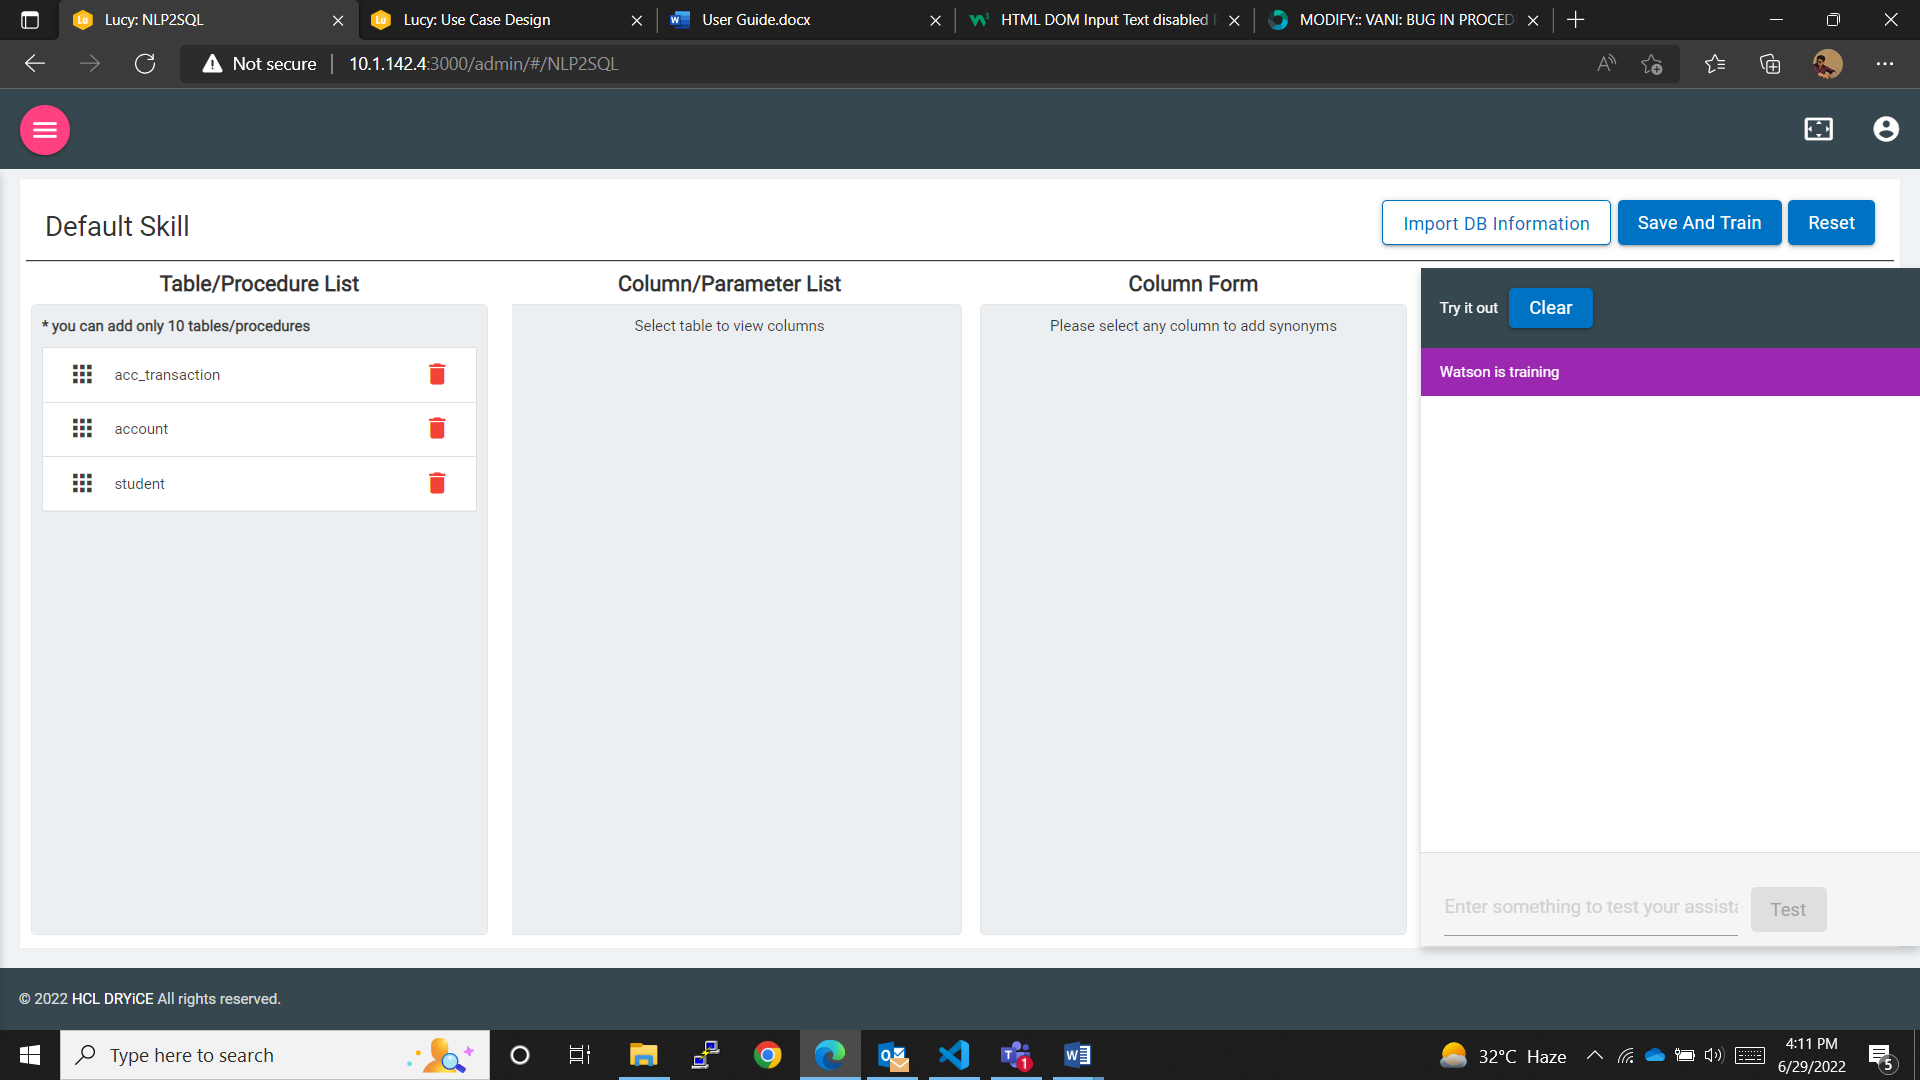
Here the newly added “Student” table from a CSV file is visible in the Table/Procedure list.
- Uploading stored procedures to import database information.
- Click on the second input field, where “Please enter a sample procedure call” is written and input a procedure call.
- Sample for procedure call is given below:
EXEC SelectAllCustomers @City = "London", @PostalCode = "WA1 1DP";
- After inputting the sample procedure call, the pop up window will look like the following.
- The user can see a new “Add procedure” button now.
Figure 17. Figure 249 – Add Procedure button 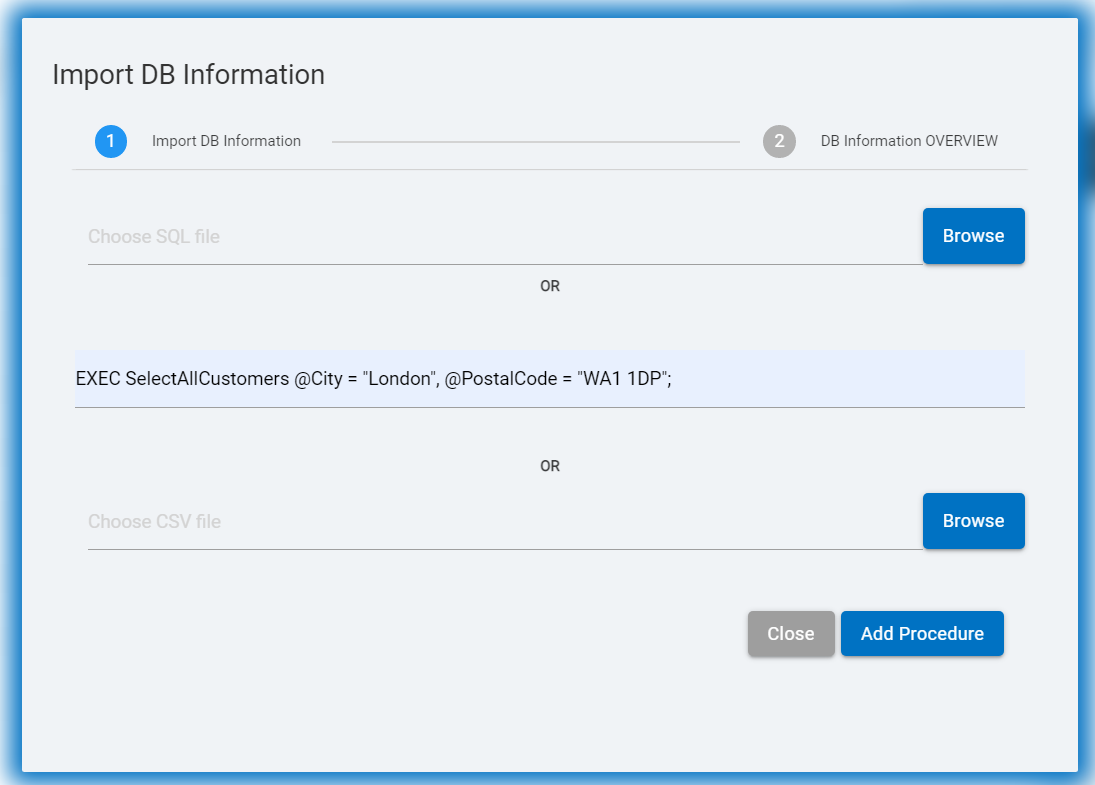
- Click on the “Add Procedure” button, and the user will be redirected to the next page.
- Click on the procedure name mentioned on the page, and the menu will expand and display the parameters for the same procedure.
Figure 18. Figure 250 – Expanded menu 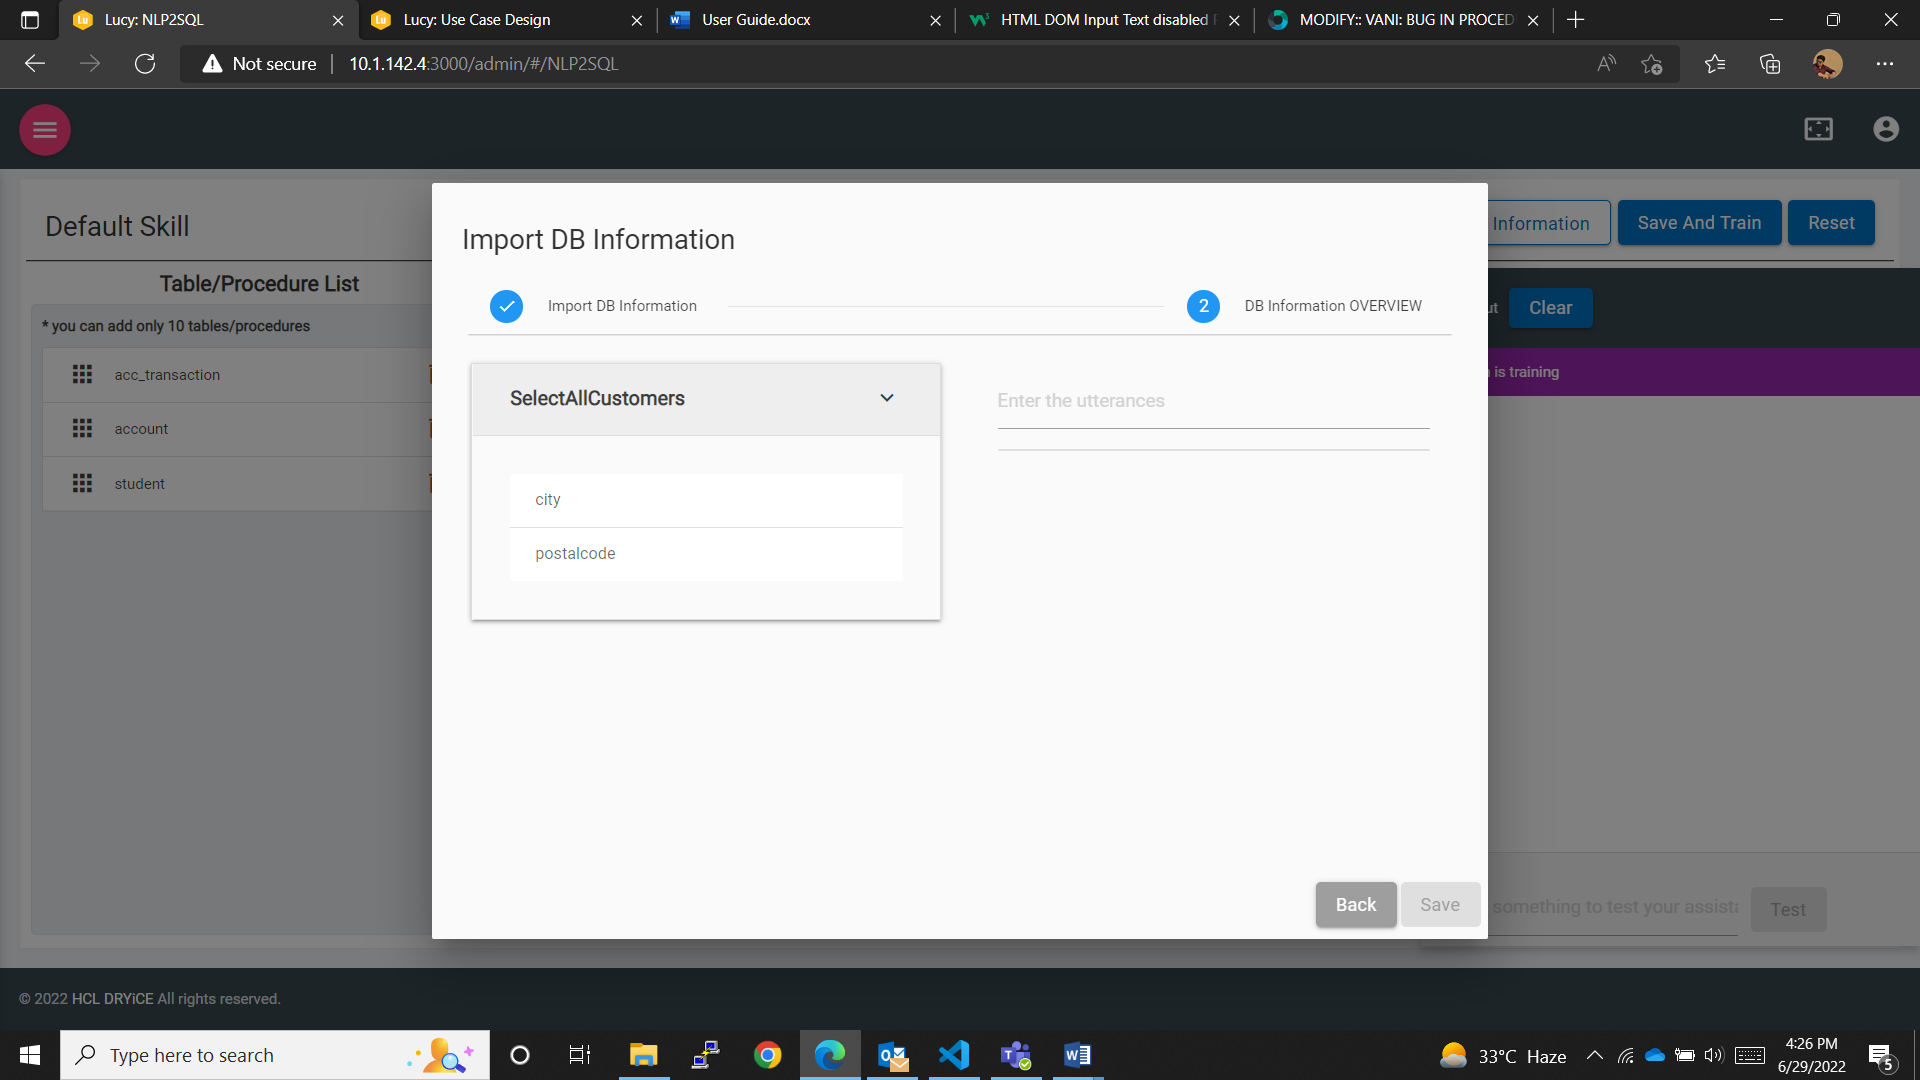
- Enter the utterance samples on the write hand.
- The user needs to enter at least one utterance sample to upload
and save the procedure.
Figure 19. Figure 251 – Utterance samples 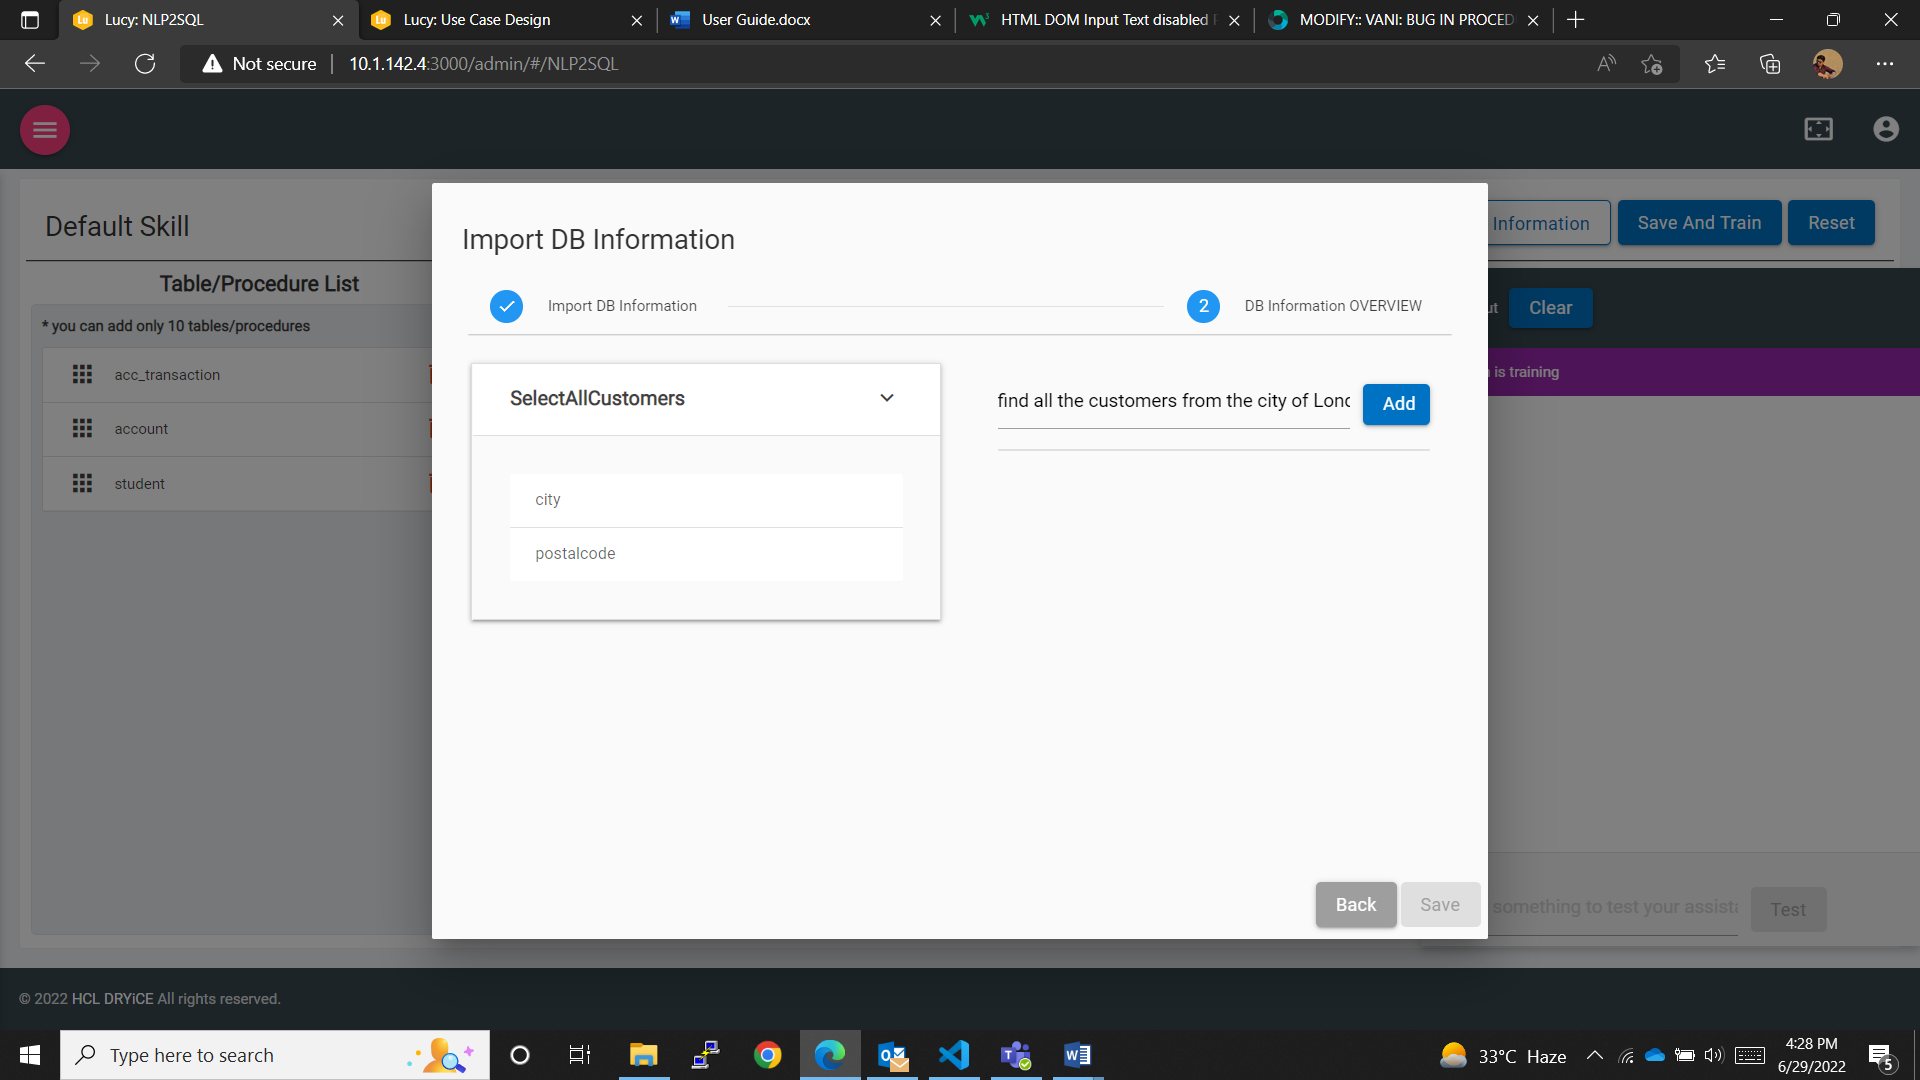
- Click on the “Add” button, and the utterance will be listed below the input field.
- Save button will be enabled.
Figure 20. Figure 252 – Save button enabled 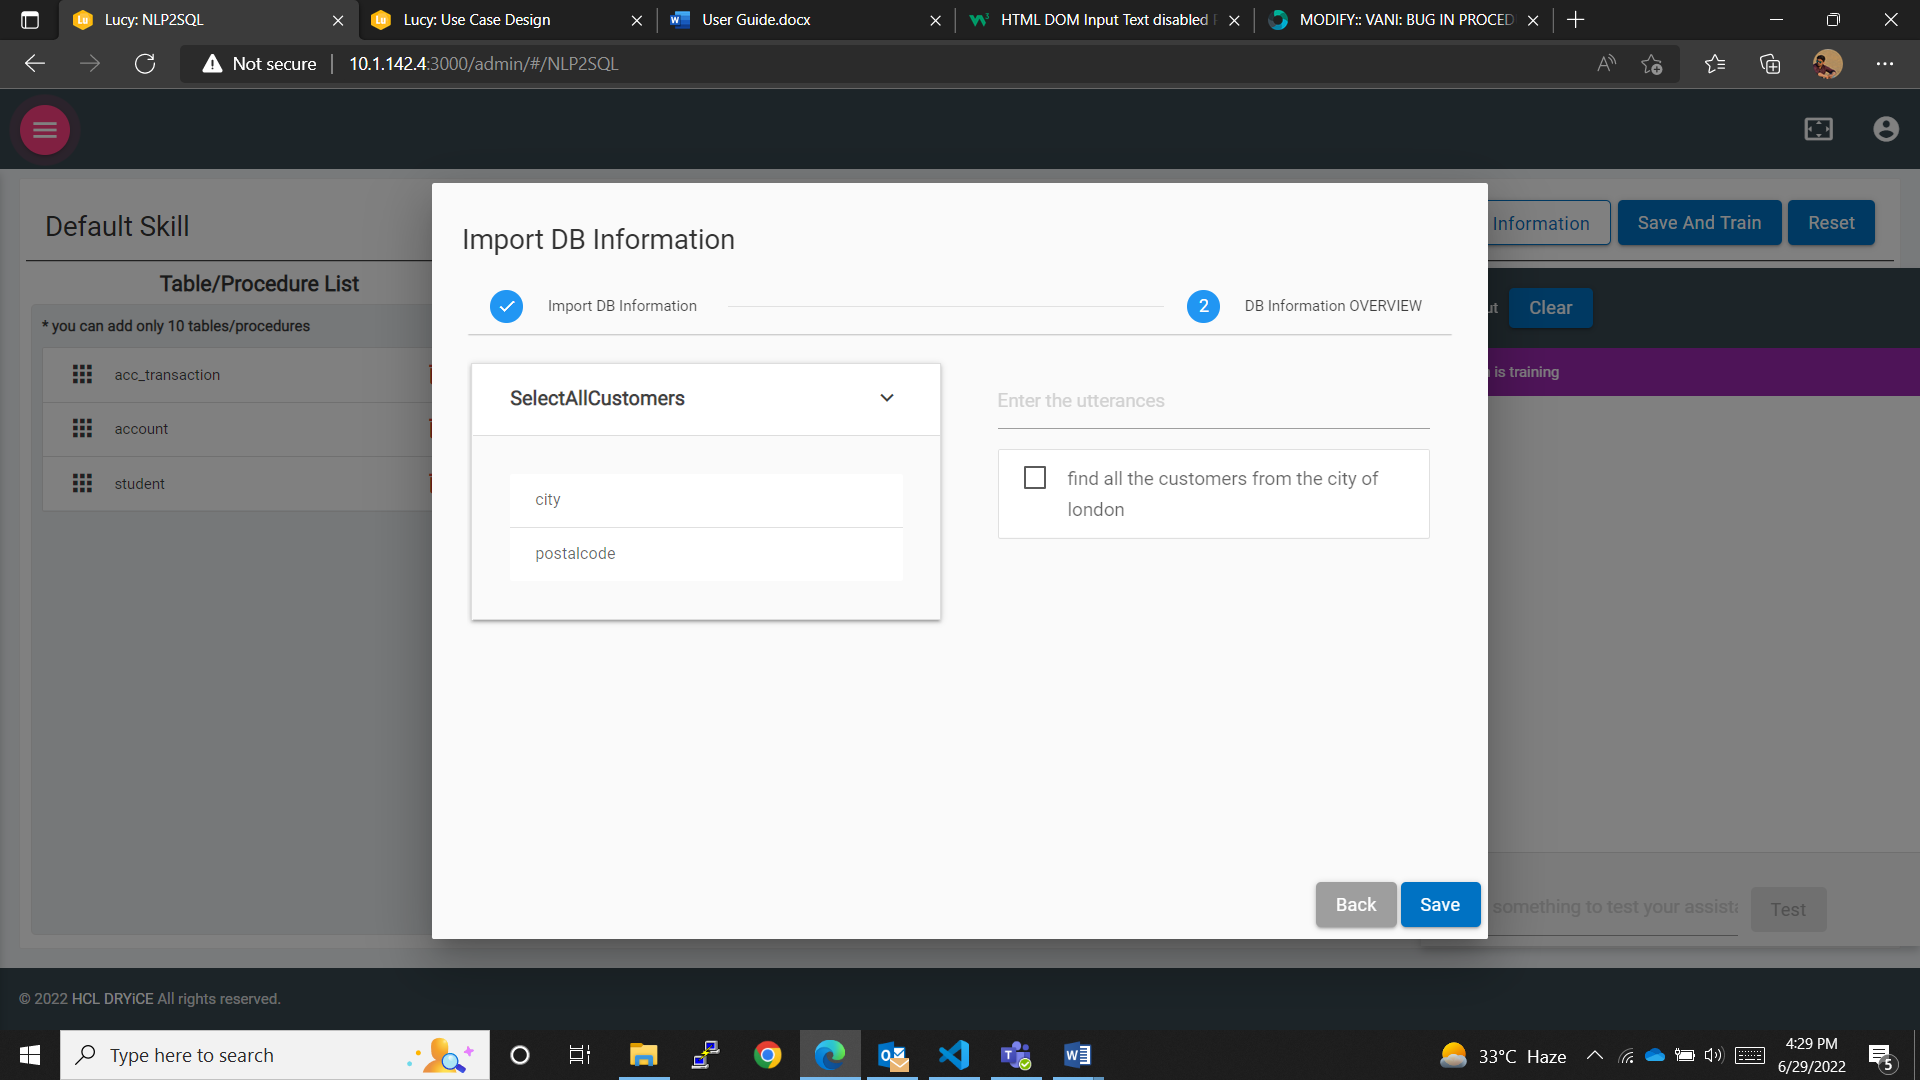
- Click on the “Save” button and the procedure will be saved.
- If the user wishes to delete an utterance, they can click the
checkbox and click on
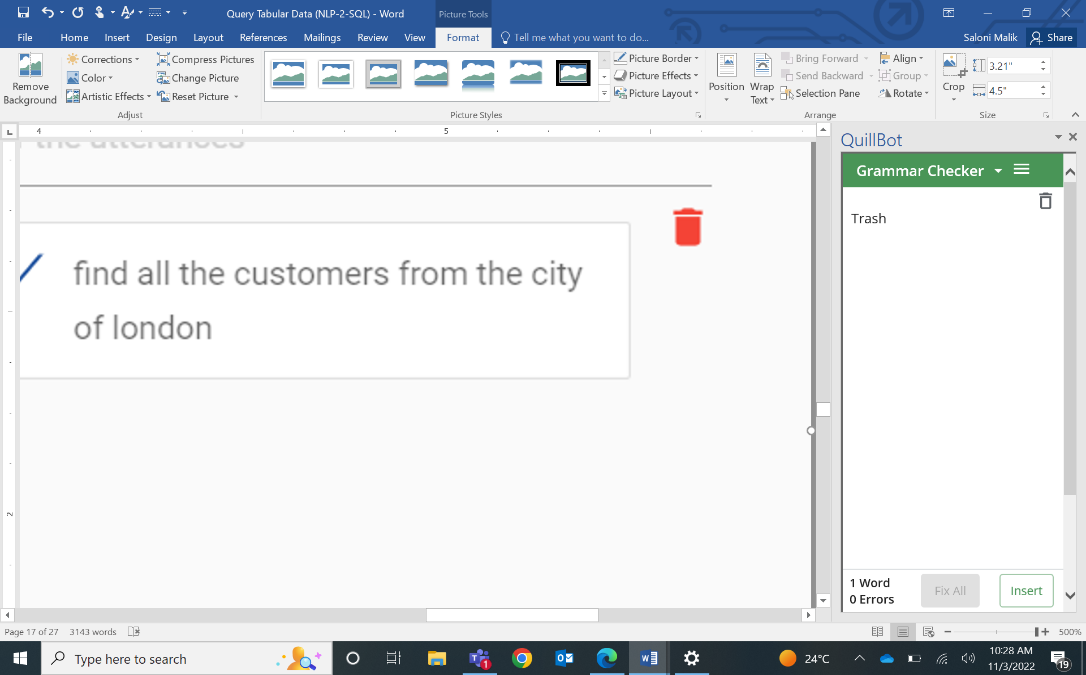 that
will
that
will - appear as soon as an utterance is selected.

The user is redirected to the home page and the procedure is listed in the Table/Procedure list.
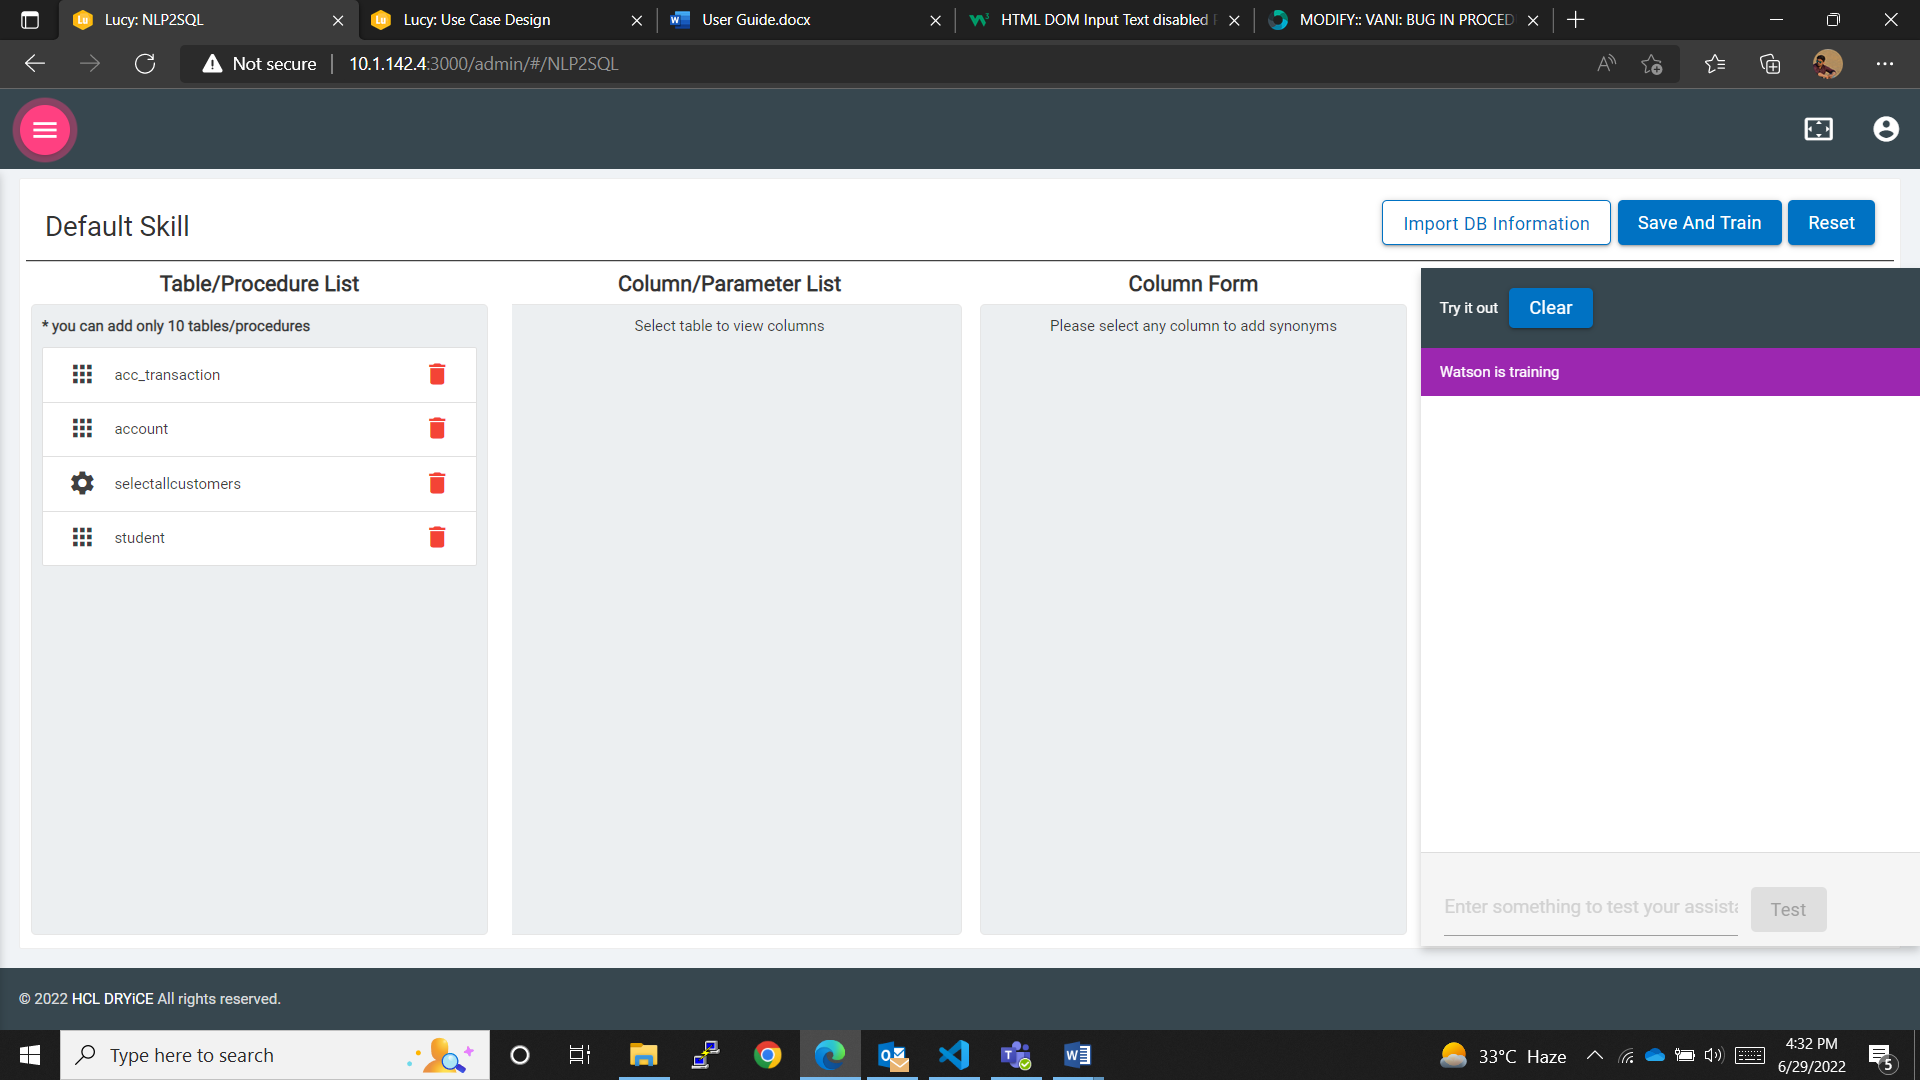
The tables and procedures can be differentiated by the icon before them. selectAllCustomers is a procedure, and it has a different icon from account or student, which are tables and have a different icon.
After importing the DB information the user has to use the “Save and Train” button to save and train the changes made to the skill. After the training is completed the user can use the “TRY IT” window to test the skill.