Agent Transfer
Agent transfer page allows admin users to configure the agents details, routing rules, custom predefined message for agents and users to be displayed during conversations, and the custom predefined emails to be sent to agents during the unlikely scenario of agent transfer being unsuccessful. After configuring the agent transfer details, make sure the corresponding package file is installed in the channel to establish connection between the agents and users.
Configure Channels
To configure channels, follow the steps below:
-
In the homepage, click the three dots at the bottom of the left pane > Settings > Virtual Assistant > Interested Project > Agent Transfer.
- In the Channel drop-down list, select the channel from which the agent can interact with the user. Currently, IntelliService supports only Microsoft Teams.
- In the Project drop-down list, select the project. By default, the common project is configured to allow agents to directly interact with the user. It is advised to include another project in the virtual assistant and configure agent transfer for this newly included project.
- In the Geography drop-down list, select the country for which you would like to configure the agents. The users of a country will get connected to the agents configured for that country.
- Click SAVE SETTINGS to save the channel configurations.
Configure Agents
To configure the agent details, follow the steps below:
-
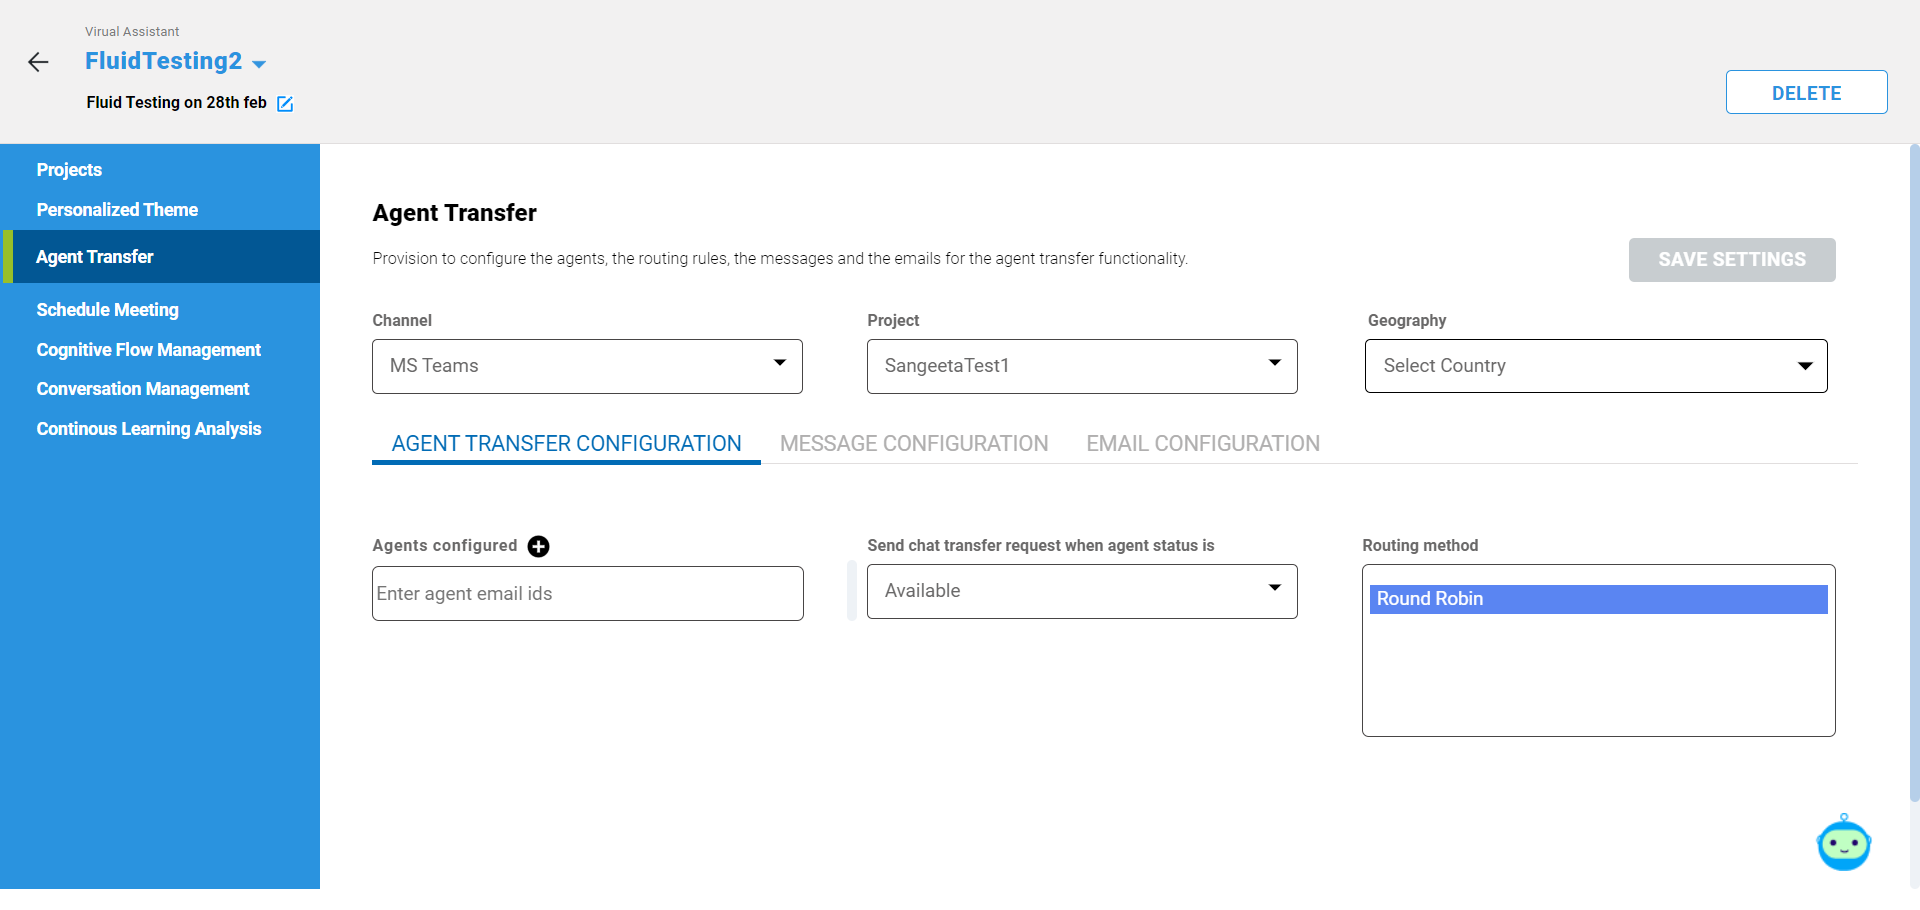
1. After the above channel, project, and geography selections in the Agent Transfer page of Virtual Assistant, in the AGENT SETUP CONFIGURATION tab, in the Agents configured list box, enter the email addresses of agents.
Note: make sure the agents are logged in the Teams and status is available.
- In the Send chat transfer request when agent status drop-down, select the status of the agents based on which the chat conversation will be initiated with the user.
- By default, Round Robin method is selected in the Routing method field to identify the agent to be connected to the user.
- After making necessary configuration, click SAVE SETTINGS to save the changes.
Configure Agent Messages
The message configuration section allows you to configure custom message to be displayed either to user or to an agent during conversation. This section contains the Messages Shown to Agent and Messages Shown to User fields. In the Messages Shown to Agent section, you can include customized text messages to be displayed to the agents for multiple scenarios such as for greeting the agent, for sending the chat transfer request to the agent, and so on. Similarly, in the Messages Shown to User section, you can include customized text messages to be displayed to the users for multiple scenarios such as when user initiates agent transfer, when agent ends the live chat, when all agents are busy, and so on. While making the changes, make sure the interested channel, project and geographies have been selected.
Configure Email Settings
To configure details of the emails sent to agents and messages shown to end user when agent transfer is unsuccessful, follow the steps below:
- After the channel, project, and geography selections in the Agent Transfer page, on the Email Configuration tab, in the options, select Email sent to Agent. Based on the selected option, Email configuration fields will be displayed.
- In the Subject of email field, enter the subject of the email, which is to be sent to the agents when all the agents are busy.
- In the To email ID field, enter the email addresses of all the agents in comma separate value.
- In the Body of email field, enter the custom message to be included in the email body.
- Enable the Send conversation log toggle button to send the conversation as attachment along with the email. After making the change, click SAVE SETTINGS.