Conversational Designer
Conversational Designer is a no/low-code drag and drop flow editor to easily create workflows by dragging and dropping the action nodes or the pre-built templates. The flow editor requires minimal coding knowledge to design common tasks, such as sending of emails, creation of records, or integration with external systems. In the unlikely scenario of being unable to design flows using the available action nodes, a script node is also available for adding custom code or logic using JavaScript.
Building automated workflows/conversational chatbot
Building a chatbot requires designing/defining, developing flows and training the chatbot. To start with, decide the type of intent and plan the design and requirements.
Define Intent
Before designing the conversational flow, define the possible question or phrases as intent. These intents will trigger the conversational flow.
To begin designing a new flow based intent, go to the project page and follow the steps below:
- At the top right of the project page, click ADD > NEW INTENT, and enter intent name and description.
- Click SAVE. As a result, the new intent will be listed under ACTIVE INTENTS list.
- Click the three dots next to the Intents, and select VIEW/EDIT option to view the TRAIN page.
-
In the TRAIN page, click the plus icon next to the Phrases to add phrases that can be used to trigger the intent.

- Click Save. As a result, the new flow is created in the intent flow page.
Build flow
Once the intent is created, follow the steps below to create a flow:
- At the top right of the project page, click ADD > NEW FLOW, and enter flow name.
- Click SAVE. As a result, the new flow will been created in the Flows section.
- Select the newly created flow, and navigate to the TRIGGER tab.
- Click the plus icon to add a trigger. In the Add Trigger Details page, select the Intent based option from the Trigger type drop-down list.
- Select a preferred intent in the Intent name drop-down list to trigger the newly created flow.
- Alternatively, you can select Timer based option, and set the
following options.
- Frequency* - select hourly, daily, weekly or monthly option to trigger the flow in the set frequency.
- Start Date* and End Date* - select the start date and end date to initiate and end the trigger starting date and ending date to execute the flow.
- Start Time* and End Time* - select the start time and end time to initiate and end the trigger starting time and ending time to execute the flow.
- Timezone - select the timezone to set the timezone to initiate the flow.
- Click Submit, and navigate to the DESIGNER tab to create the flows.
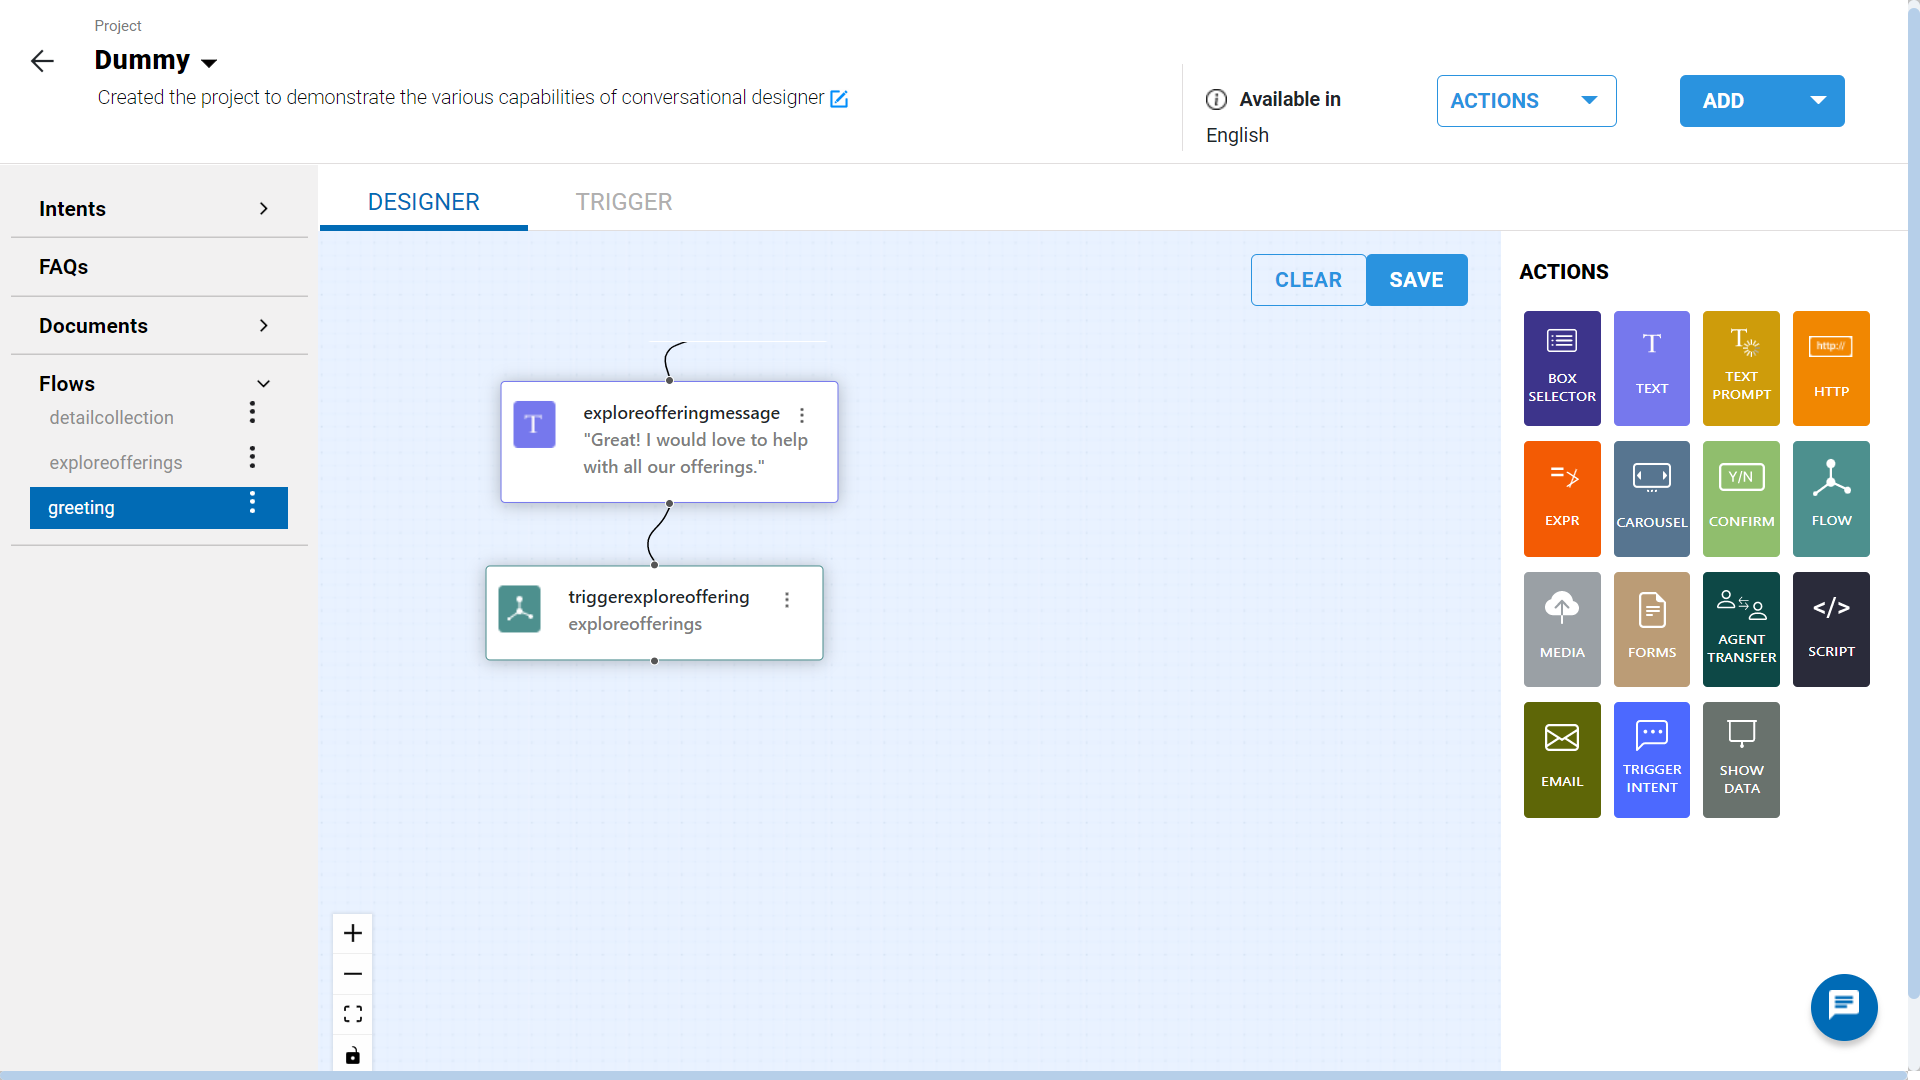
The DESIGNER tab contains the editor pane, the action nodes under the ACTION tab and the templates under the TEMPLATE tab. In the new flow, the default start node will be available in the editor. You can drag the action nodes and the templates from the ACTION and TEMPLATES tabs respectively and drop them on to the editor. By placing the above nodes/templates in a sequential order, any automated workflow or conversational flow can be easily designed.
Train flow
Intents are trained using the phrases that the user might ask during conversations. During the interaction, when the user queries contextually match with the trained phrases, intents get triggered which in turn trigger the mapped flow. Additionally, the continuous learning algorithm expand the phrases list with the user conversations.
To train the intent, follow the steps below:
- In the Intent page, on the ACTIVE INTENTS tab, click the three dots next to the intent and select the View/Edit option.
- Enter a phrase to be able to trigger the right intent upon receiving a user query. To add multiple phrases, click the + icon next to the Phrases and enter the phrases.
- Click Save. As a result, the underlying NLP model will be trained, adequately.
Configure SmartFAQ
Configuring SmartFAQ is as simple as that you can either upload or drag and
drop the documents into the FAQ flow and perform the queries in the chat
bot. To configure the SmartFAQ intent, in the project page, under Document
> FAQ tab, you can drag and drop or upload the document. Alternatively,
you can either manually add the questions, alternate questions and there
response as well, or select the source as Upload FAQ from URL and enter the
source website url to fetch FAQ from a website.
Test Chatbot
After designing, building and training a chatbot, click the chat icon at the
bottom right of the page, and perform the user conversation.
SmartFAQ response for sample FAQ document