
Creating a requisition list
Users can create a Requisition List by using the Create Requisition List button.
About this task
To create a Requisition List, click the Create Requisition List button on the Requisition Lists page. In the drop-down menu, enter the Requisition List Name, select the desired Visibility (list-type), and click Create List. This newly created list will be displayed in the Requisition list table.

A requisition list has two types, private or shared. A private requisition list can be viewed and modified only by the creator of the list. A shared requisition list can be read and used by the users in the same organization but can only be modified by the creator of the list. In this case, the creator becomes the administrator of the shared list and the others are contributors. A contributor can only add the entire requisition list or individual items to the cart and checkout the shopping cart.
To add an item to the requisition list, a user must first go to the Product Display Page (PDP) and select the required requisition list name from the drop-down (if the list is already created) or create a new requisition list and then add the product to the newly created list.

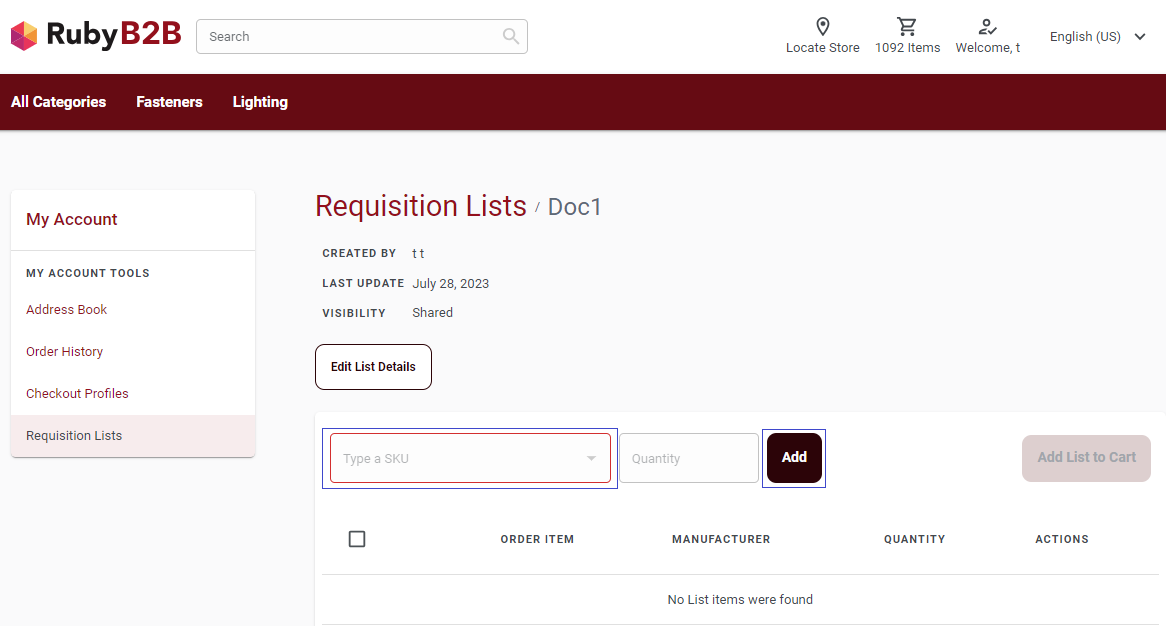
Click the Add button to add more products to the requisition list. Alternatively to add a new part, user can also type name or the part number of the desired item in the Type a SKU box, then select the desired product from the list of product names and its quantity, and then click Add.
To edit the requisition list details such as name or visibility (type of requisition list), users must click the Edit List Details button and then click the Save Changes button.
If a user wants to make a minor modification in an existing list without changing the items of the list then user can also create a copy of an existing requisition list and modify the list items accordingly. To copy an existing requisition list, user must click the Copy List button from the Actions column against the respective requisition list name, enter the desired list name in the Copy List pop-up window and click the OK button.