
Migrating DOM-based inventory to Elasticsearch
If you operate a Distributed Order Management (DOM) system, you can import its data into Elasticsearch.
About this task
When HCL Commerce is integrated with an external DOM system, considerable coordination has to take place to ensure that order fulfilment statuses, inventory counts, and pricing is consistently logged across both systems. The default Ingest service does not come with a built-in DOM pipeline, however you can easily alter one of the default pipelines to communicate with the DOM system. The Ingest service is specifically designed for such scenarios, so you can follow the standard set of steps for creating and configuring a connector, with some variation, to enable Ingest support for your DOM system.
Procedure
-
Create a connector. To create the connector using the Ingest service, use the
following API:
http://hostname:30800/swagger-ui/index.html?url=/v3/api-docs&validatorUrl=#/Create%20Connector%20Configuration/createConnectorFor more information, see Creating a NiFi service connector.For more information about customizing default connectors, see Extending Ingest connectors.
-
Configure the connector to accept data from the DOM system. With the variations
described below, you can follow the steps specified in the tutorial Configure the connector in NiFi.
-
Instead of connecting to the Product pipeline, connect the custom pipes to the
auth.inventorypipeline, as in the example screenshot.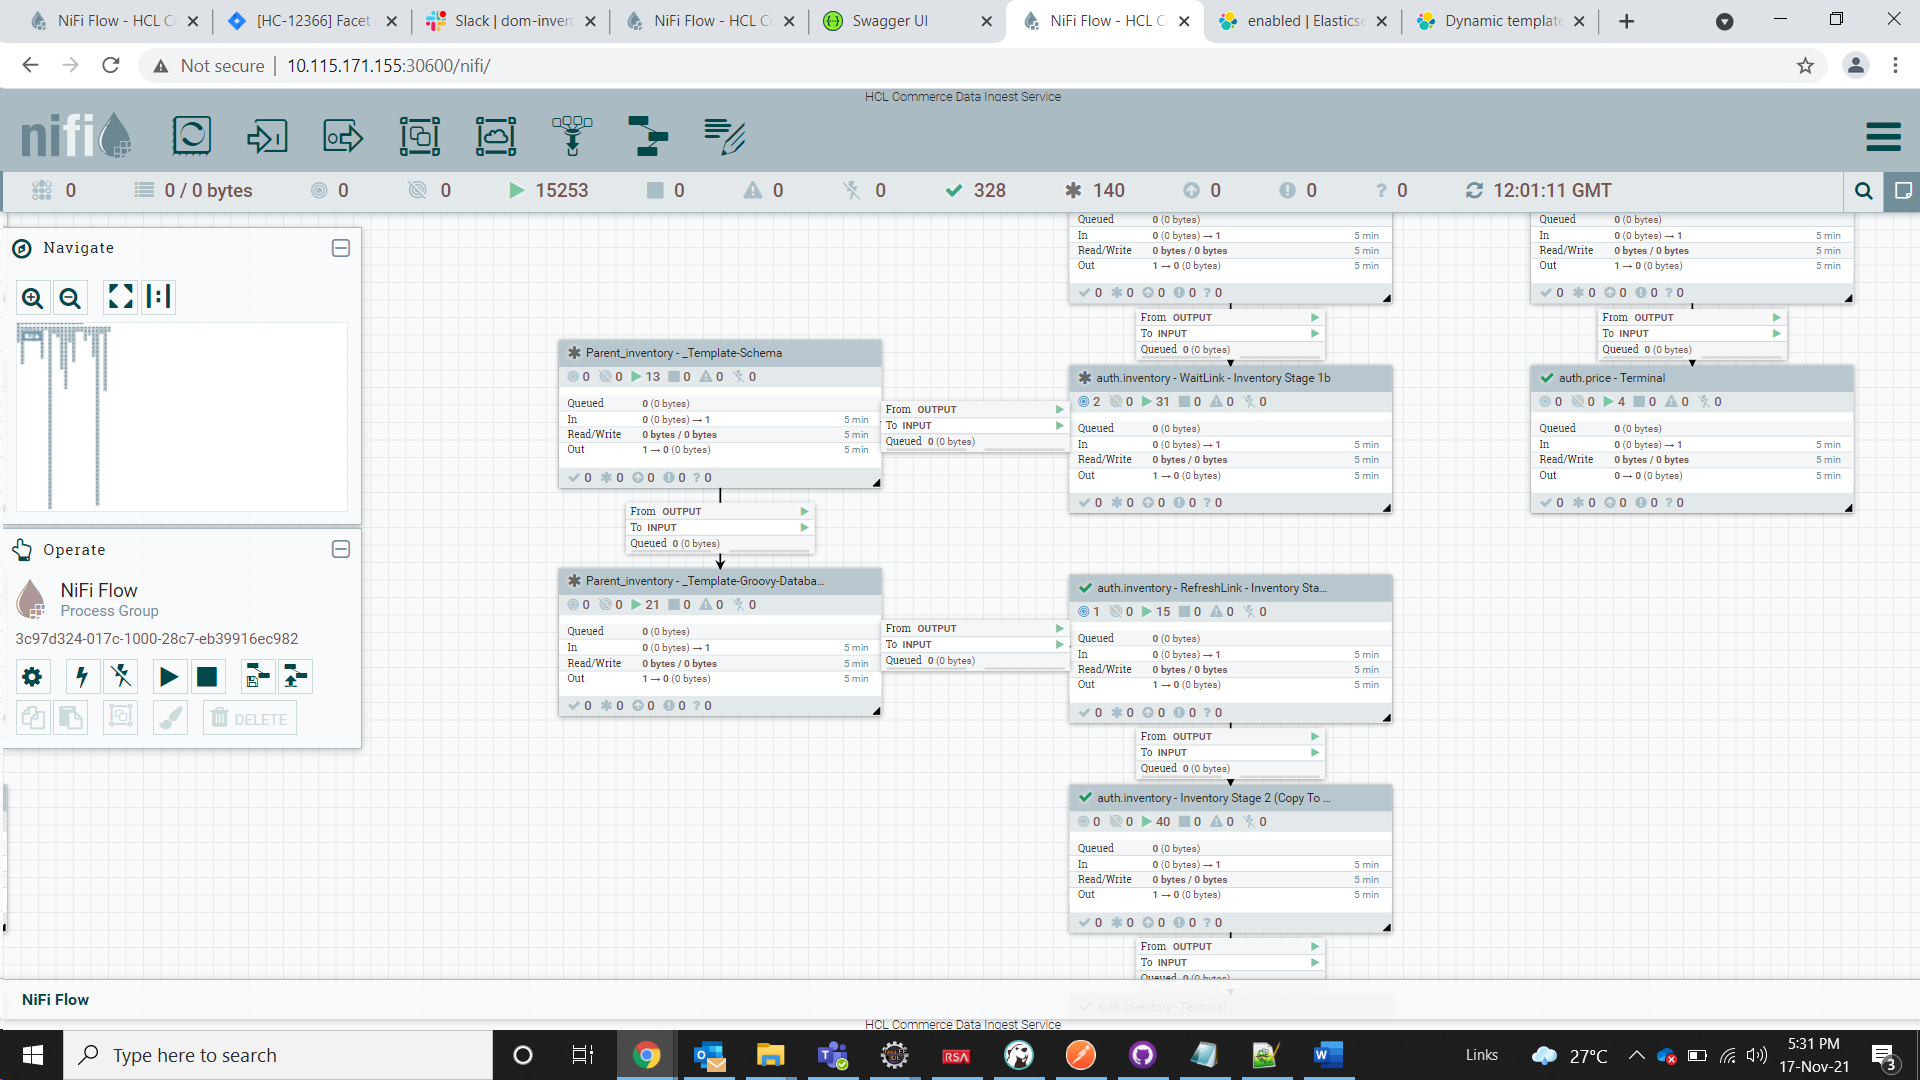
- Build the index.
-
Verify that your data has been imported. To assist you, a sample is provided in
the file index_data.txt that shows how the data is represented in the
inventory index.
You can run an Elasticsearch query to verify that the added data is retrievable. A sample query can be found in the file sample_elastic_query.txt. Replace the appropriate catentry ID in the query to see the results.
If further configuration is required, you can follow the steps in Create the customization in NiFi as needed.