UI Management
This section describes how the UI Management console allows the administrator to customize the web-based chat UI of BigFix AEX. In addition, the administrator can also manage the image assets for the Standard Operating Procedures (SOPs) using this console.
Please refer to the sections on SOPs in the Configuration Guide for more details.
BigFix AEX provides extensive capabilities to customize the user interface that is shown to the end users accessing BigFix AEX’s user console. As an administrator you can easily and intuitively configure the BigFix AEX user console to make it compliant to your custom needs.
Typical change that you as an administrator would make to the system include Color Schemes, Fonts, Logo etc.
After saving the changes made to the system using this console reflect in real-time to the end-users. Thus, due care must be taken while making these changes on a production system, it is advised that these changes should be first made on a sandbox environment and post testing and verification applied on the production instances.
Let us look at an example of what you can accomplish using this console. Figure 86 - Default Web based Chat UI of BigFix AEX shows the default web-based chat UI of BigFix AEX and Figure 87 - Customized Web-based Chat UI of BigFix AEX shows the chat UI after making some changes using this console. Later on, In this section, you will see what and how the changes have been made to create the customized UI of Figure 87 - Customized Web-based Chat UI of BigFix AEX.
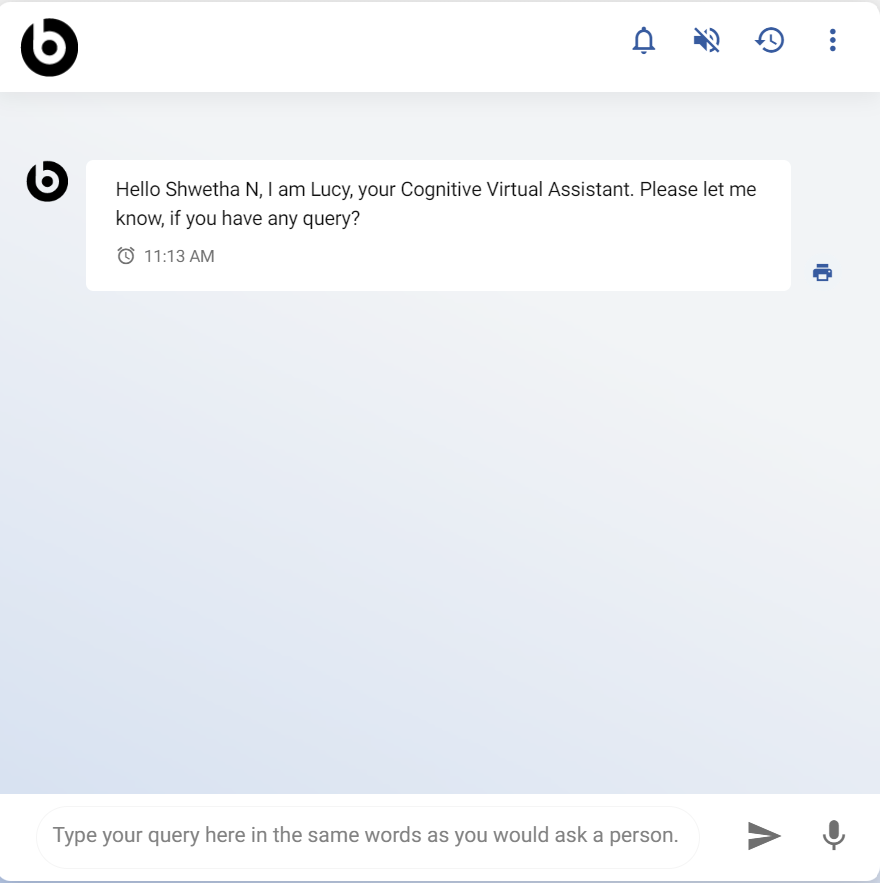
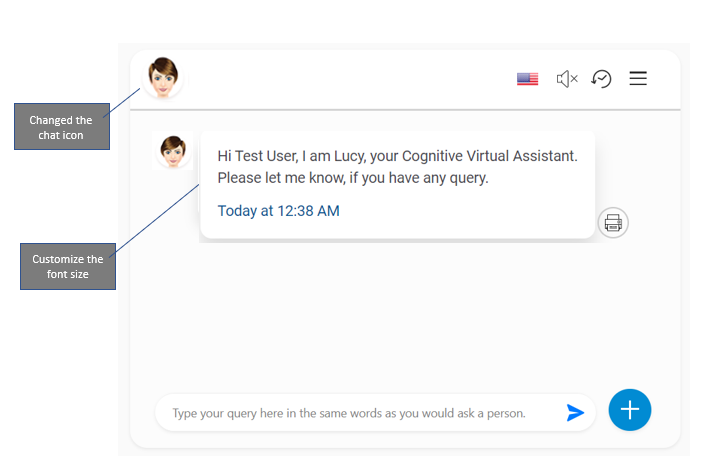
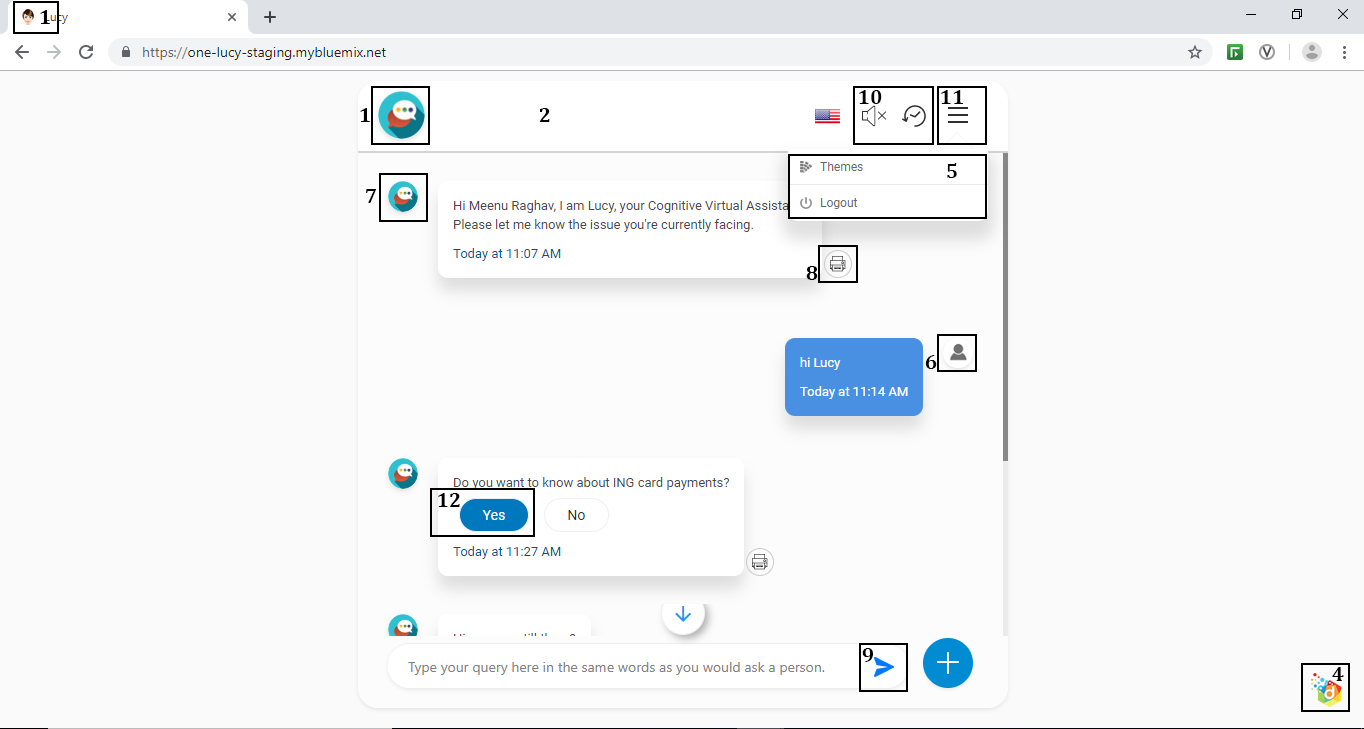
Table 4 - BigFix AEX Web Based Chat UI and Figure 88 - BigFix AEX web-based Chat UI explains the structure of BigFix AEX web-based Chat UI and what all changes can be done.
| Element | Which file is affected | Steps to Change it |
| Favicon | Images/ BigFix AEX-icon.png |
|
| Background color of the Header | css/theme1.css |
|
| Change color of the footer | This will be same for all the themes. | |
| Add client Icon on bottom right corner | css/theme1.css |
|
| Add menu item to the header dropdown |
html/index.html , styles.css and images |
In styles.css add a class here with the same name which you have given in the anchor tag. Eg.:.hadderBtnList .dropdown li a. report { background: url(/assets/images/report-icon.png) no-repeat 12px center/12px; padding-left: 32px;} |
| Change default User profile picture | images/user-pic.png |
Make sure the image is of (35px*35px) dimensions. |
| Change default BigFix AEX profile picture on messages (It will change automatically if you are change the BigFix AEX logo) | Images/default-profile-pic.png |
Make sure the image is of (48px*48px) dimensions. |
| Change icon for Print | Images/print.svg |
|
| Change Send button color |
Click the Check button to see your changes on browser. |
|
| Change mic style (changing this will affect mic icon, image upload icon, speak and speak out icon and chat history icon also.) | css/theme1.css |
Click the Check button to see your changes on browser. |
| Change Hamburger Menu color | css/theme1.css |
Click the Check button to see your changes on browser. |
|
Change button/option color: Color for option button will be same for all the themes, we can only change their hover state. We have other buttons as well. For those buttons, we have to make changes to the following classes: .option_link:hover, .link-btn:hover, .feedback_option:hover |
css/theme1.css |
|
| Message time color | css/theme1.css |
|
| Change User Chat Bubble background | css/theme1.css |
|
| + Floating Button | css/theme1.css |
|
| Image upload button and mic button | css/theme1.css |
|
| Scroll to bottom button color | css/theme1.css |
|
| Change color of Title of pages like: Chat History, Conversation History, Themes | css/theme1.css |
|
| Background Heading of the page | css/theme1.css |
|
| Back button on heading of the page | css/theme1.css |
|
| Color of conversation name on conversation history page | css/theme1.css |
|
| Theme buttons (Color for option button will be same for all the themes, we can only change their hover state.) | css/theme1.css |
|
| Theme Thumbnail | Images |
|
| Theme name | html/ChangeTheme.html |
|
| Theme swatch color | css/theme1.css |
|
Above change will reflect on Theme1.css and after making above changes new theme will be our default theme. Please refer below screenshot for better understanding of the above points
The below steps will take you through the various options in “UI Management” and how to configure them.
- On the Cognitive Console home page, click the UI Management module.
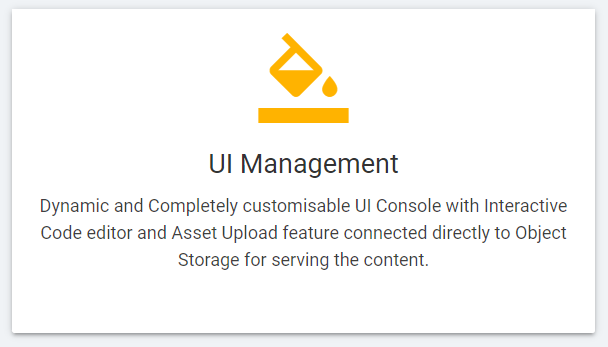
Figure 5 - UI Management Console Link on the Cognitive Console of BigFix AEX
- You are directed to the UI Management console.
Figure 4. Figure 89 - UI Management Console Home Page 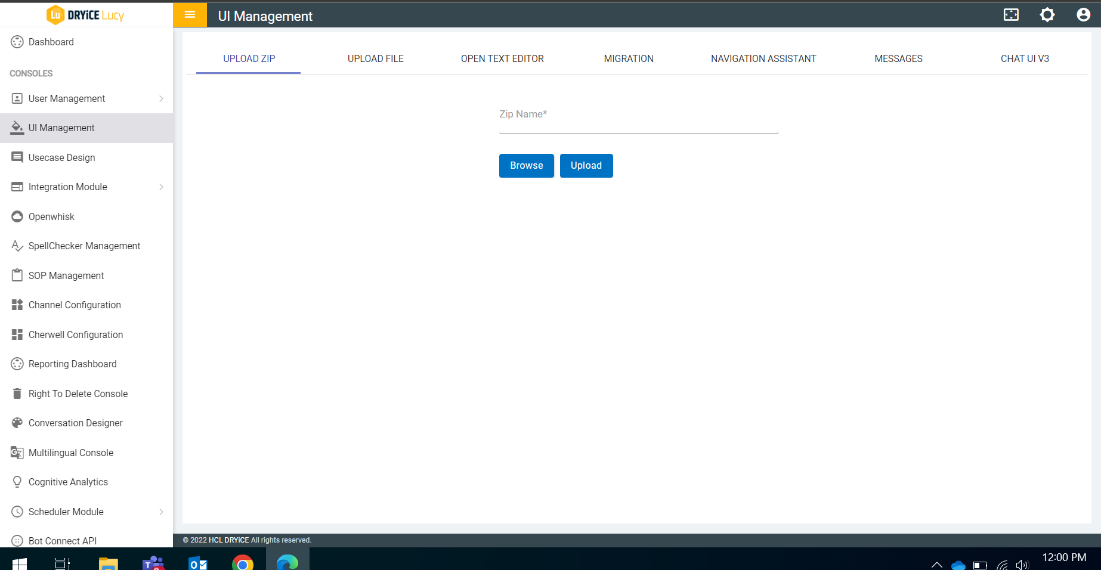
- The UI Management Console has the following tabs:
- Open Text Editor - Make real-time changes to the code online without downloading and opening a file on a desktop code editor.
- Upload File - Upload individual files to update changes in the selected files.
Only html, image, css, or font file can be uploaded.
- Upload Zip - Upload a zipped collection of files in a batch instead of uploading each file individually.
The zip file needs to follow a particular structure. The root folder in the zip file should be called “public”. This should be followed by various child folders of the “public” folder – “images”, “fonts”, “css”, or “html” The individual files should be placed only within these child folders. Also, no folder or file should be named public other than the root. Also, no script tags can be present in the html file otherwise the html file will not be saved on the server.
- Migration - Migrate the entire UI from one BigFix AEX instance to another instance. For e.g. from the sandbox instance to the production instance.
Before making any changes to the files it is a best practice to take a back-up of those files. To take the backup, navigate to the following URL. This will download the file in the downloads folder of your machine.
https://<InstanceUrl>/assets/Filepath/FileName
For example: https://one-BigFix AEX-staging.mybluemix.net/assets/js/index.js.
Any editing performed using the following methods will be saved and confirmation provided instantly but changes to reflect on the main UI may take few seconds to couple of reloads due to server-side, browser-side and network level caching of assets.