Import
A backup can be restored by clicking on the Import button. Clicking on the button, fetches a list of backups present on the cloud, for that console, sorted based on the most recent backup created. The naming convention of the file has been kept for the ease of end-user which goes by the format: Backup_Console Alias_Timpestamp
For example: Bakup_datapoint_2020-09-18T-09-53 illustrates the backup file for data point console followed by the date and time the backup was created.
The user can select the file from the list of backups present and click on restore as shown in figure below:
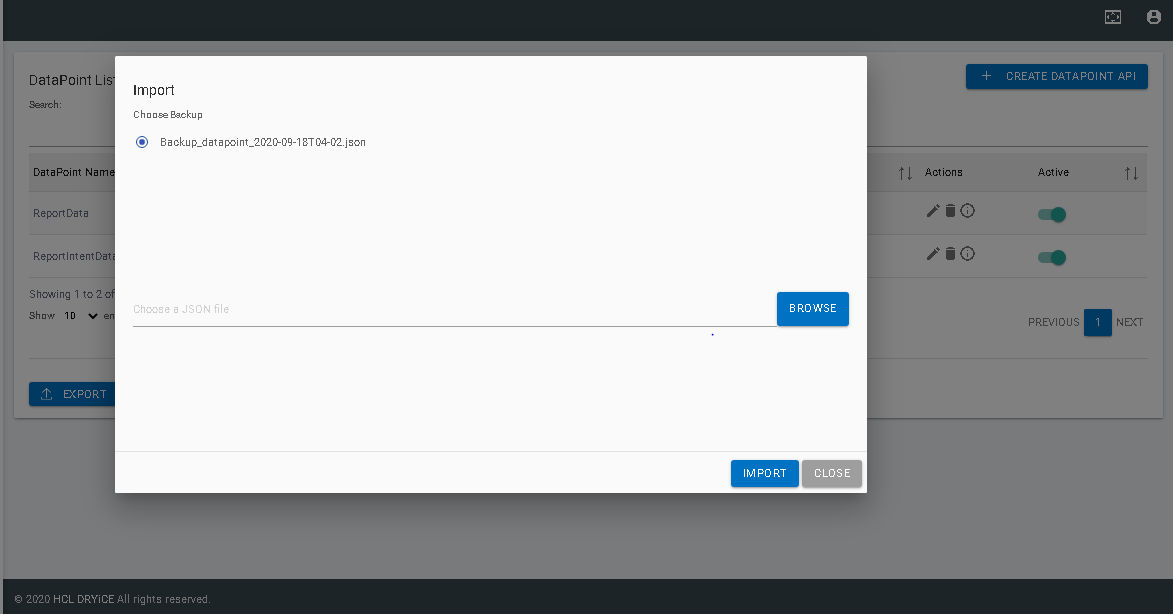
If the list of backups is empty, the user may select a file from his/her local machine if he/she has the backup file of the respective console, saved locally. This can be done by clicking on browse button, selecting a file from the local machine, and following the same procedure mentioned above.
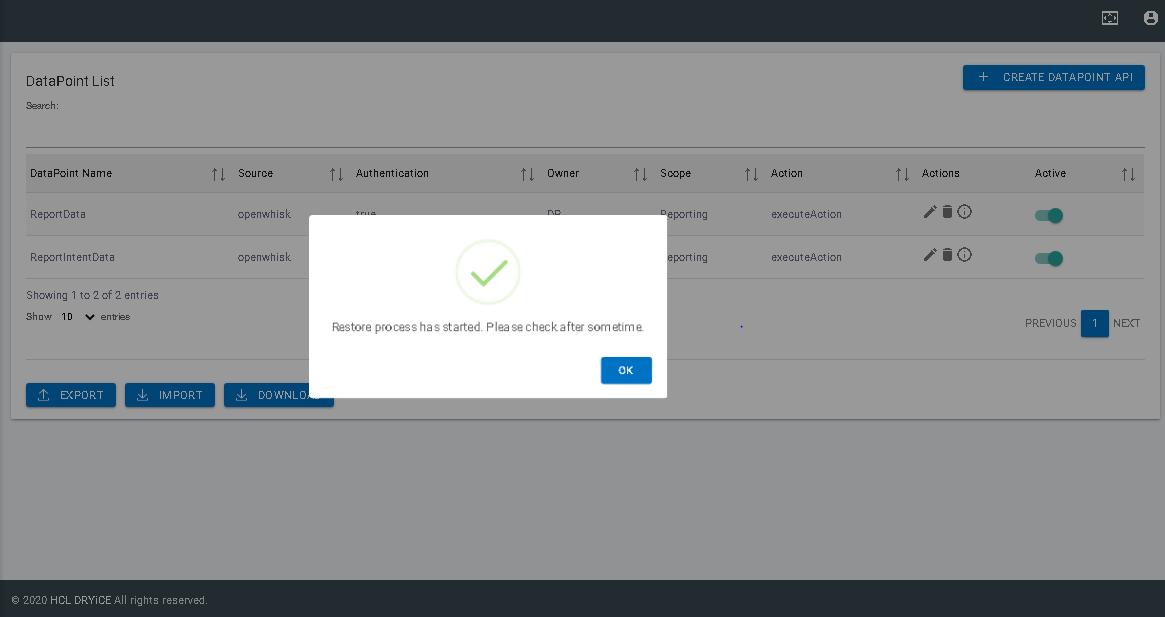
On successful initiation of restore process, the user can see the message as shown in figure 6:
- Restoring a backup may take some time depending upon the data present inside the file.
- Restoring a backup replaces all the current data present in the console with the data present in the backup file. Once the files are replaced, the process cannot be reversed. The user is required to be cautious while restoring a backup.