Add New Group
- Click the Add Group button, you are redirected to the Create Group page.
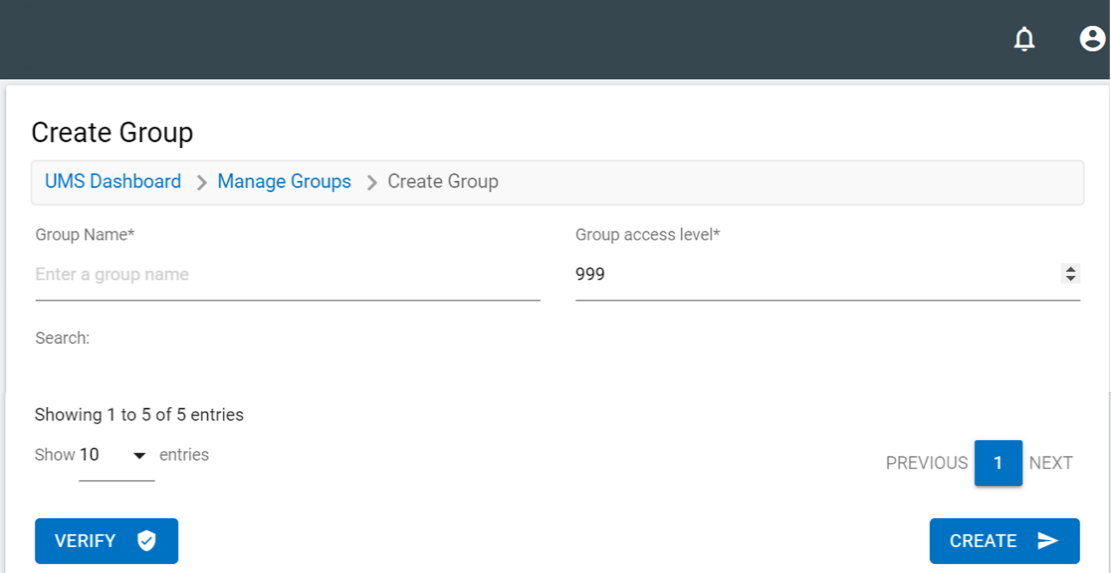
- Fill in the following details:
- Group Name - A unique name.
- Group Access Level - A numerical value between 0 to 999 where 0 is the super admin level and has access to all the routes. Lower the number of group access level more is the number of routes a user gets access to. This number corresponds to the value which has been provided in the routes Thus if you want to provide access to a Group for all functionality/routes above a number, that selected number should be entered as the Group Access Level. Thus entering 0 here would mean access to all features. Similarly, entering 100 would mean any functionality/route having a number greater than or equal to 100 would be accessible to this Group. Select the checkbox to assign a User to the group.
- Click Create and a new group is added.
- Click Verify to find the list of routes a user of that group can access.
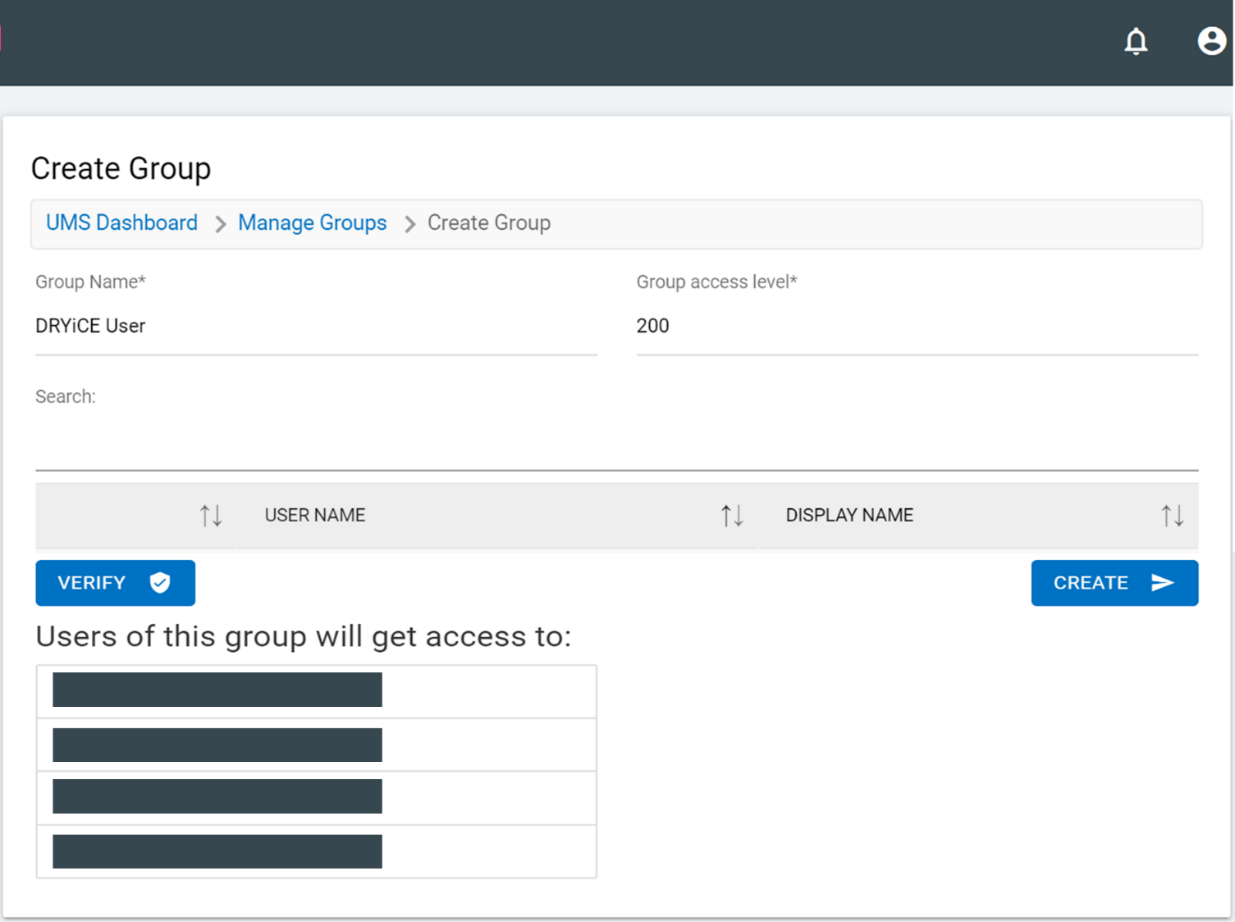
To create a group, at least one user must be assigned to the group.