In this step, you will create the payment plug-in session
bean, which will contain the business logic of the payment plug-in.
Procedure
- Open WebSphere Commerce Developer.
- Open the Java EE perspective.
- Select .
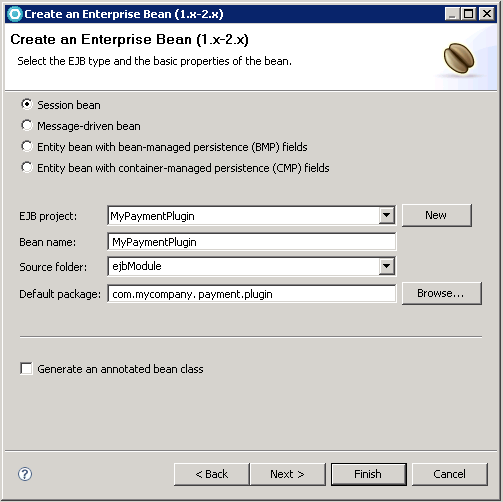
- Make sure that the Session bean option
is selected.
- In the EJB project field, make sure
that MyPaymentPlugin is selected.
- In the Bean name field, type MyPaymentPlugin.
- In the Default package field, type com.mycompany.payment.plugin:
- Click Next.
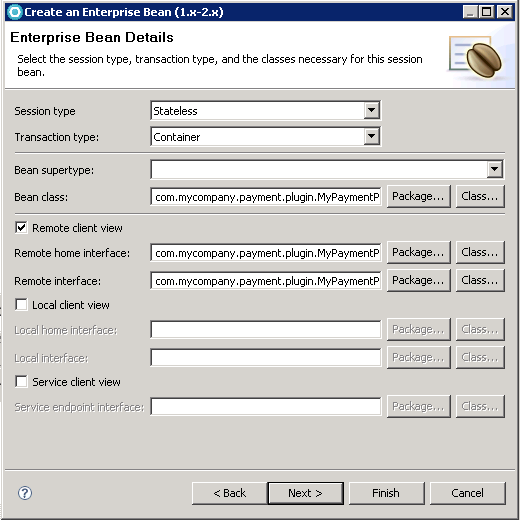
- In the Session type field, make
sure that Stateless is selected.
- In the Transaction type field, make
sure that Container is selected.
- Make sure that the Remote client view option
is selected. The other two options should be left cleared:
- Click Next.
- In the Which interfaces should the remote interface
extend section, click Add.
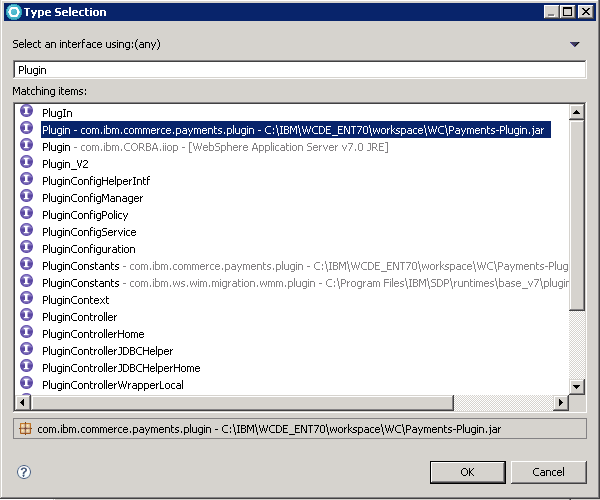
- In the Select an interface using field,
type Plugin.
- In the Matching types list, select Plugin
- com.ibm.commerce.payments.plugin.
- Click OK:
- Click Finish.
- Close the classdiagram.dnx editor. Do not save the changes.