Simple Response
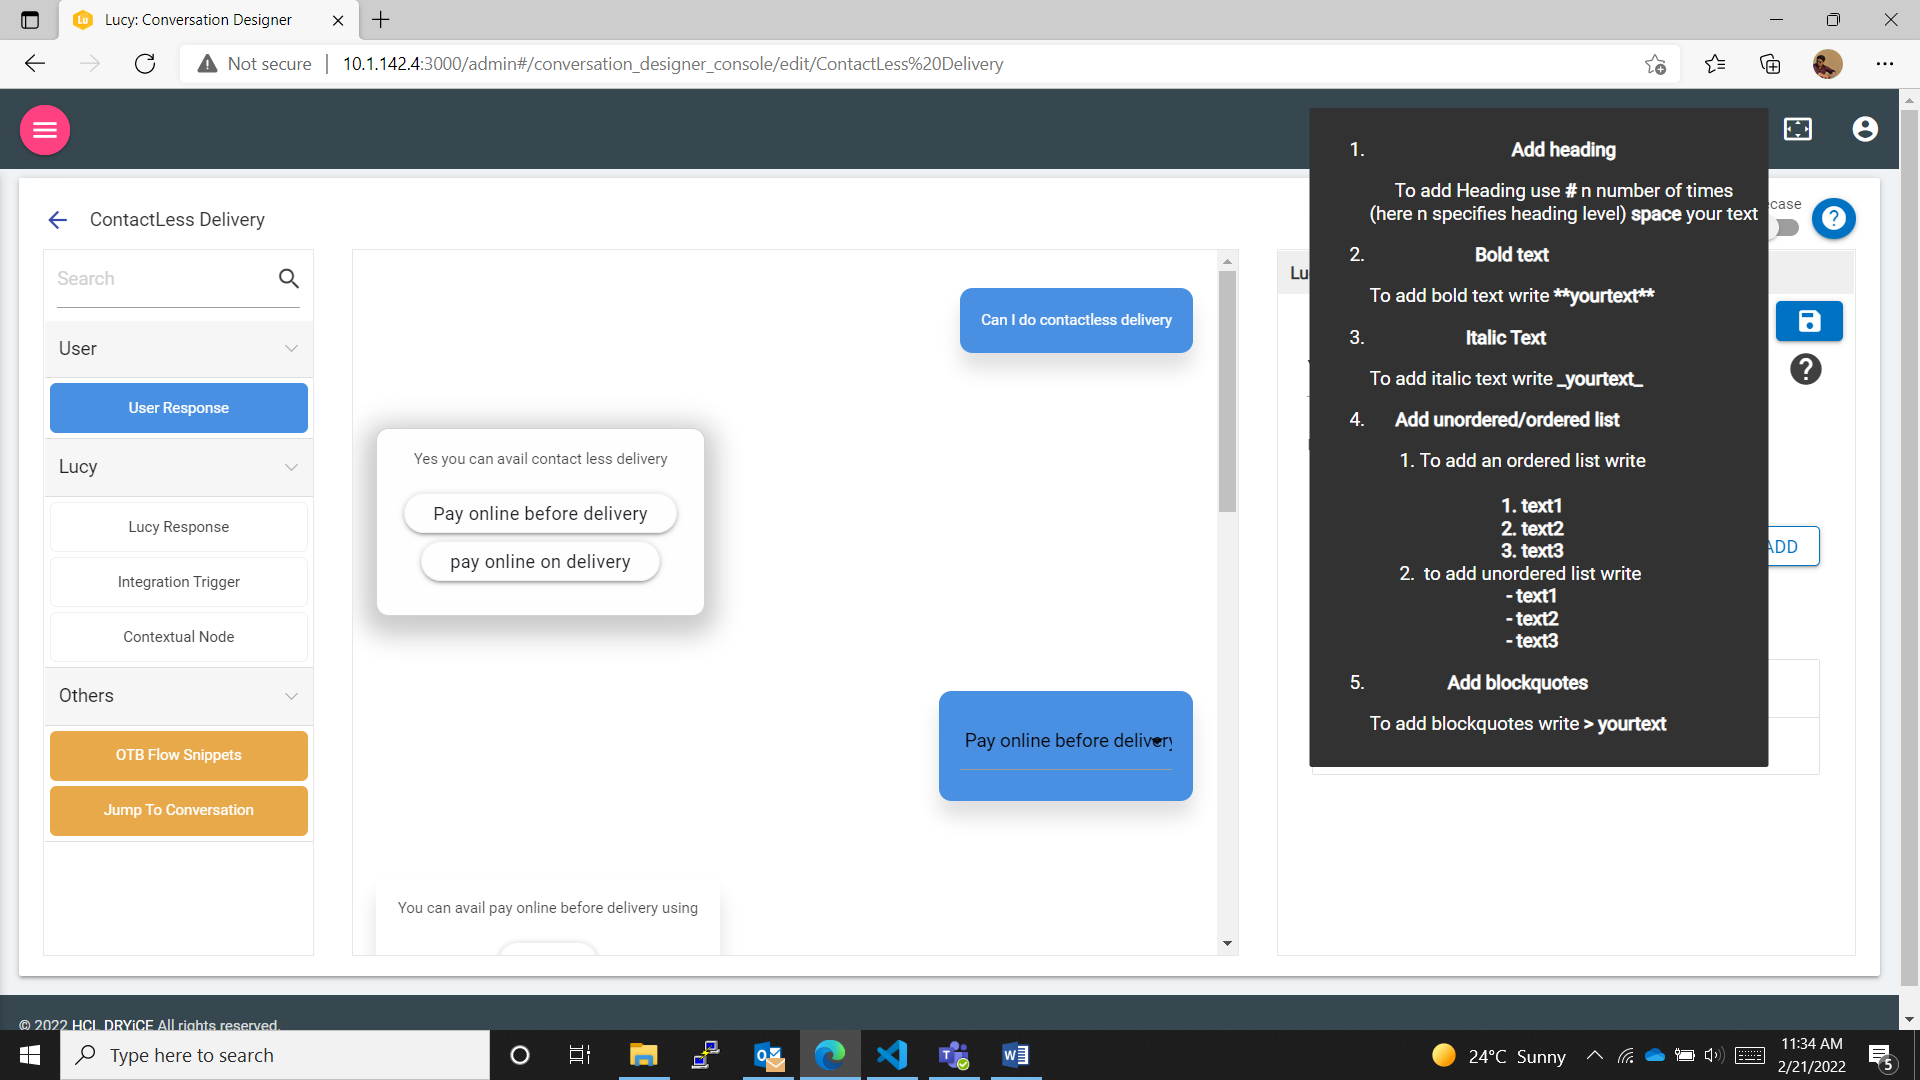
When the user drags and drops the Simple Response node in the drop list, the drop list looks like the following:
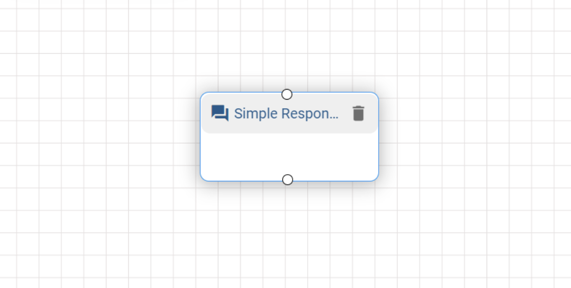
On dropping simple response, the conversation form changes to Simple Response, as displayed below:
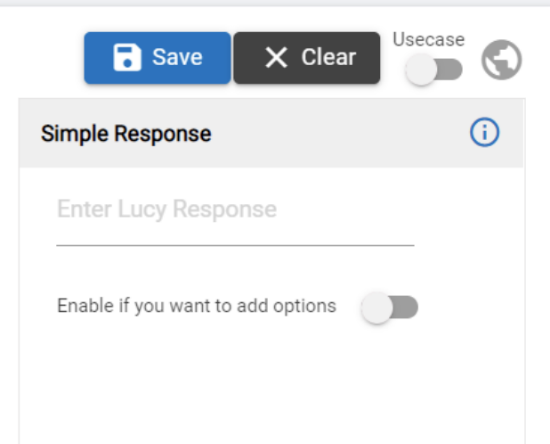
In the input area, you can enter the text input of the response
BigFix AEX is supposed to respond with, the end user can have text
response in the form of markdown, and if needed any help with
markdown, there is a helper provided for it. The helper  indicates in what different manner we
can have our text response.
indicates in what different manner we
can have our text response.
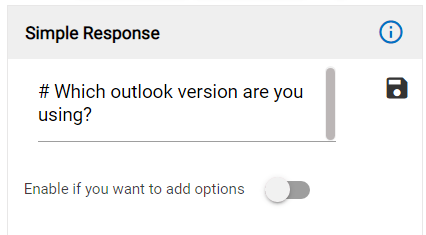
Let us see an example:
Let’s say “Which outlook version are you using”, is entered in simple response input-text:
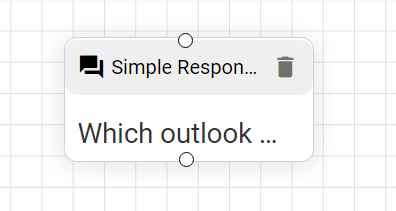
Clicking on Save icon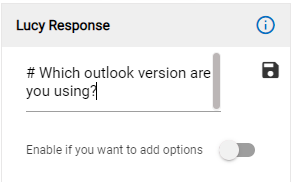 changes the node response in the
conversation section.
changes the node response in the
conversation section.
For the Simple response nodes, that do not have the options toggle enabled, there are certain restrictions in place; these are:
- This node cannot be the first node of any conversation.
- This node can be the last node of any conversation (without option).
- This node is not allowed to be connected to BigFix AEX or Other category responses.
If the user wants to add options to the above response, he can enable the toggle button. And then it gives the option to the user to select between intent based or entity-based options with the help of a radio button. Enabling the toggle for adding options and selecting one of the radio buttons allows the user to customize either of the entity based or intent based forms depending on the selection of the user. The forms for entity based or intent based option appears as soon as the user selects either of the radio buttons. Switching between intent and entity based gives the following alert to user.
Let us assume that the user opts for the intent-based options; let’s discuss the intent-based form first.
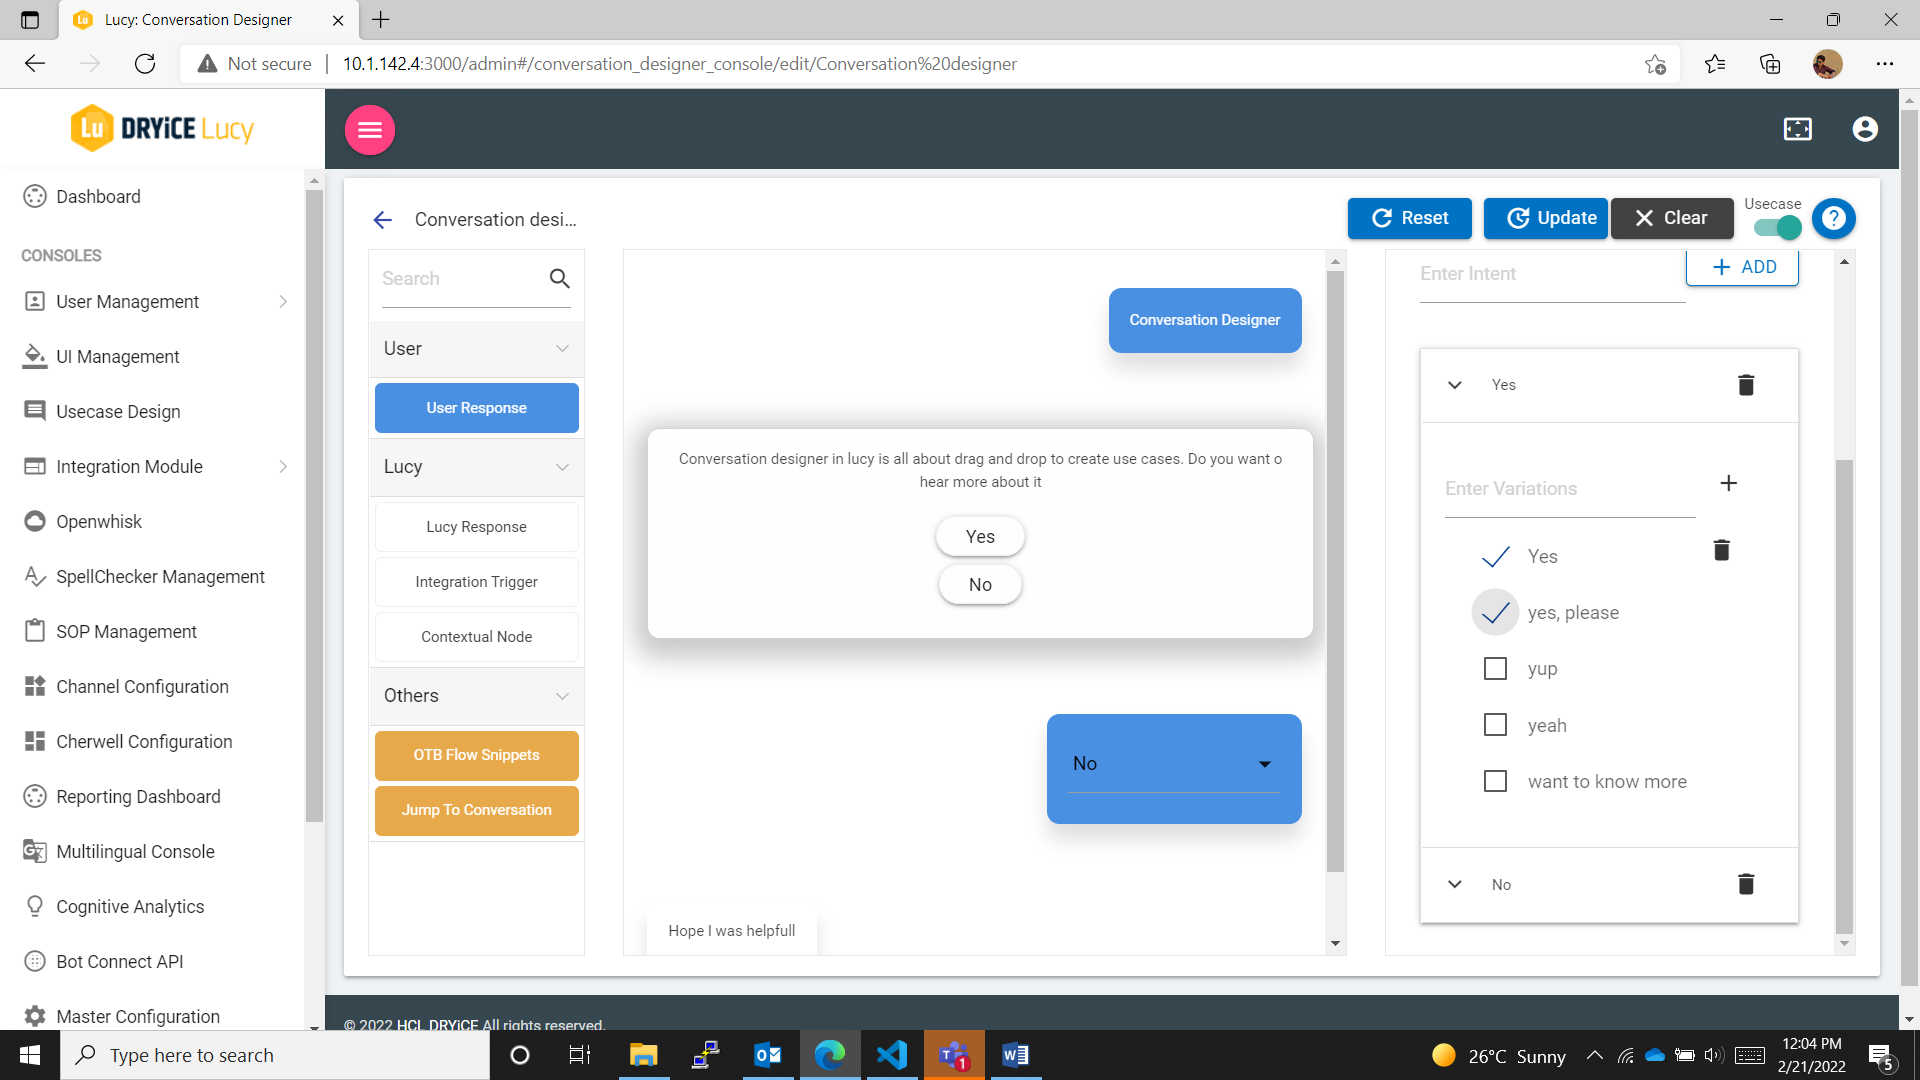
When Intent Based option is selected,
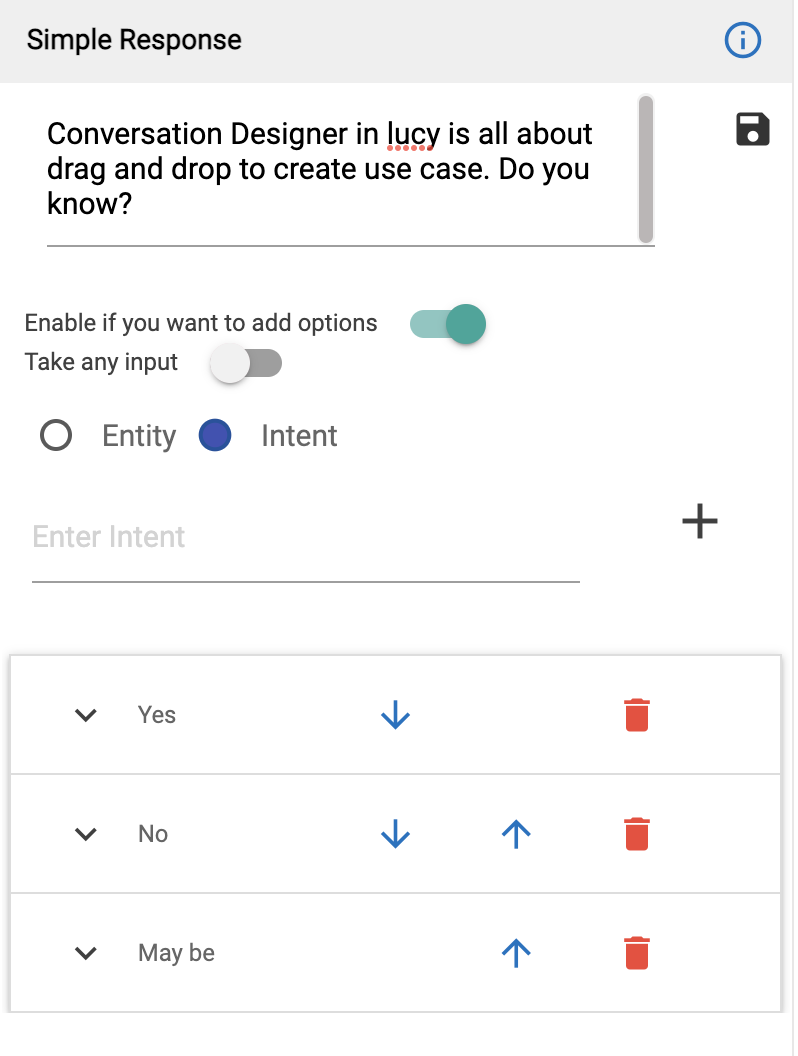
When the user chooses intent, he can write the intent he wants to give in the user response. As the user adds the intents, in a collapsible manner they keep appearing below the text area.
To add variation to a particular intent, we can click on 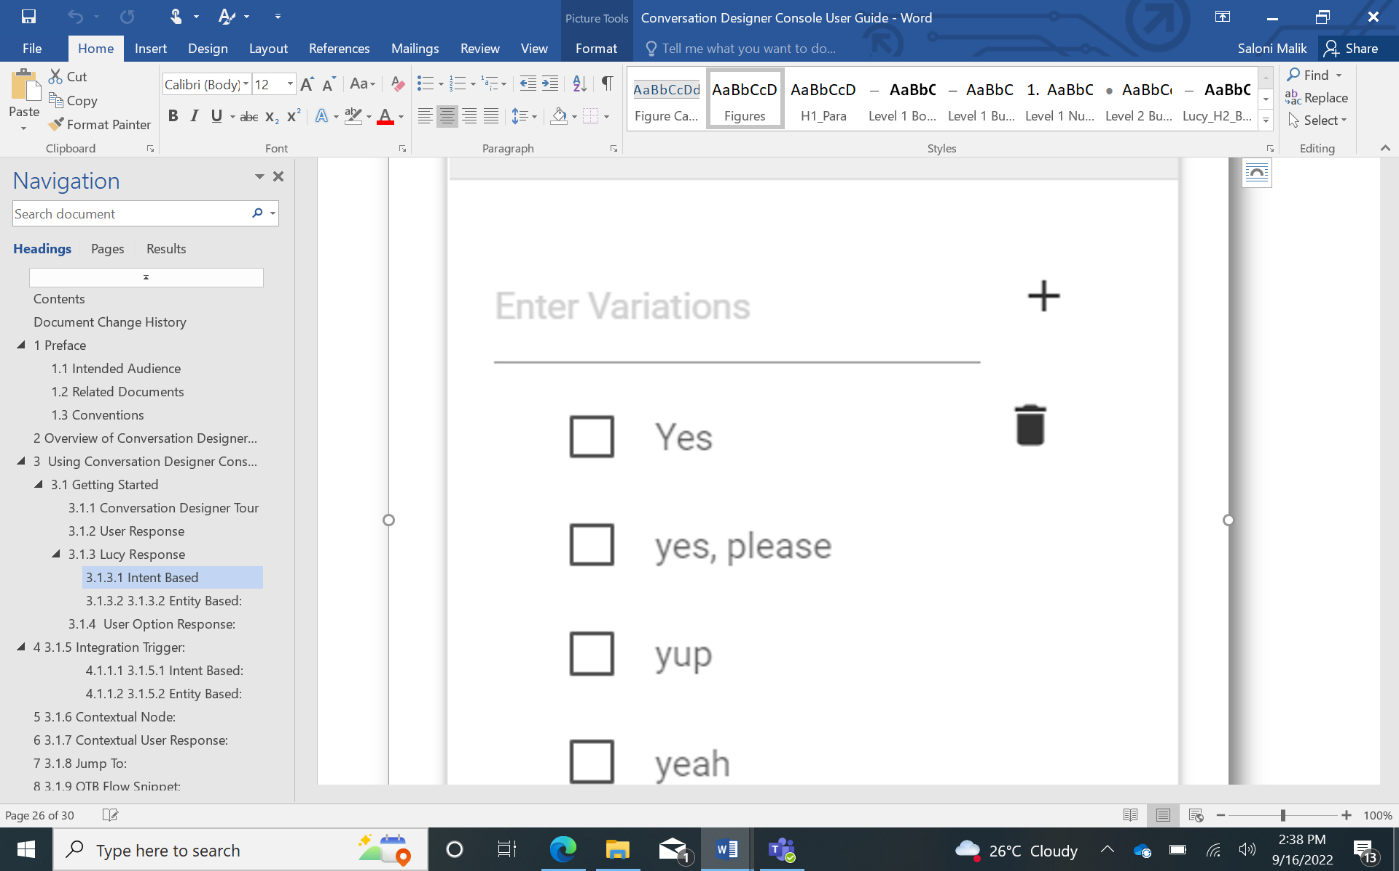 which shows a text box for intent
variation. On adding variation, the intent and variation appear in
the following format:
which shows a text box for intent
variation. On adding variation, the intent and variation appear in
the following format:
- The user can delete an intent by clicking on the
 icon corresponding to the intent
name.
icon corresponding to the intent
name.
- The user can delete one or multiple variations by selecting the
checkbox(es) corresponding to the variation(s), as soon as a
checkbox is selected, the delete icon
.png) appears.
appears.
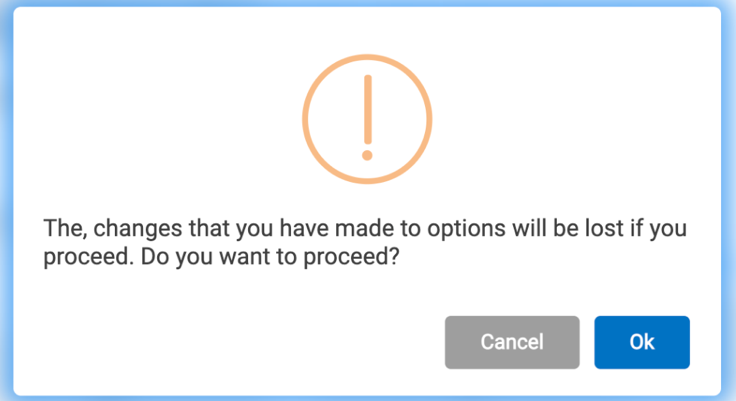
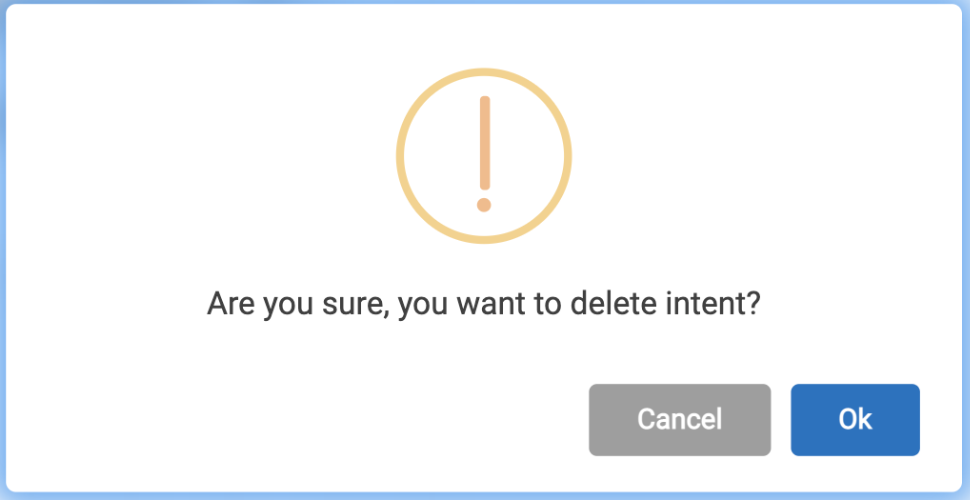
- When the user clicks on Delete icon, a confirmation box appears as below:
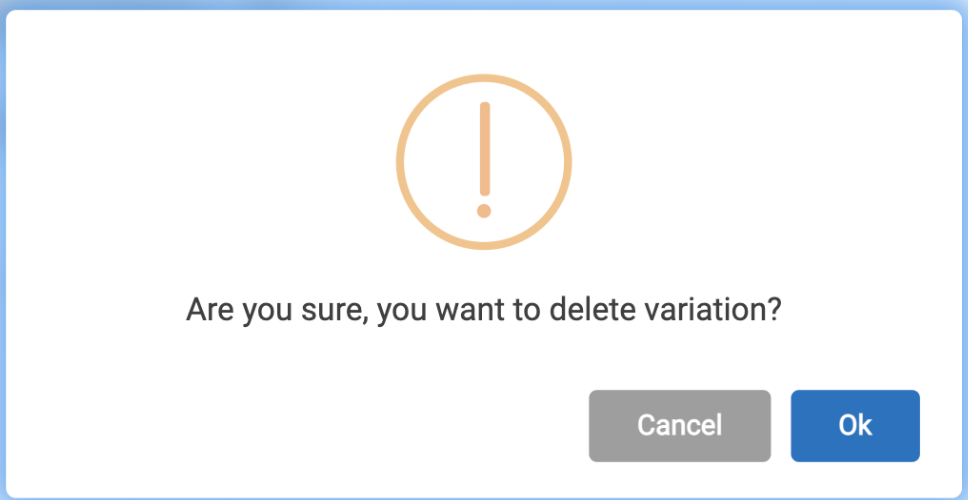
- Clicking Ok deletes the selected variation(s).
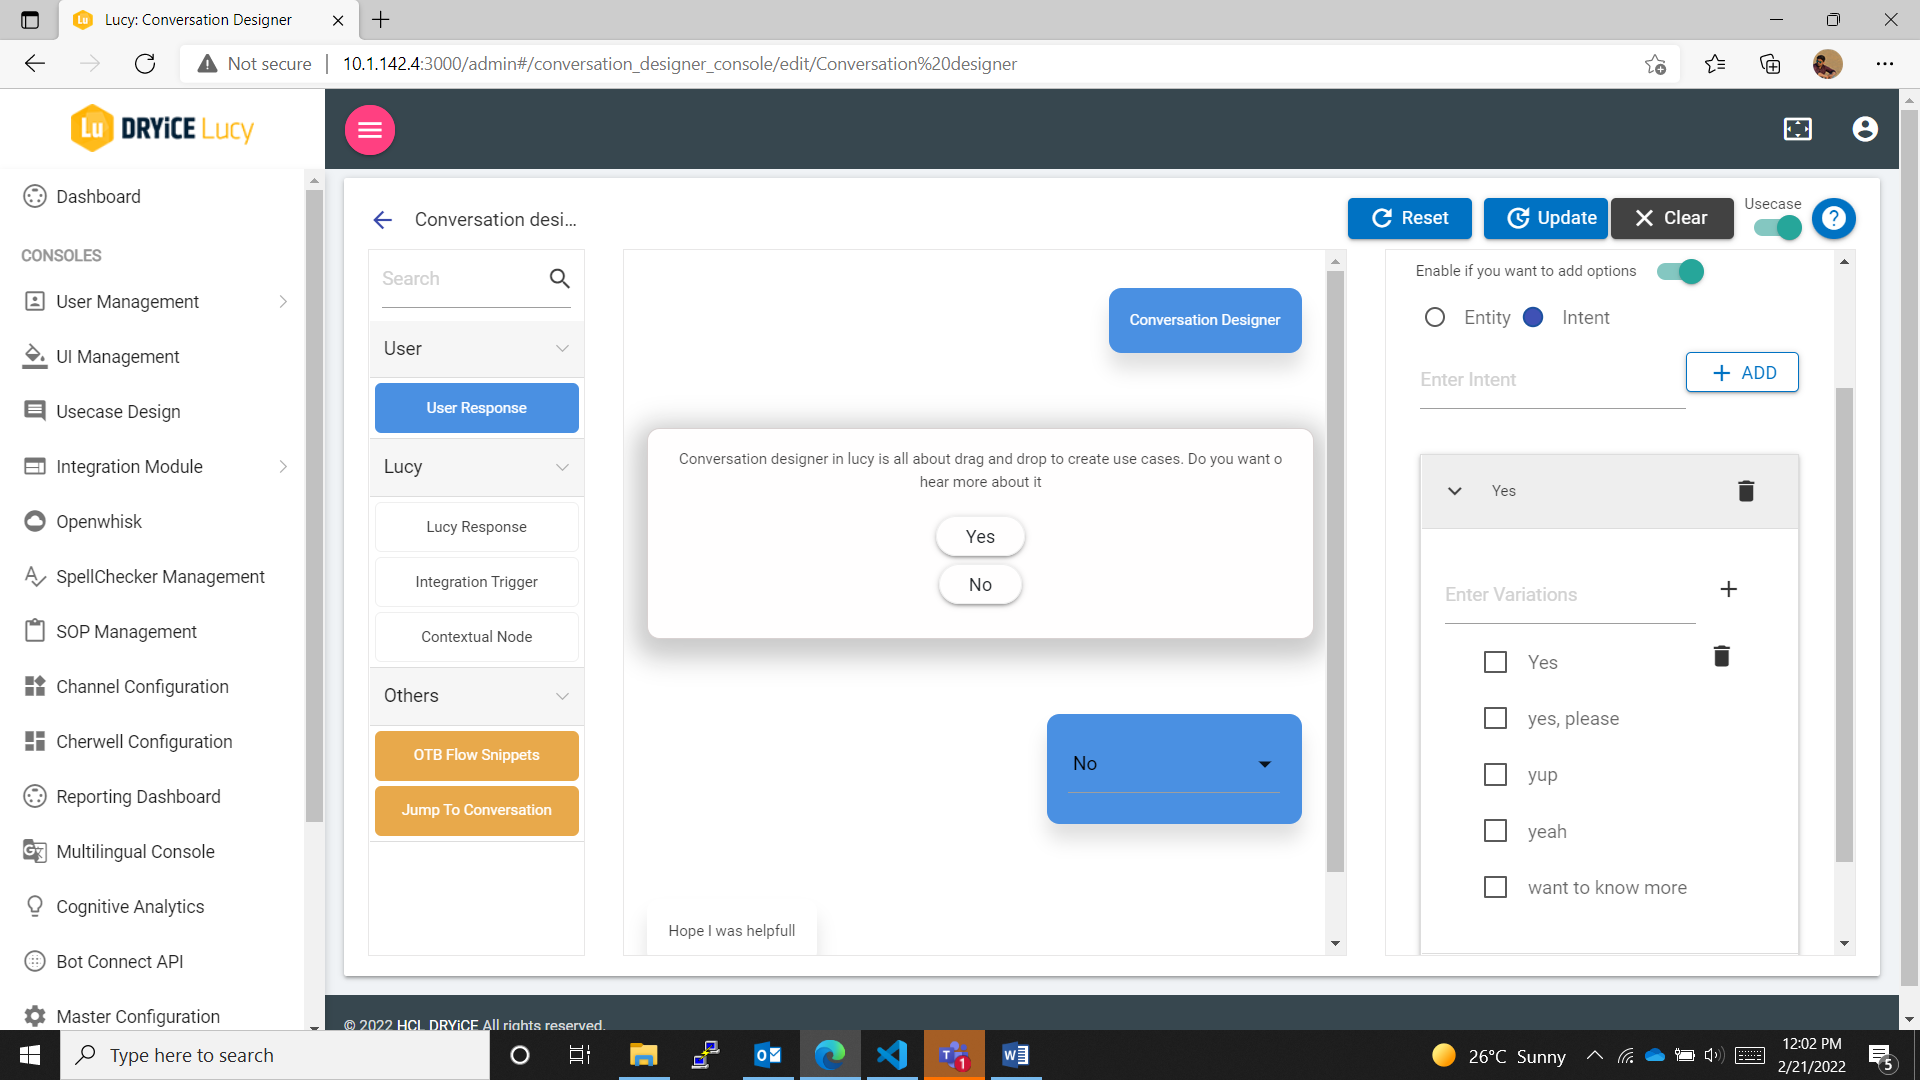
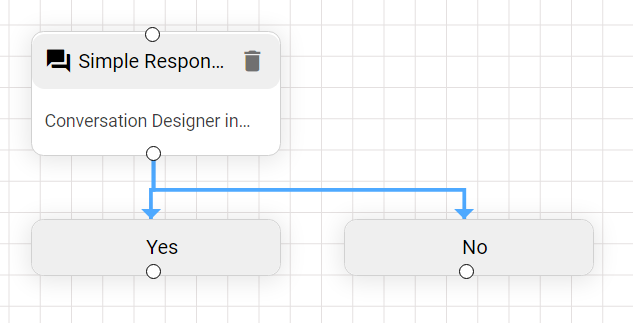
- After customizing the form, user needs to Save the changes.
- The Simple Response Node appears as follows:
When Entity Based option is selected,
- On selecting the entity-based radio button, the user can add the entities in the appearing text box.
- The entities which are added by the user are listed as shown in the form below:
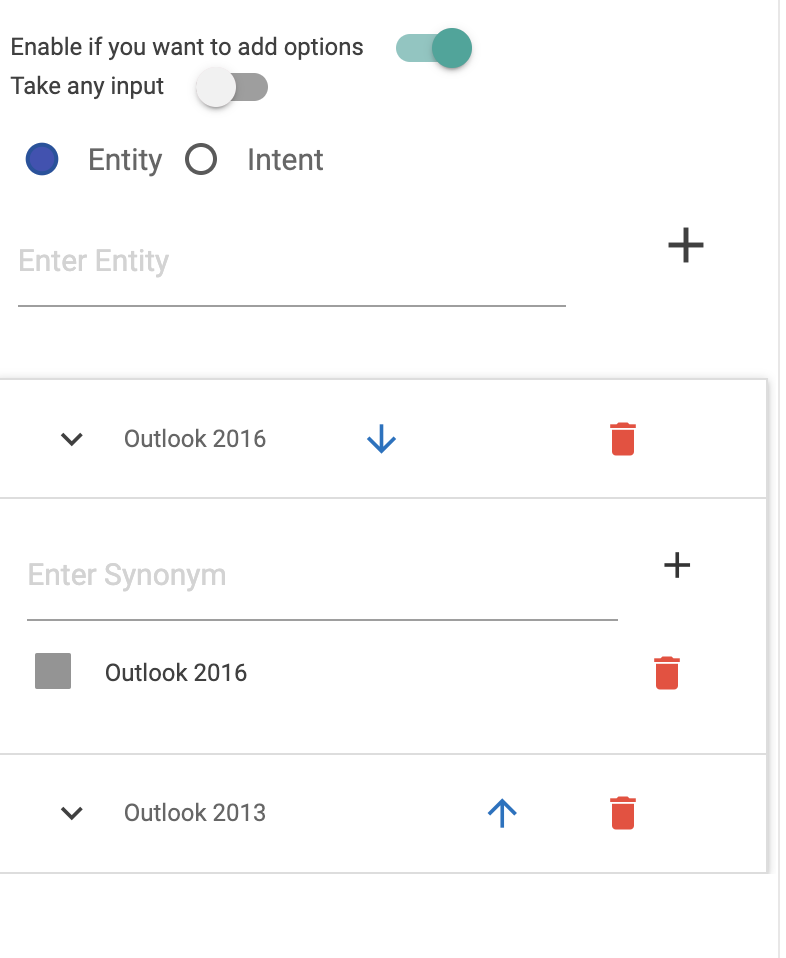
- To delete an entity, click on the
.png) icon corresponding to the entity to
be deleted.
icon corresponding to the entity to
be deleted.

- The user can delete one or multiple synonyms by selecting the
checkbox(es) corresponding to the synonym(s). As soon as a checkbox
is selected, the delete
.png) icon
appears.
icon
appears.

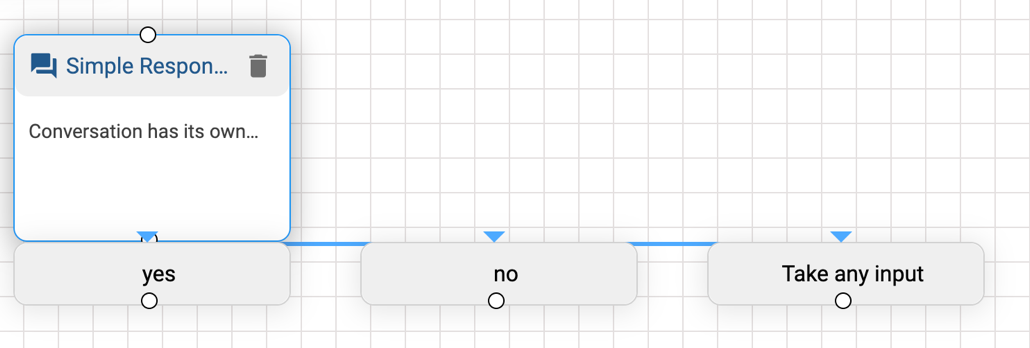
When the user clicks on Save, the Simple response appears as follows:

The Simple response nodes, which have the toggle enabled, have some restrictions in place to make the experience smoother for the user. These are:
- This node cannot be the first node of any conversation.
- This node cannot be the last node of any conversation.
- This node must have either of intent or entity
- Every intent must have a single variation or synonym.
- Intent, entity, intent variation, or synonym must be longer than one letter.
- If the option toggle is disabled afterwards, the options and the flow below get deleted.
- If deleted, it is deleted with Simple response option (and all user option response attached to it gets deleted and below flow remain intact.)
There is one more toggle that is called Take any input.
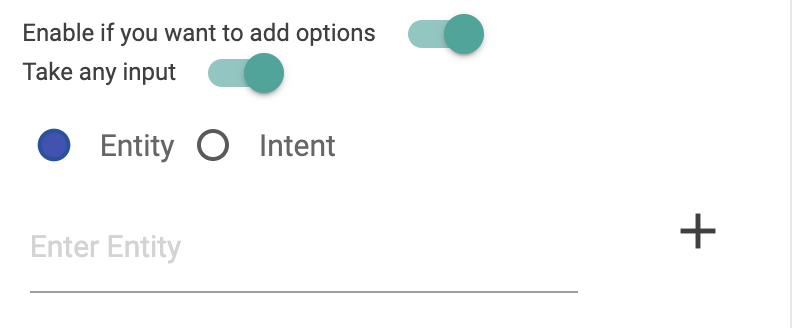
This toggle is for the option if, in addition to the provided option, the user provides his own response. For the same, a user-option response node is added, which is always the last option node: