Jump To
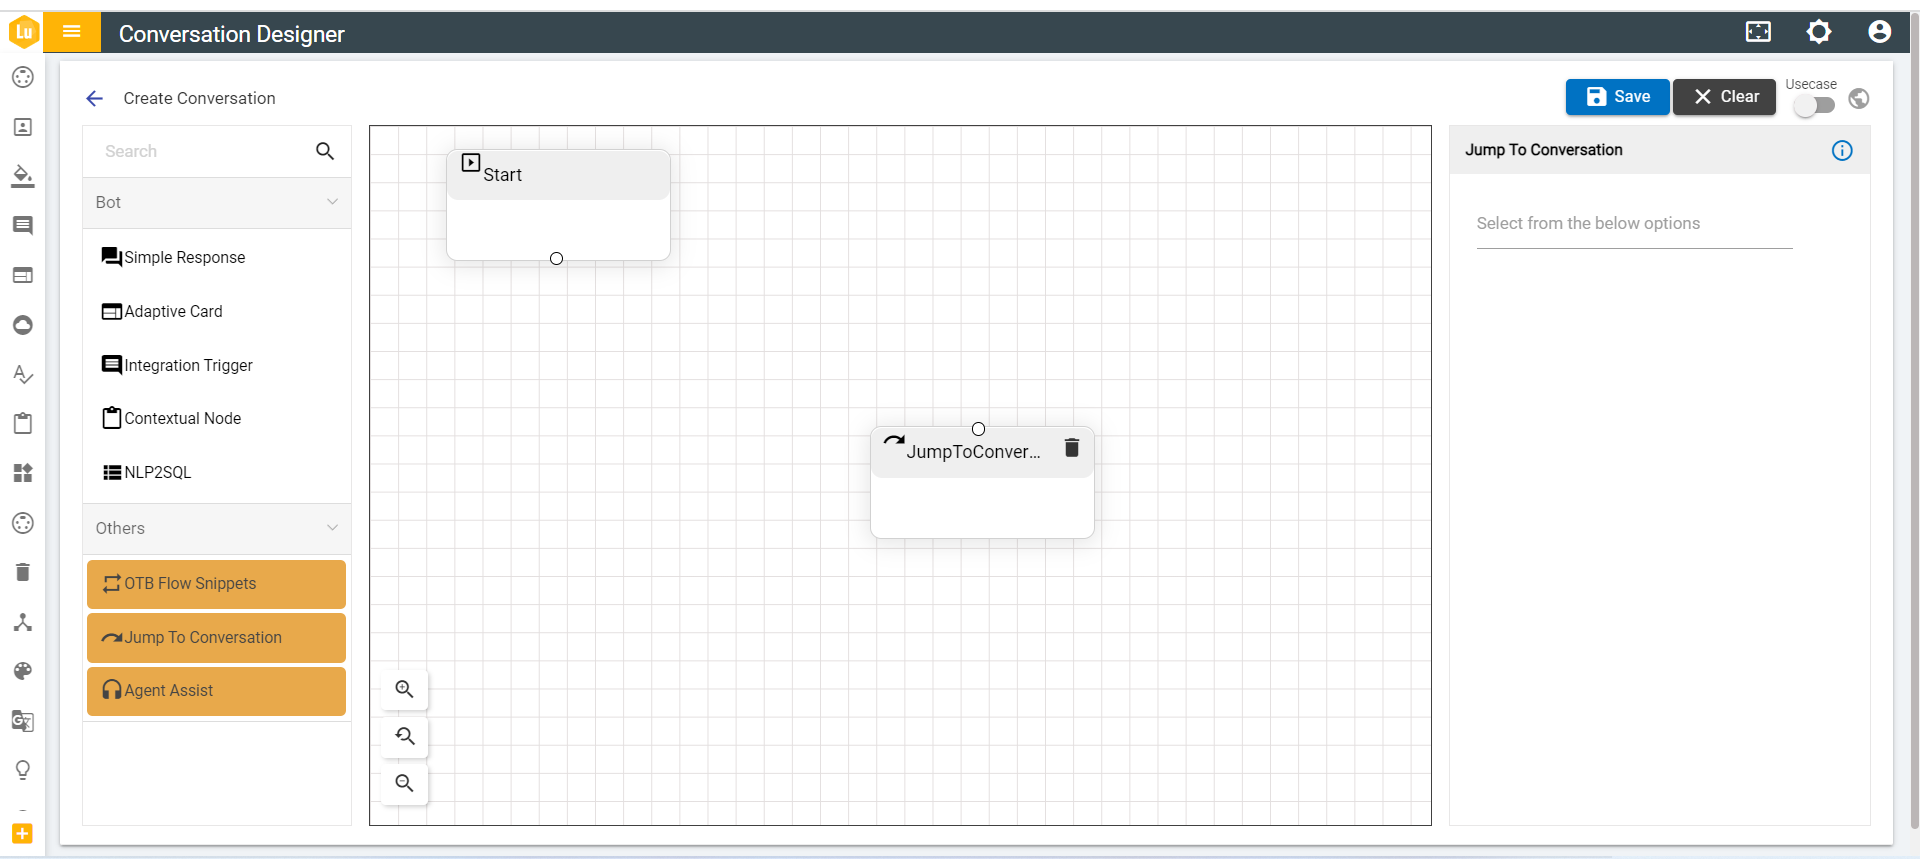
In the Jump To node, the response type is used to jump from one conversation to another conversation.
On dragging the Jump To response, the conversation section appears as follows:
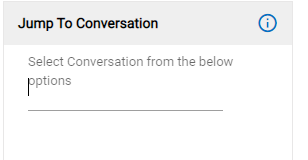
The Jump To response when dropped, changes the conversation form to the form as shown in the below figure:
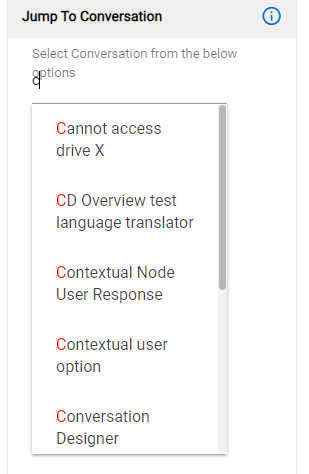
The user can jump from one flow to another flow. The user can jump to any conversation created and can use auto-complete feature for easy search of the existing conversation as given below:
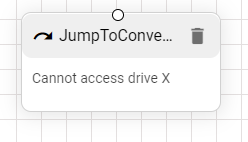
After selecting any of the conversations from the list, the node looks like the following:
The set of rules to use this node and the console efficiently are as follows:
- It cannot be the first node.
- While adding “Jump to” node to a flow in the list of conversations to where the node is supposed to redirect, the conversation user is editing does not appear. As an example, let us assume the user is editing a conversation titled “ABC”, and after adding the node in the list of available conversations “ABC” flow is not available.
- After this node, no node can be added next.
- Save button is only visible if a jump to is selected.
- Allowed to have one input and no output connection.