Integration Trigger
As the user drags and drops Integration Trigger node to the drop list, the drop list appears like the following figure:
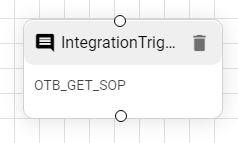
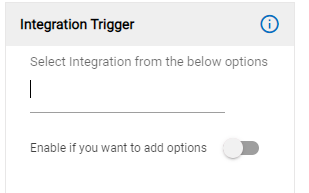
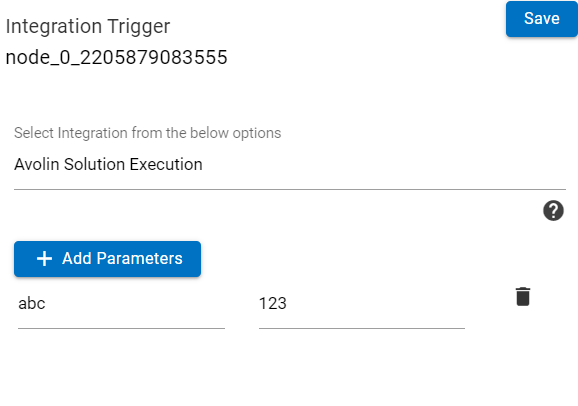
This node is for API Rule that the user wants to integrate with their use cases. The conversation form for integration trigger appears. The form is discussed briefly with the validations in conversation form section under integration trigger:
The save button is to save all the changes made in the Integration Trigger response form when the end user selects a rule in Integration Trigger.

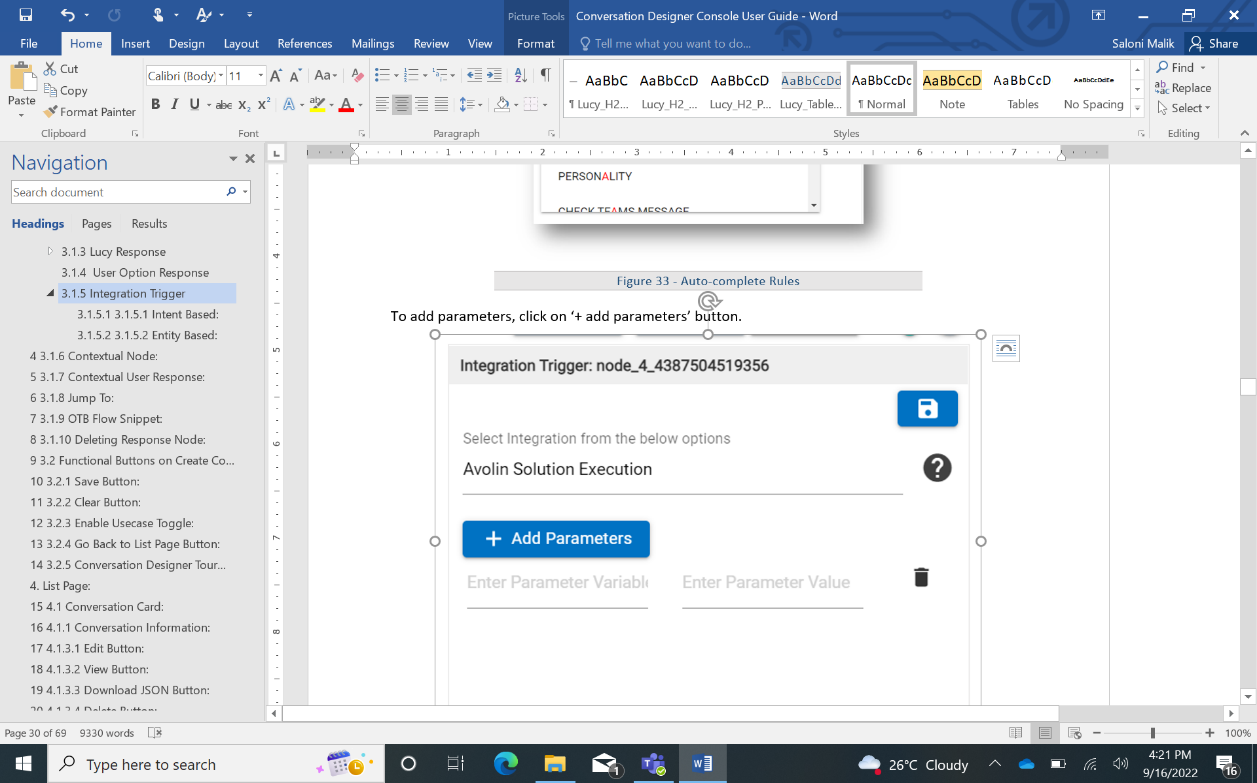
To add parameters:
- Click on
 button.
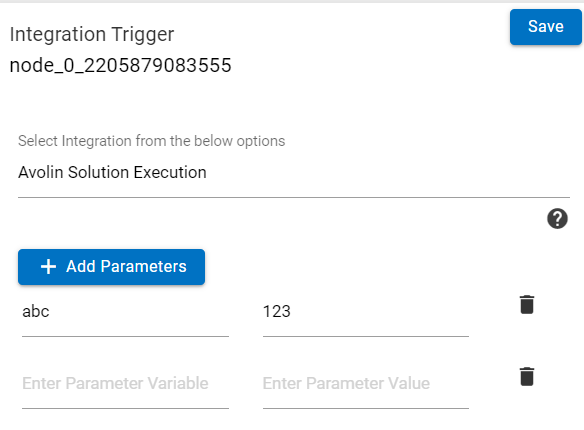
- Enter parameter variable and parameter value.
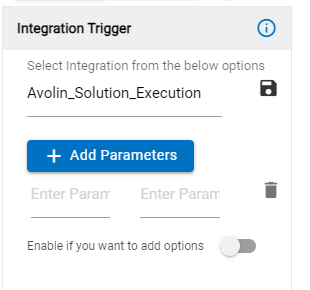
- In this form the user can add as many parameters as possible he wants to add as we can see in the following figure:
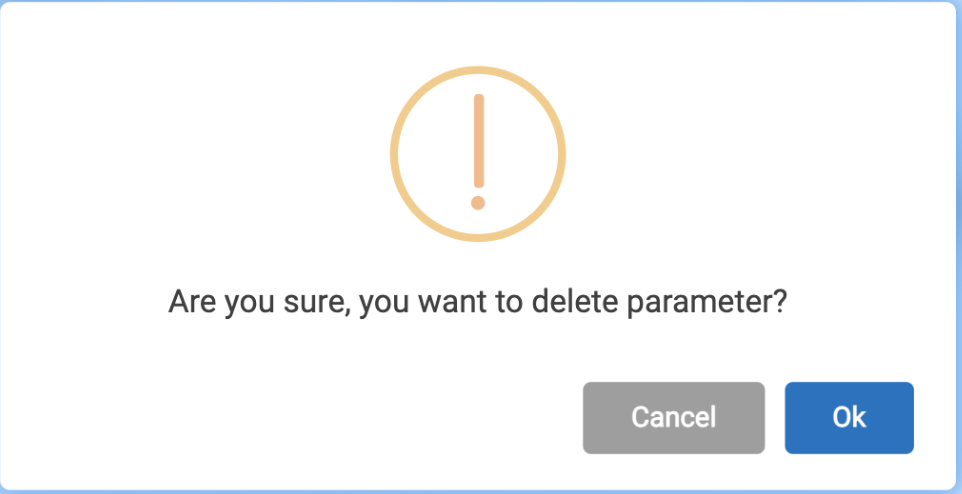
- To delete any of the parameters, click on the
.png) icon.
icon.
- Once the parameters are added, click on the Save button.
- The API rule is applied to the use case in the conversation section.
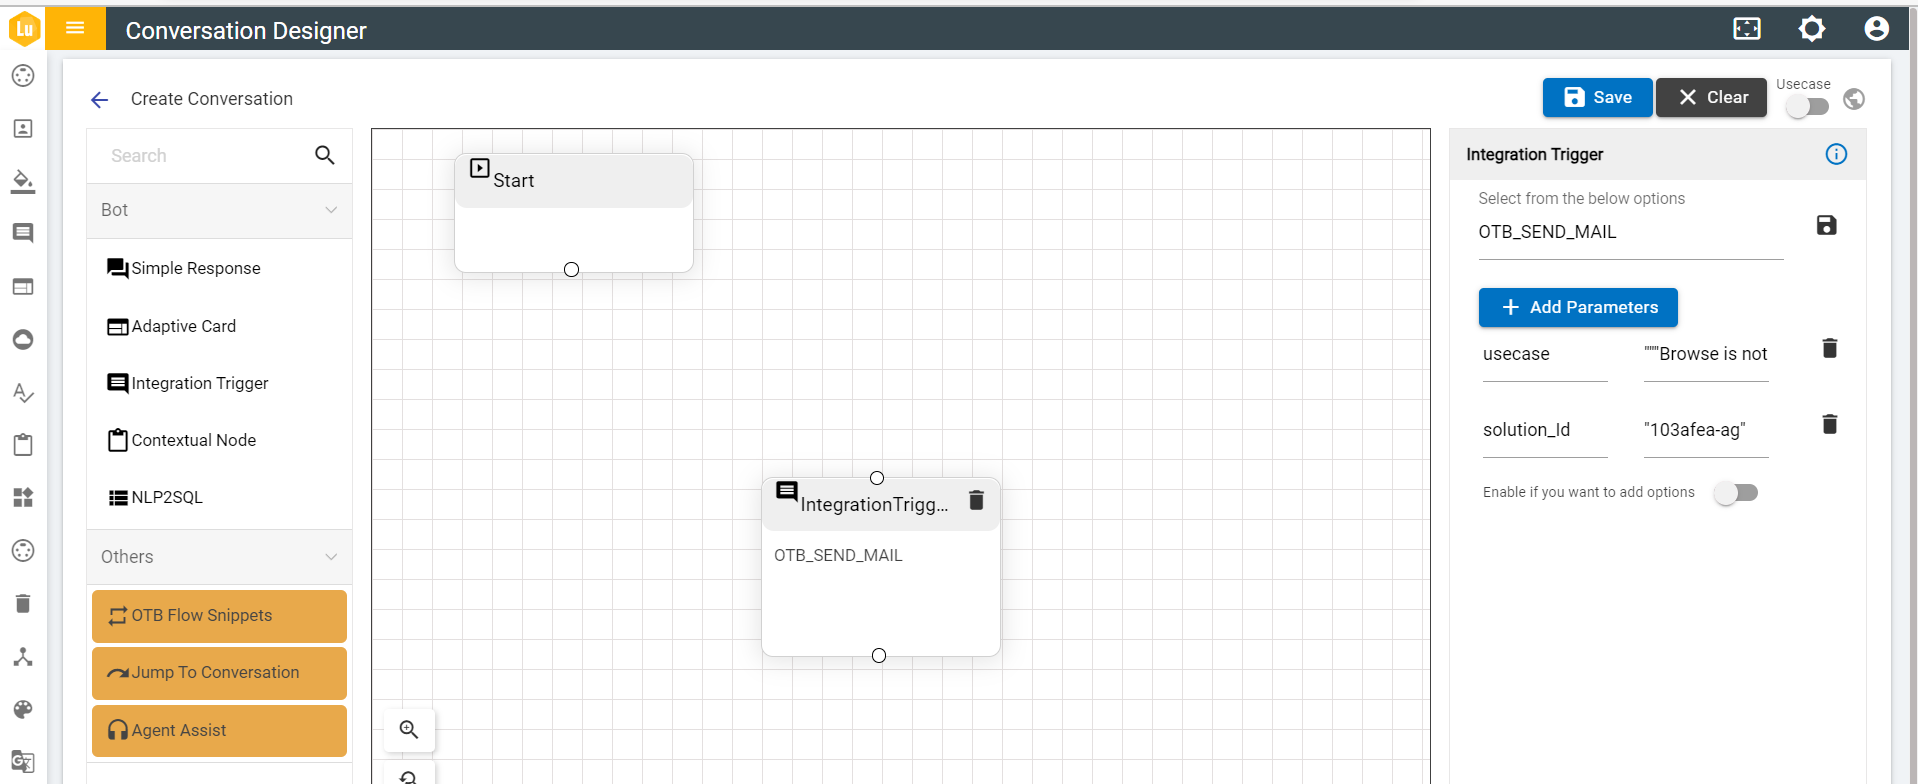
When the user wants to add options to the above response, they can enable the toggle button. And then it gives the user options to select between intent based or entity-based options with the help of a radio button. Enabling the toggle for adding options and selecting one of the radio buttons allows the user to customize either of the entity or intent based forms depending on the selection of the user. The forms for entity based or intent based option appears as soon as the user selects either of the radio buttons. The Options functionality is same as discussed in Simple Response with option.
Integration trigger node also has a set of rules to make the user experience efficient. These rules are:
- The Save button is only visible if an integration is selected.
- It cannot be the first node of any conversation flow.
- It can be the last node of any conversation flow if no option is present.
- Parameters can be added to the API rule.
- Parameter key should always be unique, which means that duplicate parameter key is not allowed.
- It is allowed to have only one input and no output.
- Parameter can only be added when an integration is selected.
- Also, there is a different set of validations for Integration trigger with option, these are
- It cannot be the first node of any conversation flow.
- It must have intent/entity/take any input
- Every intent/entity must have a single variation/synonym.
- If the option turns off, the below user option response is deleted, a flow below user option is not deleted only disconnection from user option response take place and user option gets deleted.
- It is allowed to have one input and multiple output branches in option case