Autopilot enrollment - Windows
BigFix MCM supports Windows Autopilot enrollment.
What is Windows Autopilot
Windows Autopilot is a collection of technologies that helps set up and pre-configure new or factory reset Windows devices. This solution helps the administrator to enroll and manage devices with little to no infrastructure to manage, with a process that is easy and simple. The only interaction required from the end user is to connect to a network and login with their AD credentials. Everything beyond that is automated. You can also use Windows Autopilot to reset, repurpose, and recover devices.
For more information about Windows Autopilot enrollment, see the Windows official documentation at Windows Autopilot.
How it works
The admin configures the Autopilot settings in Azure Active Directory (Azure AD). The devices configured to be enrolled with Windows Autopilot are automatically enrolled in BigFix MCM on first boot up. Devices can be configured to automatically have a default Windows profile to apply via Policy Groups. The default Windows profile can be configured to automatically install BigFix and other applications of the company’s choice, custom MSI, and set a default Windows restrictions policy.
Configuration workflow
The admin needs to sign in to the Azure portal with an active Azure AD Premium license and configure MDM server, Autopilot group, deployment profile, devices and assign users to enroll devices through Windows Autopilot. For detailed instructions on how to configure Windows Autopilot settings through Azure AD, see the BigFix Wiki page Windows Autopilot Configuration Guide.
Briefly to configure Autopilot enrollment, complete the following steps:
- Configure BigFix MCM application in Azure AD.
- Create Autopilot users and device groups. This enables you to assign devices to a created group and manage the devices by group.
- Configure default deployment profile. You can configure default deployment profile through Microsoft Azure AD or through WebUI via Policy Groups. The configured profile is applied by default when a device is enrolled through Autopilot enrollment.
- Harvest device IDs in a .csv file and upload your Configure Autopilot devices and assign users.
- Configure Windows Autopilot Terms of Service. With this, you can customize the end user agreement screen by adding your company’s logo and terms of service.
Enrollment process
The Autopilot enrollment process begins on first power up of the device or power up following a factory reset.
To begin the enrollment process, do the following steps:
- Open the Windows device that is associated with the MDM server. Connect to internet. Enter the password as set in Azure AD. Update the password.
- The End User License Agreement page appears. Select the license agreement check box after reading and click Accept. Afterwards, the autopilot enrollment process begins.

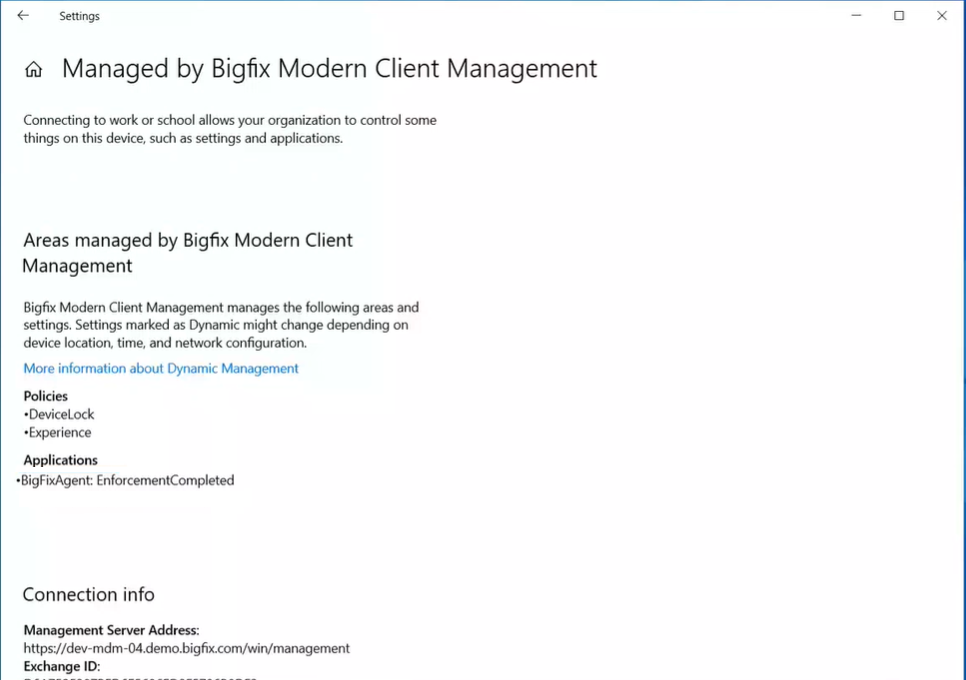
Click Info to verify the policy and application details.
Managing through WebUI
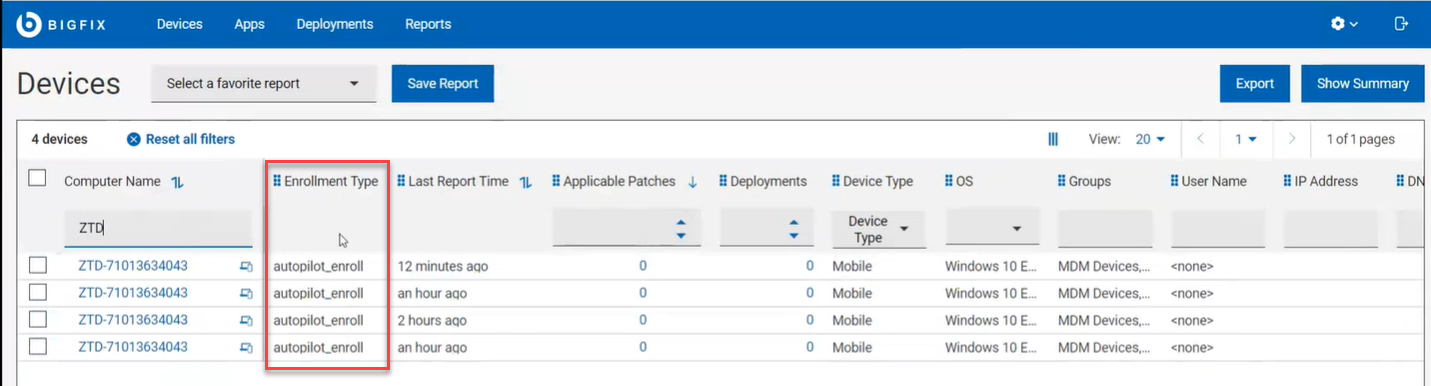
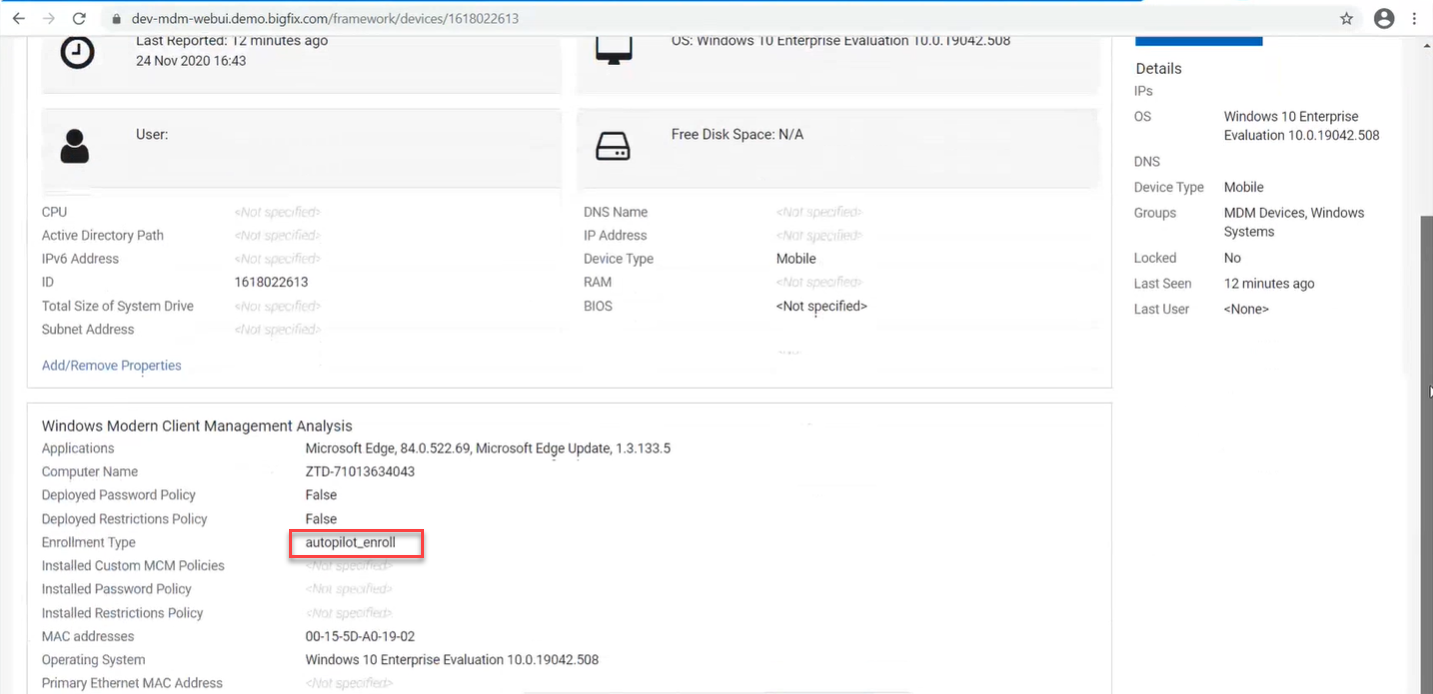
To know how to further manage BigFix MCM, see Manage devices