Scan a GitHub repository
Static analysis scans can be configured and scheduled to pull source code directly from a public GitHub repository. When triaging SAST findings, users can view the relevant source code directly on GitHub.com. Findings can be filtered by filename or path.
- Use the Create scan wizard to configure your scan. Select .
- At the GitHub repository tab, click Connect
with GitHub to login to GitHub.
Once authorized, available repositories are listed below. Authorization is required only once.
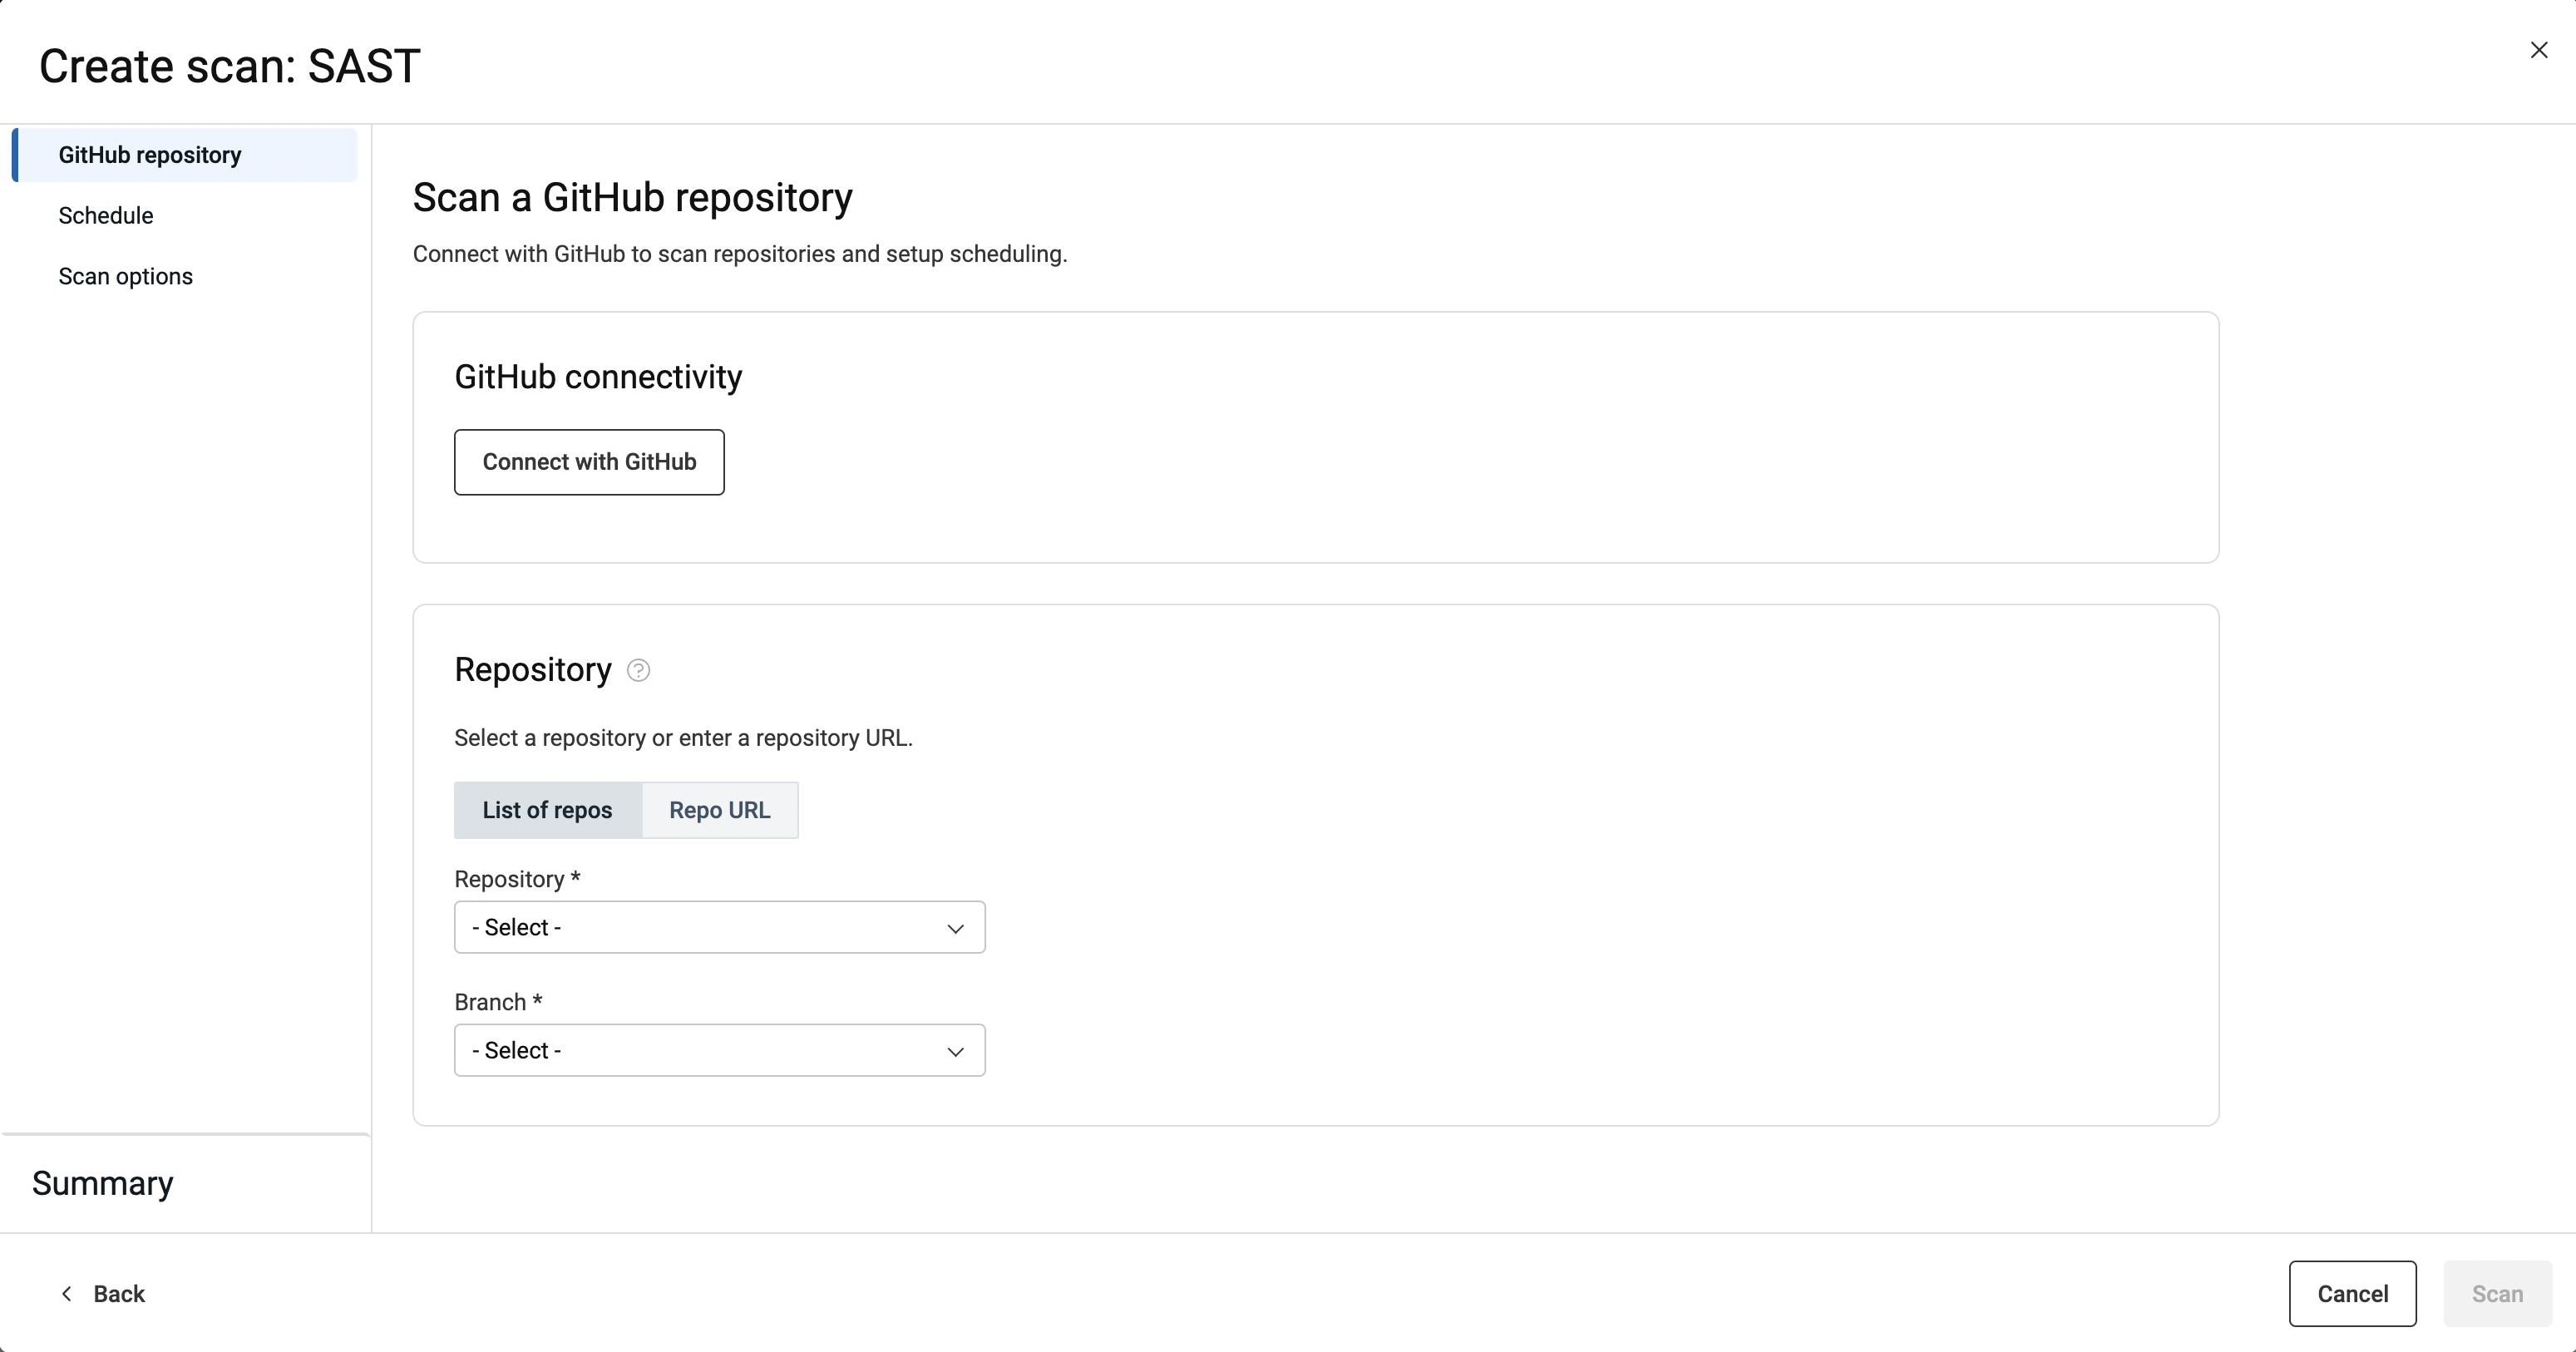
- Specify the repository and branch to scan either from a list of available
repositories, or provide the repository URL:When choosing repositories from the list of available repositories, choose the parent first, then the branch.Note: If a repository is not visible in the list, it may be private. See Scanning private GitHub repositories.
When specifing repositories by URL, include the full path. For example,
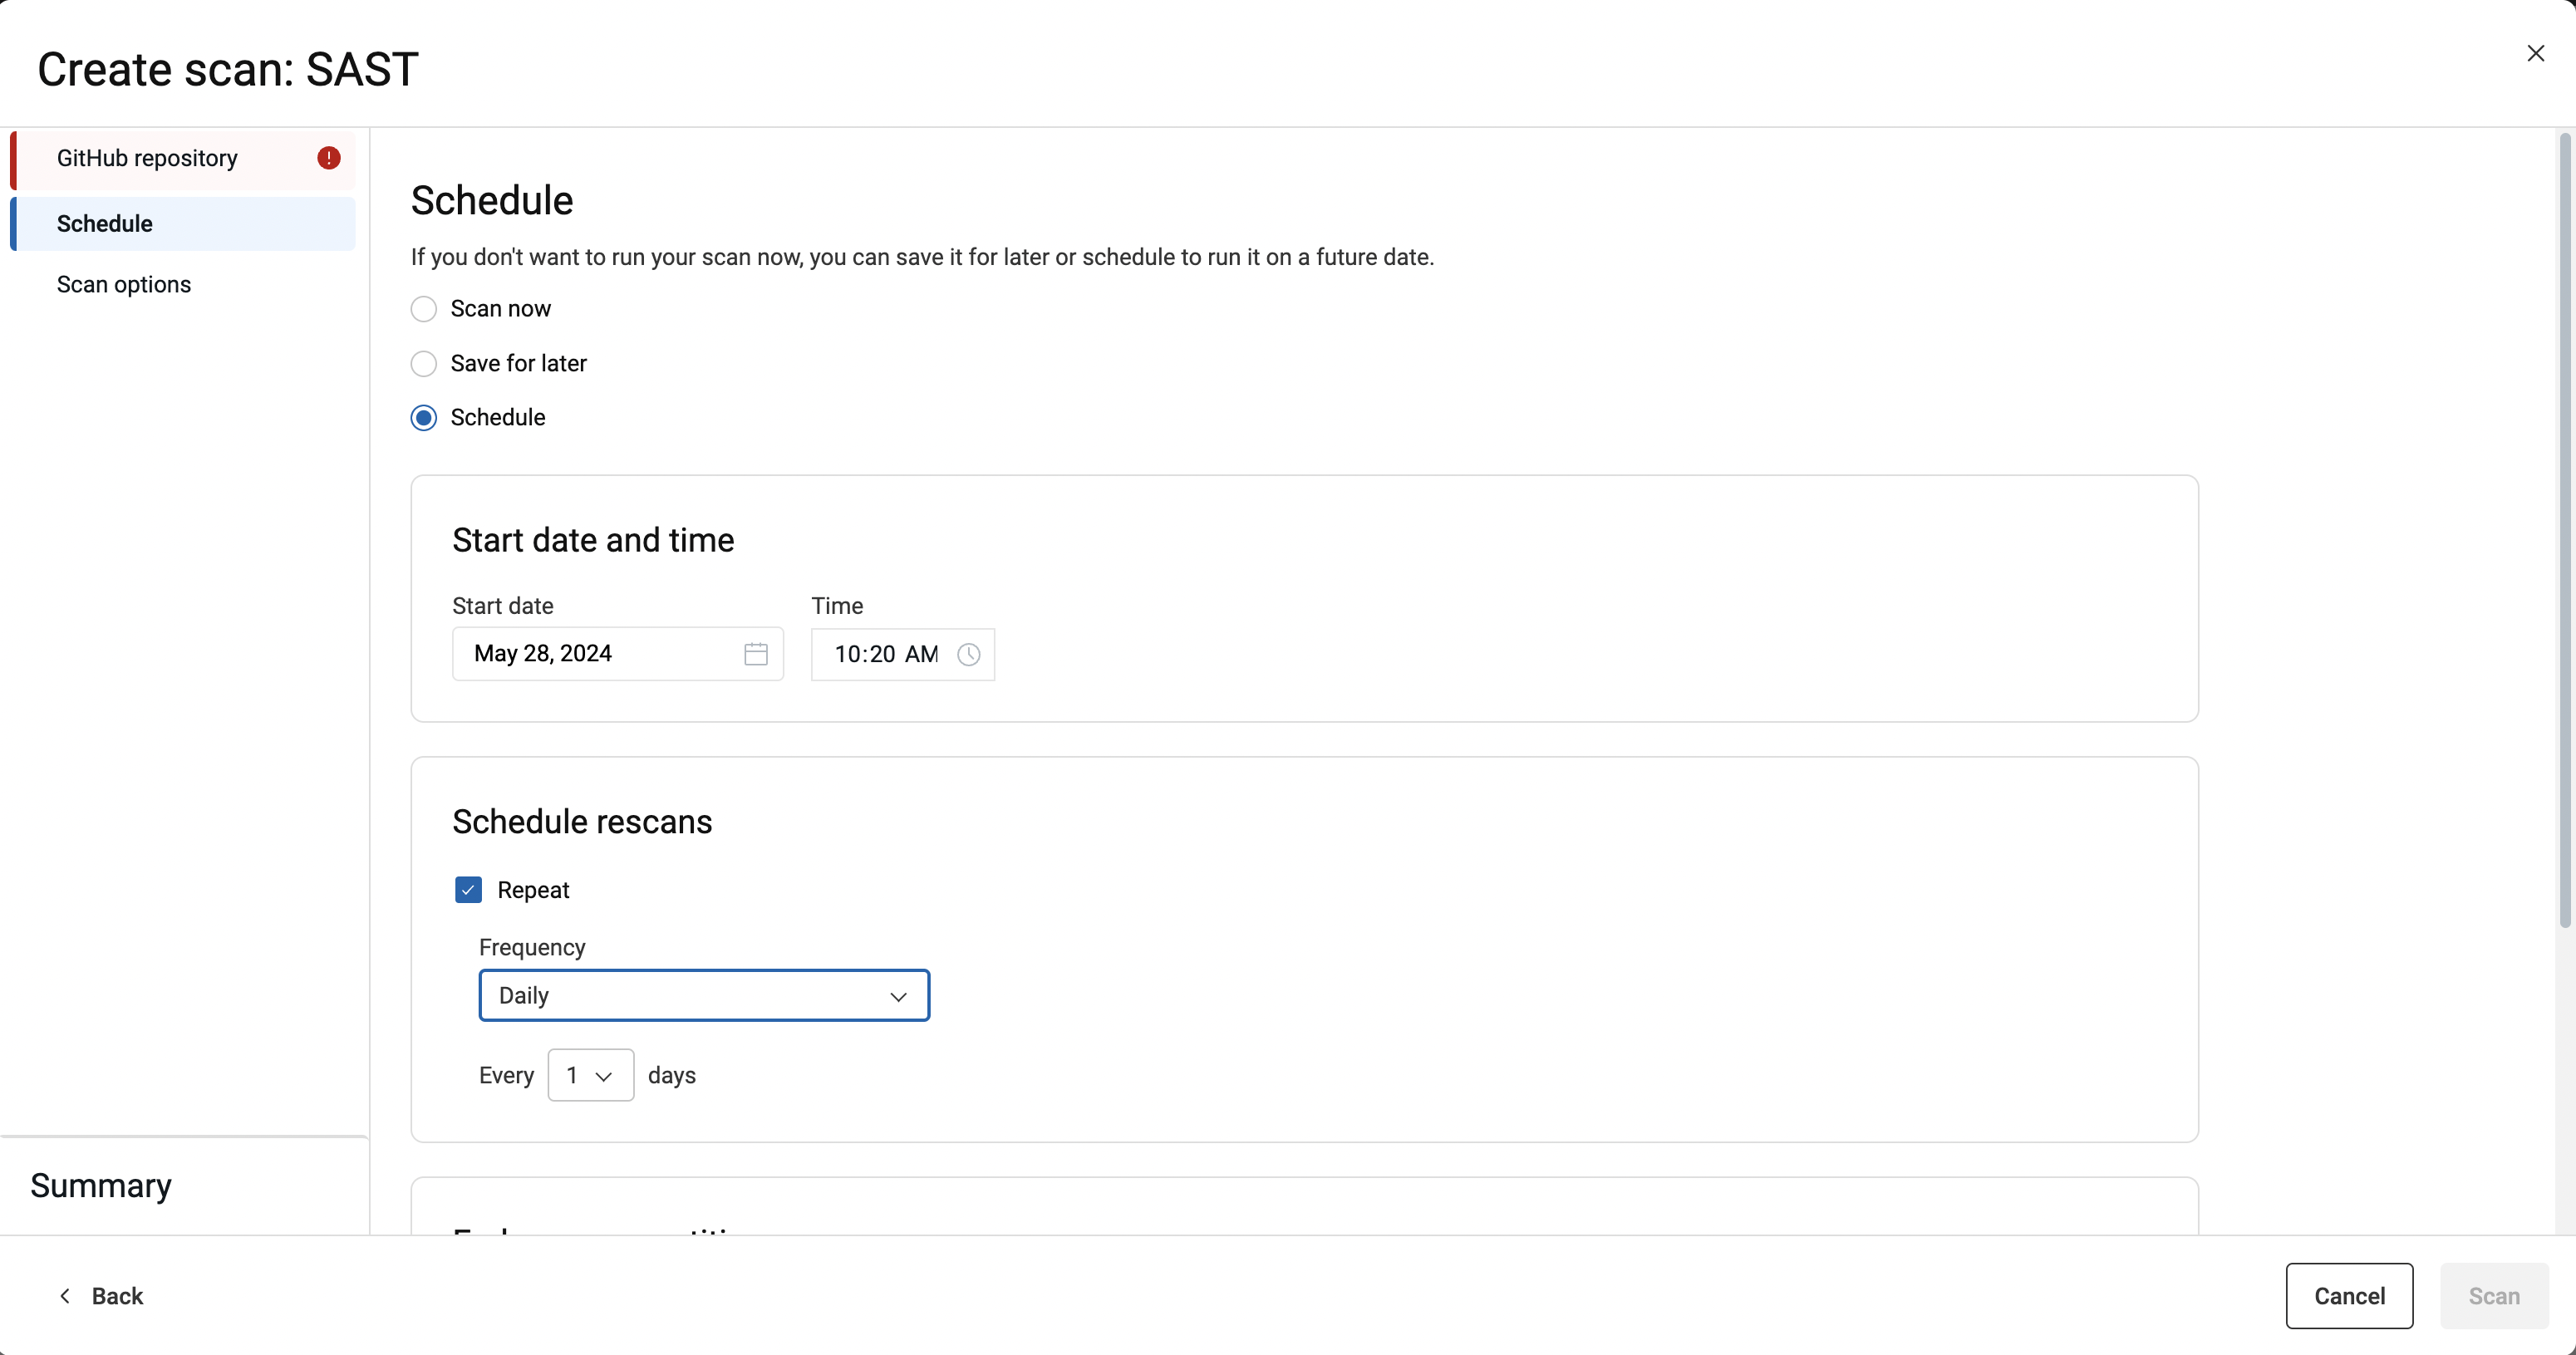
https://github.com/HCL-TECH-SOFTWARE/AltoroJ. - From the Schedule tab, specify that the scan should run
immediately, save the scan configuration to use later, or schedule recurrent scanning:
- Scan now
The scan runs as soon as you click the Scan button. If the maximum number of concurrent scans are running at this time, the scan will be added to a queue, and will start when it reaches the head of the queue.
- Save for later
The configuration for your scan is ready to run and added to the Scans page with the status "Configuration saved." Saved configurations cannot be edited.
- Schedule
- Indicate start date and time for the scan.
- If you want the scan to repeat on a schedule, specify frequency (daily, weekly, monthly) and further details.
- Indicate when rescans should stop.
- Scan now
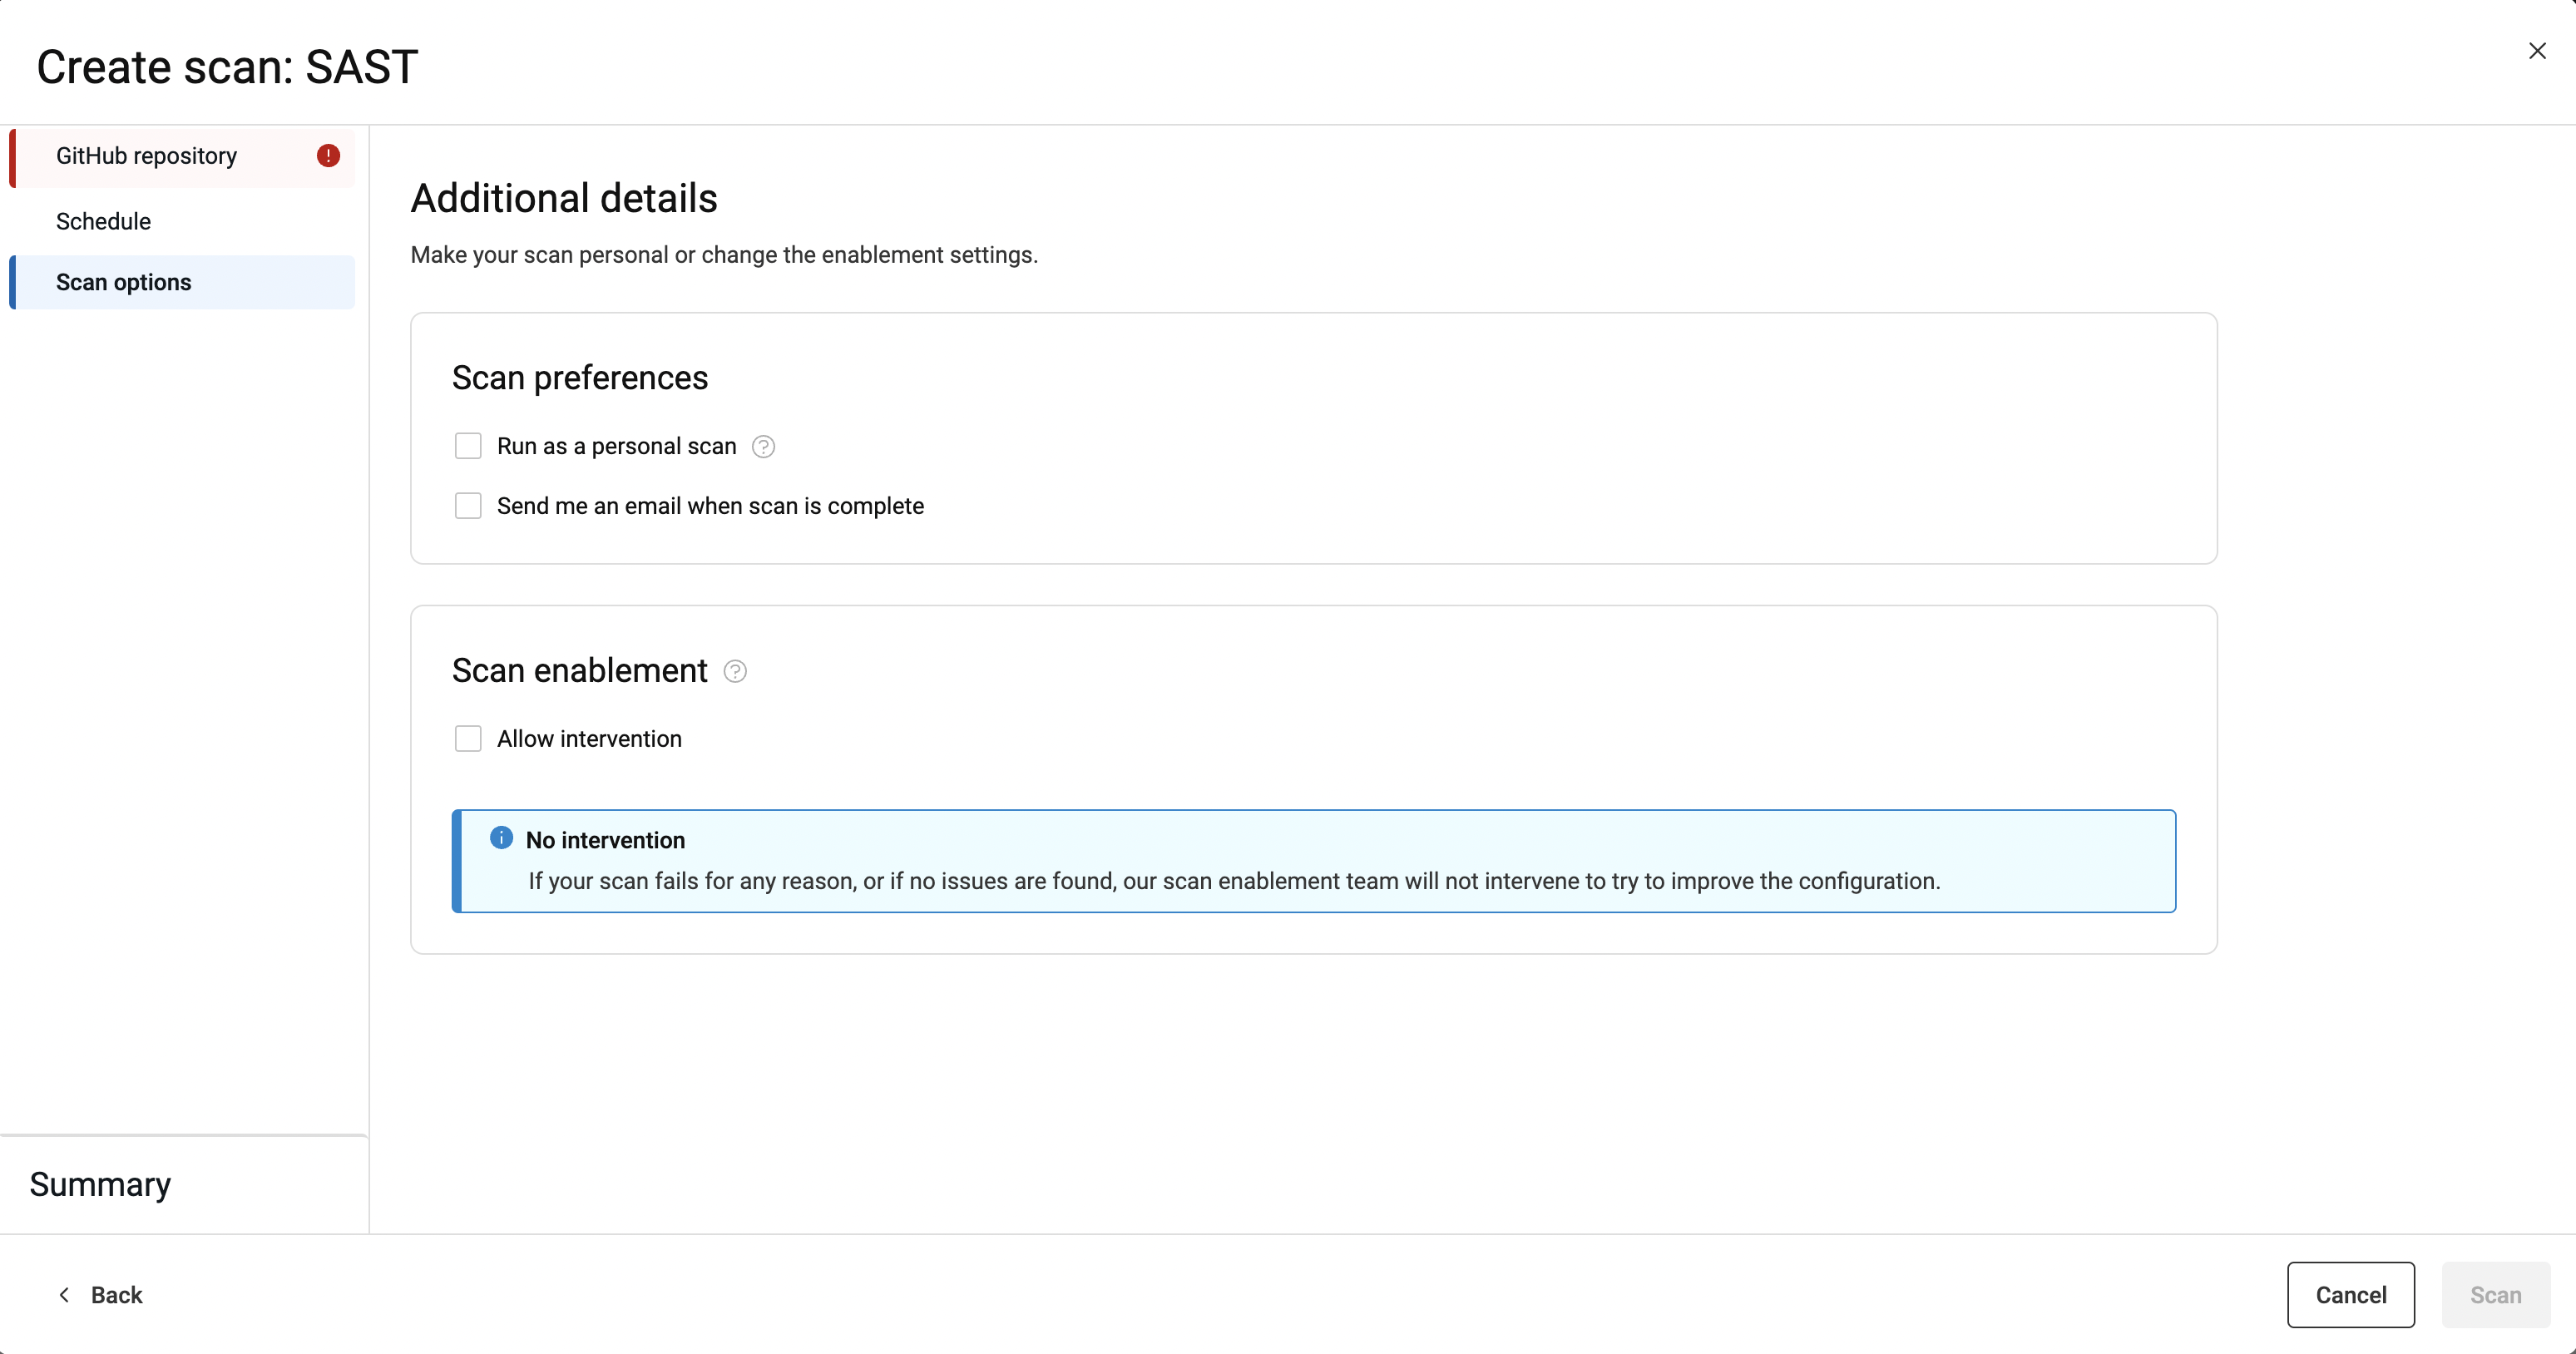
- Indicate additional scan preferences on the Scan options
tab:
- Opt to run your scan as a personal scan whose security issues will not be added to the issues for the application as a whole.
- You can also select the default option that sends you an email when the scan completes.
- Allow intervention by our scan enablement team.
- At the Summary tab, edit the default name that was given
to the scan, if desired, and review scan choices.
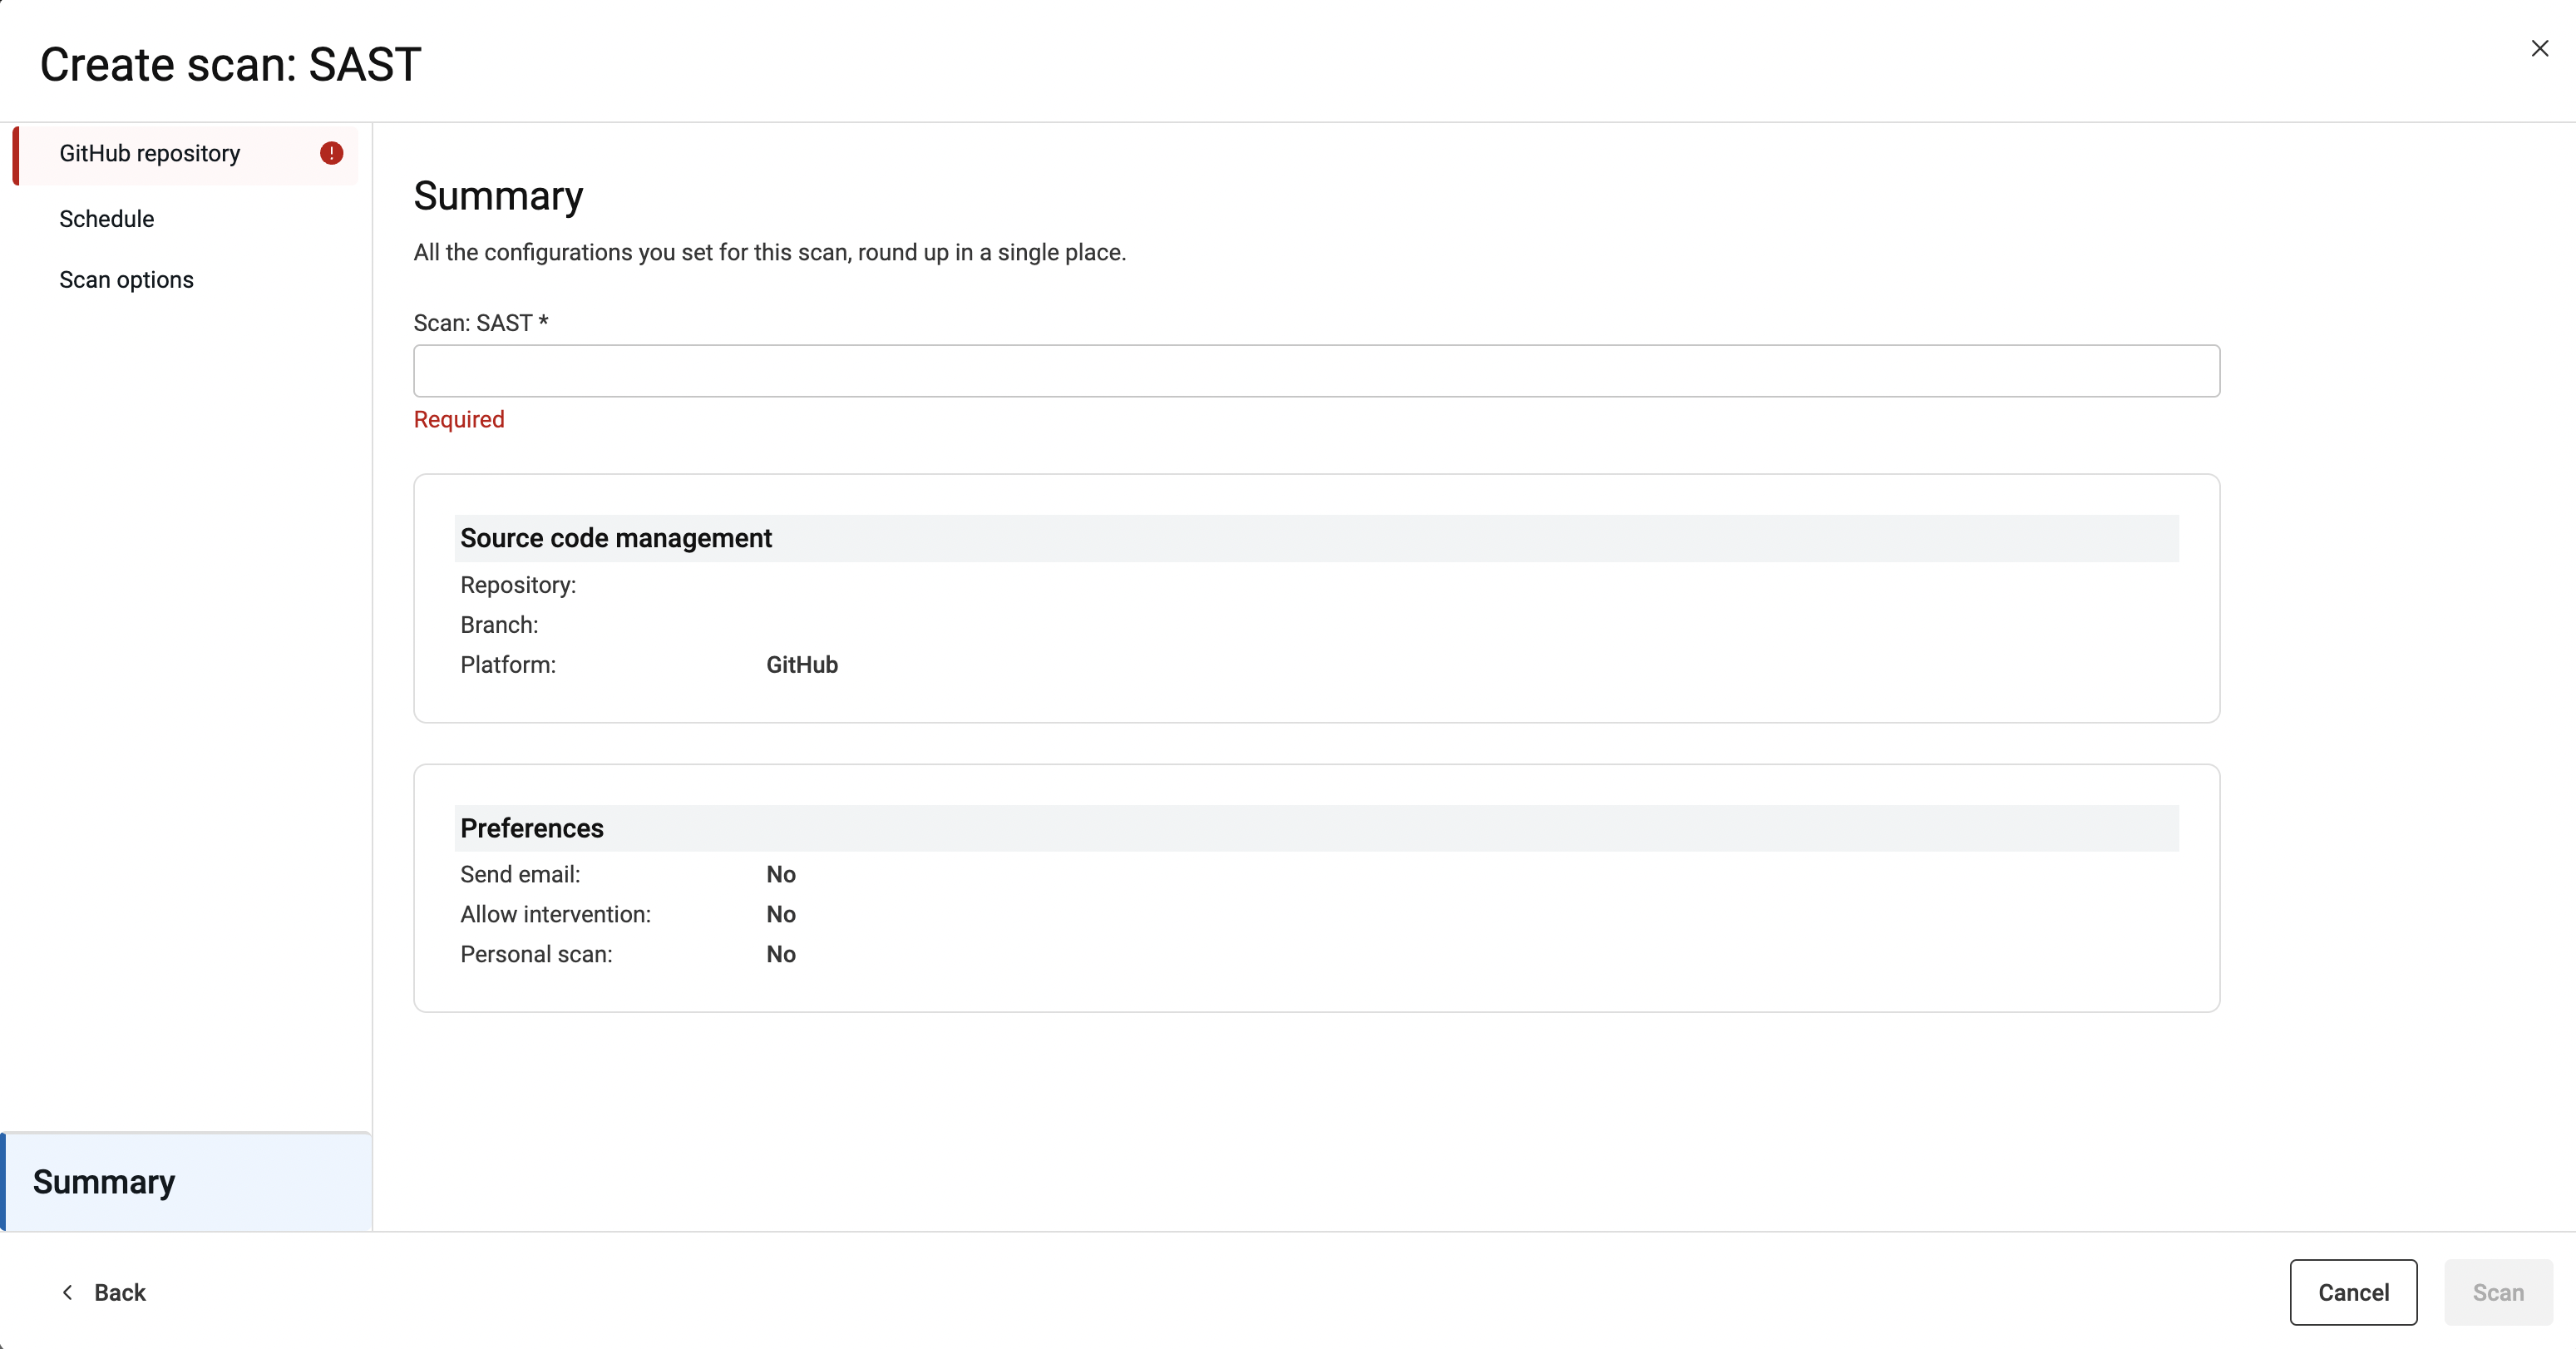
- Click Scan when ready to scan.