Static analysis (SAST)
Use static analysis (SAST) to scan for security vulnerabilities in web and desktop applications. Static analysis includes Intelligent Finding Analytics (IFA) and Intelligent Code Analytics (ICA).
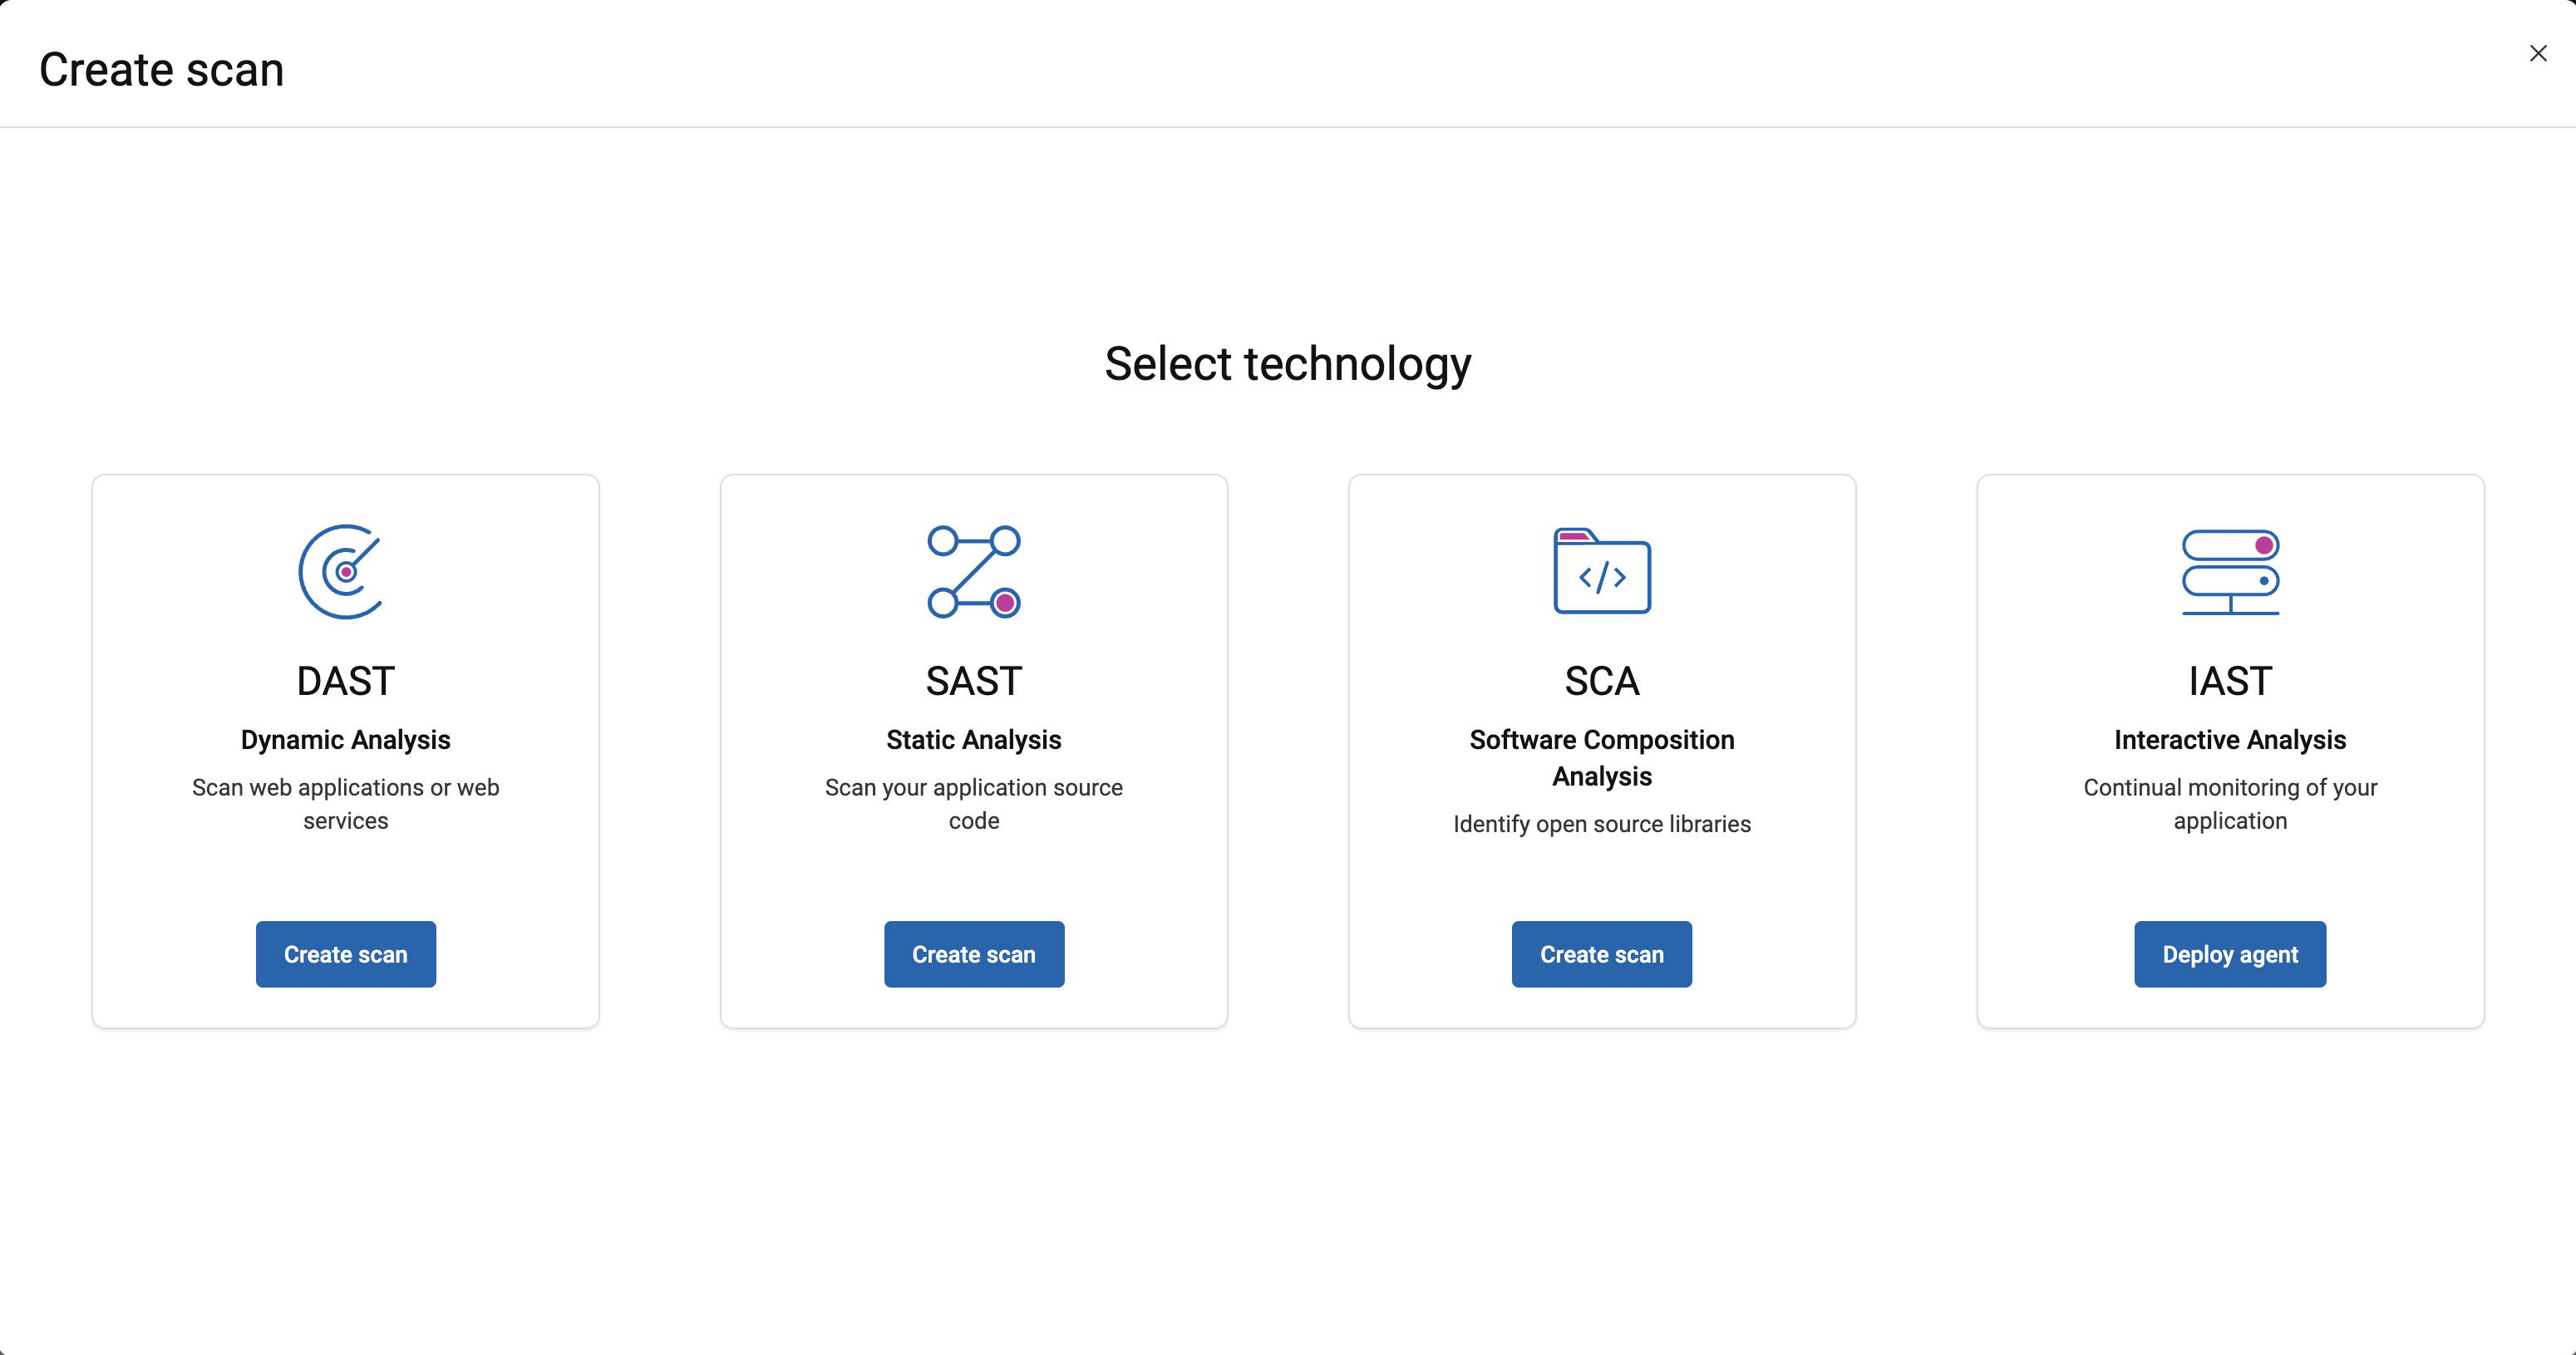
Use the Create scan wizard to start configuring your scan. Start the wizard from .