Selecting file resources and record mappings
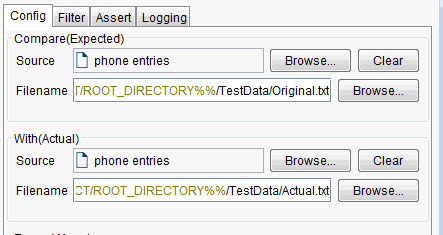
The file resources to be compared (expected and actual) are configured in the top half of the Config tab, and the details of each resource are configured in the same way.
About this task
Select the Config tab to define the file resources to be compared and the columns to match in each resource for determining which records to compare (record mappings).
Procedure
- Click Browse next to the Source field to select a File Contents resource from the project.
- In the Filename field,
enter the path to a specific file or a file pattern (for example,
c:/files/*.dat), or click Browse to locate and select a file (tags are supported). This field is optional if a file or directory pattern is specified in the file resource, but it can also be used to override any configured file or pattern at run time.Note: Each source in the comparison can be one file or a directory of files. A collection of files can be expressed by using normal filepath notation (for example, c:\files\*.dat, or c:\files\*.*). All matching files are concatenated before the comparison starts.Use the Record Mappings panel to define the columns to match in the record layout that is associated with each file resource (that is, the one applied to the file schema in use for the selected resource).
Note: Matching the content of record mapping fields in the source files is case-sensitive.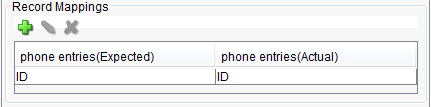
- Click
 to add a mapping to the table, and the Add Record Mapping dialog is
displayed.
to add a mapping to the table, and the Add Record Mapping dialog is
displayed. 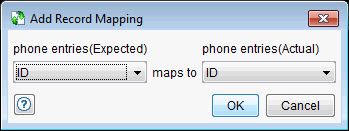
- Select the column to be matched from each file resource, then click OK to continue.
-
If you want to edit an existing mapping, select it and click the
 icon. If you want to delete an existing mapping, select it and click the
  icon.
icon.
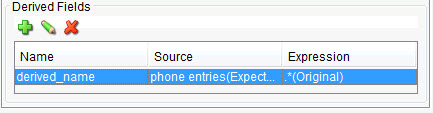
Use the Derived Fields panel to derive one or more record mapping fields from the file name that is associated with the selected source (for example, if a number in one of the resource file names must be matched to a column in the other file).
- Click to
add a field to the table, and the Add Derived Field dialog
is displayed.
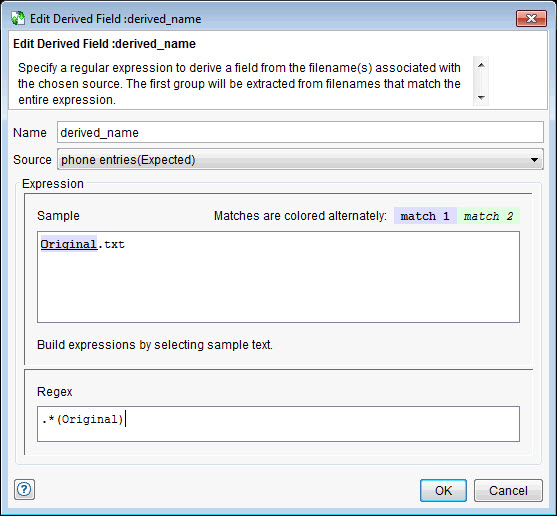
- Provide a name for the field, which can
be selected as a record mapping field, in the Name field,
and select the file resource from which the field name is derived
from the Source combination list.
In the Sample field, the file names that are associated with the selected resource are displayed.
- Select text in the Sample field to display a menu that can help build a regular expression, or simply enter the expression in the Regex field. The expressions use groupings, so the content to be extracted is what is found in the first grouping. If a valid expression is entered, matching text in the Sample field is highlighted.
- When you are satisfied with the expression and its results, click OK to continue.
-
If you want to edit an existing derived field, select it and click the icon. If you want to delete an existing derived field, select it and click the icon.
Once a derived field entry is created, it can be selected as a mapping field in the Record Mappings panel.