Testing your customization code
In this lesson, you test your customization in Management Center to ensure that your customization is complete.
Procedure
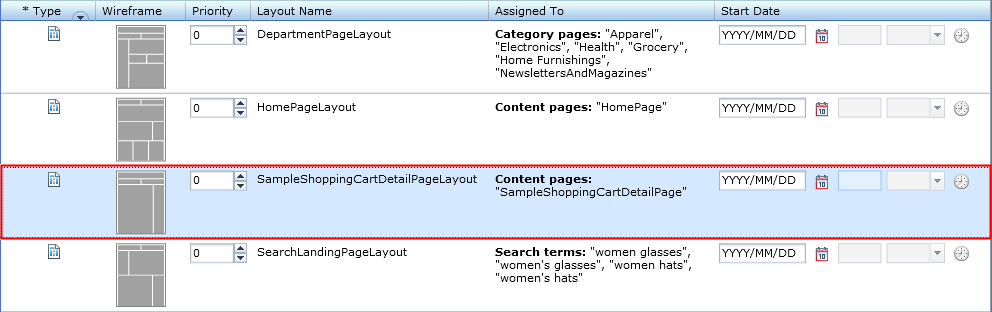
- In the Explorer View, select Layouts.
The list view of available layouts displays within the main work area.
Within the list, locate the new SampleShoppingCartDetailPageLayout layout that you loaded into the Commerce Composer framework with the Data Load utility. Your new layout can resemble the following image:
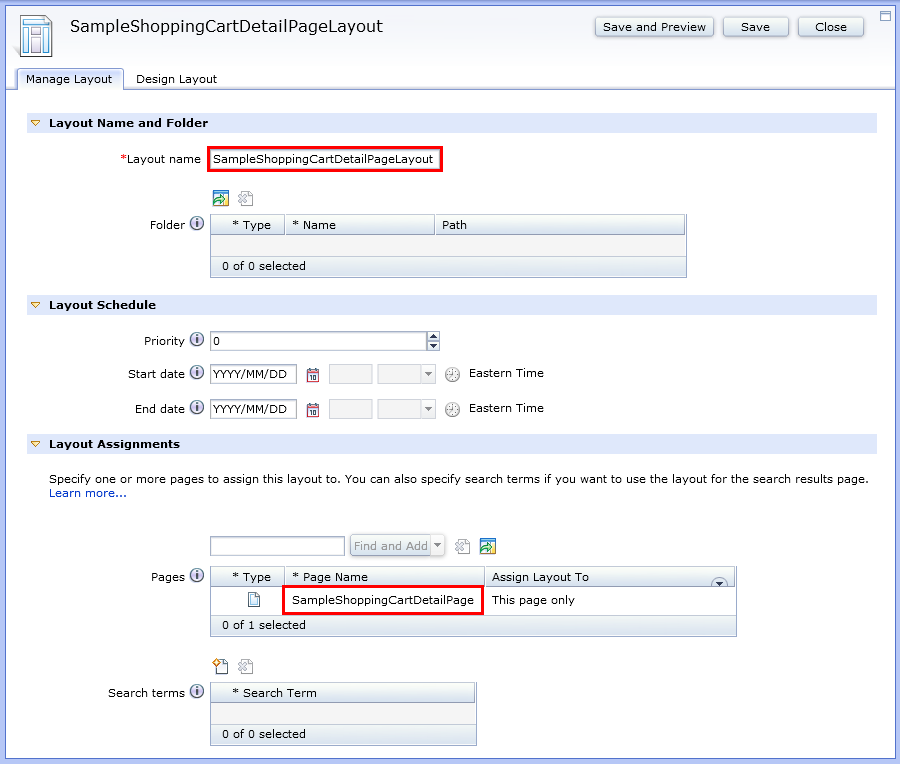
- In the Manage Layout tab, ensure
that the values for the Layout name and Page
name are correct.The properties view for your layout can resemble the following image:
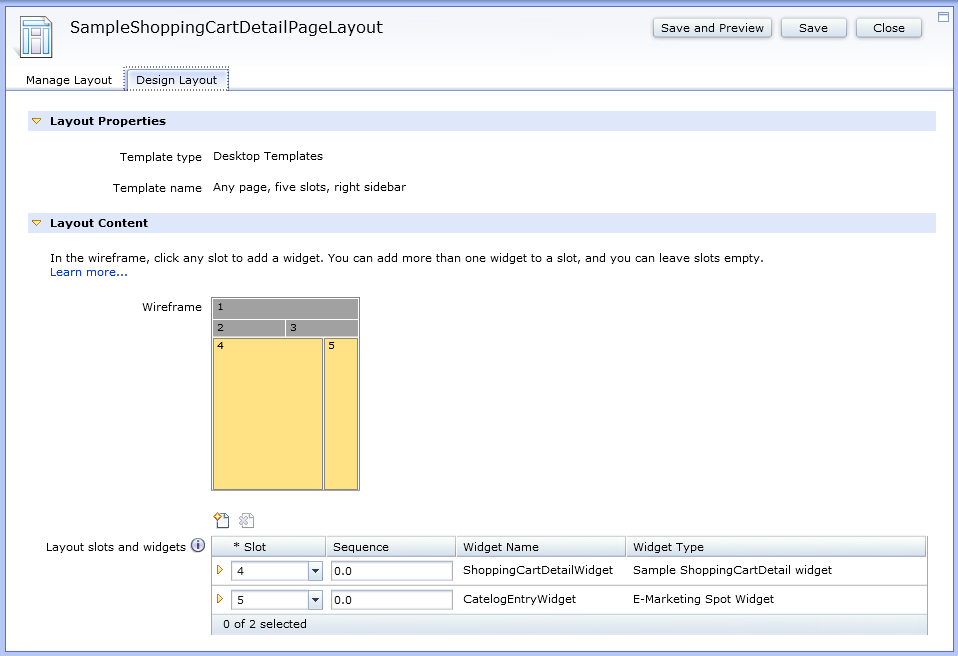
- Click the Design Layout tab.
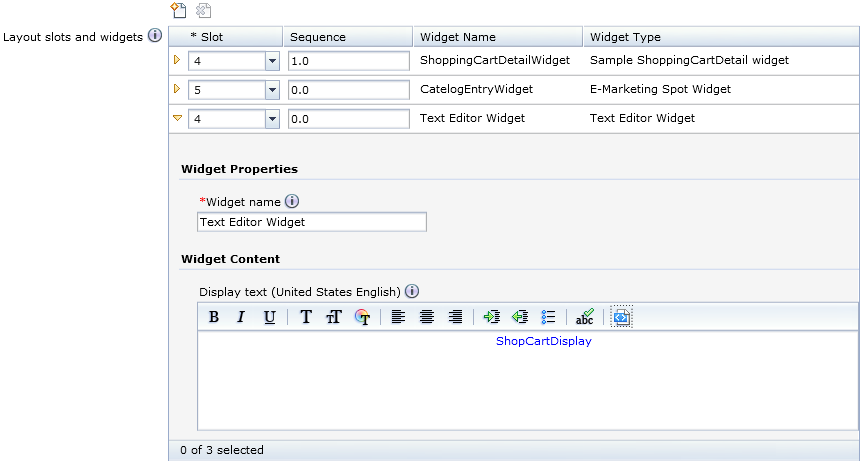
Ensure that two widgets, ShoppingCartDetailWidget and CatalogEntryWidget, are predefined for your layout in the Layout slots and widgets table and the wireframe. Your layout design can resemble the following image:
- In the Design layout tab, change
the sequence of the ShoppingCartDetailWidget to
be 1.0.You can stack multiple widgets into a slot. By changing the sequence of the stacked widgets, the content of the Text Editor Widget displays above the content of the ShoppingCartDetailWidget. The Layout slots and widgets table for your layout design can resemble the following image:
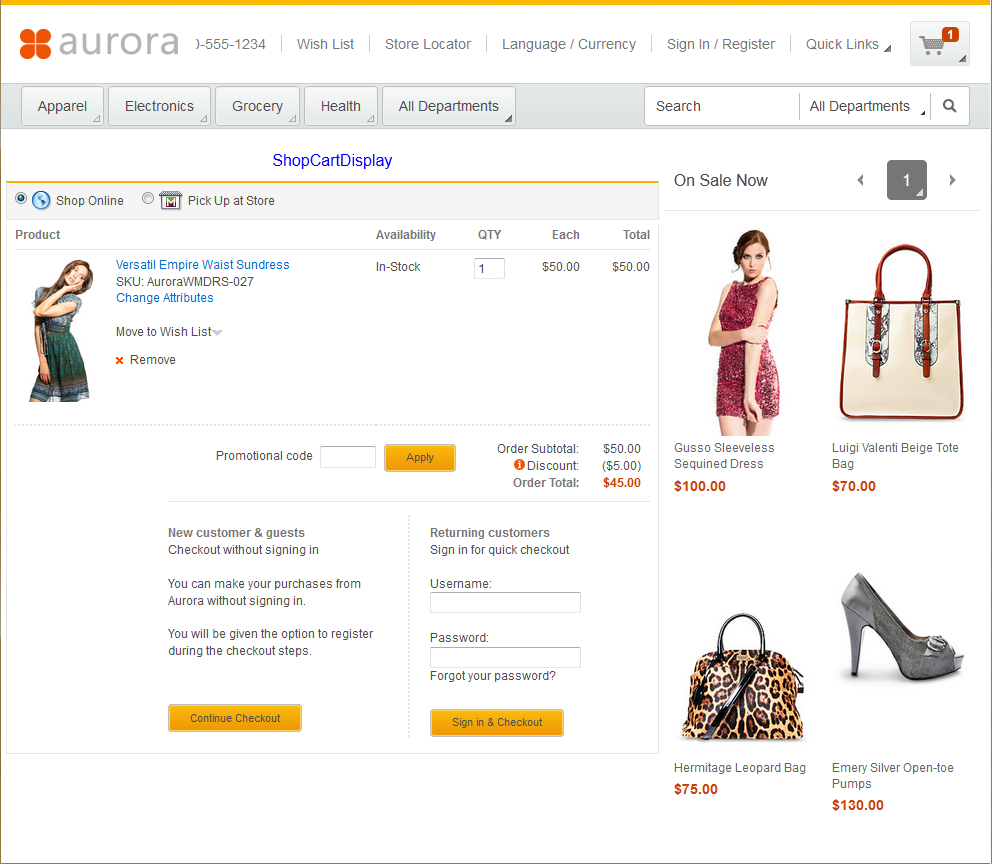
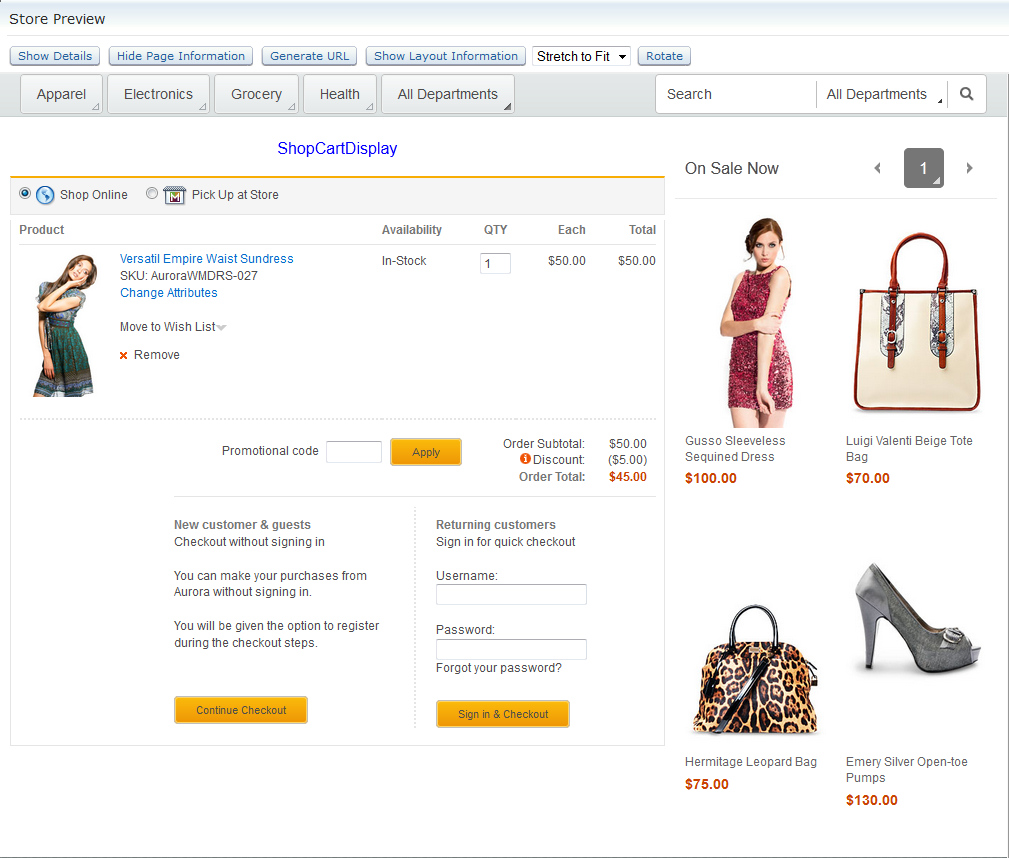
- Browse your store and add a product into your Shopping
Cart. Go to your Shopping Cart page. Ensure that
the assigned widgets and content display on the page.If your Shopping Cart page displays successfully, your page can resemble the following image:
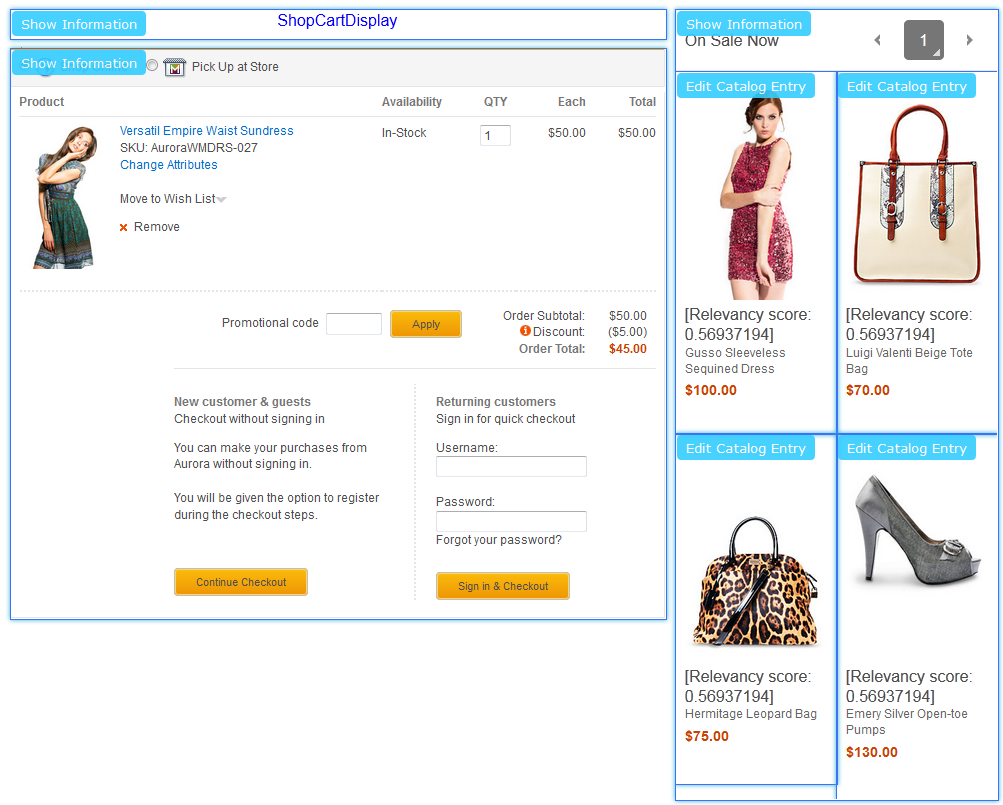
- Click the Show Page Information button
in store preview. Ensure that the Show Information button
displays for each widget.If the Show Information buttons display, your Shopping Cart page can resemble the following image:
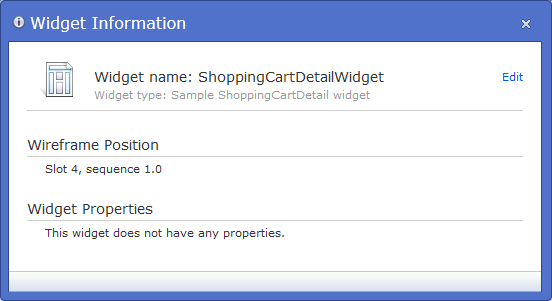
- Click the Show Information button
for your ShoppingCartDetailWidget widget. The Widget
Information window opens.Your Widget Information window can resemble the following image:
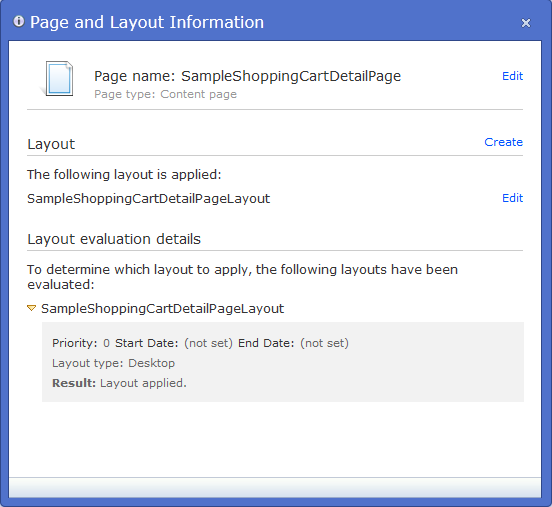
- Click the Show Layout Information button.
The Page and Layout Information window opens.
Your Page and Layout Information window can resemble the following image:
- Browse your store and add a product to your Shopping Cart.
Go to your Shopping Cart page. Ensure that your Shopping Cart page uses the correct layout design and displays the correct widgets and content. Your Shopping Cart can resemble the following image: