Tutorial: Creating a promotion type
A promotion type is a template for a promotion with a specific purchase condition and reward. The customer's order must meet the purchase condition that is defined in the promotion to qualify for the reward. For example, two common promotion types that are provided with WebSphere Commerce are Percentage off an order and Buy catalog entry X, get catalog entry Y free. In Management Center, business users can choose a promotion type as a starting point for their promotion and then enter the details.
If you create a custom promotion type by using the techniques that are described in this tutorial, your custom promotion type is available to business users in Management Center to use as a starting point. For more information about the existing promotion types and their features, see Promotions.
Business users create promotions for the storefront by choosing a promotion type from the Promotions tool and then entering in details about the specific promotion. For example, business users can choose the "Percentage off catalog entry X" promotion type to create a promotion for "20% off the Brewmaster Deluxe Coffeemaker." The Promotions tool is shipped with 21 promotion types. If these existing promotion types do not meet your business needs, you can create a promotion type through customization.
In this tutorial, you create a promotion type titled "Spend $ on catalog entry X, get catalog entry Y free." You base this promotion type on the existing promotion type titled Buy catalog entry X, get catalog entry Y free, but you create a different purchase condition. Additionally, you modify the reward to allow free gift Y to be multiple (different) catalog entries.
| Promotion type | Purchase condition | Reward | Example |
|---|---|---|---|
| Existing: Buy catalog entry X, get catalog entry Y free | The count of catalog entry X must exceed a certain number (one or more). | Free gift Y is limited to a single catalog entry. | Buy a 5–piece dinnerware set and receive a set of table glasses free! |
| New:Spend $ on catalog entry X, get catalog entry Y free | The total cost of catalog entry X must exceed a certain amount. | Free gift Y can be multiple (different) catalog entries. | Spend $200 or more on dinnerware and receive a set of table glasses and wine glasses free! |
Learning objectives
After completing this tutorial, you should be familiar with the following concepts:
- Identify the user input necessary to create a promotion type and define an OpenLaszlo object to represent the information
- Define a resource bundle for custom text strings
- Define a promotion template
- Use existing OpenLaszlo user interface widgets to build a properties view
- Create and register an XSL template to create the runtime promotion XML
- Customize the Management Center user interface to add the required widgets to the Promotions tool property editor. Customization allows the business user to create promotions by using your new promotion type
- Customize the promotion engine to add support for the new promotion type
Time required
Expect this tutorial to take 4 hours to complete. The tutorial takes longer if you explore concepts that are related to this tutorial.
Skill level
This tutorial is intended for intermediate WebSphere Commerce developers that are responsible for customizing the promotions tool in your WebSphere Commerce instance. To complete this tutorial, you should be familiar with the following terms and concepts:- WebSphere Commerce promotions.
- How promotion data is stored and managed
- The Management Center framework.
- The promotion engine framework.
- WebSphere Commerce Developer
- The Java programming language
- The OpenLaszlo programming language
- The XML programming language, including XSL Transformations (XSLT)
System requirements
Before you begin this tutorial, ensure that the following tasks are completed:
- Install WebSphere Commerce Developer Version 7
- Create a Marketing manager user
- Publish the Deprecated featureMadisons sample store
- Select .
- Select .
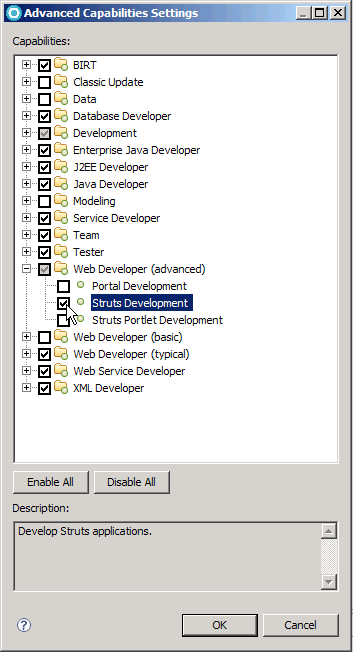
- Click Advanced... and select , if it is disabled.

- Click OK to accept your changes and close the Advanced Capabilities Settings window.
- Click OK to accept your changes and close thePreferences window.
Tutorial resources

 Download the completed
tutorial code for WebSphere Commerce Version 7 and Feature
Pack 1.
 Download the
completed tutorial code for WebSphere Commerce Version 7 Feature
Pack 2.