
Enabling store separation in a development environment
You can separate the store WAR from the WebSphere Commerce EAR
within your development environment. Separating the store WAR within
the development environment can help store developers test the deployment
of store assets into the separated EAR files and any shared libraries.When the store separation process
completes, a new store EAR is created that contains an copy of the
store WAR. The original store WAR within the WebSphere Commerce EAR
is disabled. With this separation, the storefront assets for your
WebSphere Commerce instance are included either within the store EAR
or the WebSphere Commerce EAR and referenced by the store EAR through
a shared library.
Before you begin
Procedure
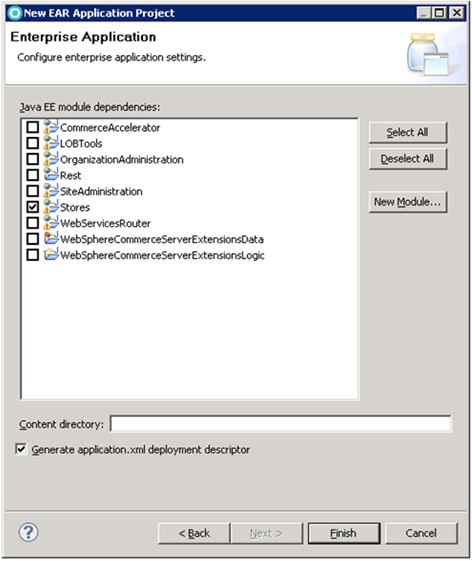
Create a stores module.
- Create an EAR enterprise application project.
- Select the check box for Stores and
click Finish to add the Stores web project
to the generated EAR.
- Select the check box for Stores and
click Finish to add the Stores web project
to the generated EAR.
- Update the context root for the Stores.war of
the store EAR file.
- Remove the Stores web project from the WebSphere Commerce
EAR.
- In the Design tab, expand Web:
Stores.war in the list of web projects and select Web.
In the Details section, update the value for
the Context root* so that the project is no
longer your default store web project.For example, set the context root to be
/oldstore.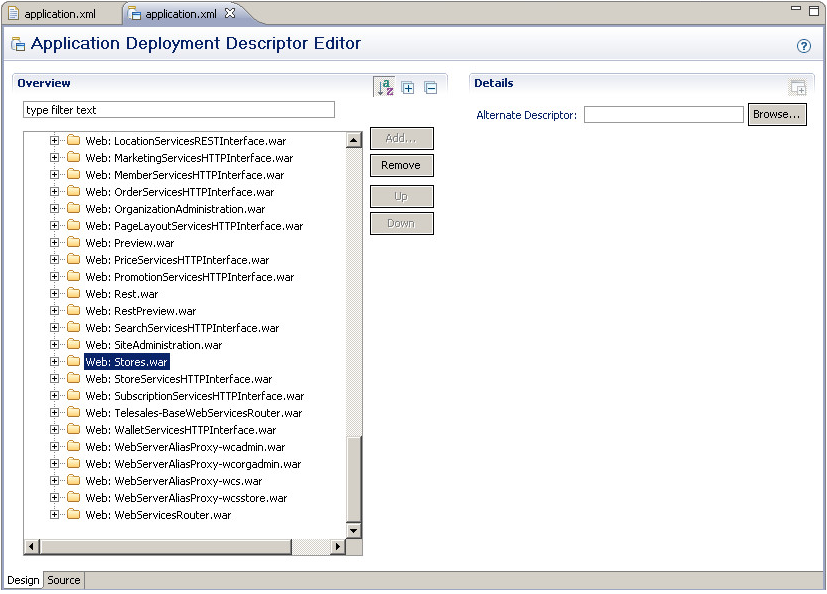
- In the Design tab, expand Web:
Stores.war in the list of web projects and select Web.
In the Details section, update the value for
the Context root* so that the project is no
longer your default store web project.
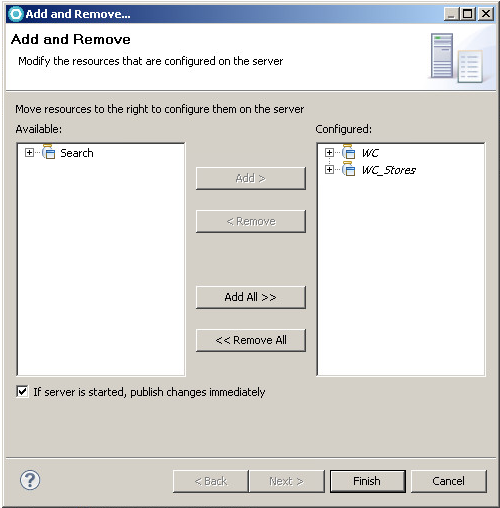
- Add the WC_Stores EAR to the WebSphere
Commerce Test Server.
- Select WC_Stores and click Add to
add the project to the WebSphere Commerce Test Server.
- Select WC_Stores and click Add to
add the project to the WebSphere Commerce Test Server.
- Create a shared library, WC_demo,
between the WebSphere Commerce EAR and the new Store EAR.
- Click New. Enter the details
for the shared library.
- For the library Name, enter
WC_demo - For the library Classpath, enter all of the classpaths for the WebSphere Commerce EAR. For example, the StoreSeparationDeveloperClassPaths.txt text file includes the class paths for store assets that are provided with Feature Pack 7. The class paths in this file are prefixed with the convention workspace_dir/. Replace this prefix with the path to your workspace directory.
- Do not select the check box for Use an isolated class loader for this shared library
New Shared Library window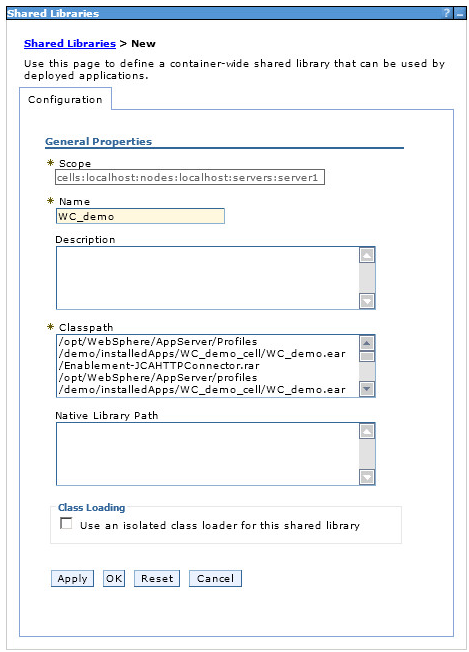
- For the library Name, enter
- Click New. Enter the details
for the shared library.
- Create a custom class loader that references the shared
library.
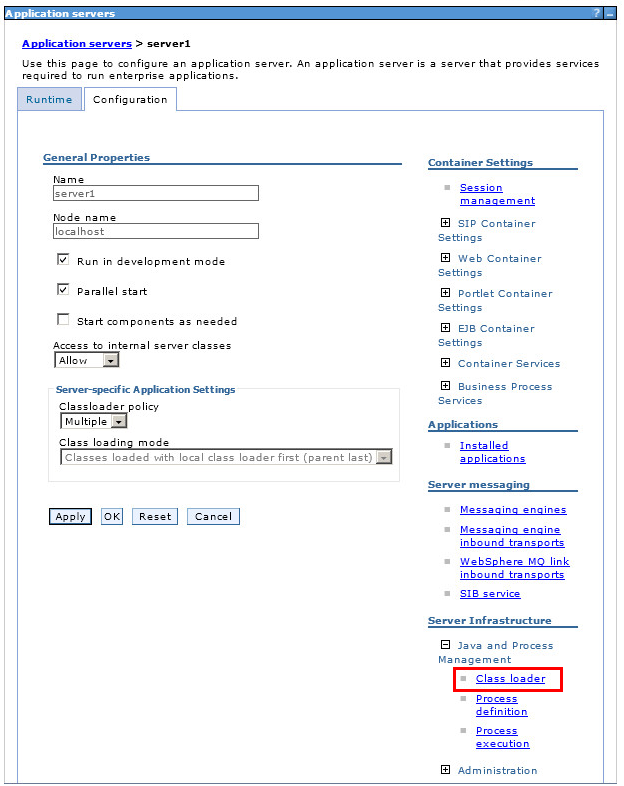
- Click the Configuration tab.
In the Server Infrastructure section, expand Java
and Process Management. Click Class loader.
- Click the Configuration tab.
In the Server Infrastructure section, expand Java
and Process Management. Click Class loader.
- In the Servers view, right-click the WebSphere Commerce Test Server. Click Publish.
- Create the feature enablement records for your separated
store environment.
- Restart the WebSphere Commerce Test Server.
- In a web browser, open your WebSphere Commerce store. Browse your store and complete a shopping flow. If your store displays and behaves correctly, your store archive separation is successfully complete for development environment.
What to do next
You can also separate the store WAR in your staging or production environment. For more information, see Separating the store WAR from the WebSphere Commerce EAR
For more information about deploying changes into your new separated store EAR, see Deploying new and changed store assets into a separated store EAR.