Schedule an On-Demand Scan
A scheduled scan runs automatically according to the schedule you set. Although it is shown in the CPM for Mac Dashboard along with any other On-Demand scans, you do not need to trigger it.
- Go to Endpoint Protection > Core Protection Module > Configuration > On-Demand Scan Settings.
- Double-click the previously defined [scan name] in the upper-right pane to open the scan configuration.
- Below Actions, click the hyperlink to open the Take Action window.
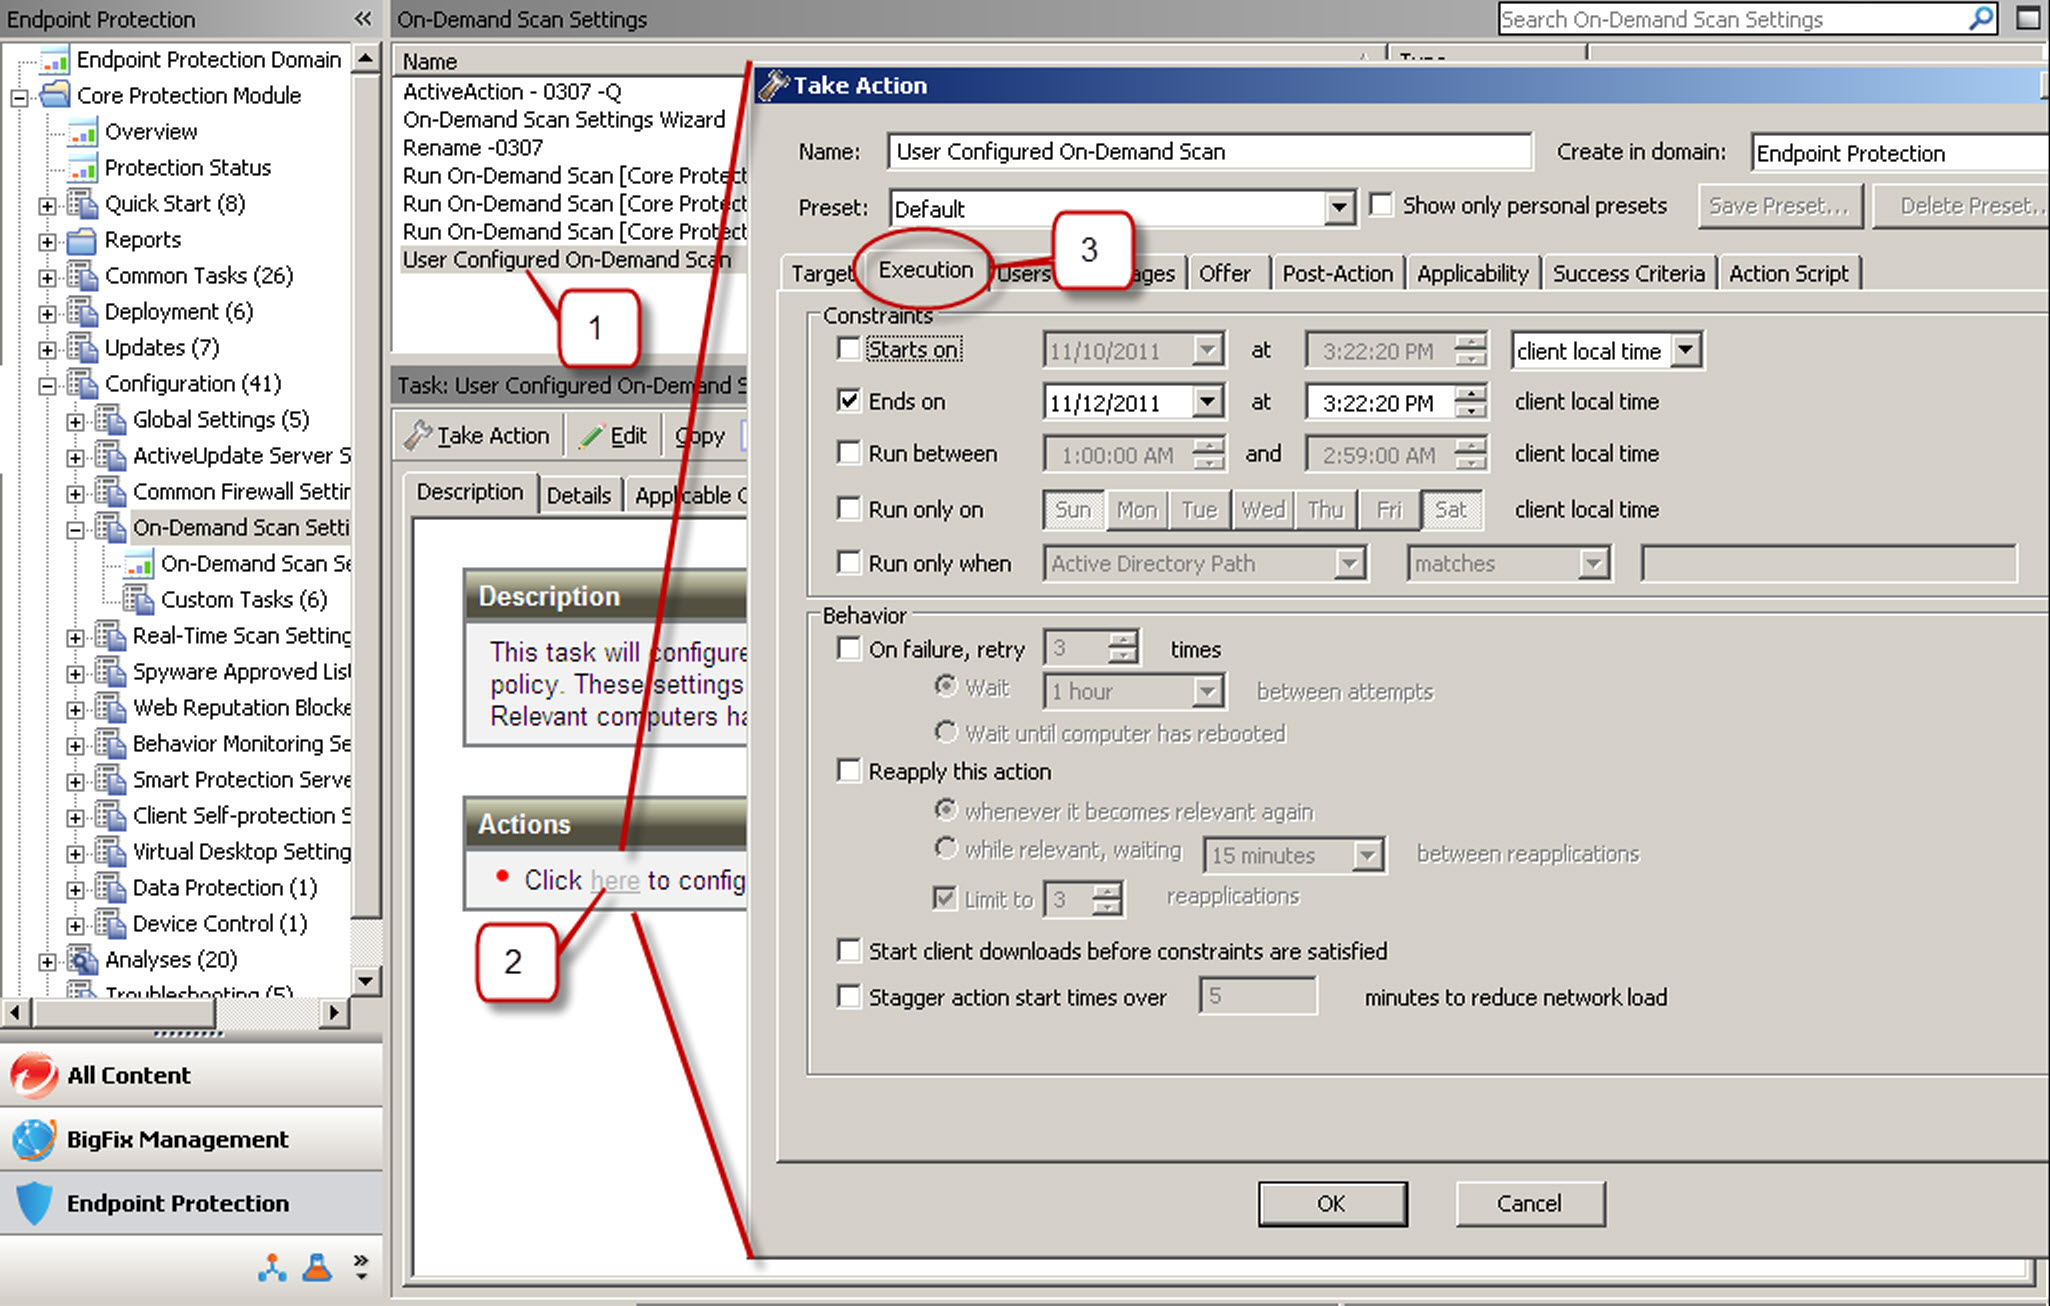
- In the Take Action window, click the Execution tab
(see the following figure).
- Choose a Start date, and optionally, configure the days that you want the scan to run in the Run only on field.
- Select Reapply this action while relevant, waiting 2 days between
reapplications (choosing whatever time period suits you).
WARNING! Do not select “whenever it becomes relevant again" or the scan might run continuously.
- If you want to let users initiate the scan, click the Offer tab and select Make this action an offer.
- Click any of the other tabs to modify the trigger time and applicable users.
- Select all the relevant computers and click OK.
- At the prompt, type your private key password and click OK.
- In the Action | Summary window that opens, monitor the "Status" and "Count" of the Action to confirm that it is "Running" and then "Completed."