Manage Existing User
Listed below are the details that are displayed in Figure 8 – Manage User.
- User Name - User’s email id
- Display Name - The name of the user visible to other users
- Created at - Date when the user was created
- Action - Option to edit or delete the user
- Active Status - Option to change the active state of the user
Use the Search bar to bypass list view and display the user details directly.
Follow the set of instructions mentioned below to edit the details of existing users as shown in Figure 15 - Edit User:
- Click on the Edit icon (
 ) to edit the details of the
corresponding user.
) to edit the details of the
corresponding user.
-
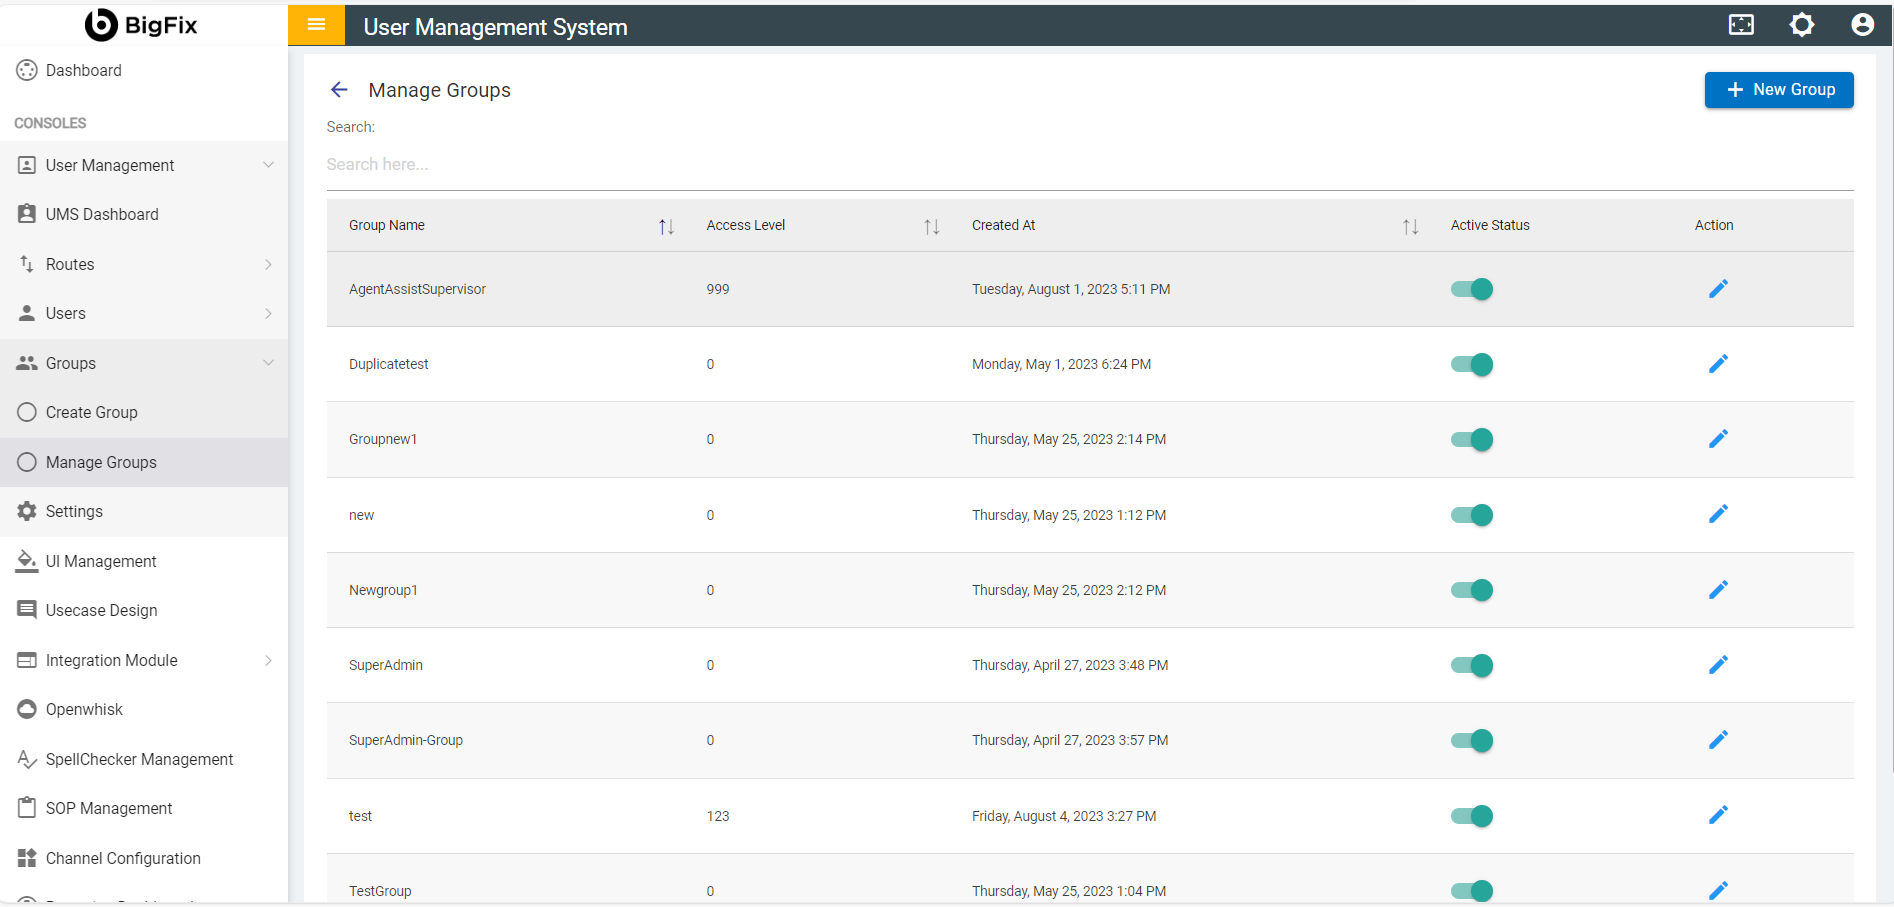
Figure 9 – Edit User
- Change the Display Name.
- Disable Multi Factor Authentication (MFA).
- If the MFA has been activated for all the users and one of the users is facing problem, the admin can use this section to temporarily disable the MFA for that respective user. This enables the user to access BigFix AEX without MFA.
- Multi-factor authentication (MFA) adds a layer of security to a user’s account. This version of BigFix AEX supports MFA via applications like Google Authenticator.
Figure 1. Figure 10 – Edit User (Cont.) 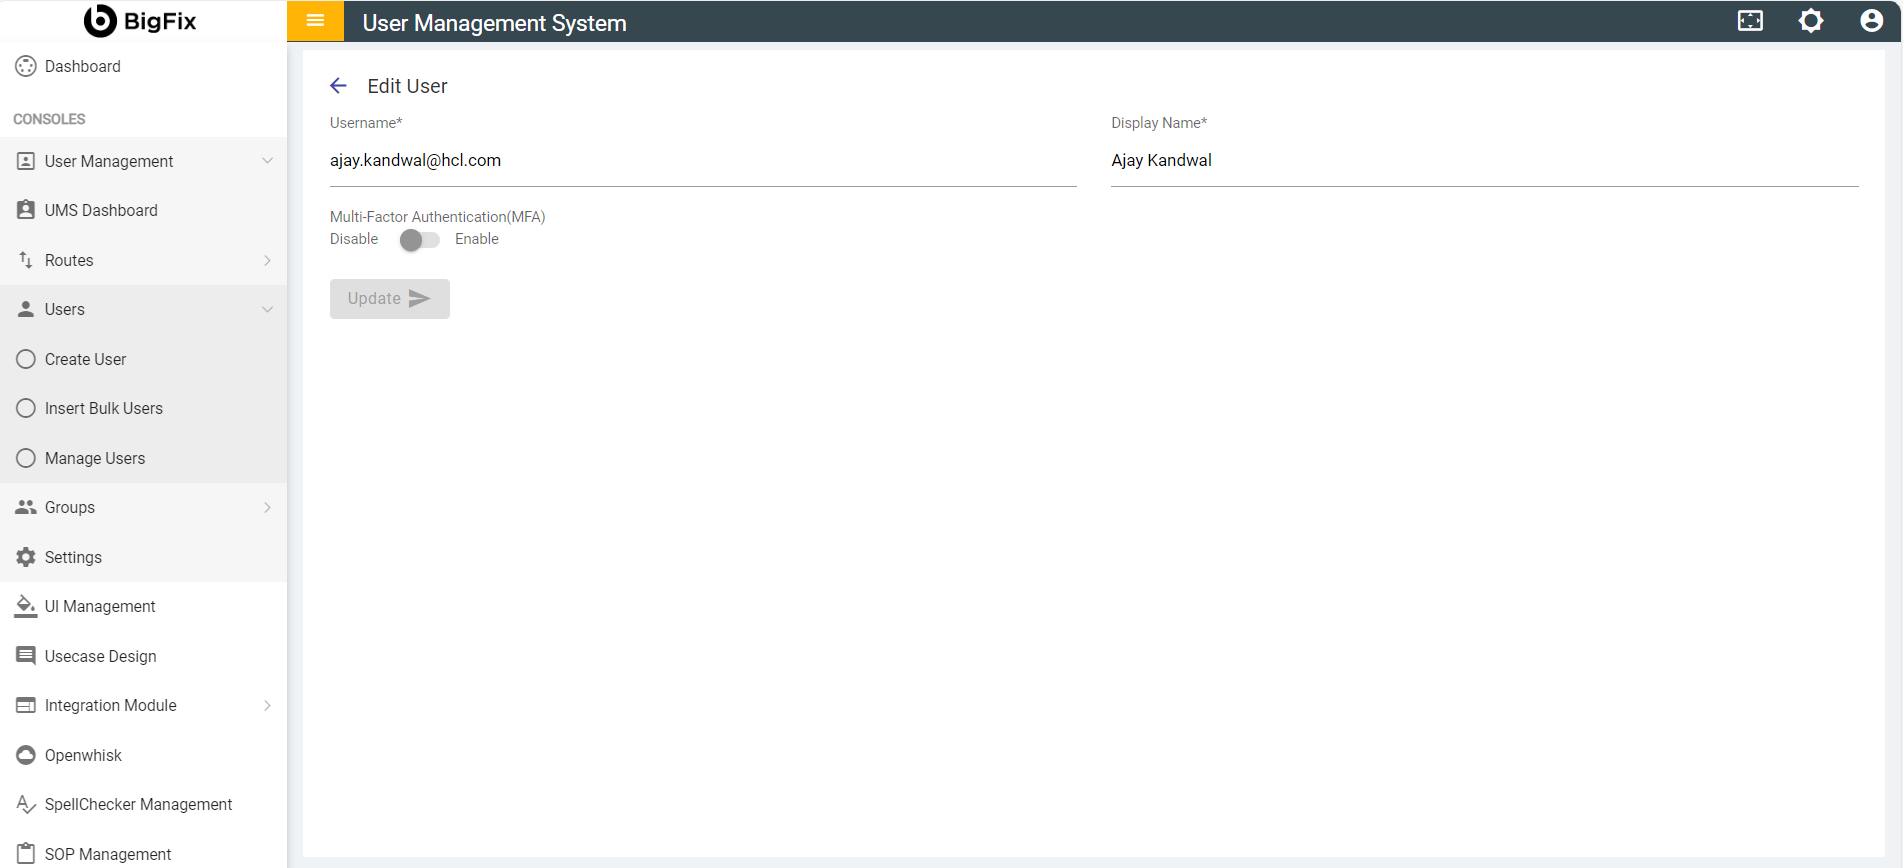
To download and install the google Authenticator App,
- On iPhone- Click here
- On Android- Click here.
- If MFA is enabled by the administrator, enter the log in credentials.
- You will be redirected to a page where BigFix AEX displays a
bar code when you log into BigFix AEX for the first time. A sample
screen is shown below:
Figure 2. Figure 11 - Multi Factor Authentication: Bar Code Scan 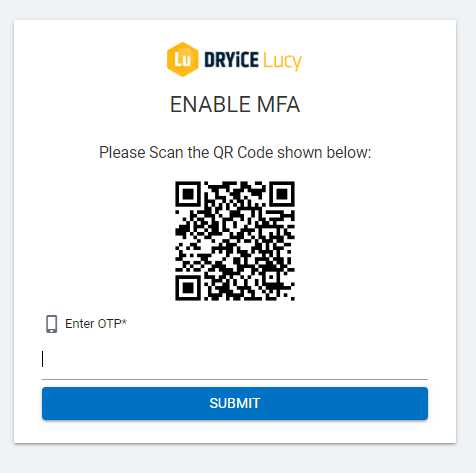
- The user can scan the bar code shown on the BigFix AEX Console on Google Authenticator app to receive an OTP. The OTP is used for validation of MFA for a user account.
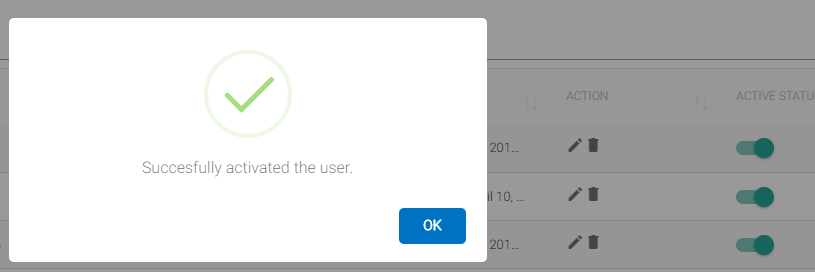
Figure 3. Figure 12 – MFA: OTP Generation - The OTP received needs to be entered in the “Enter OTP” field and to be submitted using the Submit Button. After a successful authentication a confirmation message is displayed, as shown in the screen below:
Figure 4. Figure 13 - Multi Factor Authentication: Success Confirmation 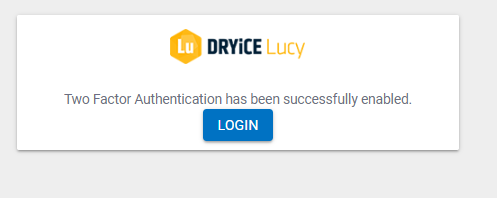
- This step of setting up the MFA must be performed only once by
every user. Post that there is no requirement of scanning the bar
code.
- From the next login onwards, the user can enter the fresh OTP generated by the Google Authenticator app. The sample screen where this action is performed is shown below:
Figure 5. Figure 14 - Multi Factor Authentication 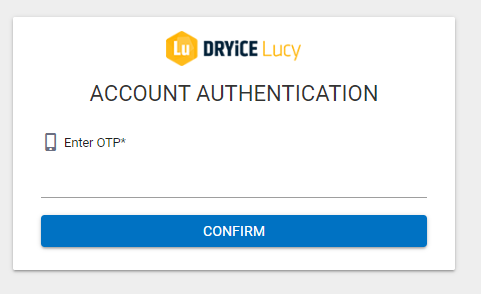
Figure 6. Figure 15 - Edit User 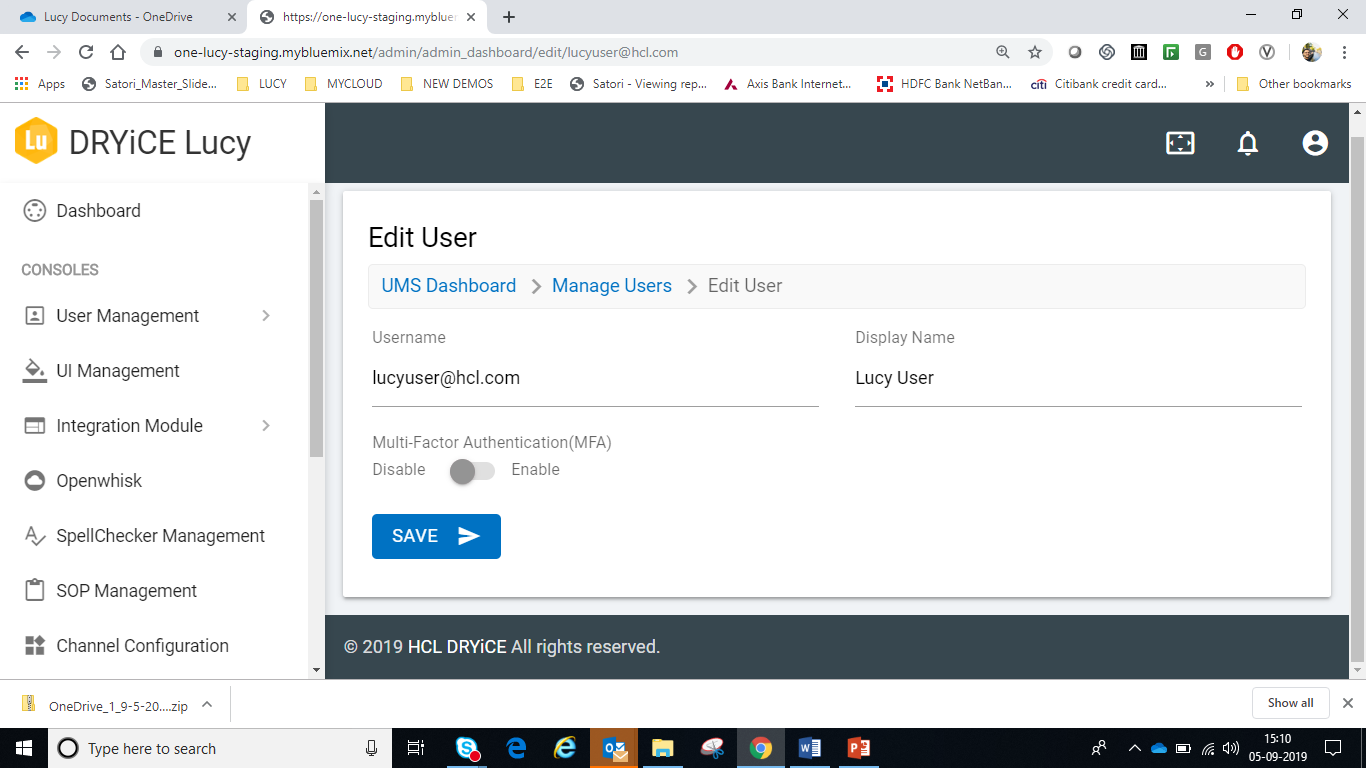
- Now that we have explained the Multi Factor
Authentication, let us come back to the next action in the
edit menu which is deleting a user.
- To delete an existing user, click Delete (
 ).
). - When prompted for confirmation , click YES to delete or click NO to cancel the delete action.
Figure 7. Figure 16 - Edit User: Delete Confirmation 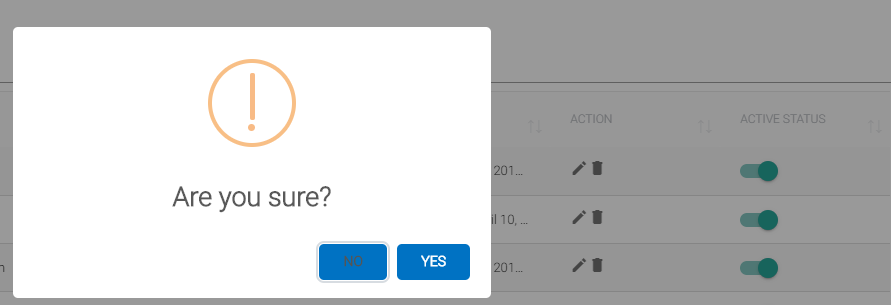
- To delete an existing user, click Delete (
- Next action is to change the status of a user.
- Use the toggle button (
 ) next to
a user to change the status to active/inactive.
) next to
a user to change the status to active/inactive.
- Use the toggle button (
- This completes the set of actions a user can perform on the Users Dashboard.