Viewing message differences to repair validation errors
After a message passes or fails validation, you can view the expected message and the received message in the Message Differences window. To open the window, click the entry in the console that details the difference or the passed assertion, or right-click the Console entry and click Show Differences.
If you click a publishing action, the Message Differences window displays the original (configured) message and the received message.
In HCL OneTest™ API 8.0.1 or later, there are Expected Message controls (two navigation buttons and two option buttons) on the upper-left side of the Message Differences window. These controls relate to message-based stubs and are not available for individual tests. For more information, see HCL OneTest Virtualization overview.
Viewing options for message differences
The header and body of the messages are displayed side-by-side, and corresponding nodes and elements in each message are lined up next to one another. If you select a line in one message, the corresponding line in the other message is also selected. The details of any selected differences are displayed below the message bodies, and they are highlighted according to the type of difference. Line wrapping in the differences detail area is the same as what is configured in the test console.
Added or missing namespace identifiers are ignored if they contain no attributes or elements, and they are not highlighted in the Message Differences window.
- To customize the highlight colors, set the HCL OneTest™ API preferences (Window > Preferences).
- When you click a highlighted line in the console (below the displayed messages), the applicable node is expanded (if necessary) and highlighted in the messages shown. To copy a highlighted portion of the console, right click and select Copy selection to clipboard or press Ctrl + C. To copy the entire contents of the console, right-click and select Copy all to clipboard.
- To move between the differences, under Key, click
 to select the next difference or
  to select the previous difference. As you move through the differences, the number of
the selected difference is displayed next to the total number (for example, 4 / 16). For more
information about preferences to control the Next difference and
Previous difference buttons, and looping within the Message
Differences window, see Message Comparison preferences.
to select the previous difference. As you move through the differences, the number of
the selected difference is displayed next to the total number (for example, 4 / 16). For more
information about preferences to control the Next difference and
Previous difference buttons, and looping within the Message
Differences window, see Message Comparison preferences. - To display only differences, click
 . Use
. Use  and
and  to expand and collapse selected nodes within the messages, and click
  to copy the contents of the selected line in the received header or message
body.
to copy the contents of the selected line in the received header or message
body.When you expand all nodes in large messages, the message is processed for up to 5 seconds. After that time, all nodes that could be expanded will be expanded. If necessary, you can click
again to continue expanding any collapsed nodes.
Repairing validation errors
Options for repairing validation errors, in the Repair panel, are explained in Repairing validation failures. To be prompted to save any repairs as a rule, enable the Add to Rule Cache? option. For more information, see Rule Cache overview. Applicable repair options are also available from the menu.
If validation is disabled for any field in the expected message (that is, affected fields are ignored and highlighted in gray), re-enable it by selecting a field and clicking Enable field validation. Validation can be disabled from the console, test repair wizard, or by using the message differences window.
- To raise a defect for the selected test asset directly from the Message Differences window, click Raise Defect. For more information, see Creating defects in the integrated change management tool.
- To run the test again (for example, after you edit the expected message, modifying validation options), click Re-run button. The Message Differences window is closed. The test is executed again, and the Message Differences window opens again, displaying the updated results.
- To run the test again without re-displaying the results, you can click the Close and Re-run button. The Message Differences window is closed and the test is executed in the Test Lab. The results are displayed in the console, but the Message Differences window does not open again.
Editing expected messages
After you modify a message, it is re-validated and the contents of the window are updated.
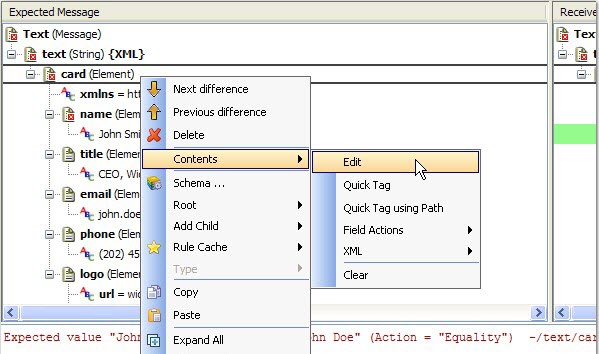
To edit the contents of a message element, double-click to open the Field Editor, or right-click the field and select .
Edit the expected message by using the options available in the menu.
If changes are made to the expected message and the Message Differences window is closed, you are prompted to save or apply the changes, discard the changes, or cancel the action and return to the window. To enable the preference for saving or applying changes automatically, select the Always save changes option. For more information, see Changing preferences.