Schema Library overview
In the Schema Library, you can view and manage the schemas and message formats that are available in your project. You can add, rebuild, and delete schemas, and apply schema-specific data masks.
Adding schemas
- Click the Add button to specify a source file. HCL OneTest™ API attempts to determine the schema type from the source file contents.
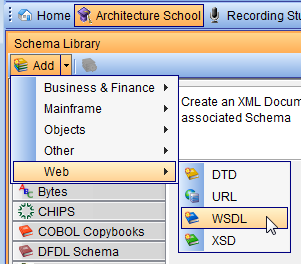
- Click the arrow next to the Add button
to specify the schema type to add.
When you add a schema of a category that did not previously exist in the project, the category is added to the schema list.
The information required to add a schema varies with the type of schema being added. For more information, see Schemas.
Rebuilding schemas
To rebuild one or more schemas and view any changes
that were made to the source, select the schemas and click the Rebuild icon.![]()
Deleting schemas
To delete one or more schemas, select the schemas and press Delete.
Schema details
In the far right pane, you can view and manage the details of any selected schema.
- Under the Config tab, you can view or modify the schema location. For WSDLs, you can analyze the file in the same way as in the WSDL import wizard, or view a preview of the schema roots and the format of all available schema messages.
- Under the References tab, you can see all of the artifacts within the project that contain a reference to the selected schema.
- Under the Source tab, you can view the schema source.
- Under the Documentation tab, you can view or modify more details about the schema, including an optional link to external documentation, the date and time when the schema was created and last updated, and the source of the schema.
- Under the Rule Cache tab, you can view and configure any validation rules that are applied in the selected schema. For more information, see Rule Cache overview.
Format details
For message formats, there is no tree view in the center frame, and only the Config tab is available on the far right side of the view. Here you can preview all of the different message types that are available under the selected format.
Schema-specific data masks
You can use the Schema Library view to create, view, modify, or delete schema-specific data masks.