Creating and managing a group in the Domino Directory
Use groups to easily manage Notes users' access to Domino applications according to their designated department, management, or location.
Creating a group
To create a group in the Domino Directory, you must first have the GroupAdmin role in the ACL of admincentral.nsf (not names.nsf).
Administrators assigned the GroupAdmin role also need Editor access in the AdminCentral database ACL, or else be explicitly listed in the "Administrators" field in the Create Group form, to be able to approve a group change request from a different administrator.
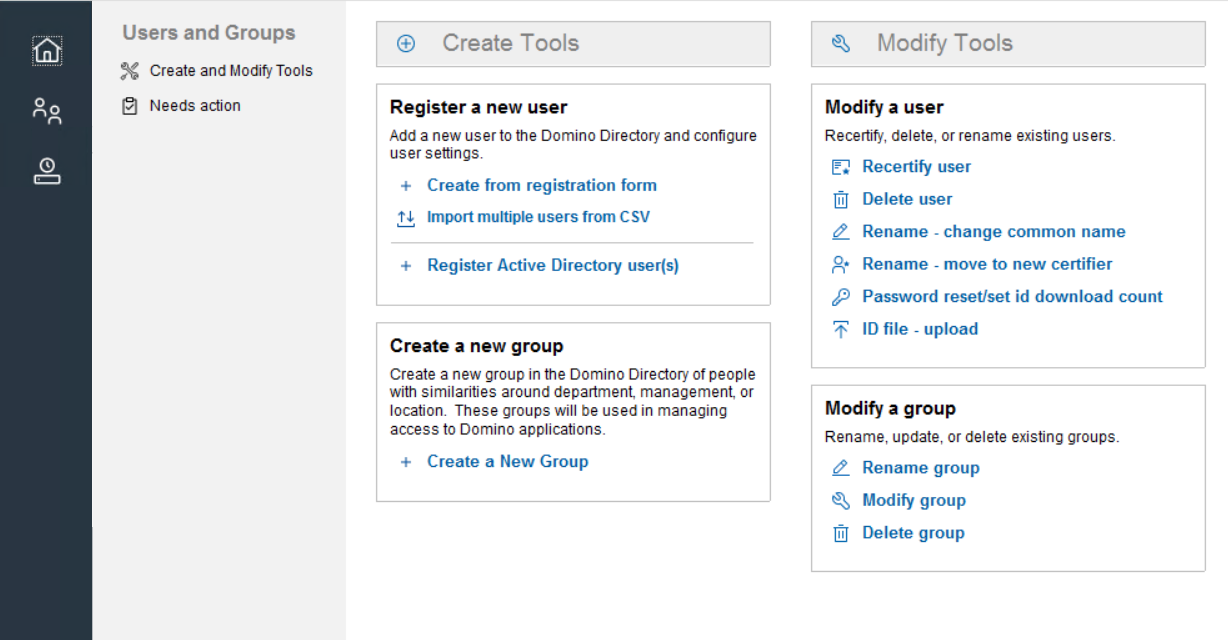
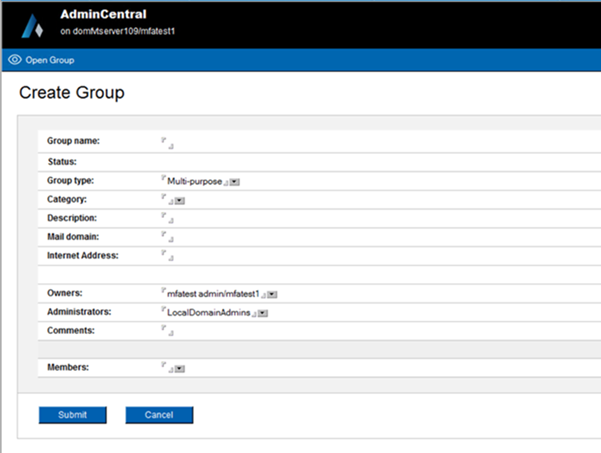
- On the Users & Groups page, click Create a new group.
- You can specify all the attributes of the group (similar to how you do in the Domino Directory "Add Group" action).
- Submit the request.
Managing an existing group
To rename, modify, or delete a group, you must either have the GroupAdmin role or be listed in the ListOwner or LocalAdmin fields.
- Renaming a group
-
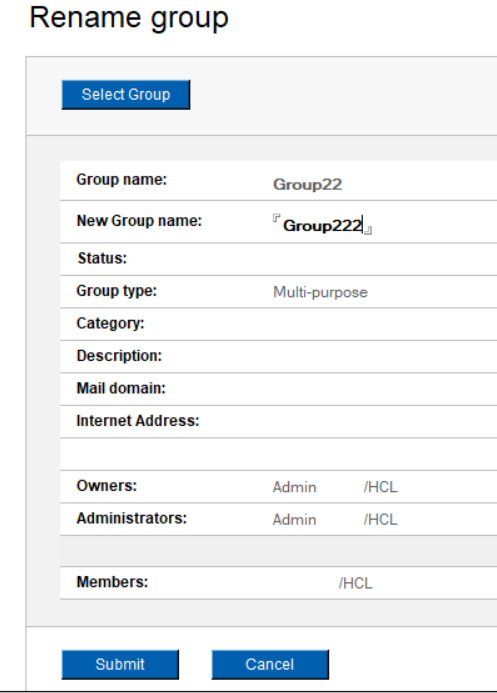
- On the Users & Groups page, click Rename group.
- Click Select Group to pick a group, then fill in the "New
Group name" field and click Submit.
- Modifying a group
-
- On the Users & Groups page, click Modify group.
- Click Select Group to pick a group, then change any of the
editable fields.
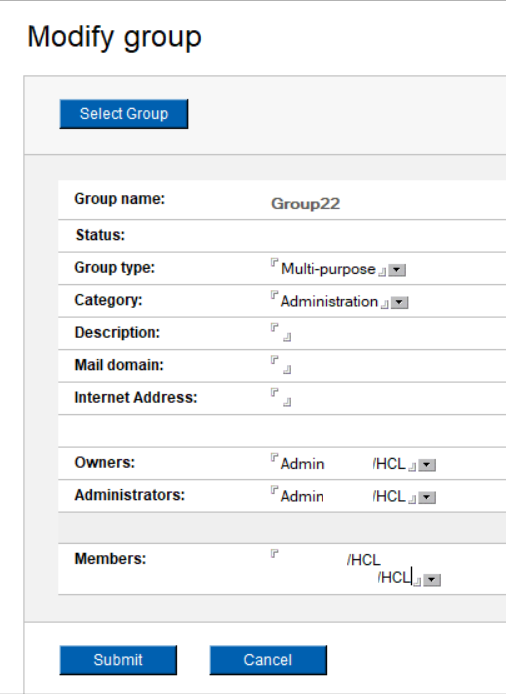
- Click Submit.
- Deleting a group
-
- On the Users & Groups page, click Delete group.
- Click Select Group to pick a group. The group details will
then be displayed for confirmation purposes.
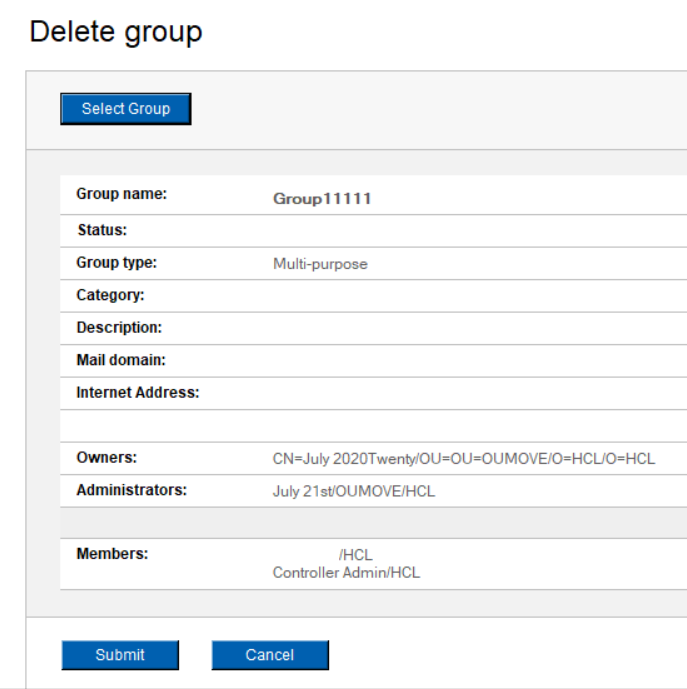
- Click Submit to proceed with deletion.