Creating the banner page component | HCL Digital Experience
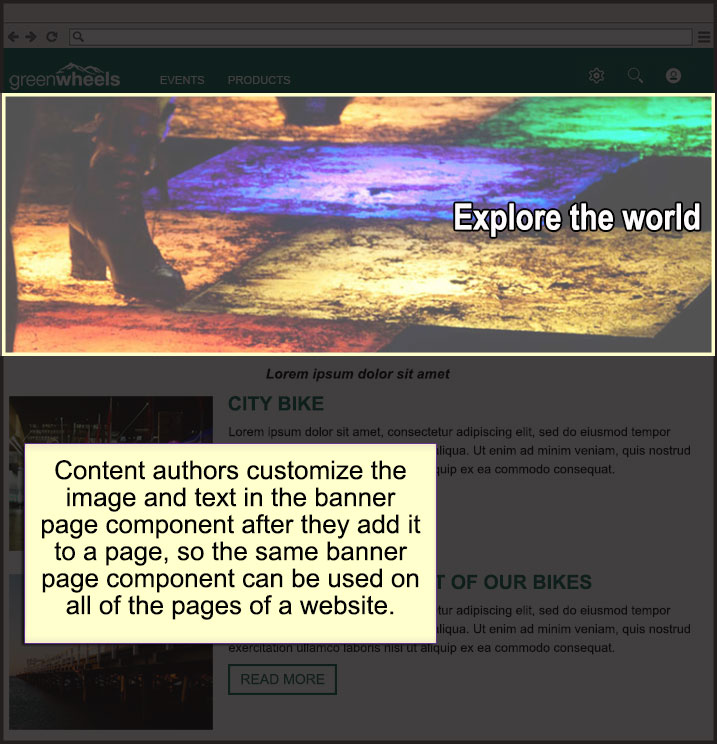
This roadmap highlights how to create the banner page component of the design from an HTML component. The banner page component is used on the Home, Product, and Events page.
Who should use this roadmap
You are a developer on the technical team that is tasked with creating home and landing page templates for content authors to use on the site. You are responsible only for creating page components and design templates. Other developers are responsible for developing other pieces of the design. Learn the basics of developing the banner. You might refer to the banner as a hero image that spans full width across the one-column layout.
Creating your banner page component
Before you begin
Procedure
- Click the Applications menu icon. Then, click .
- Go to your design library.
-
Click .
- You can edit the authoring template, presentation template, or the styles component to customize your banner page component. If you edit the authoring template, you must click Apply Author Template to update the content associated with this authoring template.
Get a preview of your banner page component.
- Click the Web Content Preview tab.
- Turn on edit mode.
- Click the Display portlet menu icon on the title bar of a web content viewer. Click Edit Shared Settings.
- From the Content section, click Edit and select default content to display in the web content viewer.
- From Appearance, select Component. A Component section appears after you make this selection.
- From the Component, click Edit. Select the Banner Page Component that you created.
- Click OK.