Preparing your workspace
In this lesson, you import sample code into your
WebSphere Commerce workspace. This sample code is the starting point
for the tutorial.
Procedure
- Import the controller command sample Java code into your
workspace:
- In the Enterprise Explorer view, navigate to WebSphereCommerceServerExtensionsLogic.
- Right-click the src folder and select Import. The Import wizard opens.
- From the Select an import source list, select General/File System; click Next.
- Click the Browse button next
to the From directory field and navigate to
the Javafiles directory in the temporary directory,
for example
C:\temp\startercode\Javafiles. Click OK. - Click Select All to select all
the files under the
Javafilesdirectory. - In the Into folder field, ensure
the
WebSphereCommerceServerExtensionsLogic/srcfolder is specified. - Click Finish.
- Import the sample response JSP page for this tutorial:
- In the Enterprise Explorer view, expand Stores/WebContent/Madisons/StoreInfoArea.
- Right-click the StoreInfoArea directory and select Import.
- From the Select an import source list, select General/File System; click Next.
- Click the Browse button next
to the From directory field and navigate to
the storeassets directory in the temporary directory,
for example
C:\temp\startercode\storeassets. Click OK. - Click Deselect All, then select the MyContactUsDisplay.jsp and MyContactUsAckDisplay.jsp files.
- In the Into Folder field, ensure the Stores/WebContent/Madisons/StoreInfoArea folder is specified.
- Click Finish.
- Import the sample US English properties file, and default
properties file, to be used when a locale-specific properties file
is not found. Import these files for the tutorial into the appropriate
directory:
- In the Enterprise Explorer view, expand Stores/Java Resources: src/Madisons.
- Right-click the Madisons directory and select Import.
- From the Select an import source list, select General/File System; click Next.
- Click the Browse button next to the From directory field and navigate to the storeassets directory in the temporary directory, for example C:\temp\startercode\storeassets. Click OK.
- Click Deselect All, then select the StrutsTutorialNLS_en_US.properties and StrutsTutorialNLS.properties file.
- In the Into Folder field, ensure the Stores/src/Madisons folder is specified.
- Click Finish.
- Copy the sample access control policy files to the appropriate
directory:
- Navigate to the ACPolicies directory in the temporary directory, for example C:\temp\startercode\ACPolicies.
- Copy the sample MyContactUsAckViewACPolicy.xml file.
- Navigate to the WCDE_installdir\xml\policies\xml directory and paste the MyContactUsAckViewACPolicy.xml in this directory.
- Repeat this step to add the sample MyContactUsCmdACPolicy.xml file to the WCDE_installdir\xml\policies\xml directory.
- Copy the struts.jar file into the Stores/WEB-INF/lib directory.
The Struts tag library definition (TLD) files that are packaged in
the strusts.jar file of the WebSphere Commerce EAR library directory
cannot be loaded by a web module using the application classloader.
- In the Enterprise Explorer view, expand WC/lib.
- Right-click struts.jar and select Copy.
- Expand Stores/WebContent/WEB-INF/lib.
- Right-click lib and select Paste.
- Import the sample validation rules for this tutorial:
- In the Enterprise Explorer view, expand Stores/WebContent/WEB-INF.
- Right-click the WEB-INF directory and select Import.
- From the Select an import source list, select General/File System and click Next.
- Click the Browse button next to the From directory field and navigate to the storeassets directory in the temporary directory, for example C:\temp\startercode\storeassets. Click OK.
- Click Deselect All, then select the validation.xml and validator-rules.xml files.
- In the Into Folder field, ensure the Stores/WebContent/WEB-INF folder is specified.
- Click Finish. If prompted to overwrite existing files, select Yes To All to add the validation rules.
What to do next
Test your environment to ensure that you are ready to start the tutorial:
- In WebSphere Commerce Developer, start or restart the WebSphere Commerce Test Server.
- In the Enterprise Explorer view, expand Stores/WebContent/Madisons.
- Right-click the index.jsp file and select . If the server selection window displays, select Choose an existing server and click Finish. Your Madisons starter store displays.
- Alternatively, to directly launch your Madisons starter store
index.jsp, you can enter the following URL directly in your web browser:
http://localhost/webapp/wcs/stores/servlet/Madisons/index.jsp - In the storefront of your Madisons starter store, click Help/Contact Us under Customer Support.
- Observe the default Help/Contact Us page, which should appear
similar to the following image:
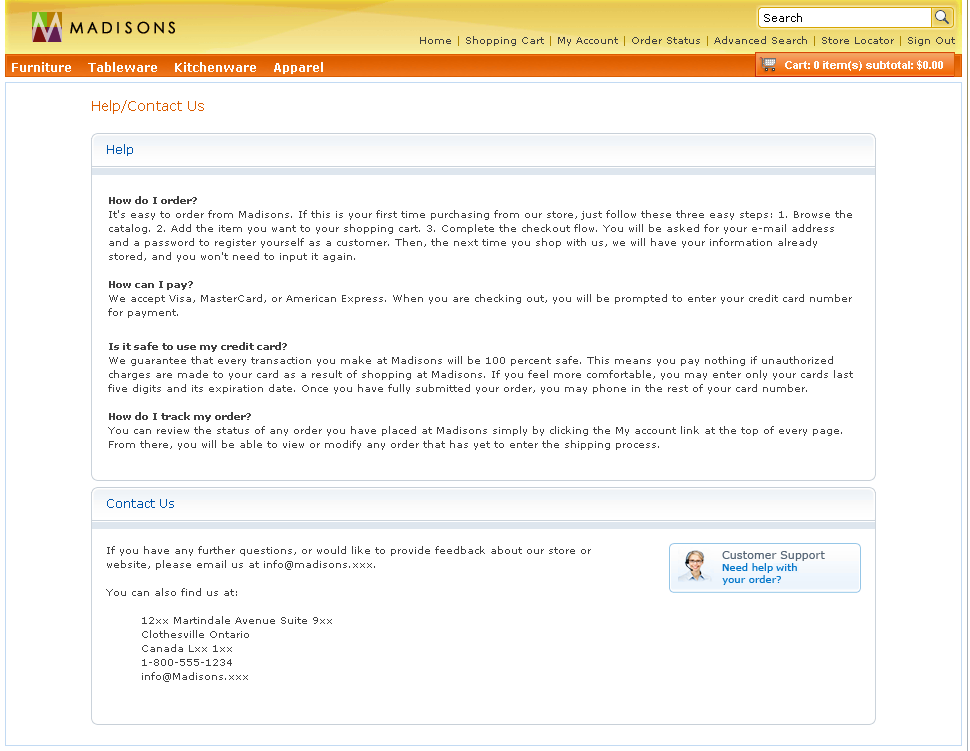
You are now ready to proceed with the tutorial.