Scheduling an On-Demand Scan (Automatic Scanning)
About this task
A scheduled scan will run automatically according to the schedule you set. Although it will appear in the CPM Dashboard along with any other On-Demand scans, you do not need to trigger it.
Procedure
- Navigate to .
- Double-click the previously defined [scan name] in the top right pane to open the scan configuration.
- In the window that opens, under Actions, click the link to initiate the scan.
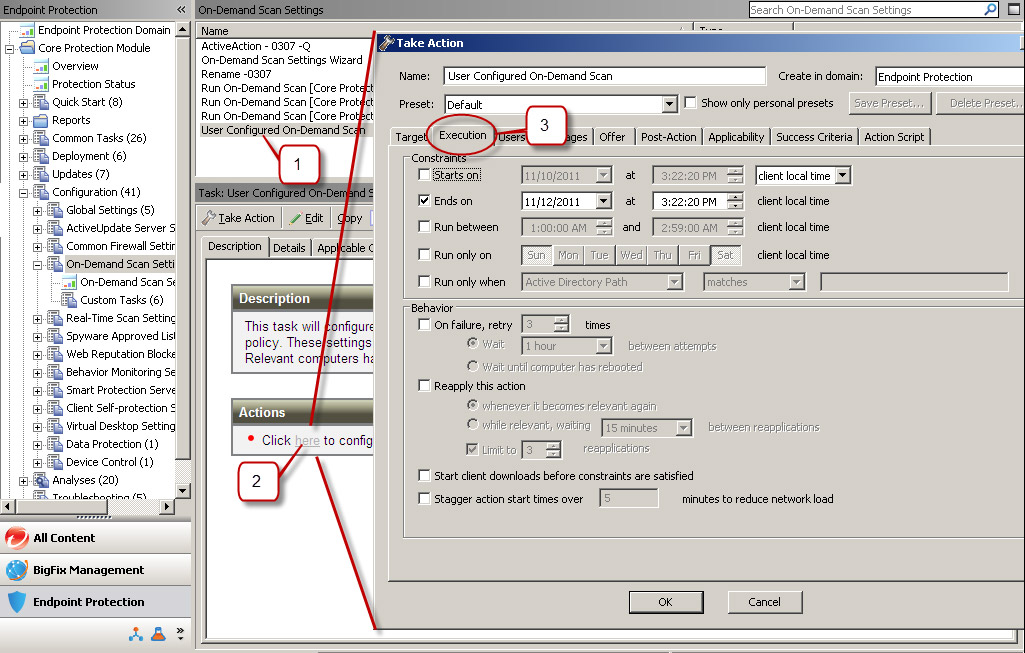
- In the Take Action window, click the Execution tab
(see the following figure).
Choose a Start date, and optionally, configure the days you want the scan to run in the Run only on field.
Select Reapply this action while relevant, waiting 2 days between reapplications (choosing whatever time period suits you).
Warning: Do not select “whenever it becomes relevant again” or the scan may run continuously.If you want to let users initiate the scan, click the Offer tab and select Make this action an offer.
Click any of the other Tabs to modify the trigger time and applicable users.
- Select all the relevant computers and click OK. At the prompt, type your private key password and click OK.
- In the Action | Summary window that opens, monitor the "Status" and "Count" of the Action to confirm that it is "Running" and then "Completed".
- Close any open windows to return to the console view.