Using Migration
Using this section, you can migrate all the files of the web UI from a source BigFix AEX instance to the current BigFix AEX instance. This is extremely useful in cases where you have used the sandbox instance to make/verify the UI changes and want to apply the changes to the production instance.
Migration is also used to revert the UI to the standard UI or deploy the standard UI on an editable format for the first time on a tenant.
As an example, let us take the following instance as the sandbox instance where you have made changes to the UI: https://one-BigFix AEX-staging.mybluemix.net.
Let us further assume that you have verified these changes and now want to migrate these changes to the production instance: https://teamdemo-BigFix AEX-staging.mybluemix.net
Currently, the newly deployed tenant may not have any content on the text editor listing. Please use the Migrate Standard UI to deploy and start viewing.
If the requirement is to simply migrate to a standard set of UI, then click the Migrate Standard UI. This should take some time to deploy the new UI. When done, you should be able to see all the assets required to view the UI. It is also to logout and login back once to check the UI load from the asset storage.
Navigate to the UI Management Console of the production instance and do the following:
- Click the Migration tab.
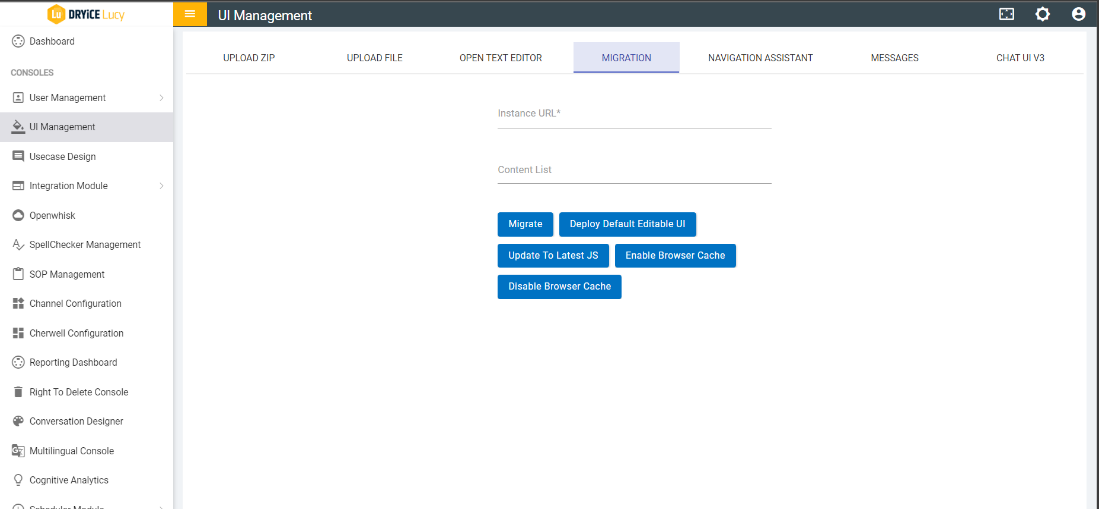
- Specify the URL of the instance from where you want to migrate in the Instance URL field.
Format of the URL is <instanceURL> with no https and /. For example, one-BigFix AEX-next.mybluemix.net.
- If required, provide the list of content that needs to be migrated from the instance in the Content List field. This is an optional field. If nothing is provided here, all the files from the source Instance will be migrated to the current instance. However, if a list of files is provided here, only those files will be migrated. The format to specify files in this field is shown below:
["<folder name>/<file name with extension>", "<folder name>/<file name with extension>"]
For example: ["css/styles.css", "html/index.html"]
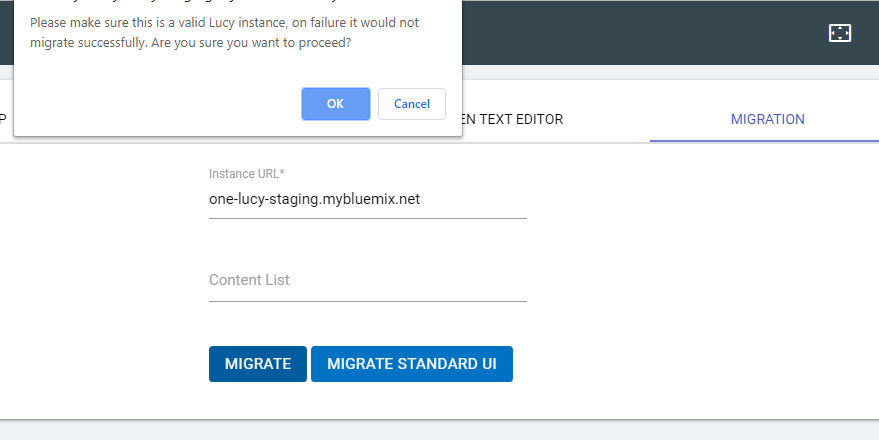
- Click the Migrate button.
- You will get a warning to make sure you have correctly entered the source instance URL:
- Later, the application starts the migration, and you will receive a message “Migration has started. Please check after some time”.
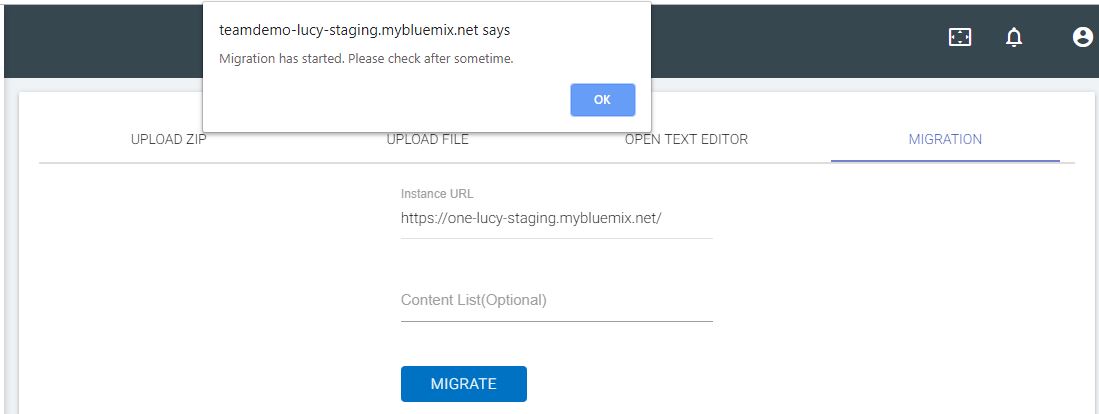
- Please check the production instance after some time and you will notice that the UI changes have been migrated over from the sandbox instance.