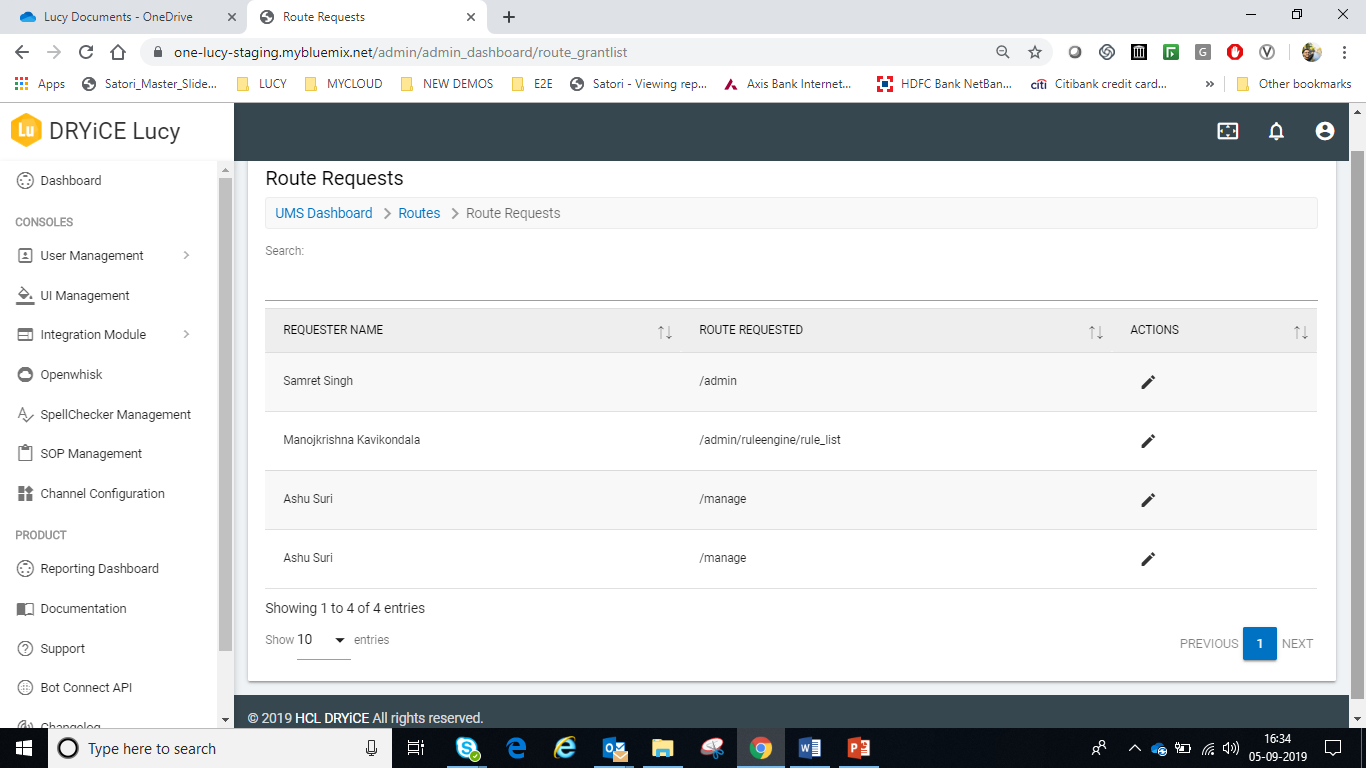
Route Request
Users can request access for a route. The requests are listed here, and an admin can approve and add a user to a group or reject a request from this section.
- Click Route Requests under the Routes pull-down menu.
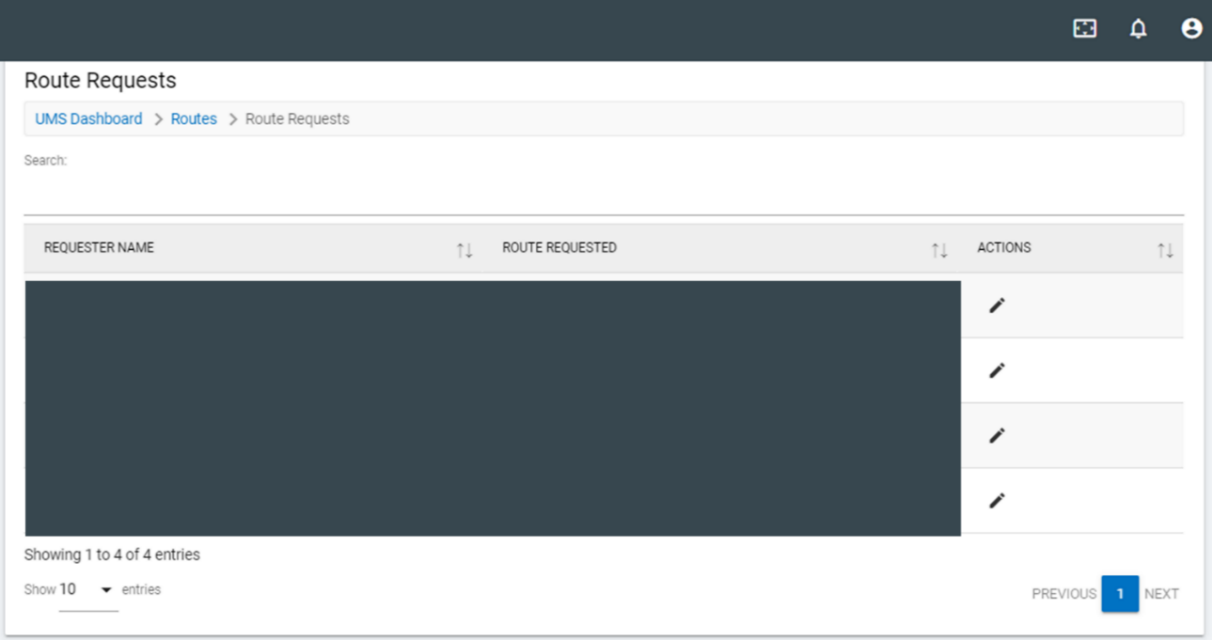
- On this page, you can:
- View existing route requests
- Take an action on a route request raised by a user by clicking
on (
 )
) - It will redirect you to the Route Approval Page.
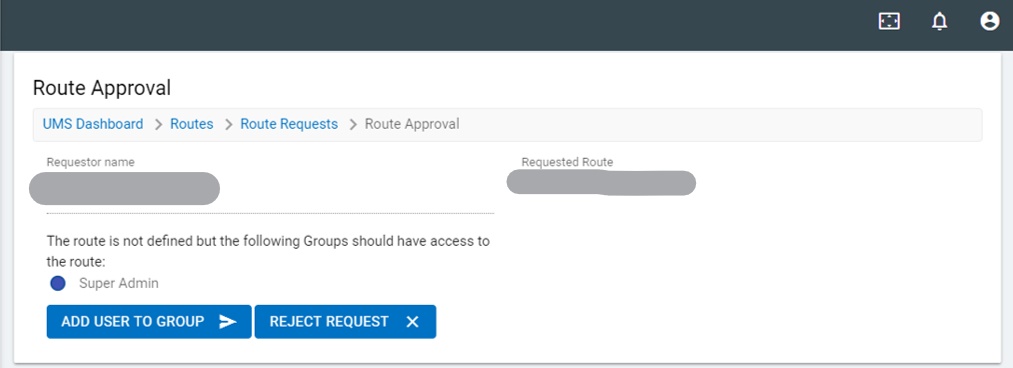
- On this page you can,
- Add user to a group
- Select the group (Super Admin in the figure above).
- Click ADD USER TO A GROUP button.
- This will add that user to the selected group and the request is fulfilled.
- Reject request
- Click REJECT REQUEST button to reject the route access request raised by a user.
- In a scenario where a route access request is raised, however, the user has already been added to a group which has access to the requested route, the screen shown in Figure 31 - Route Approval will appear.
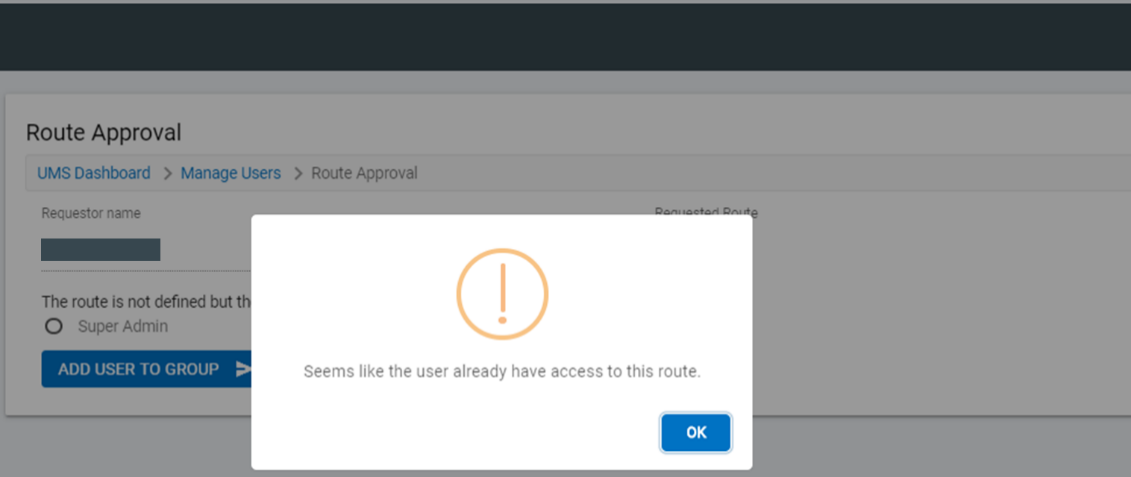
- Click OK and you will be redirected back to the Route Approval screen as shown in Figure 32 - Route Approval (cont.) .

- On this screen you will find an option to close the user request. Since the user already has access to the requested route, you can close the request without taking an action.