Manage Settings
The section has all the predefined messages stored. The user can manage content of predefined messages from here.
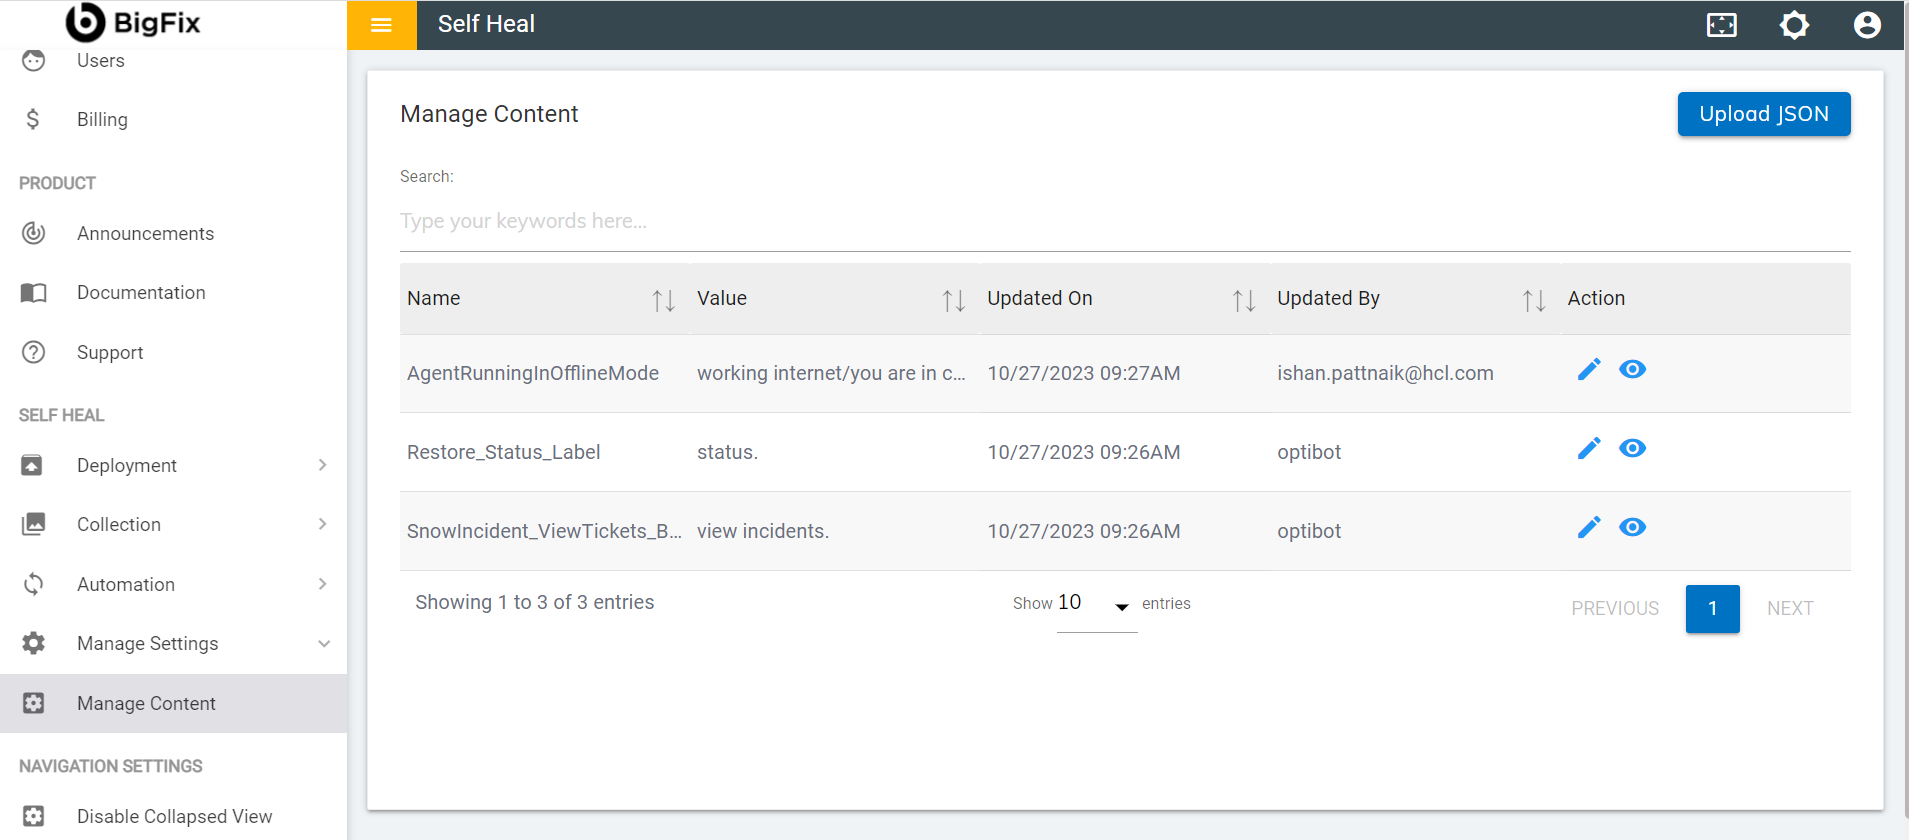
- The admin ca upload JSON file by clicking on the Upload JSON button at top right corner of the manage content page. The Manage Content screen appears:
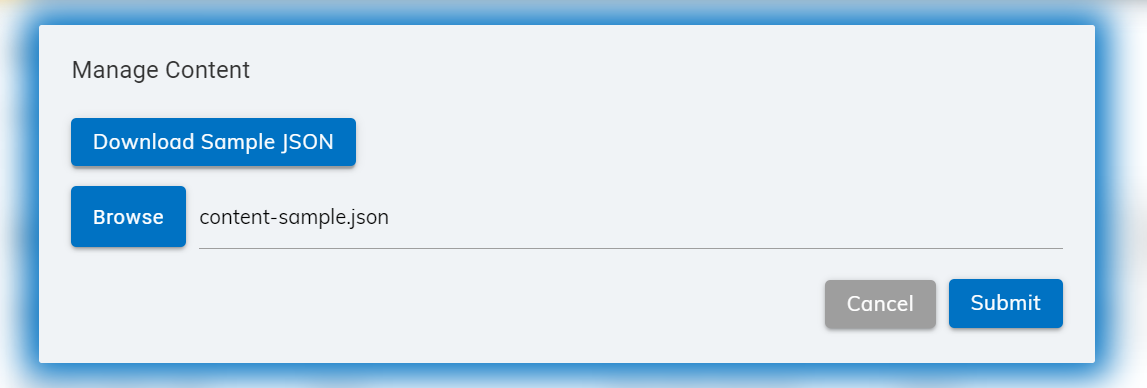
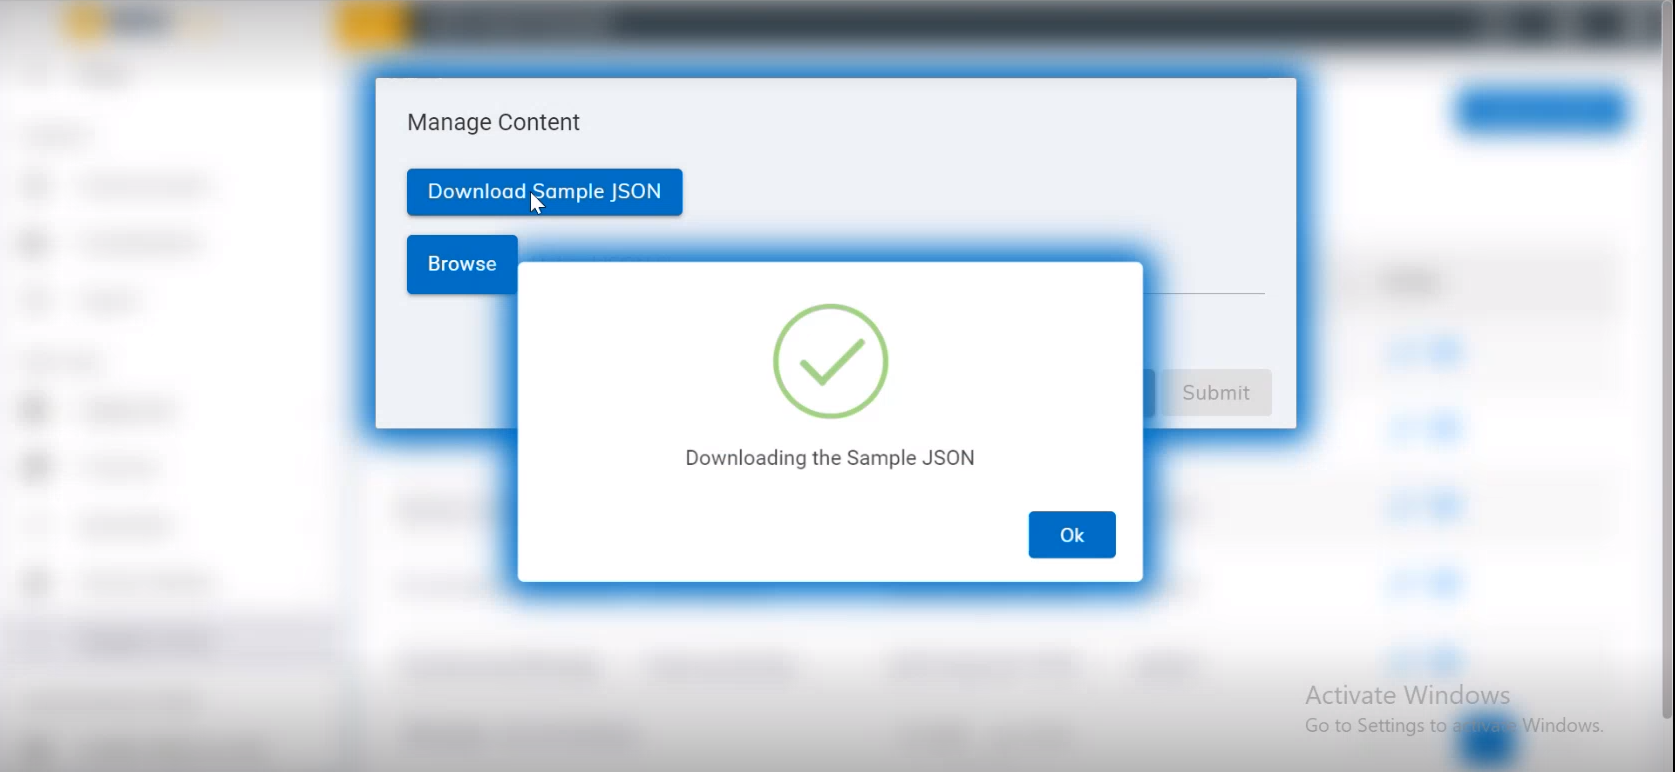
- Click Download Sample JSON if you wish to download a sample JSON file. The following message pops up:
- To upload a JSON file, click on Browse to browse the file to upload.
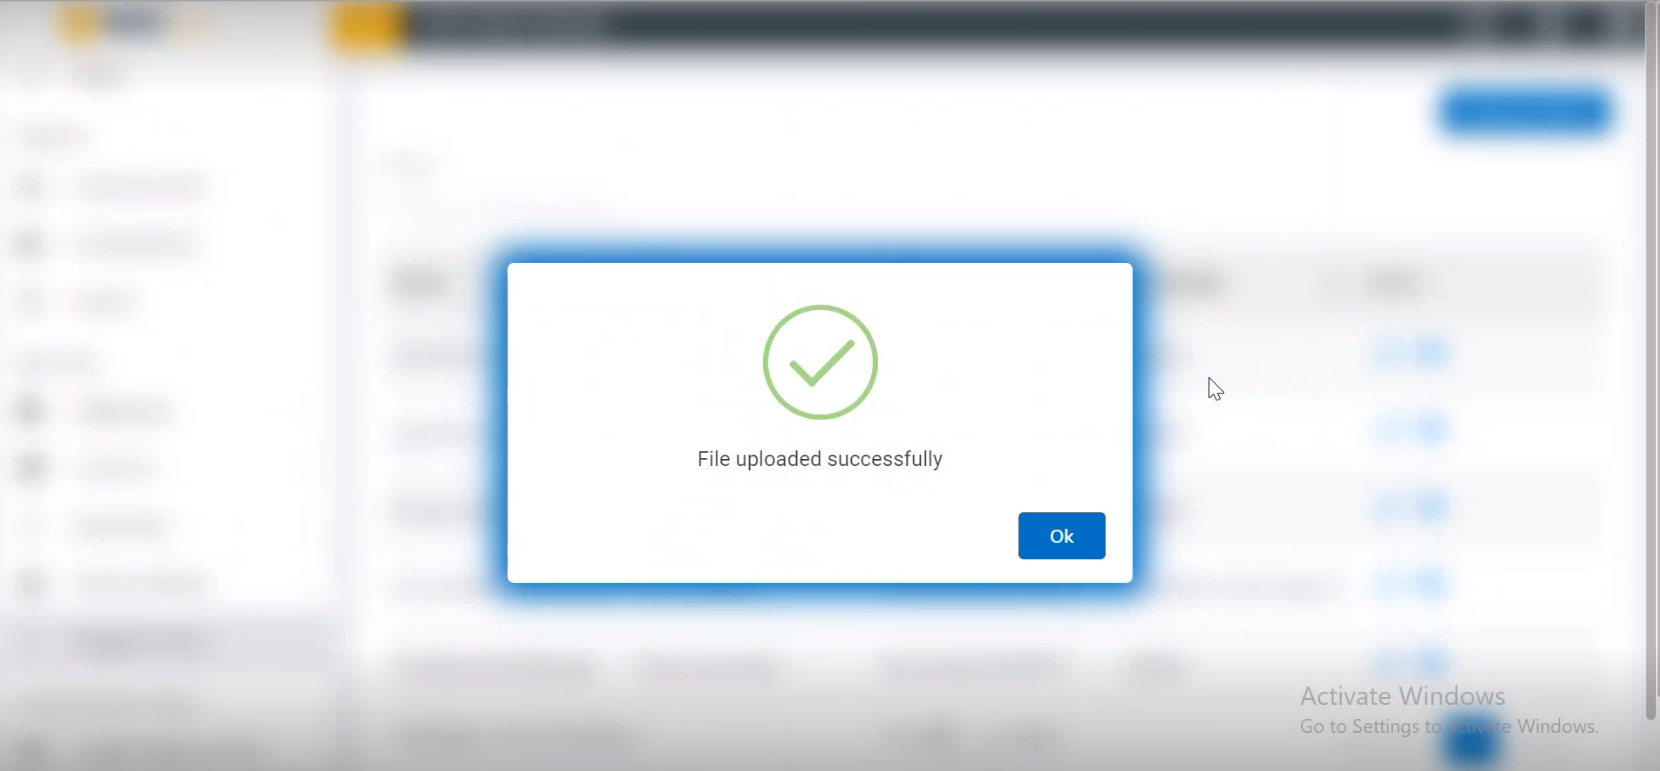
- Once done, click Submit. The following success message appears:
- The admin can edit the message content by clicking on the edit icon under the Action column on the Manage Content page. The admin must click the edit icon associated with the message that he wishes to modify.
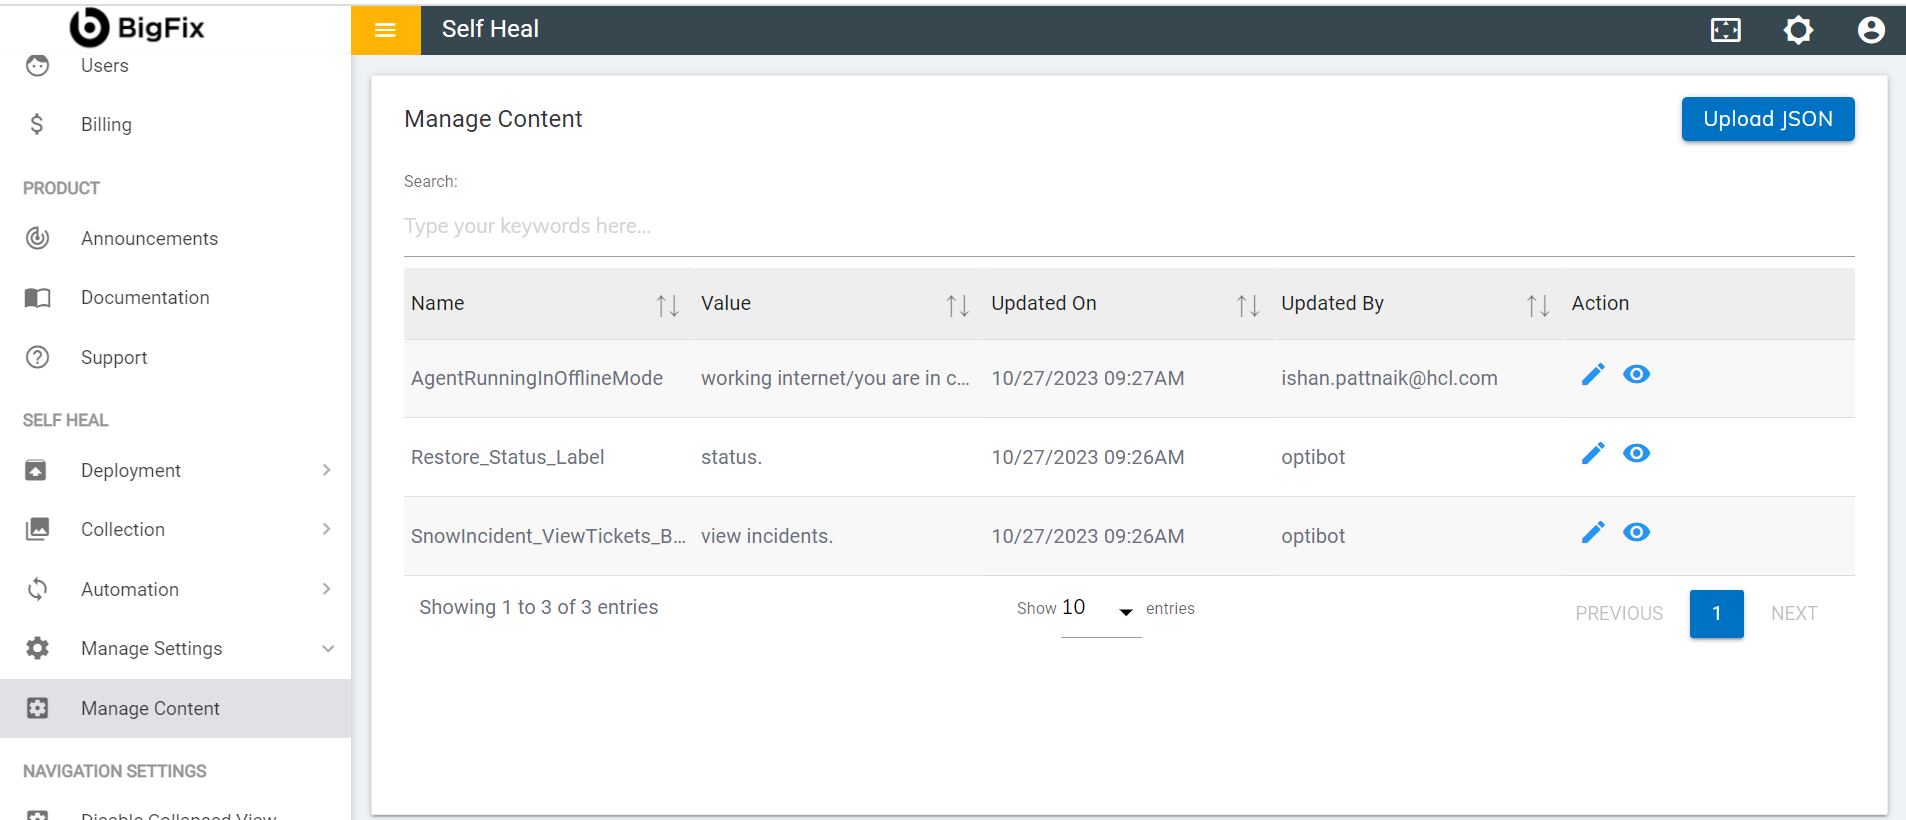
- The Edit Content screen appears:
Figure 6. Figure 132 - Edit Content 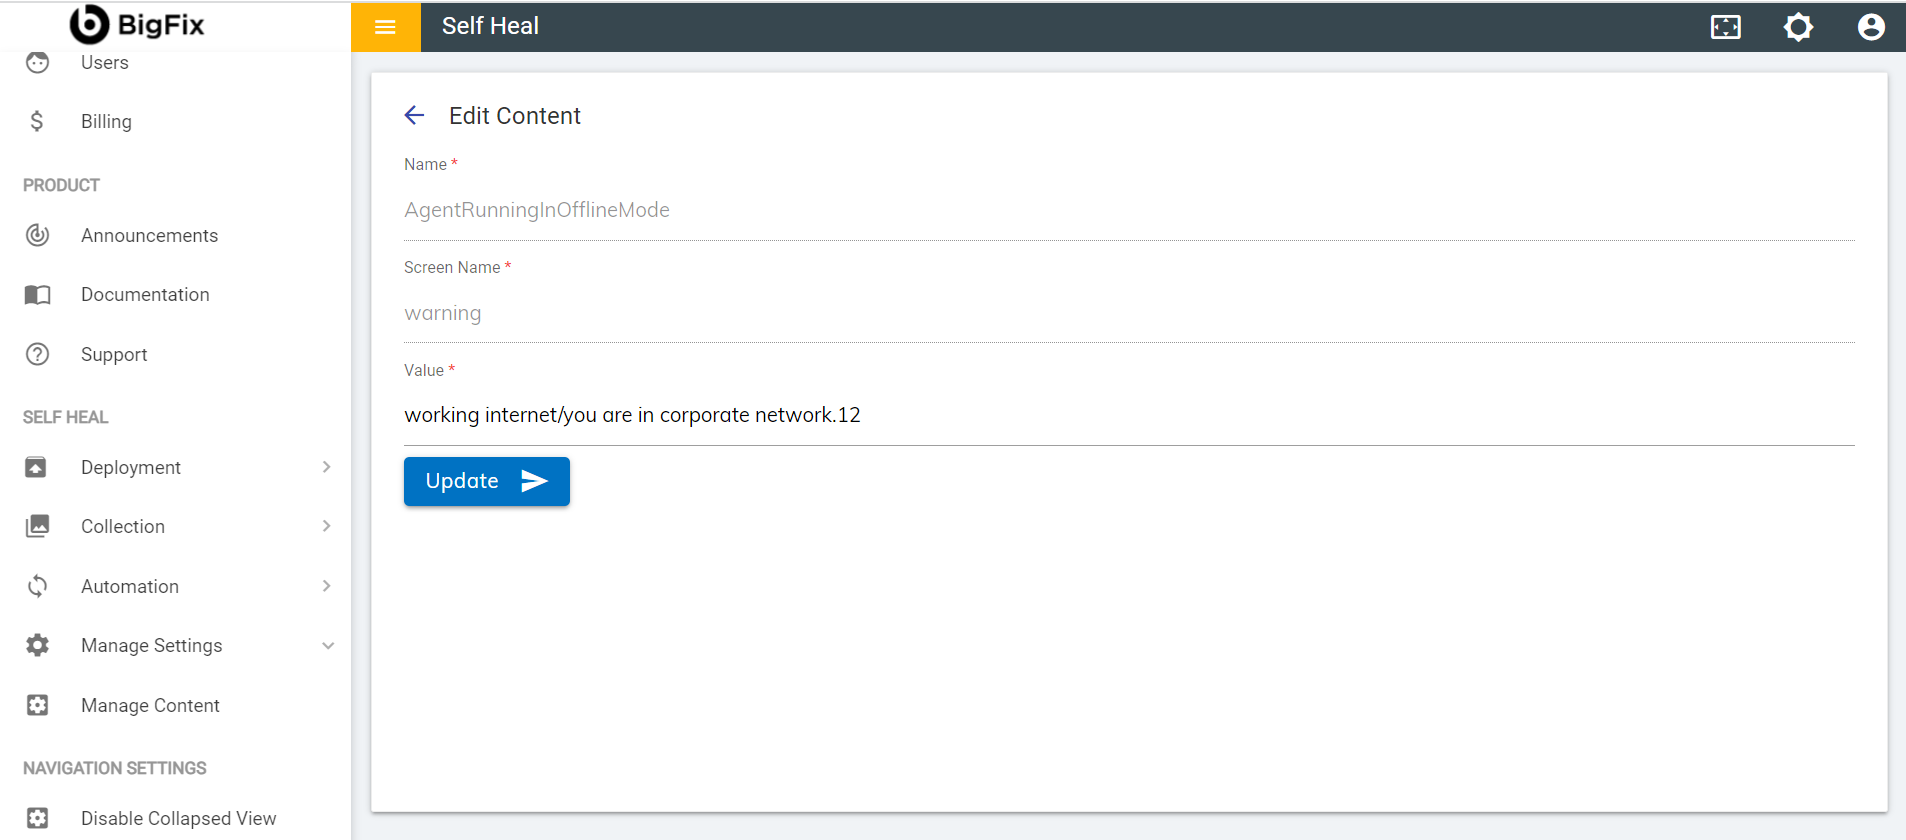
- Modify the fields as required and click Update. The following success message appears:
Figure 7. Figure 133 - Success Message 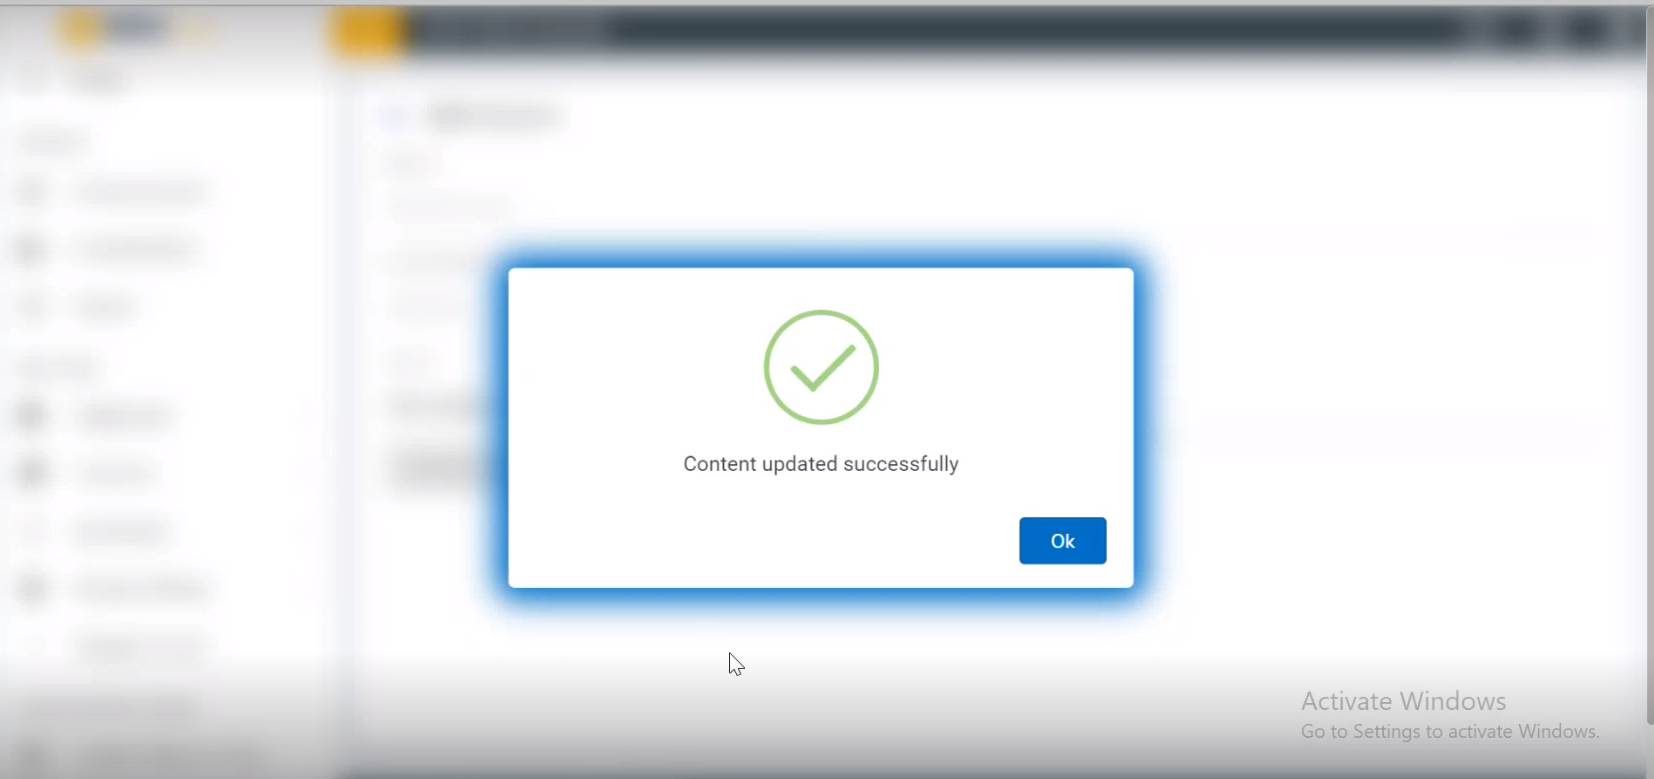
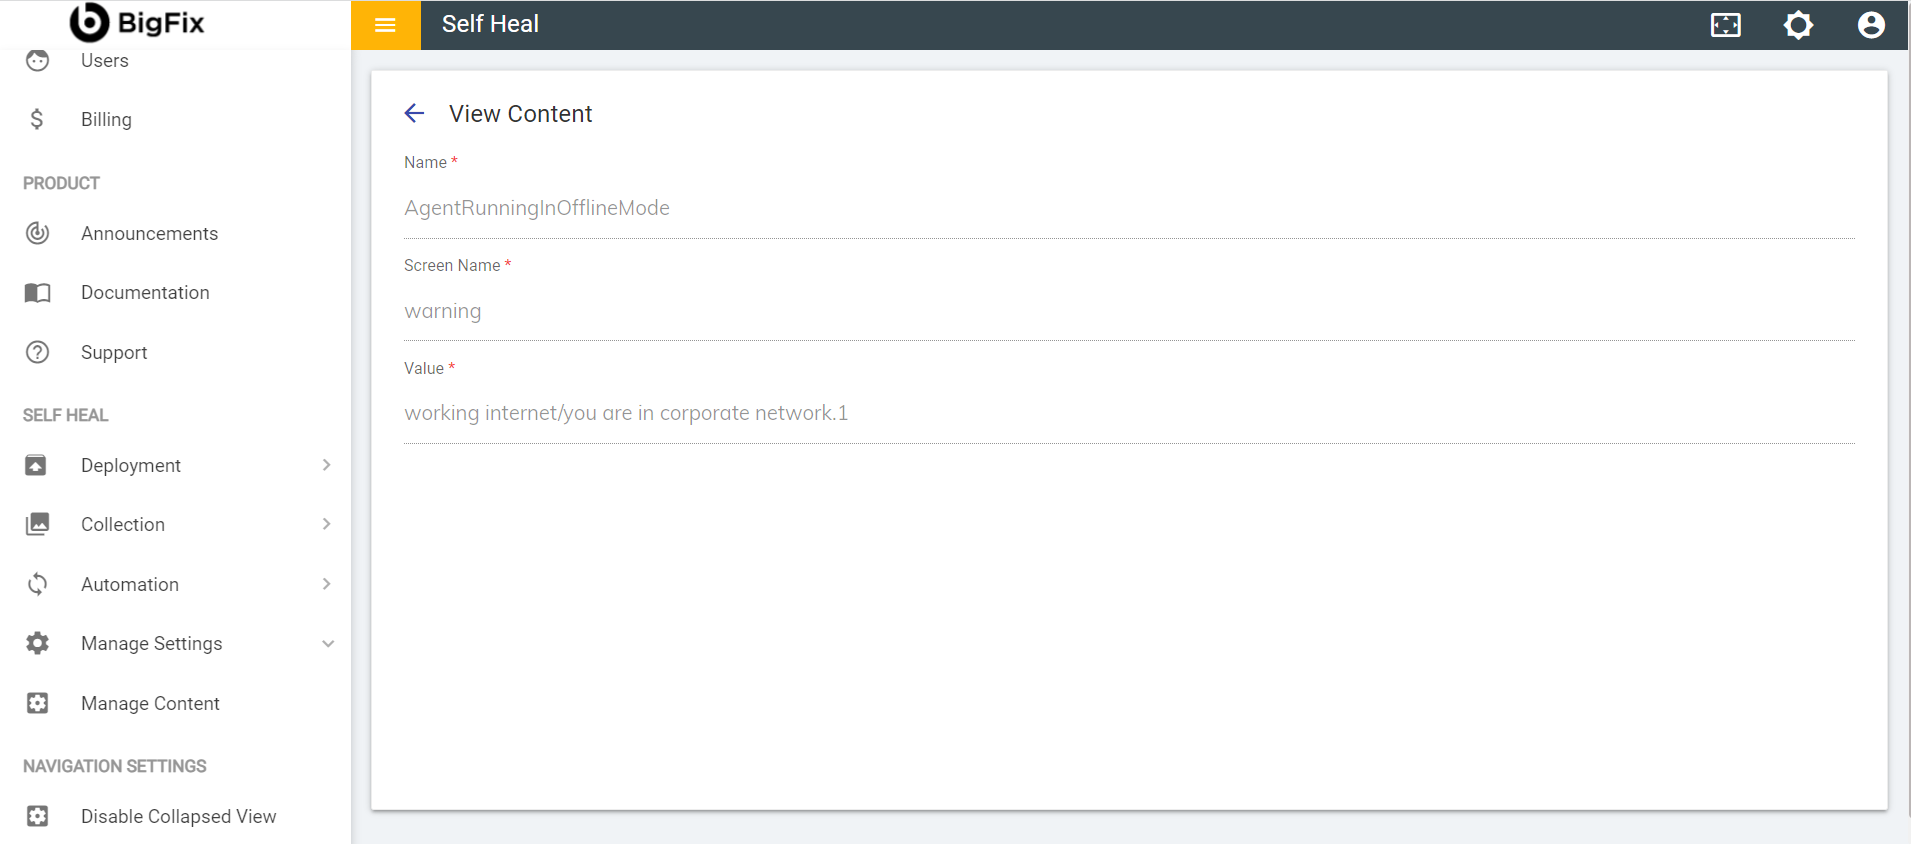
- To view the content, the admin must click the view icon under the Action column on the Manage Content page. He must click the view icon corresponding to the message that he wishes to view. The View Content page appears where the admin can view the content of an existing message:
Figure 8. Figure 134 - View Content