Example 2: Configuring the Azure Plugin with a Custom Action
In this example, we are going to configure the Azure Asset Discovery Plugin by creating and executing a custom action through the BigFix WebUI.
Like in the AWS example described in Example 1: Configuring the AWS Plugin we can assume that we already installed the Azure Plugin.
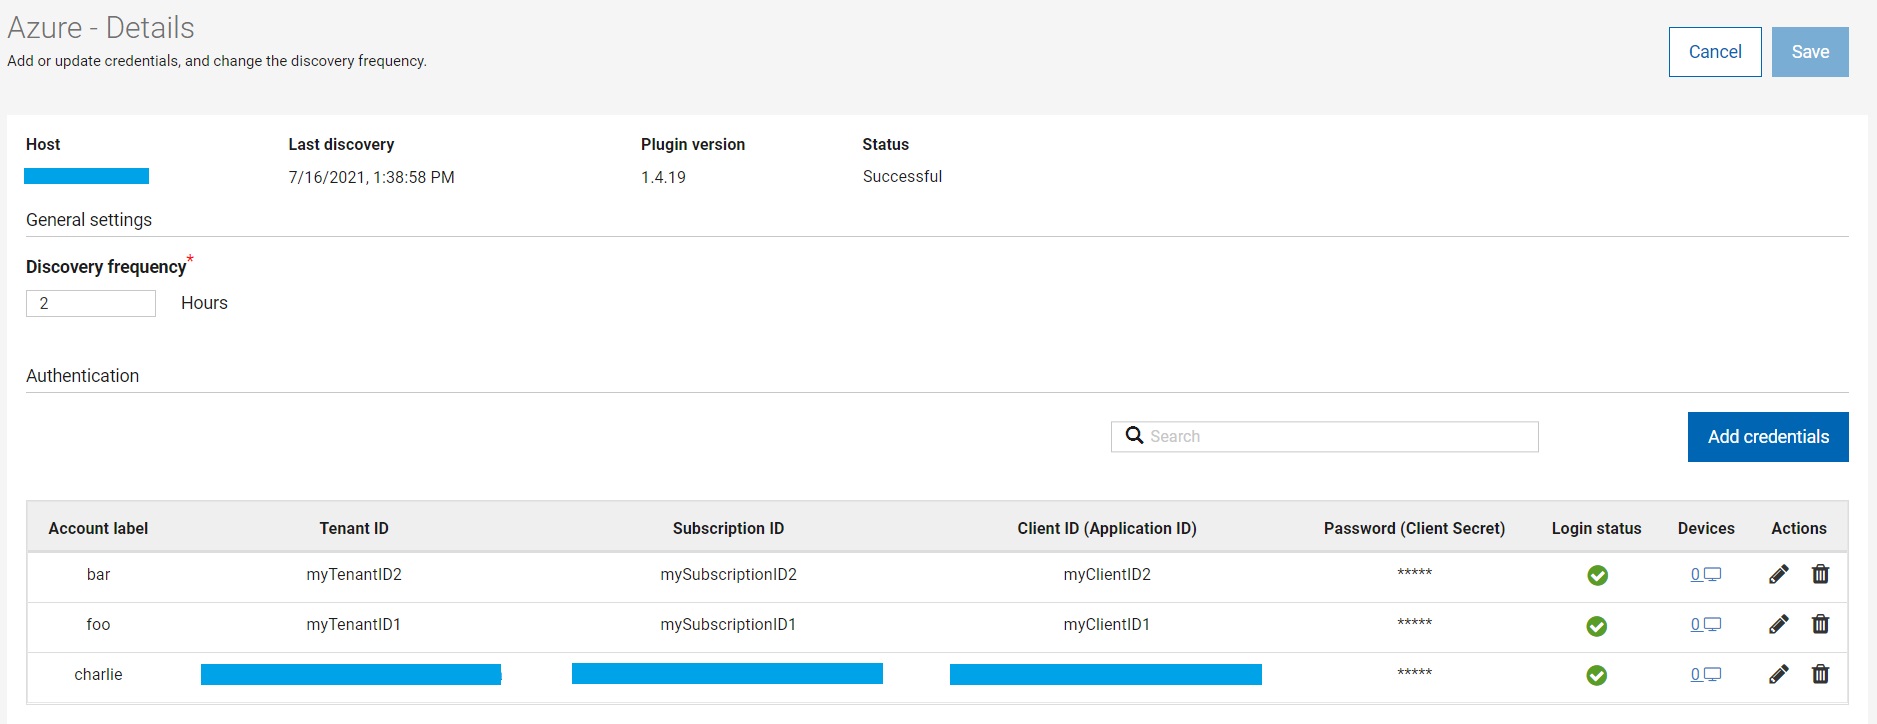
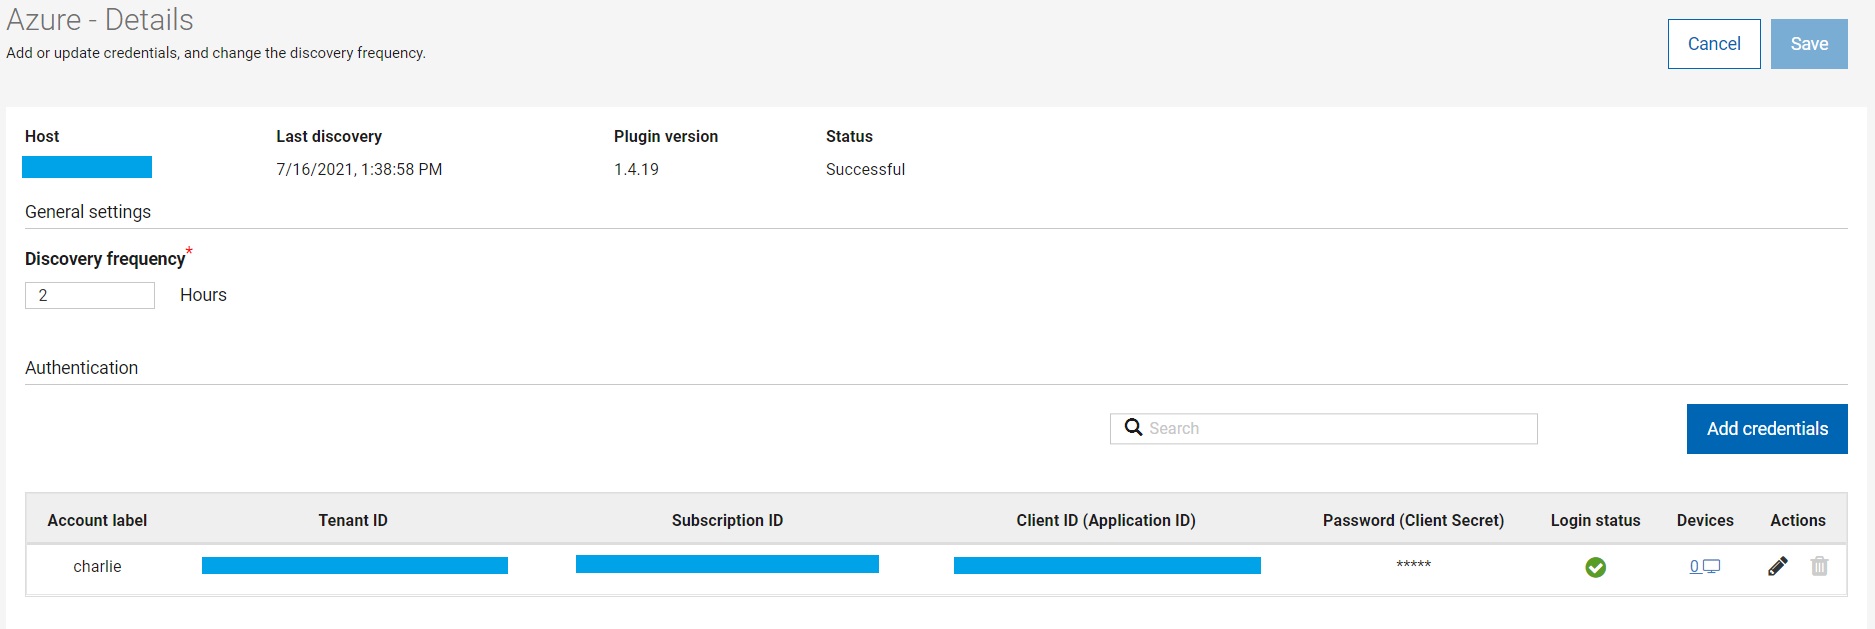
See below the details reported by the WebUI about the Azure Plugin.
We want to create a custom action for configuring two users, foo and bar, for which we have their TenantID, SubscriptionID, ClientID and ClientSecret available.
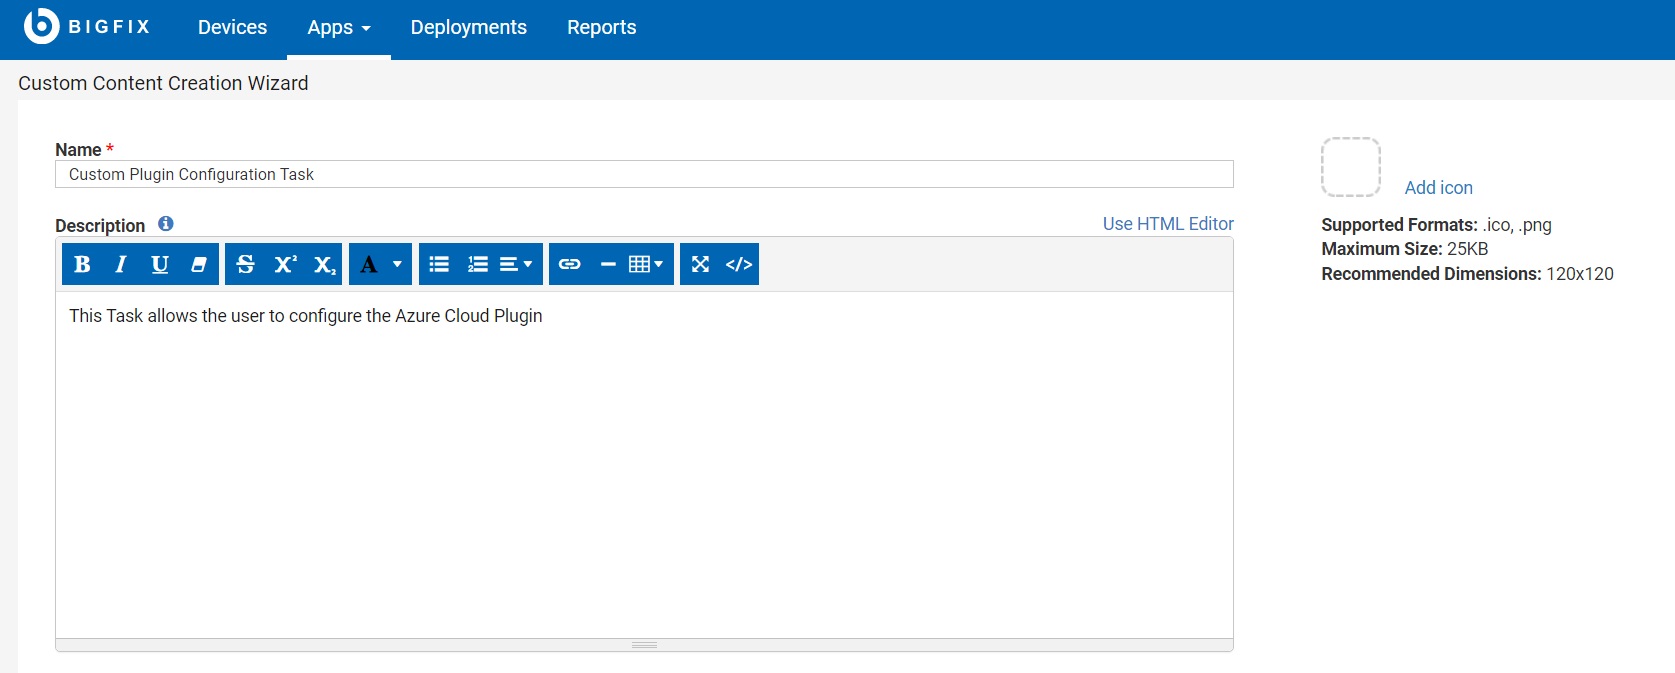
Under WebUI > Apps > Custom, click Create Custom Content.
Type in a Name and a Description for the item, if you want.
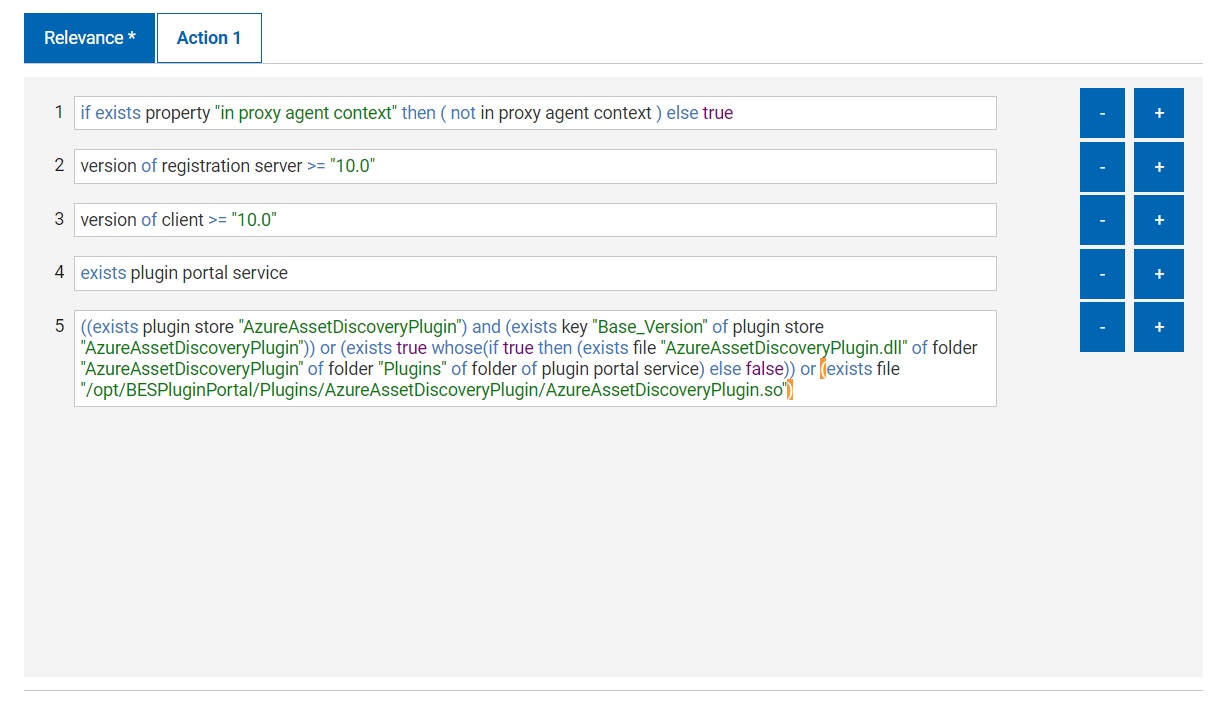
if exists property "in proxy agent context" then ( not in proxy agent context ) else true

version of registration server >= "10.0"

version of client >= "10.0"

exists plugin portal service

((exists plugin store "AzureAssetDiscoveryPlugin") and (exists key "Base_Version" of plugin store
"AzureAssetDiscoveryPlugin")) or (exists true whose(if true then (exists file "AzureAssetDiscoveryPlugin.dll" of folder
"AzureAssetDiscoveryPlugin" of folder "Plugins" of folder of plugin portal service) else false)) or (exists file
"/opt/BESPluginPortal/Plugins/AzureAssetDiscoveryPlugin/AzureAssetDiscoveryPlugin.so")
parameter "firstLabel" = "foo"
parameter "secondLabel" = "bar"
parameter "tenantID" = "Credentials_TenantID"
parameter "clientID" = "Credentials_ClientID"
parameter "secret" = "Credentials_ClientSecret"
parameter "subscriptionID" = "Credentials_SubscriptionID"
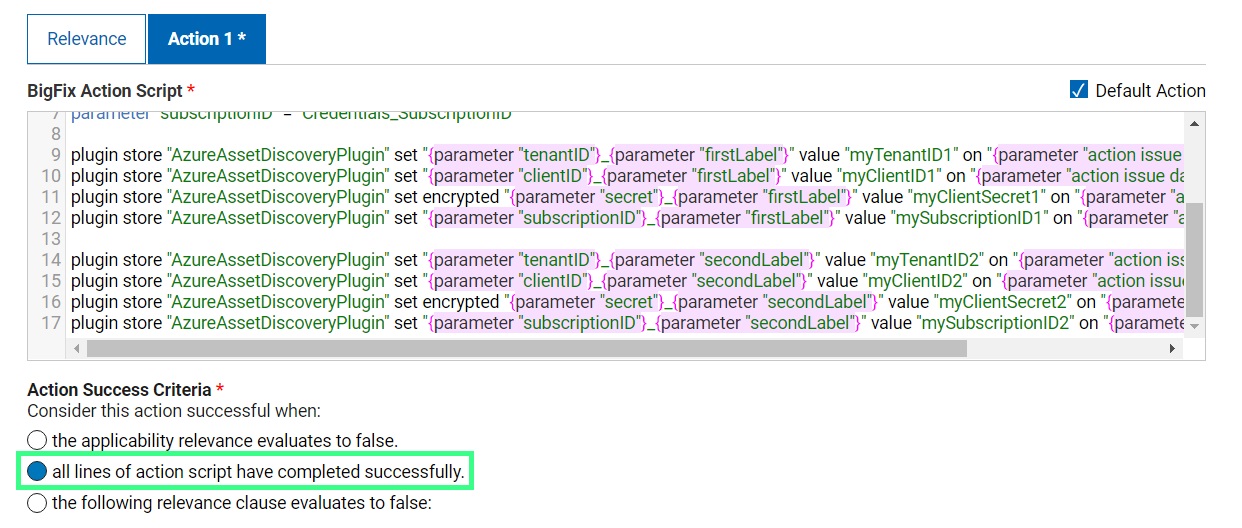
plugin store "AzureAssetDiscoveryPlugin" set "{parameter "tenantID"}_{parameter "firstLabel"}" value "<myTenantID1>" on "{parameter "action issue date" of action}"
plugin store "AzureAssetDiscoveryPlugin" set "{parameter "clientID"}_{parameter "firstLabel"}" value "<myClientID1>" on "{parameter "action issue date" of action}"
plugin store "AzureAssetDiscoveryPlugin" set encrypted "{parameter "secret"}_{parameter "firstLabel"}" value "<myClientSecret1>" on "{parameter "action issue date" of action}"
plugin store "AzureAssetDiscoveryPlugin" set "{parameter "subscriptionID"}_{parameter "firstLabel"}" value "<mySubscriptionID1>" on "{parameter "action issue date" of action}"
plugin store "AzureAssetDiscoveryPlugin" set "{parameter "tenantID"}_{parameter "secondLabel"}" value "<myTenantID2>" on "{parameter "action issue date" of action}"
plugin store "AzureAssetDiscoveryPlugin" set "{parameter "clientID"}_{parameter "secondLabel"}" value "<myClientID2>" on "{parameter "action issue date" of action}"
plugin store "AzureAssetDiscoveryPlugin" set encrypted "{parameter "secret"}_{parameter "secondLabel"}" value "<myClientSecret2>" on "{parameter "action issue date" of action}"
plugin store "AzureAssetDiscoveryPlugin" set "{parameter "subscriptionID"}_{parameter "secondLabel"}" value "<mySubscriptionID2>" on "{parameter "action issue date" of action}"
Now let us copy and paste the whole script in the Action box, ensuring that we select all lines of action script have completed successfully:
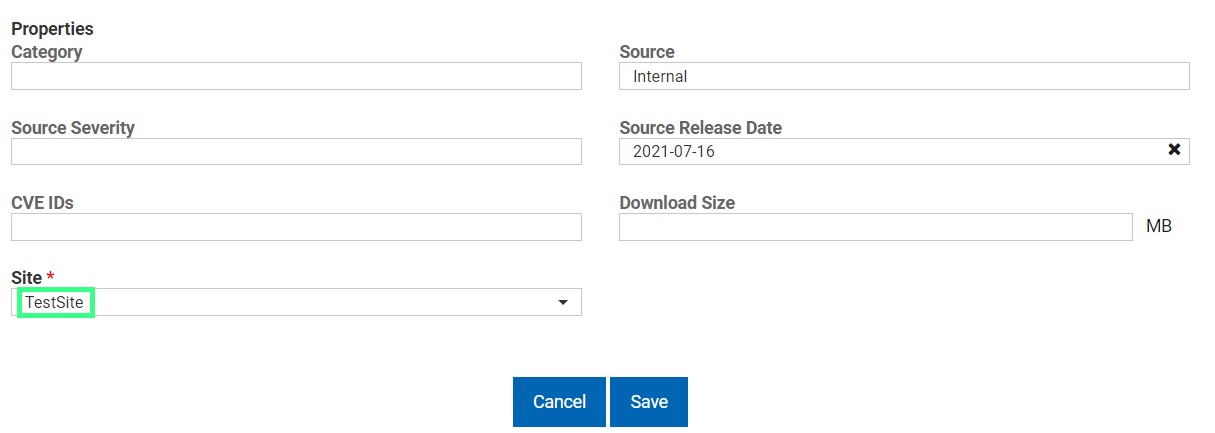
We can now choose the Site we want and then click Save.
Now we can just go back to the WebUI > Apps > Custom application and deploy the newly created Task to configure the Plugin.
After completing this, you should be able to see the new users in the Plugin Management panel: