Example 1: Configuring the AWS Plugin
In this example, we are going to configure the AWS Asset Discovery Plugin with the aid of a single action dispatched through the BigFix REST APIs.
Suppose that we already installed the AWS Plugin and have a user already configured but we want to quickly configure a bunch of other users.
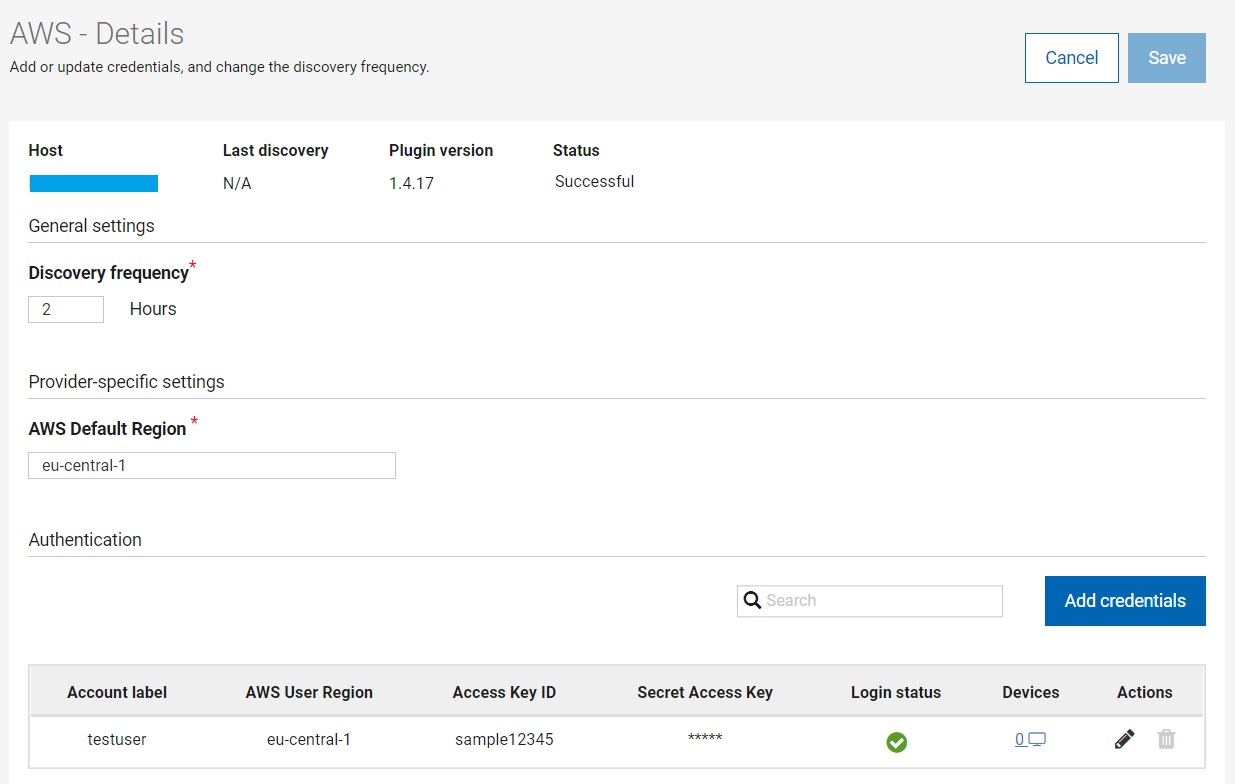
As shown in the picture below, we can see that a Plugin is installed and in a Successful status, with a testuser configured that correctly executed the login.
Let us now build an XML file that will be used to update our configuration. Such XML file will be passed as the data file by the REST API command.
Refer to the Configuring the BESPluginPortal Plugins through REST API and The BigFix REST API pages for more information.
<?xml version="1.0" encoding="utf-8"?>
<BES xmlns:xsi="http://www.w3.org/2001/XMLSchema-instance" xmlns:xsd="http://www.w3.org/2001/XMLSchema" SkipUI="true">
    <SingleAction>
        <Title>AWS Plugin Config Template</Title>
        <Relevance>true</Relevance>
        <ActionScript>
            <!--Your action script-->
        </ActionScript>
        <SuccessCriteria />
        <Settings />
        <SettingsLocks />
        <Target>
            <ComputerID><!--Your ComputerID--></ComputerID>
        </Target>
    </SingleAction>
</BES>
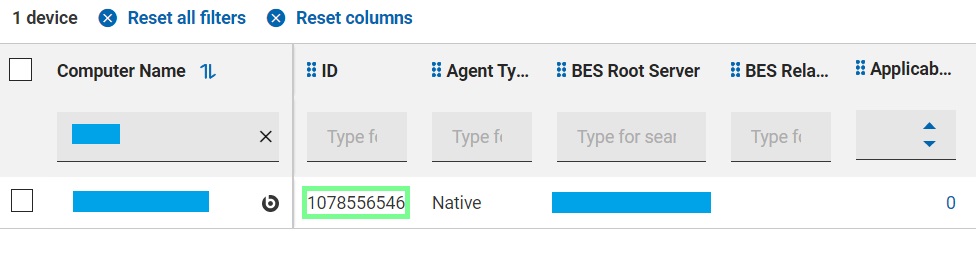
As you can see from the comments in the XML file, we have to fill in at least two fields. Let us begin from locating the ComputerID, which would be the ComputerID of the Portal machine upon which the AWSAssetDiscoveryPlugin is installed.
Now let us build the action script for the configuration. Suppose that we want to configure two users, namely testuser2 and testuser3. Those two users will have respectively, us-east-1 and af-south-1 as their regions, which should have priority over the default plugin region.
parameter "firstLabel" = "testuser2"
parameter "secondLabel" = "testuser3"

parameter "accessKey" = "Credentials_AccessKey"
parameter "secretAccessKey" = "Credentials_SecretAccessKey"
parameter "region" = "Credentials_Region"
parameter "firstAccessKey" = "{parameter "accessKey"}_{parameter "firstLabel"}"
parameter "firstPassword" = "{parameter "secretAccessKey"}_{parameter "firstLabel"}"
plugin store "AWSAssetDiscoveryPlugin" set "{parameter "firstAccessKey"}" value "<myUserKey2>" on "{parameter "action issue date" of action}"
plugin store "AWSAssetDiscoveryPlugin" set encrypted "{parameter "firstPassword"}" value "<myUserPass2>" on "{parameter "action issue date" of action}"
plugin store "AWSAssetDiscoveryPlugin" set "Credentials_Region_{parameter "firstLabel"}" value "us-east-1" on "{parameter "action issue date" of action}"

parameter "secondAccessKey" = "{parameter "accessKey"}_{parameter "secondLabel"}"
parameter "secondPassword" = "{parameter "secretAccessKey"}_{parameter "secondLabel"}"
plugin store "AWSAssetDiscoveryPlugin" set "{parameter "secondAccessKey"}" value "<myUserKey3>" on "{parameter "action issue date" of action}"
plugin store "AWSAssetDiscoveryPlugin" set encrypted "{parameter "secondPassword"}" value "<myUserPass3>" on "{parameter "action issue date" of action}"
plugin store "AWSAssetDiscoveryPlugin" set "Credentials_Region_{parameter "secondLabel"}" value "af-south-1" on "{parameter "action issue date" of action}"
<?xml version="1.0" encoding="utf-8"?>
<BES xmlns:xsi="http://www.w3.org/2001/XMLSchema-instance" xmlns:xsd="http://www.w3.org/2001/XMLSchema" SkipUI="true">
    <SingleAction>
        <Title>AWS Plugin Config Template</Title>
        <Relevance>true</Relevance>
        <ActionScript MIMEType="application/x-Fixlet-Windows-Shell">
parameter "firstLabel" = "testuser2"
parameter "secondLabel" = "testuser3"

parameter "accessKey" = "Credentials_AccessKey"
parameter "secretAccessKey" = "Credentials_SecretAccessKey"
parameter "region" = "Credentials_Region"

parameter "firstAccessKey" = "{parameter "accessKey"}_{parameter "firstLabel"}"
parameter "firstPassword" = "{parameter "secretAccessKey"}_{parameter "firstLabel"}"
plugin store "AWSAssetDiscoveryPlugin" set "{parameter "firstAccessKey"}" value "<myUserKey2>" on "{parameter "action issue date" of action}"
plugin store "AWSAssetDiscoveryPlugin" set encrypted "{parameter "firstPassword"}" value "<myUserPass2>" on "{parameter "action issue date" of action}"
plugin store "AWSAssetDiscoveryPlugin" set "Credentials_Region_{parameter "firstLabel"}" value "us-east-1" on "{parameter "action issue date" of action}"

parameter "secondAccessKey" = "{parameter "accessKey"}_{parameter "secondLabel"}"
parameter "secondPassword" = "{parameter "secretAccessKey"}_{parameter "secondLabel"}"
plugin store "AWSAssetDiscoveryPlugin" set "{parameter "secondAccessKey"}" value "<myUserKey3>" on "{parameter "action issue date" of action}"
plugin store "AWSAssetDiscoveryPlugin" set encrypted "{parameter "secondPassword"}" value "<myUserPass3>" on "{parameter "action issue date" of action}"
plugin store "AWSAssetDiscoveryPlugin" set "Credentials_Region_{parameter "secondLabel"}" value "af-south-1" on "{parameter "action issue date" of action}"
        </ActionScript>
        <SuccessCriteria />
        <Settings />
        <SettingsLocks />
        <Target>
            <ComputerID>1078556546</ComputerID>
        </Target>
    </SingleAction>
iem POST <path to action.xml> /api/actionsThe output will be something like this:

Check on the WebUI whether the action was completed successfully. Should that be the case, the two new users will be immediately available:
