Applying schemas and formats to messages
Built-in or custom message formats can be applied to any message within HCL OneTest™ API in the same way that schemas can be applied.
Procedure
- Right-click the message in an editor and select Schema from
the menu.
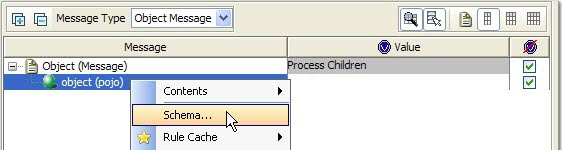
- In the Schema Selector window, click Schema
Type.
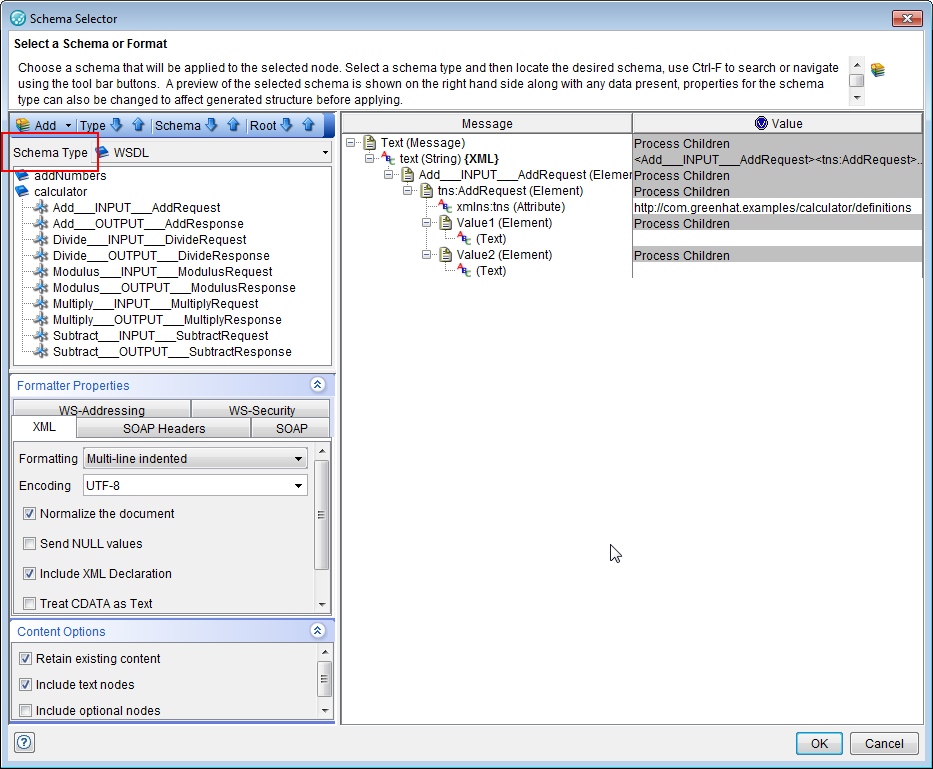 The following categories of schemas and formats are displayed, where available:
- Business & Finance
- Encodings
- Government
- Mainframe
- Messaging
- Objects
- Other
- Web
Only schemas that are defined in the current project are displayed in each of these categories. Categories are not displayed where no schemas are defined for the category.
Two methods are available to create a schema from the current window:- Click Add to specify a source file. HCL OneTest™ API attempts to determine the schema type based on the file contents.
- Click the arrow next to the Add button to display the categories, and the schemas within them, that you can create in the current context. For more information about creating schemas, see Schemas.
Click the arrows to change the content of the display:- Type
- The down arrow moves to the first root of the first schema of the next schema type. The up arrow moves to the last root of the last schema of the previous schema type.
- Schema
- The down arrow moves to the first root of the next schema, even if the next schema is of a different type. The up arrow moves to the last root of the previous schema, even if the previous schema is of a different type.
- Root
- The down arrow moves to the next root, even if the next root is part of a different schema or type. The up arrow moves to the previous root, even if the previous root is part of a different schema or type.
In the previous screen capture, the user selected . The roots available for the WSDL schema are displayed below the schema type. An example message is displayed in the Message column. Values can be displayed in a Field Editor window, but cannot be changed.Note: You can search the displayed roots by pressing Ctrl-F and entering a string to search for. - Complete any required information in the Formatter Properties section. The contents of this section vary widely with the schema selected, and many schemas do not require these properties.
-
In the Content Options section, select or clear the following options as needed:
- Retain existing content
- Select this option to apply a schema or expand a field without losing the original data. If the attempt to use the original data fails, the data is displayed with red Xs. If you clear this option, data is cleared before the new schema is applied. In cases where the data is assumed to be retained, this option is not displayed.
- Include Text nodes
- Select this option to generate Text nodes with the message.
- Include optional nodes
- If the schema includes optional fields, select this option to add them to the message.
Before HCL OneTest™ API version 8.7, additional options were displayed when you applied a schema to a message:- Accept fields in any order
- Ignore missing fields in received message
- Ignore additional fields in received message
- Enable validation of time-based fields
These options can be set in the project preferences. Click .
- Click OK when you finish configuring
the schema.The message is redisplayed with the schema applied. Save the message to keep the displayed format.