This lesson modifies the store's category banner
and product display pages to link to recipes.
About this task
In this lesson you will modify the default extended sites
storefront JavaServer Pages (JSP) files to link to the new Recipe
JSP files. First, you will change the store categories banner to include
a recipe category so that a shopper can access the Recipe Section
from any page within the store. Second, you create links in the product
display pages to recipes that use the specified product. Finally,
you test the customization by browsing through the store's new recipe
section.Note: The screen captures in this lesson represent general
functionality for one of the recipes in the sample code provided with
Tutorial: Creating a BOD service module. Your results will not be exactly
as shown. Specifically, ingredients and tool relationships were not
defined for any of the recipes in the sample code package. However,
you should confirm this functionality on a recipe of your own creation.
Procedure
- Modify the store categories banner to include a recipe
section:
- In the Enterprise Explorer view,
expand .
- Open the CachedHeaderDisplay.jsp file.
- Find the section of code that displays the top categories:
<%--
 ***
 *  Start: Display the Top Categories
 *  The top categories and the 'Home' link is displayed.  Each top category is a link to the corresponding category page, except that the currently selected category is not a link.
 ***
--%>
<table cellpadding="0" cellspacing="0" border="0"
	id="WC_CachedHeaderDisplay_Table_6">
	<tbody>
		<tr>
			<c:forEach var="topCategory" items="${catalog.topCategories}"
				varStatus="status">
				<td
					id="WC_CachedHeaderDisplay_TableCell_512_<c:out value="${status.count}" />">
				<%-- For the currently selected category, the category name will not be a link to the corresponding category page. --%>
				<c:choose>
					<c:when test="${topCategory.categoryId == categoryId}">
						<font class="m_link"><c:out
							value="${topCategory.description.name}" escapeXml="false" /></font>
					</c:when>
					<c:otherwise>
						<c:url var="CategoryDisplayURL" value="CategoryDisplay">
							<c:param name="langId" value="${langId}" />
							<c:param name="storeId" value="${WCParam.storeId}" />
							<c:param name="catalogId" value="${WCParam.catalogId}" />
							<c:param name="top_category" value="${topCategory.categoryId}" />
							<c:param name="top" value="Y" />
							<c:param name="categoryId" value="${topCategory.categoryId}" />
						</c:url>
						<a href="<c:out value="${CategoryDisplayURL}" />" class="m_link"
							id="WC_CachedHeaderDisplay_Link_9_<c:out value="${status.count}" />"><c:out
							value="${topCategory.description.name}" escapeXml="false" /></a>
					</c:otherwise>
				</c:choose></td>
			</c:forEach>
Add the following code immediately
after the section that displays the top categories code and before
the </tr> tag:
<%-- Link to the Recipe section, unless the current page is the recipe section. --%>
<td><c:choose>
	<c:when test="${WCParam.isRecipeSection}">
		<font class="m_link"><c:out value="Recipes" escapeXml="false" /></font>
	</c:when>
	<c:otherwise>
		<c:url var="RecipeSectionURL" value="RecipeSection">
			<c:param name="langId" value="${langId}" />
			<c:param name="storeId" value="${WCParam.storeId}" />
			<c:param name="catalogId" value="${WCParam.catalogId}" />
			<c:param name="top" value="Y" />
			<c:param name="categoryId" value="${topCategory.categoryId}" />
			<c:param name="isRecipeSection" value="true" />
		</c:url>
		<a href="<c:out value="${RecipeSectionURL}" />" class="m_link"
			id="WC_CachedHeaderDisplay_Link_10"><fmt:message key="ProjectsType"
			bundle="${storeText}" /></a>
	</c:otherwise>
</c:choose></td>
The Recipes section is located
after the product category links.
- Modify the product display page to link to recipes
- In the Enterprise Explorer view,
expand.
- Open the ProductDisplay.jsp file.
- Find the section of code that displays discount information:
<%-- Now display the disclaimers for discounts, if there is at least one discounts --%>
<fmt:message var="disclaimer" key="DISCOUNT_DISCLAIMER"
bundle="${storeText}" />
<script>
if (Discount.getAreThereAnyDiscounts()) {
document.write('<br /><br /><span class="discount">');
document.write('<img src="<c:out value="${jspStoreImgDir}" />images/Discount_star.gif" alt="<c:out value="${disclaimer}" escapeXml="true" />" /> <c:out value="${disclaimer}" escapeXml="true"/>');
document.write('</span>');
}
</script>
Include the following code immediately
after the discount information code and before the </td> tag:
<%-- Display any projects that this product is part of. --%>
<c:import url="${jspStoreDir}ShoppingArea/RecipeSection/RecipeList.jsp">
	<c:param name="productId" value="${productId}" />
	<c:param name="storeId" value="${WCParam.storeId}" />
</c:import>
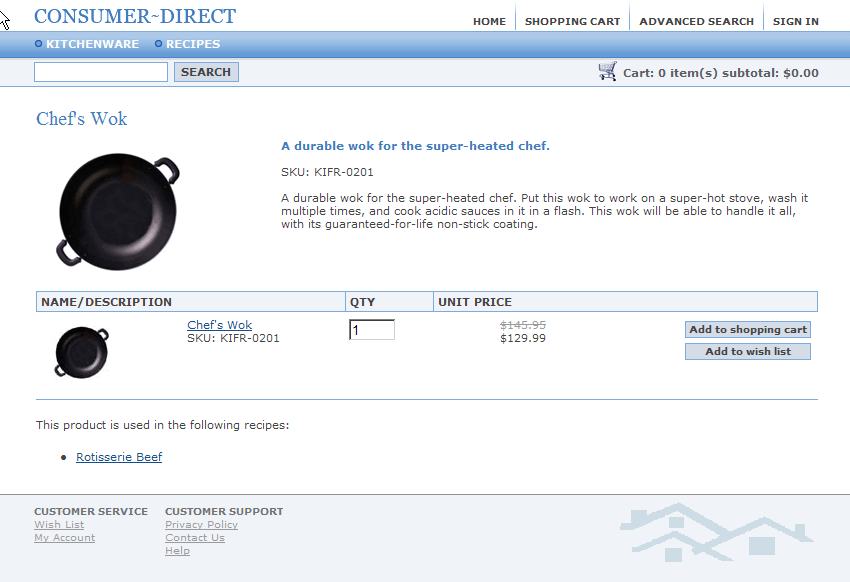
The list of recipes using a product is
displayed after discounts for that product.
- Test the customization:
- Start your WebSphere Commerce test server.
- Navigate to the store home page, using the bookmark
you created in Creating an extended site store for the Recipes tool customization.
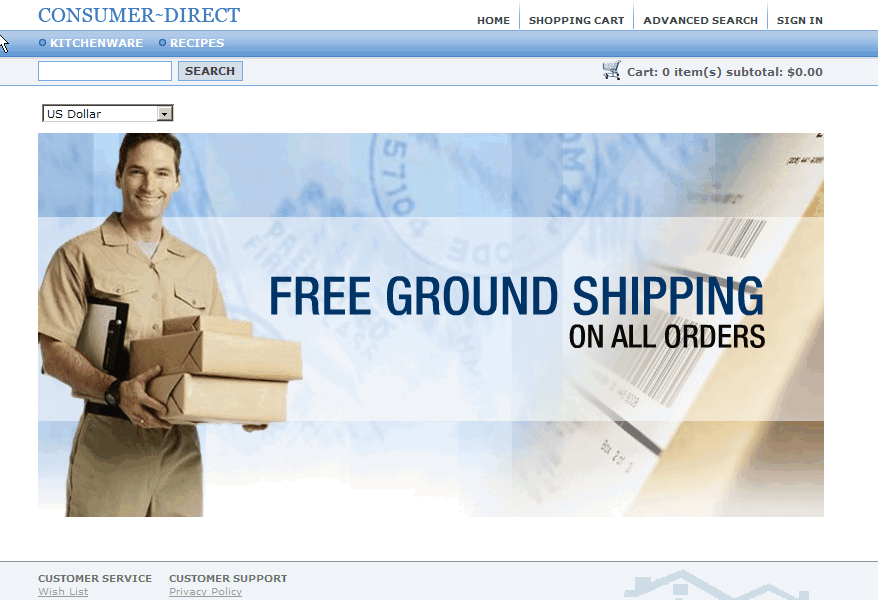
- Confirm that a recipe link exists on the store home
page:
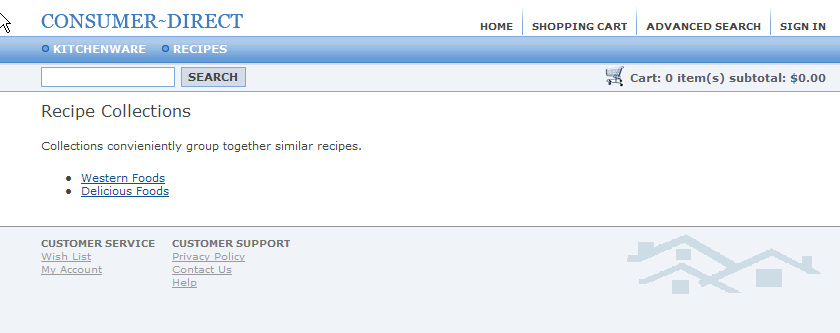
- Click the Recipes link and confirm that a list of Recipe
Collections displays:
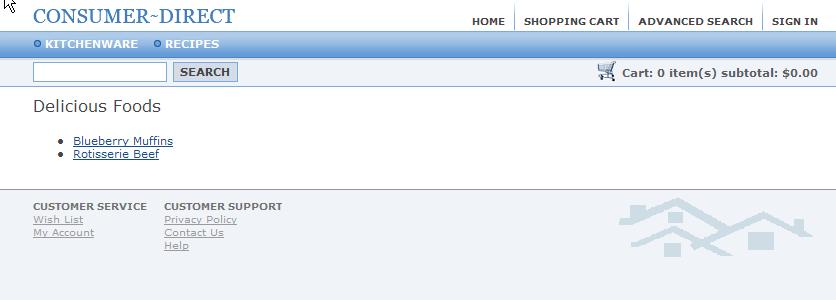
- Click a collection and confirm that a list of Recipes
under that Collection displays:
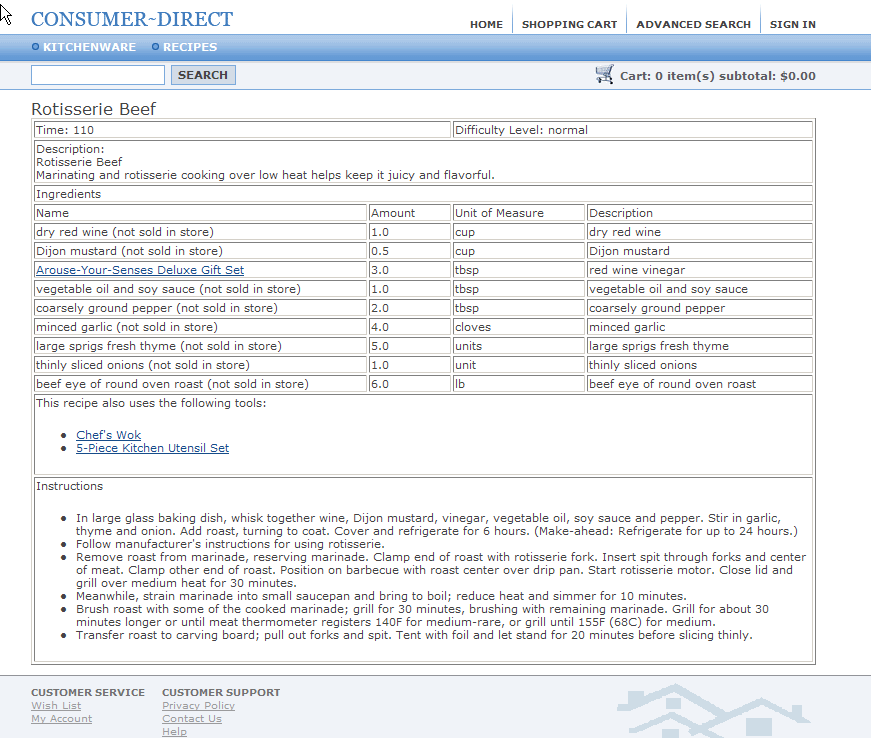
- Click a recipe and confirm that no information is missing,
and also that links to products it uses exist:
- Click a product, and confirm that the product display
page for that product displays with links back to that recipe and
others that use it:
