Working with Bare Metal Profiles
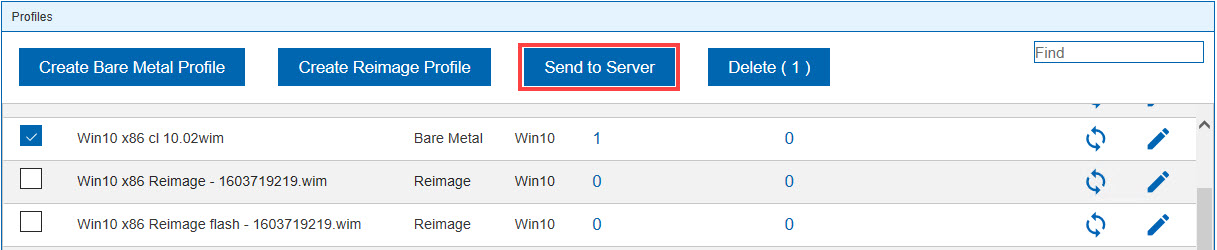
You can edit the profile also by using the ![]() icon. After the changes are saved, an action is automatically generated to update the
profile on any servers that have that profile. If there are any servers with the profile, but
that are out of sync with the profile available in the console, a warning is shown and you can
use this icon
icon. After the changes are saved, an action is automatically generated to update the
profile on any servers that have that profile. If there are any servers with the profile, but
that are out of sync with the profile available in the console, a warning is shown and you can
use this icon ![]() to resynchronize.
to resynchronize.
This generates an action for any valid bare metal servers.
Bare metal servers might be invalid because they are an old version or do not have encryption enabled.
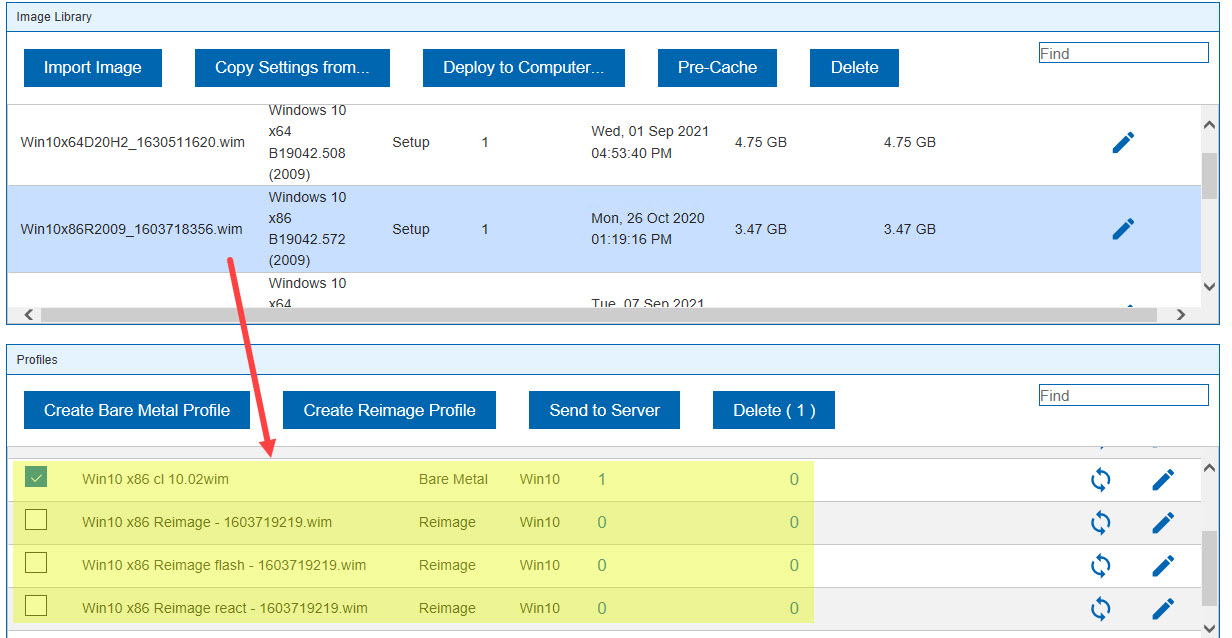
It is recommended that images are pre-cached to bare metal servers where profiles are created. This way large files are immediately available when first attempting to deploy a profile.

You can delete a profile on the server by selecting it and then clicking Delete; the profile is removed also from all servers. An image cannot be deleted if there are profiles that are created from it.