Installation
Use this guide to deploy and configure the BigFix Self-Service Application (SSA). SSA provides device owners with tools for managing BigFix offers, and includes live updates, installation status, action history, and BigFix Client UI dashboards. To learn more about creating BigFix offers, using the Self-Service application on endpoints, and other self-service-related tasks, see the Reference section.
You can install and deploy the Self-Service Application two ways. You can create a customized SSA Deployment Fixlet in the WebUI, or use Fixlets provided in the BigFix Console Software Distribution site. Instructions for both methods appear below.
Create a Custom SSA Deployment Fixlet in the WebUI

You must be a BigFix Master Operator to use the WebUI's Configure Self-Service Application page.
Displaying Client UI Dashboards in SSA
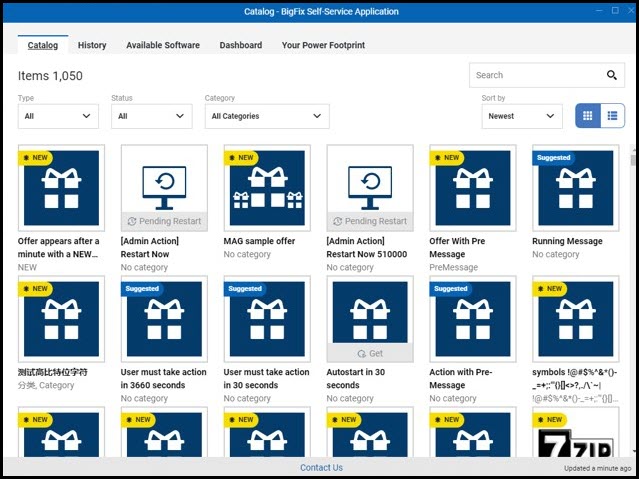
Client UI dashboards appear as tabs across the top of the Self-Service Application.
- Specify each dashboard that you want to include on the Configure Self-Service Application page. Any dashboards that are not listed, including the SWD Client UI dashboard and custom dashboards, will be removed from the endpoint when the Configure Self-Service Application task is run.
- Use the BFArchive tool to prepare and compress your custom dashboards before you upload them to the Configure Self-Service Application page. The BFArchive utility is available on the BigFix DeveloperWorks wiki.
To learn more about dashboards, see Creating Custom Client Dashboards
in the BigFix Configuration Guide.
Procedure
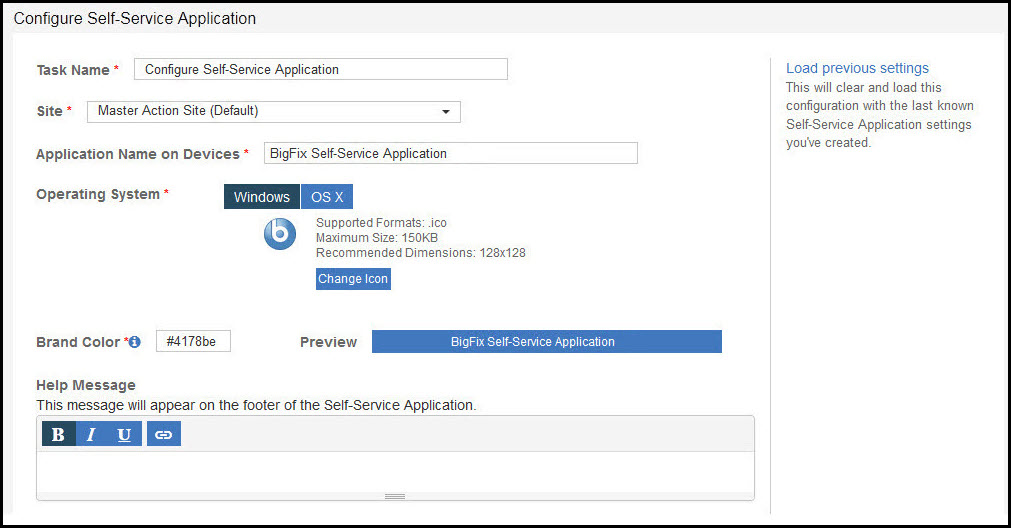
- From the WebUI Settings menu, select Self-Service Application to open the Configure Self-Service Application page.
- Complete the fields to create an SSA installation task.
- Task Name – Use the default name or enter your
own, for example,
Install SSA on OS X Machines,
orUpgrade Self Service App from V2 to V3.
- Site – Select the custom content site where you want this SSA Installation task to be stored.
- Application Name on Devices – Enter the text that you want to appear in the SSA title bar, or use the default.
- Operating System – Select one. If you have both Windows and OS X endpoints on your system, create a separate SSA installation task for each one.
- Change Icon – Click to change the icon image device owners use to open the Self-Service Application. Use .ico files on Windows systems and .png files on OS X systems. The default is the BigFix icon.
- Brand Color – Use this option to change the banner color behind the application name. Enter a specific hex value or click the field to select from a palette. The Preview field displays the application name and selected color.
- Help Message – Enter any text that you want to
display in the SSA footer. For example,
For assistance updating this device go to http://support.ucmc.org.
Keep the message to a single line. - Catalog Tab – Set the list view as default after every SSA startup
- History Tab – Set the number of days past actions
appear on the History tab.
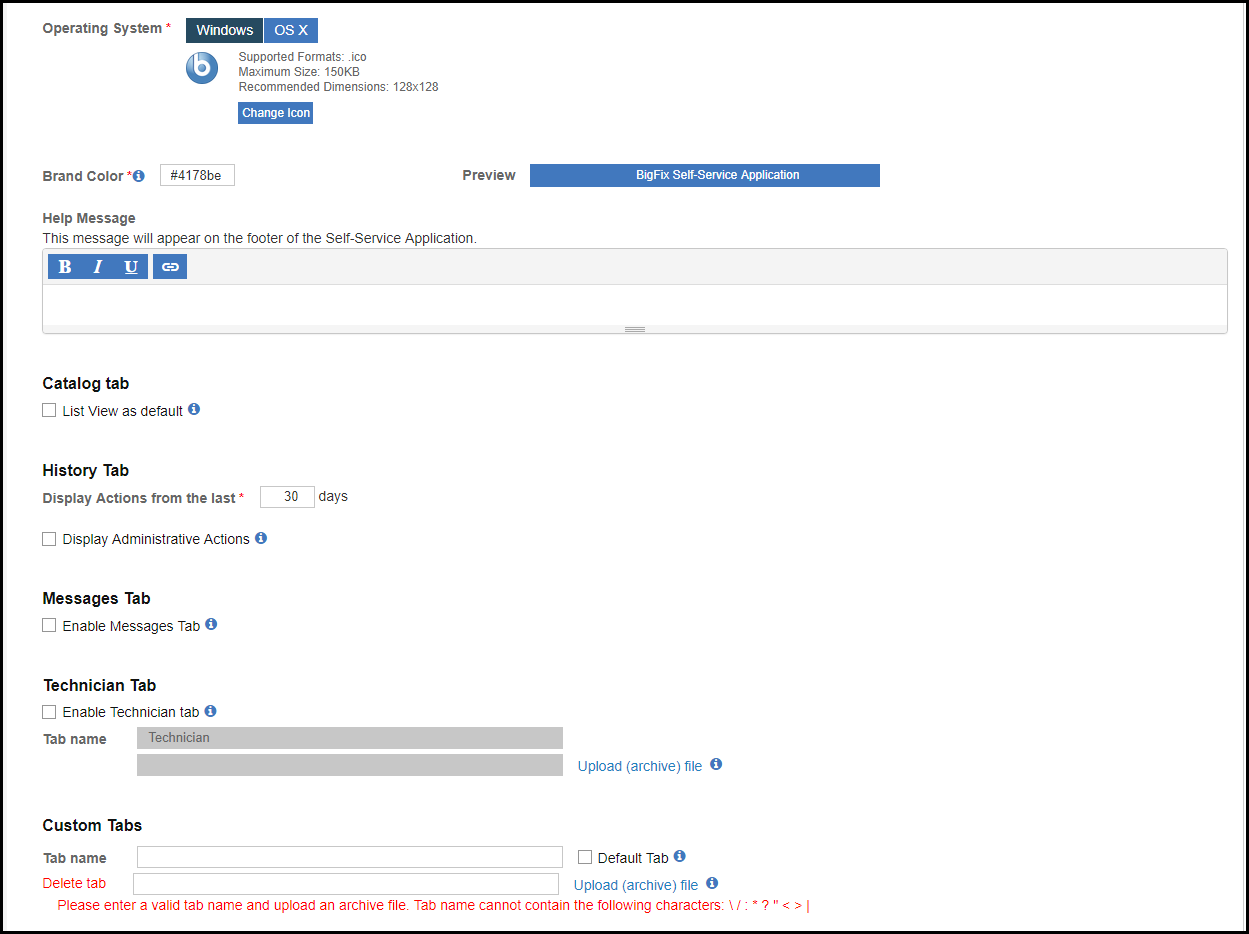
- Messages Tab – Select the check box to show the Messages tab in SSA. Messages tab allows the logged in user to view and manage messages sent through BigFix WebUI.
- Display Administrative Actions – Check the box to include actions taken by a BigFix administrator on the History tab.
- Enable Power Management Tab – Check the box to
include the Power Management dashboard in SSA. The Power Management
dashboard displays an endpoint’s power footprint. BigFix customers who
are not subscribed to the BigFix Power Management site do not see this
option. The Power Management dashboard will not function correctly
unless it is configured properly. See
Manage Power Tracking
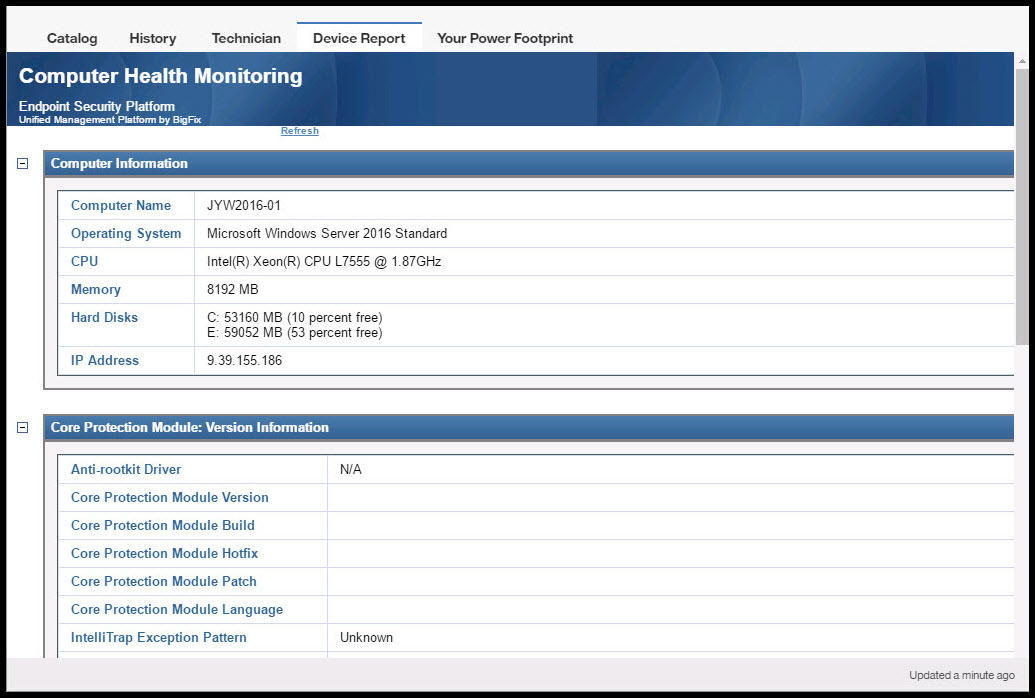
in the BigFix Power Management Setup Guide. - Technician Tab – Check the box to include a Technician dashboard in SSA. Hidden by default, a Technician dashboard is often used to provide diagnostic information available to an endpoint administrator. Use the key combination Ctrl+Alt+Shift+T to display a Technician dashboard, and hide it again. An endpoint can have only one Technician dashboard at a time.
- Custom Tab – Click Add New
Tab to add custom dashboards to SSA and upload their
archive files.Important: The name of the custom tab should not contain the following words: Offers, Progress, Available Software, Your Power Footprint, Dashboard.Click Delete Tab to remove or cancel adding a custom tab. Select Default Tab to automatically select the Custom Tab after every SSA startup.
- Task Name – Use the default name or enter your
own, for example,
- Deploy the task to all relevant endpoints.
Use the Load Previous Settings link to create multiple SSA tasks with similar settings. To use the Configure Self-Service Application page to update the settings and options on an existing SSA installation, create an installation task with the new parameters and deploy it to all relevant machines.
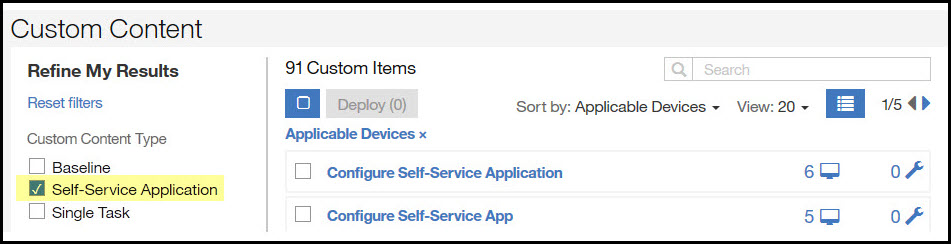
Self-Service Application tasks are part of your custom content library. To see them on the Custom Content list, use the Self-Service Application filter.
Use Fixlets Provided in the BigFix Console Software Distribution Site
Procedure
- Upgrade your environment to BigFix Platform version 9.5.3, if you have not already done so. The Fixlet is available in the BES Support Content site.
- Enable the BES Client UI.
- From the BigFix console go to Sites > External Sites > BES Support > Fixlets and Tasks.
- Locate the Fixlet BES Client Setting: BESClientUI Enable Mode.
- Scroll down to Actions. Review the Fixlet descriptions to find which
setting is best for your environment. Use either:
…set the BES Client UI to be shown for all sessions
or…set the BES Client UI to be shown for only local sessions
- In the BigFix console’s Software Distribution site, locate the SSA Fixlet for
your operating system and deploy it to all relevant endpoints.
- Windows: Deploy BigFix Self Service Application (Windows)
- Mac OS: Deploy BigFix Self Service Application (Mac OS X)
Note:- The uninstall Fixlet, Remove BigFix Self Service Application is available in the same location. Deploying or removing the Self-Service Application automatically restarts the BES Client.
-
Configure the string setting
_BESClient_ActionManager_SSAv2Modeto SSAV2UIAll. If set, the BESClient and BESClientUI will inhibit all existing BESClientUI visual components, enable the new data flow, expect the SSA to recognize the new data, and expect the SSA to supply the required requests to support existing BESClientUI functionality.