Creating a SIDMap file
Before you begin
For example, in the Repository “QIP1”might be listed as the SMF id, but the SCRT data has a different SMF id of “IPO1”. In order for this SCRT data to be imported into “QIP1”, you create a SIDMAP (text file) to assign “IPO1” to be “QIP1”, so when the SCRT data is imported, the data is matched.
For example, sidmap.txt contains11111-IPO1=QIP1
11111-IPO2=QIP2 What this does is, when the SCRT importer is processing data for machine serial 11111 and SMFID IP01, assign a SID value of QIP1 instead to match with existing SID data already present in the target repository.
Procedure
-
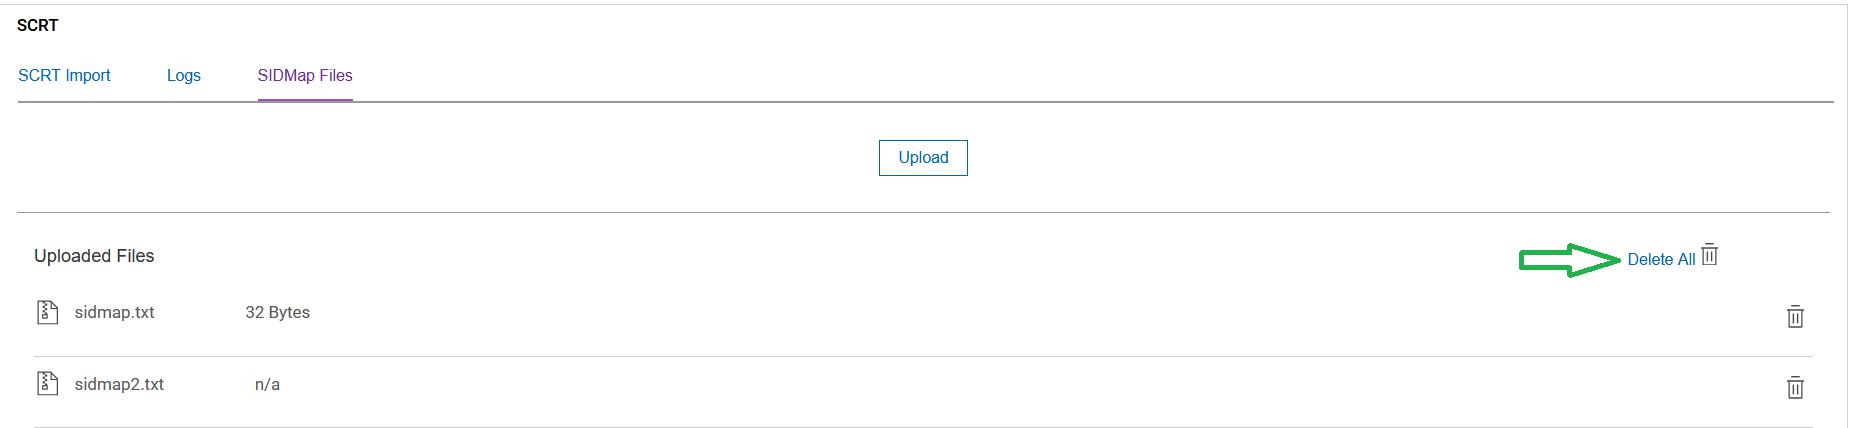
To upload a SIDMap file, select the “SIDMap Files” tab and then click the
 button and select the file previously created, for
example “sidmap.txt”.
button and select the file previously created, for
example “sidmap.txt”.
Figure 1. SIDMAP files upload screen 
-
The Progress of the Upload process can be seen on the screen as shown:
Figure 2. SIDMAP file uploading progress 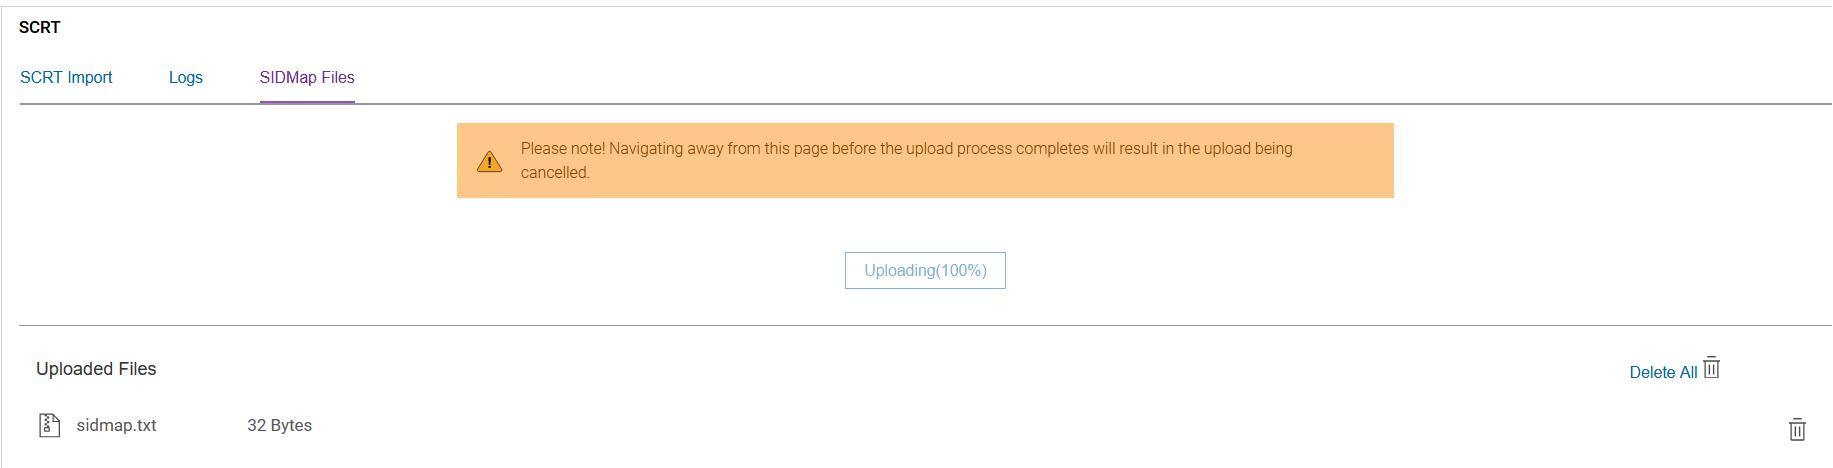 Note: When the file is being uploaded to the SIDMap webpage, do not navigate away from the 'Upload' page before the process is completed, to avoid terminating the Upload process.
 - You can upload either single or multiple files by clicking Upload. The uploaded files list is displayed on the same page, after uploading them successfully.
-
If you wish to delete an uploaded SIDMAP file, click the delete icon
 next to the file as shown:
Figure 3. SIDMAP files list 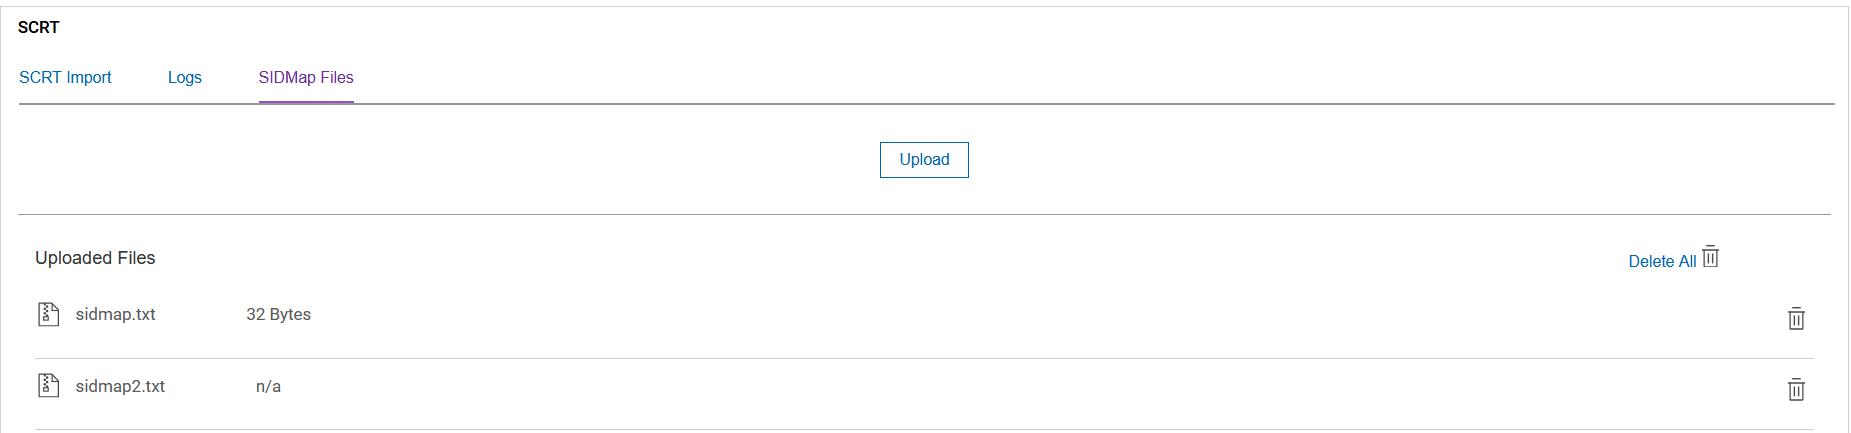
-
If you wish to delete all the SIDMap files which were uploaded, click the
icon next to the Delete All label.
Figure 4. Delete all SIDMAP files